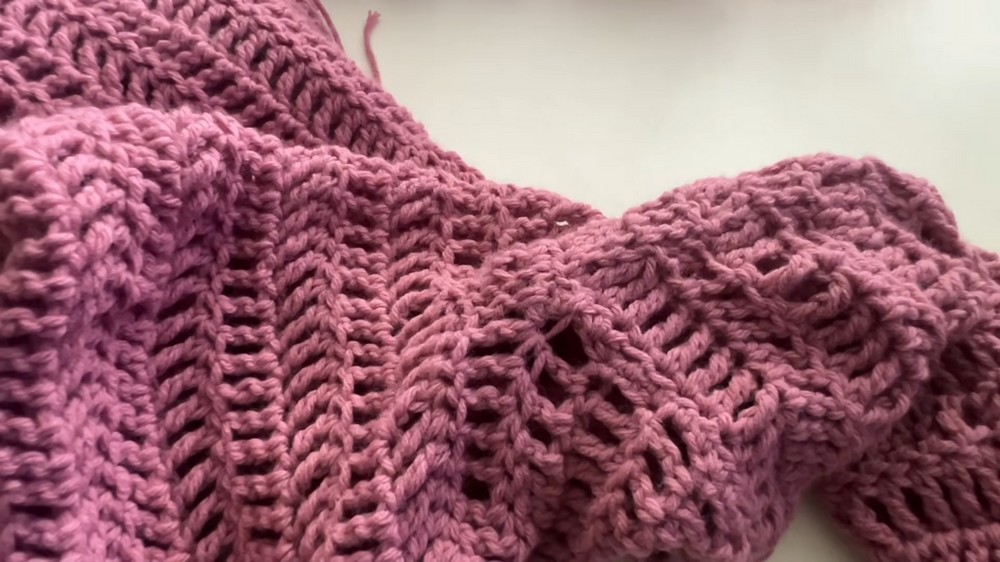
Crochet Cardigan Pattern – Open Front & Custom Fit
Turn simple worsted-weight yarn into a cozy open-front cardigan with flowing triple crochet stitches, roomy sleeves, and your choice of cropped or knee-length styling.
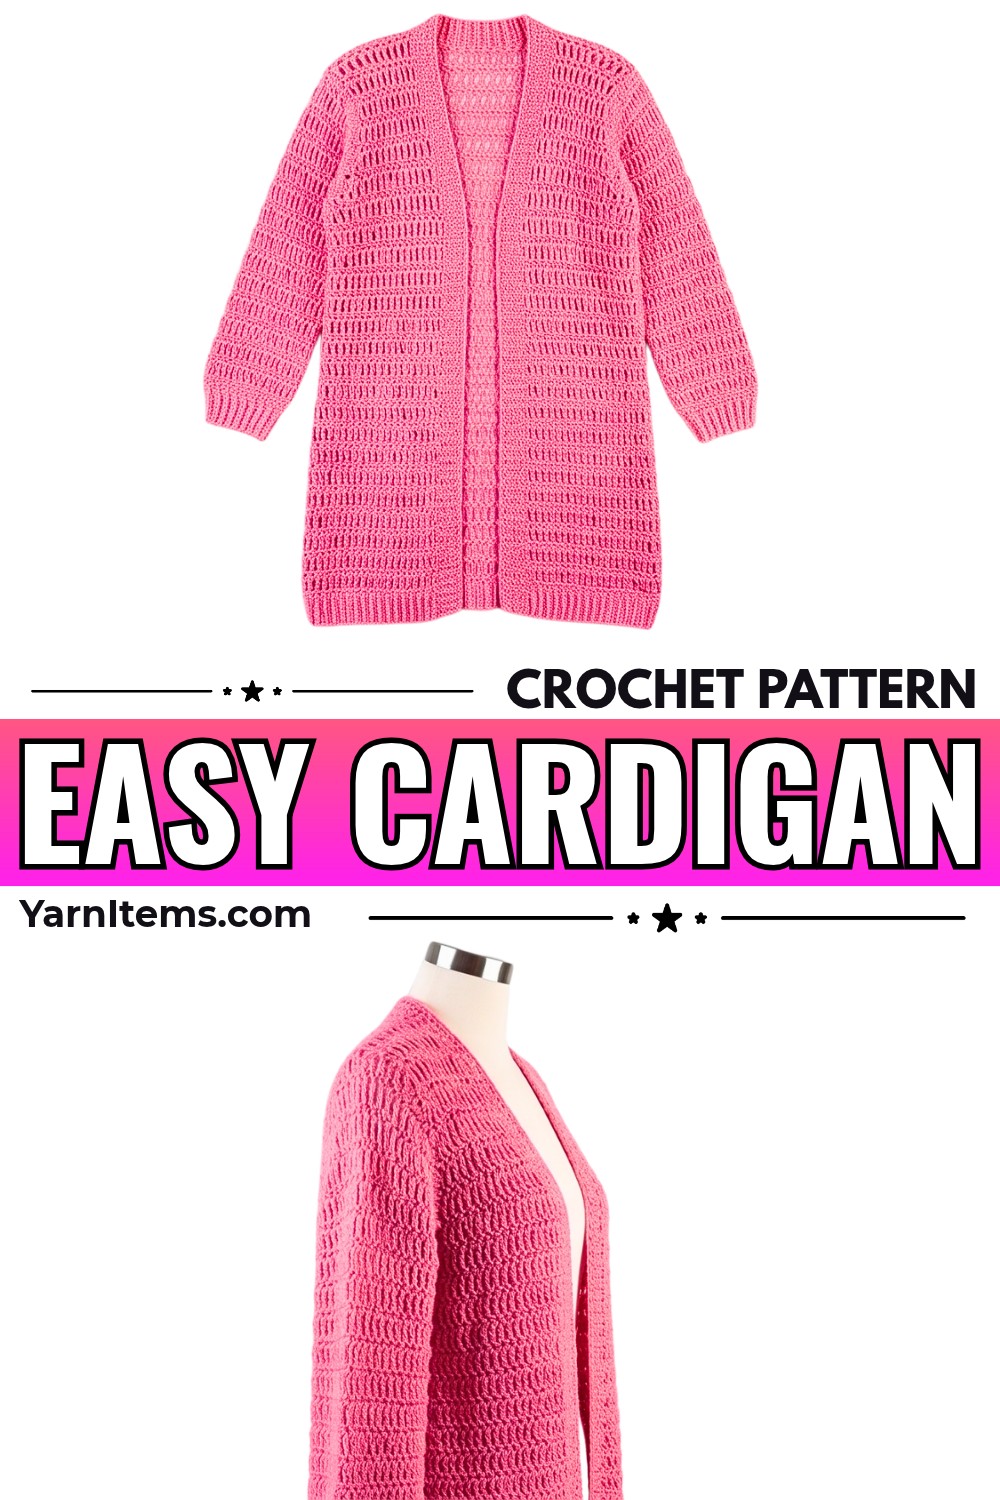
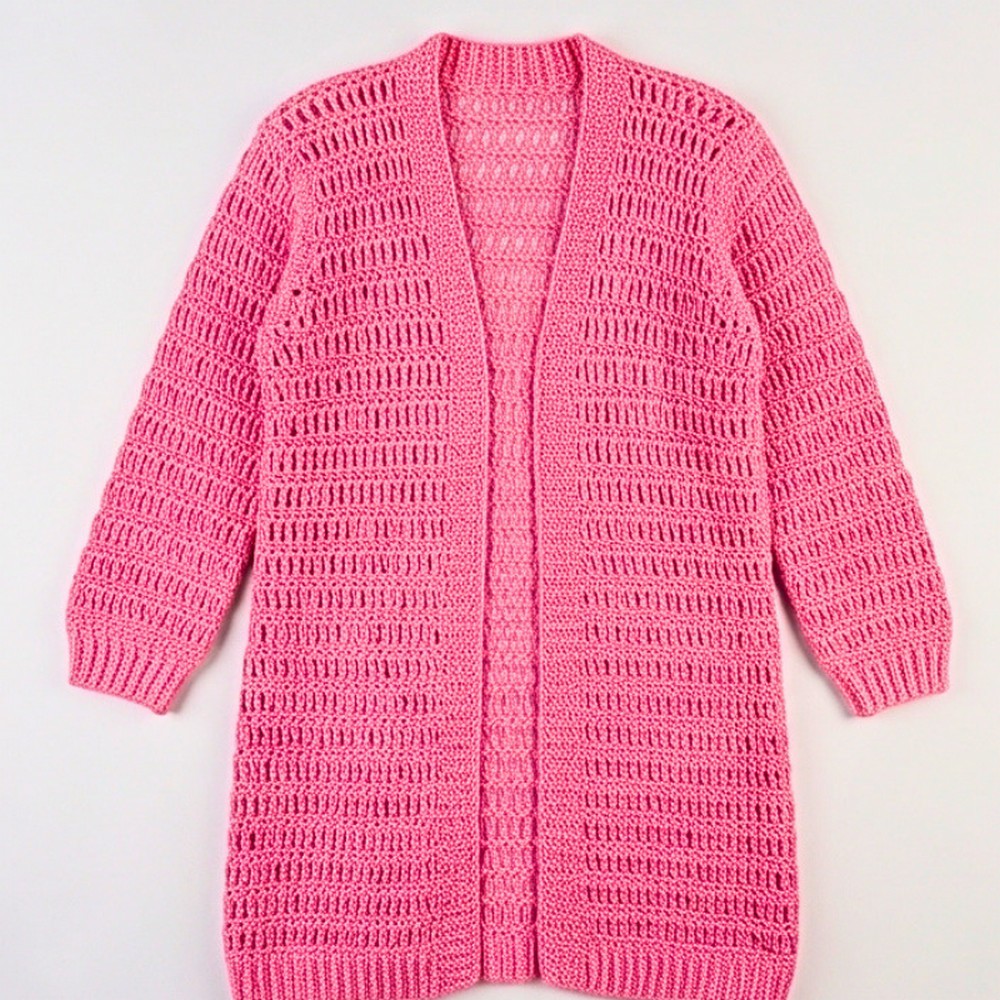
Soft worsted-weight yarn and tall triple crochet stitches give this cardigan its relaxed drape and open, airy texture. Its simple panel construction creates a comfortable shape, while adjustable shoulder width, sleeve length, and lower-body rows let you adapt the fit to your measurements.
From measuring the back panel to joining the front crochet pieces, shaping the sleeves, and finishing the button band, you’ll find each stage explained in order. You’ll also learn how to adjust the length, choose a closure, add buttonholes, and steam-block acrylic yarn for a neater finish.
Credit Rach Made It
Materials & Tools
Yarn
- Yarn Weight: Medium Worsted Weight (Category 4), 100% Acrylic
- Used in Video: Lion Brand Pound of Love (16 oz / 454 g, 1,020 yards / 932 m) – 1 skein in Heather Rose or Olive.
Crochet Hook
- 6.5 mm (US K-10.5)
Notions & Accessories
- Measuring tape for shoulder and length fittings
- Tapestry/darning needle narrow enough to pass through buttonholes if adding buttons
- Stitch markers for marking edge stitches and neck alignment
- Scissors
- 2 novelty buttons, approximately 1 inch (25 mm), heart-shaped in the sample (optional)
- Garment steamer or iron with steam function for acrylic blocking
Finished Size & Customization
Sample Sizing
Measurements and row counts below describe the versions shown in the video.
- Shoulder Width: Approximately 15 inches (38 cm), unstretched across the back panel.
- Sleeve Length: 18 triple crochet rounds plus 1 HDC base round, creating a long sleeve.
- Body Length – Cropped Version: 2 increase rows, 1 even row, 7 even triple crochet rows, and 1 HDC hem row. This reaches around the waist or high hip.
- Full-Length Version – Olive Cardigan Reference: 25 rows of triple crochet for the lower body, reaching just above the knee.
Customization Guidelines
- Custom Fit: Measure the foundation chain against your personal shoulder-to-shoulder width. Always work an even number of front stitches, divided equally between both panels, while leaving a 2–3 inch neck gap in the center.
- Armhole Depth: Add or subtract triple crochet rows on the front and back panels before seaming the shoulders and joining at the underarm.
- Density & Coverage: For a less open, less see-through fabric, substitute triple crochet stitches with double crochet or half double crochet throughout.
- Closures: Choose one of four options:
- No closure; leave the front open.
- Removable woven tie: Ch 110–120 and weave it through the eyelets.
- Attached permanent ties: Make chains attached to both front edges.
- Two-button band with a 2-row HDC border, following the instructions below.
Abbreviations
US crochet terminology is used throughout.
- ch: Chain
- sc: Single crochet
- hdc: Half double crochet
- tr: Triple (treble) crochet
- tr2tog: Triple crochet 2 stitches together (decrease)
- sl st: Slip stitch
- st(s): Stitch(es)
- Stacked sc (Stacked Single Crochet): Used to replace a turning chain at the beginning of a triple crochet row or round. It creates clean, straight edges without side gaps.
- Back bump: Ridge or loop on the backside of a starting foundation chain.
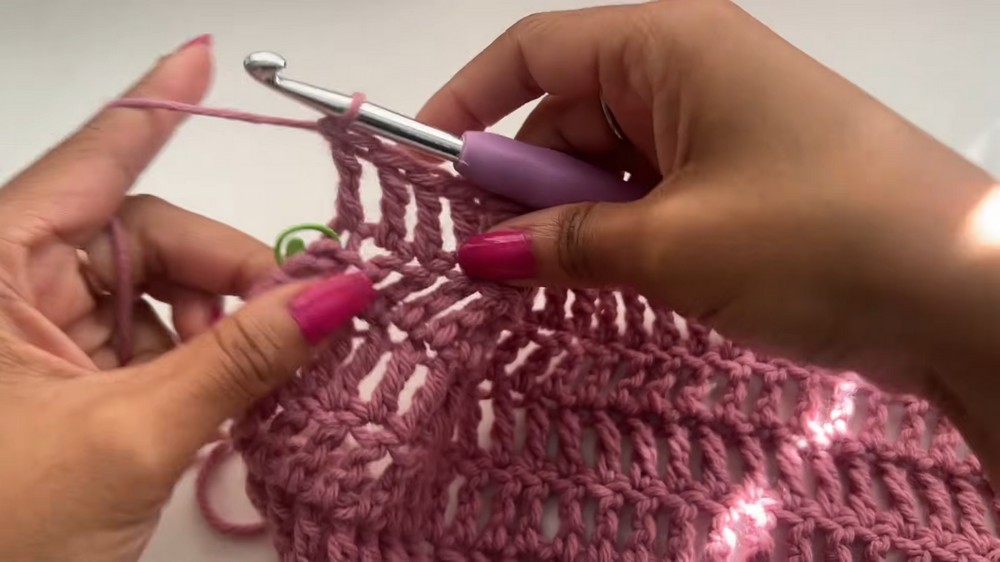
How to Make a Stacked sc for Triple Crochet Height
- Work 1 sc into the first stitch.
- Insert hook into the vertical front bar of that sc, yarn over, and pull up a loop.
- Yarn over and pull through 2 loops to make the second stacked sc.
- Insert hook into the vertical front bar of the second sc, yarn over, and pull up a loop.
- Yarn over and pull through 2 loops to make the third stacked sc.
This stacked stitch counts as 1 tr.
Crochet the Upper Back Panel Step by Step
Work the back panel flat in rows, starting at the top of the shoulder and continuing down to the underarm.
Foundation Chain: Ch 43, or chain until it measures approximately 15 inches across the shoulder width when unstretched.
Row 1: Turn chain over. Skip the first chain from the hook. Work 1 hdc into the back bump of the second ch from hook and each back bump across. Place a stitch marker into the first st. Turn. [42 sts]
Row 2: Work a stacked sc into the first st, or ch 3 to count as the first tr. Place a stitch marker at the top of the stacked sc. Work 1 tr into each st across to the end, placing the last tr into the marked turning stitch. Turn. [42 sts]
Rows 3-7: Repeat Row 2 for a total of 6 triple crochet rows.
Fasten Off: Ch 1, cut yarn leaving an 8-inch tail, pull through, and snug down to secure.
Edge tip: Keep the stitch marker in the first stitch area as you work the triple crochet rows. It helps identify the turning stitch and makes it easier to place the final tr in the correct location.
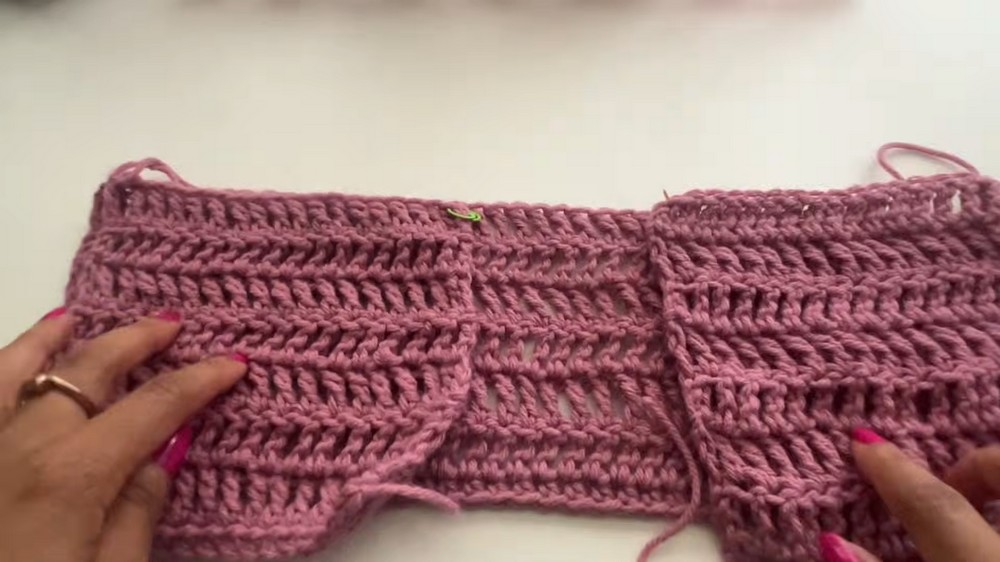
Make the Front Panels
Make 2 identical panels. Each one is worked flat from the shoulder down to the underarm.
Each front panel uses 18 stitches. Together, they leave 6 stitches open in the center of the 42-stitch back panel for the neck opening.
Foundation Chain: Ch 19.
Row 1: Skip the first chain from hook. Work 1 hdc into the back bump of the second ch from hook and each back bump across. Turn. [18 sts]
Row 2: Work a stacked sc in the first st; this counts as the first tr. Work 1 tr into each remaining st across. Turn. [18 sts]
Rows 3-8: Repeat Row 2 for a total of 7 triple crochet rows.
These front panels have 1 extra row compared with the back panel to provide comfortable armhole depth and ease around the bust.
Panel check: Before joining the pieces, make sure both front panels have the same number of rows and the same stitch count. Their lower corners should align with the corresponding lower corners of the back panel.
Join the Front Panels at the Underarms
Instead of cutting yarn after finishing each front panel, join its underarm corner directly to the back panel.
First Front Panel Join
- Keep the loop live at the end of Row 8 on Front Panel 1. Do not cut yarn.
- Align the bottom corner of Row 8 on Front Panel 1 with the bottom corner of Row 7 on the Upper Back Panel.
- Insert hook through the corner space or stitch of the front panel and through the corresponding corner tr stitch of the back panel.
- Work 1 sc through both panels together to join them at the underarm.
- Ch 1, cut yarn, and pull through to fasten off.
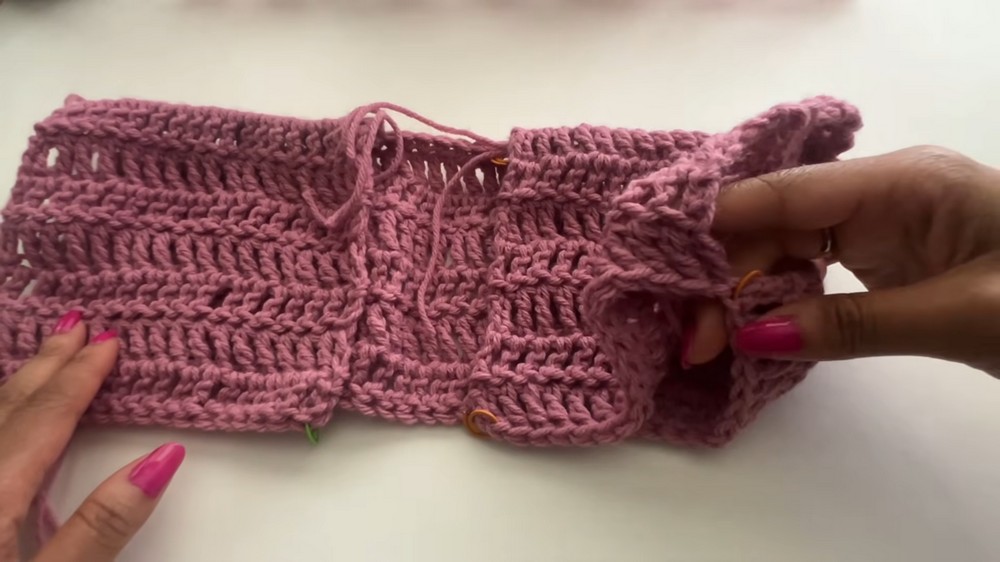
Second Front Panel Join
- Complete Row 8 of Front Panel 2.
- Align its bottom corner with the opposite bottom corner of the Upper Back Panel.
- Insert hook through the first tr stitch of Front Panel 2 and through the opposite bottom corner tr stitch of the back panel.
- Work 1 sc through both thicknesses.
- Ch 1, cut yarn, and pull through to fasten off.
Joining tip: Lay the panels flat before making each underarm join. Match the corresponding corners carefully so the two sides sit at the same height.
Seam the Shoulders
Place the garment with Right Sides facing together. The raised ridge of the underarm sc should be visible on the Wrong Side.
- Start at the first shoulder. Count 18 sts inward from the outer edge on the foundation HDC row of the back panel. Place a stitch marker into the 18th stitch.
- Make a slip knot on your 6.5 mm hook.
- Insert hook through both loops of the first stitch on Front Panel 1 and through the matching corner stitch on the Back Panel.
- Work 1 sc through both thicknesses.
- Continue working 1 sc through both layers across all 18 sts until you reach the marked stitch.
- Ch 1, cut yarn, and fasten off.
- Repeat the same seam for the second shoulder. Join yarn at the 18th stitch inward from the opposite neck edge, then work 1 sc through both layers across all 18 stitches to the outside corner. Ch 1, cut yarn, and fasten off.
- Turn the cardigan Right Side out so all sc seam ridges face the interior.
Neck alignment tip: Use the marked 18th stitch to identify where each shoulder seam should end. Matching the seam positions on both sides keeps the center neck opening balanced.
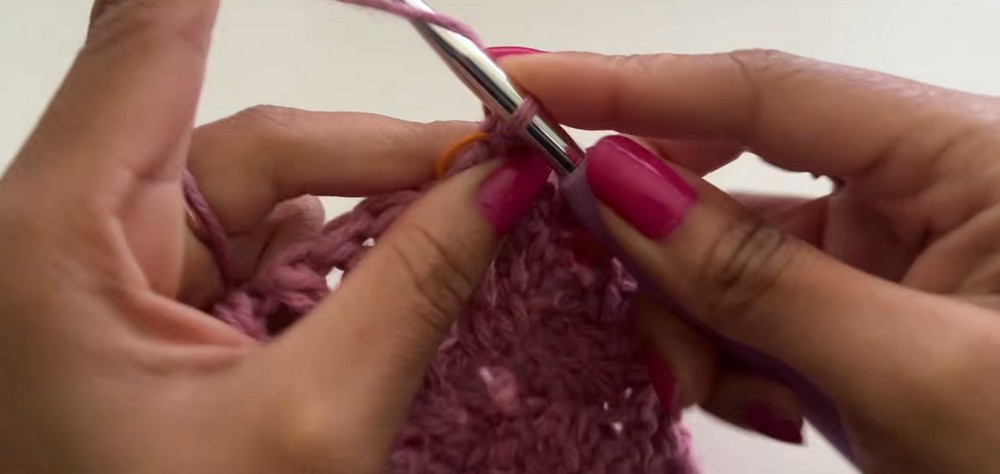
Crochet the Sleeves
Work both sleeves identically in joined, turned rounds directly around each armhole opening. Keep the Right Side of the garment facing outward.
Round 1 – Foundation HDC
- With Right Side facing, join yarn with a sl st in the center underarm sc stitch.
- Ch 1 and work 1 hdc into that same space. Place a stitch marker into this first hdc to mark the start of the round.
- Work hdc stitches evenly around the armhole edge, placing approximately 2 hdc per side of each triple crochet row and 1 hdc into the shoulder seam. Space them evenly to avoid pulling or gaping.
- Work the final hdc around the underarm join. Count your stitches, aiming for 36 sts total, and sl st to the first marked hdc. Mark the last true hdc of the round to distinguish it from the sl st. Turn. [36 sts]
Round 2 – Decrease Round
- Skip the slip stitch from the previous round. Work a stacked sc directly into the first true stitch; this counts as 1 tr.
- Work 1 tr into each st around until 2 sts remain.
- tr2tog (Decrease): Yarn over twice, insert into next st, yarn over, pull up a loop, then [yarn over, pull through 2] twice. There are now 2 loops on hook. Yarn over twice, insert into the final st, yarn over, pull up a loop. There are now 5 loops on hook. [Yarn over, pull through 2] twice. There are now 3 loops on hook. Yarn over and pull through all 3 loops.
- Sl st to the top of the beginning stacked sc. Turn. [35 sts]
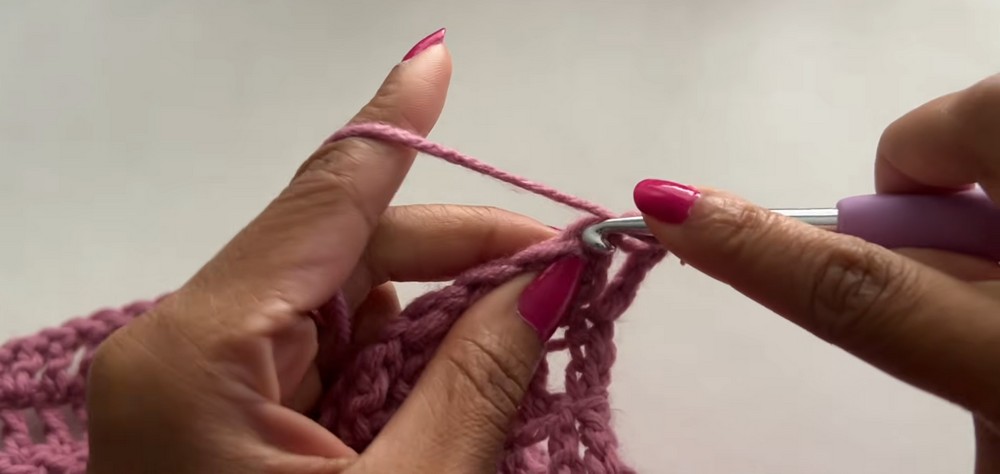
Rounds 3-18
- Skip the joining sl st and work stacked sc in the first st.
- Work 1 tr in each st around to the end.
- Sl st to the top of the stacked sc. Turn. [35 sts]
Fasten Off: After completing Round 18, sl st to the first st, ch 1, cut yarn leaving an end to weave in, and pull through.
Repeat Rounds 1–18 around the opposite armhole opening for Sleeve 2.
Sleeve spacing tip: During Round 1, distribute the hdc stitches evenly around the armhole rather than crowding them into one area. The target is 36 sts total, with enough space around the opening to prevent puckering or gaps.
Work the Lower Body
Work the lower body flat in continuous back-and-forth rows across the bottom edge of the joined panels. The route runs across the Right Front, underarm gap, Back Panel, second underarm gap, and Left Front.
Row 1 – Increase Row
- Turn cardigan upside down with the front opening facing you. Attach yarn with a sl st into the outer corner stitch of the right front panel.
- Work a stacked sc into that first stitch, then work 1 more tr into the exact same stitch. This makes the first increase.
- Work 1 tr into each stitch across the front panel. When crossing the underarm joining points, work 2 to 3 tr evenly into the gap spaces to prevent holes.
- Continue working 1 tr into each st across the back panel, bridge the second underarm gap with 2 to 3 tr, and work 1 tr into each st across the second front panel.
- In the very last stitch of the row, work 2 tr into the same space. This makes the second increase. Turn.
Row 2 – Even Row
- Work a stacked sc in the first st.
- Work 1 tr in each st across to the end without increasing. Turn.
Row 3 – Increase Row
- Work a stacked sc and 1 tr into the first st. This makes an increase.
- Work 1 tr into each st across to the last st.
- Work 2 tr into the final st. Turn.
Rows 4-10 – Even Rows
- Work stacked sc in the first st, then 1 tr in each st across. Turn.
- Repeat for 7 full rows, or until you reach your desired cropped or hip length. For the knee-length version, work 22 additional rows here.
Row 11 – Bottom Hem
- Ch 1 and turn.
- Work 1 hdc into the first st and into every st across to create a firm, stabilized bottom hem edge.
- Ch 1, cut yarn, and fasten off.
Length adjustment: The number of lower-body rows determines where the cardigan falls. Follow the cropped or full-length guidance in the sizing section when choosing your preferred length.
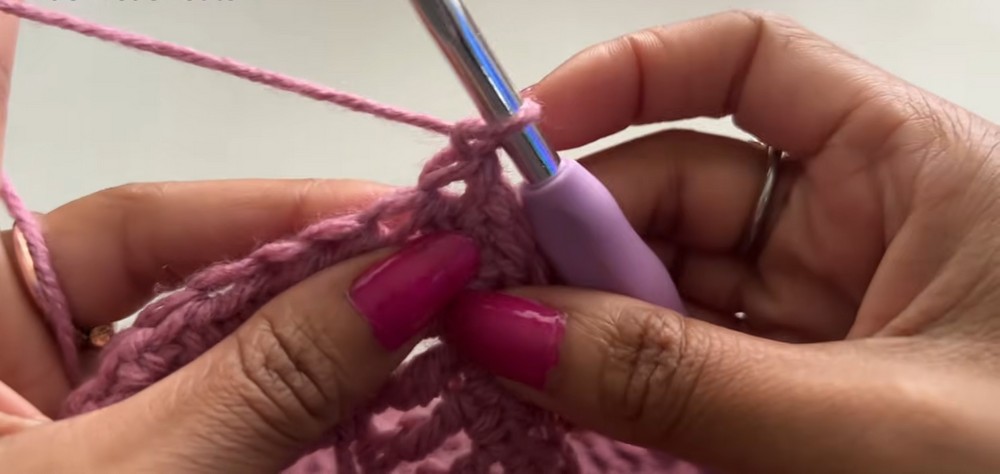
Add Front Edging & Buttonholes
Work along the interior raw vertical edges and around the back neck. This creates a neat border and, if desired, two buttonholes.
Row 1 – Border & Buttonholes
- Attach yarn with a sl st at the bottom right front corner hem, on the wearer’s right-hand side.
- Ch 1 and work 1 hdc into that same corner st.
- Work hdc evenly up the right front edge, placing approximately 2 hdc per side of each TR row.
- First Buttonhole: When you reach the level of the 3rd triple crochet row from the bottom hem, work 1 hdc, ch 1, skip 1 space, and work 1 hdc into the next space.
- Continue in hdc up through the next 3 triple crochet rows.
- Second Buttonhole: Aligning with the last increase row, work 1 hdc, ch 1, skip 1 space, and work 1 hdc into the next space.
- Work 1 hdc in each st around the neckline, then continue placing evenly spaced hdc down the entire left front edge without buttonholes. Turn.
Row 2
- Ch 1 and turn. Work 1 hdc in each st back up the left front, around the back neck, and down the right front.
- When encountering the ch-1 buttonhole spaces, work 1 hdc directly into each ch-1 space.
- Work 1 hdc in the final corner st. Ch 1, cut yarn, and fasten off.
Buttonhole tip: Keep both ch-1 openings clear while working the second border row. Work directly into each chain space rather than skipping it, so the border remains continuous around the buttonholes.
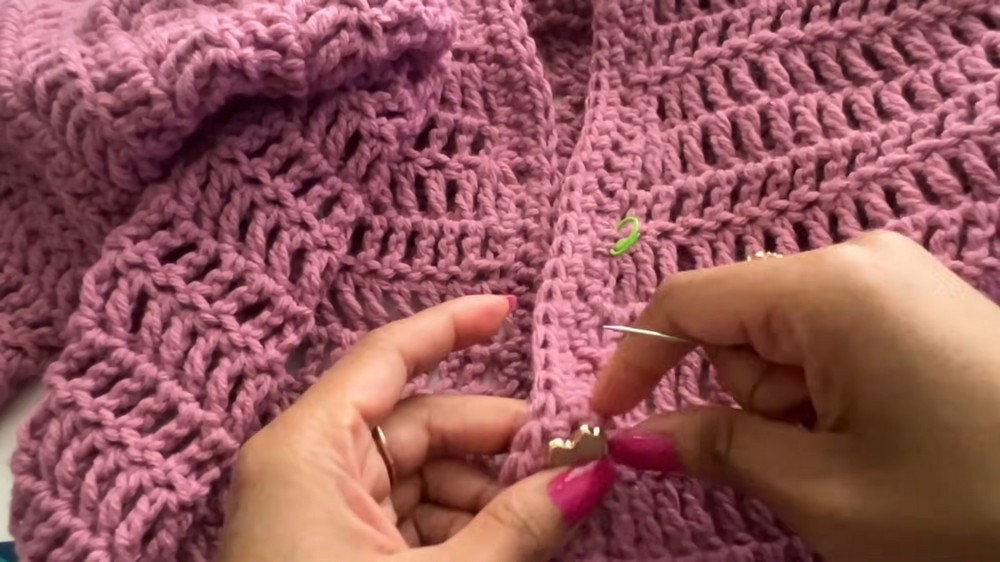
Finishing Techniques
Attach the Buttons
- Thread a narrow darning needle with a matching strand of yarn.
- Align button positions on the left front border band directly opposite the two ch-1 buttonholes on the right front band.
- Pass the needle from the Wrong Side through a solid stitch post to the Right Side, through the button loop or holes, and back into the stitch post.
- Pass through 2 to 3 times to secure firmly. Tie off with 3 square knots on the Wrong Side, weave in the tails, and clip.
Weave In Yarn Tails
Use the 3-direction method to secure yarn ends.
- Turn the garment inside out.
- Thread each yarn tail onto your darning needle.
- Weave the needle horizontally through the thick bases of 4–5 adjacent triple crochet or HDC stitches on the Wrong Side.
- Turn and weave back in the opposite direction, skipping over the first loop to lock it.
- Pass in a third diagonal or vertical direction through the dense yarn fibers before clipping flush.
Steam Block the Acrylic Fabric
Steam blocking helps improve the drape of acrylic yarn and relaxes the fabric after assembly.
- Lay the assembled cardigan flat on a blocking mat or ironing board.
- Hold a garment steamer or steam iron 1 to 2 inches (2.5–5 cm) above the fabric.
- Generously steam the fabric, gently smoothing the stitches with your hands to open up the triple crochet drape, flatten the shoulder and underarm seams, and relax the front collar.
- Allow the cardigan to air-dry completely before wearing.
Important: Never touch a hot iron plate directly to acrylic yarn. Direct contact can melt synthetic fibers and permanently damage the fabric.
Final Fit & Styling
Once the cardigan has dried completely, check the shoulder seams, sleeve openings, front border, and lower hem. Try it on to confirm that the shoulder width and sleeve length feel comfortable. If you added buttons, check that they line up with their buttonholes without pulling the front edges.
Wear it open for a relaxed look, add a removable woven tie for a little waist definition, or use the two-button closure for a more finished front. You can also adjust the length in future versions by changing the number of lower-body rows.