Crochet Girl Amigurumi with a Pearl Earring Pattern
Looking for a charming miniature inspired by a famous painting? This crochet doll makes a lovely keepsake, with delicate details and classic artistic charm.
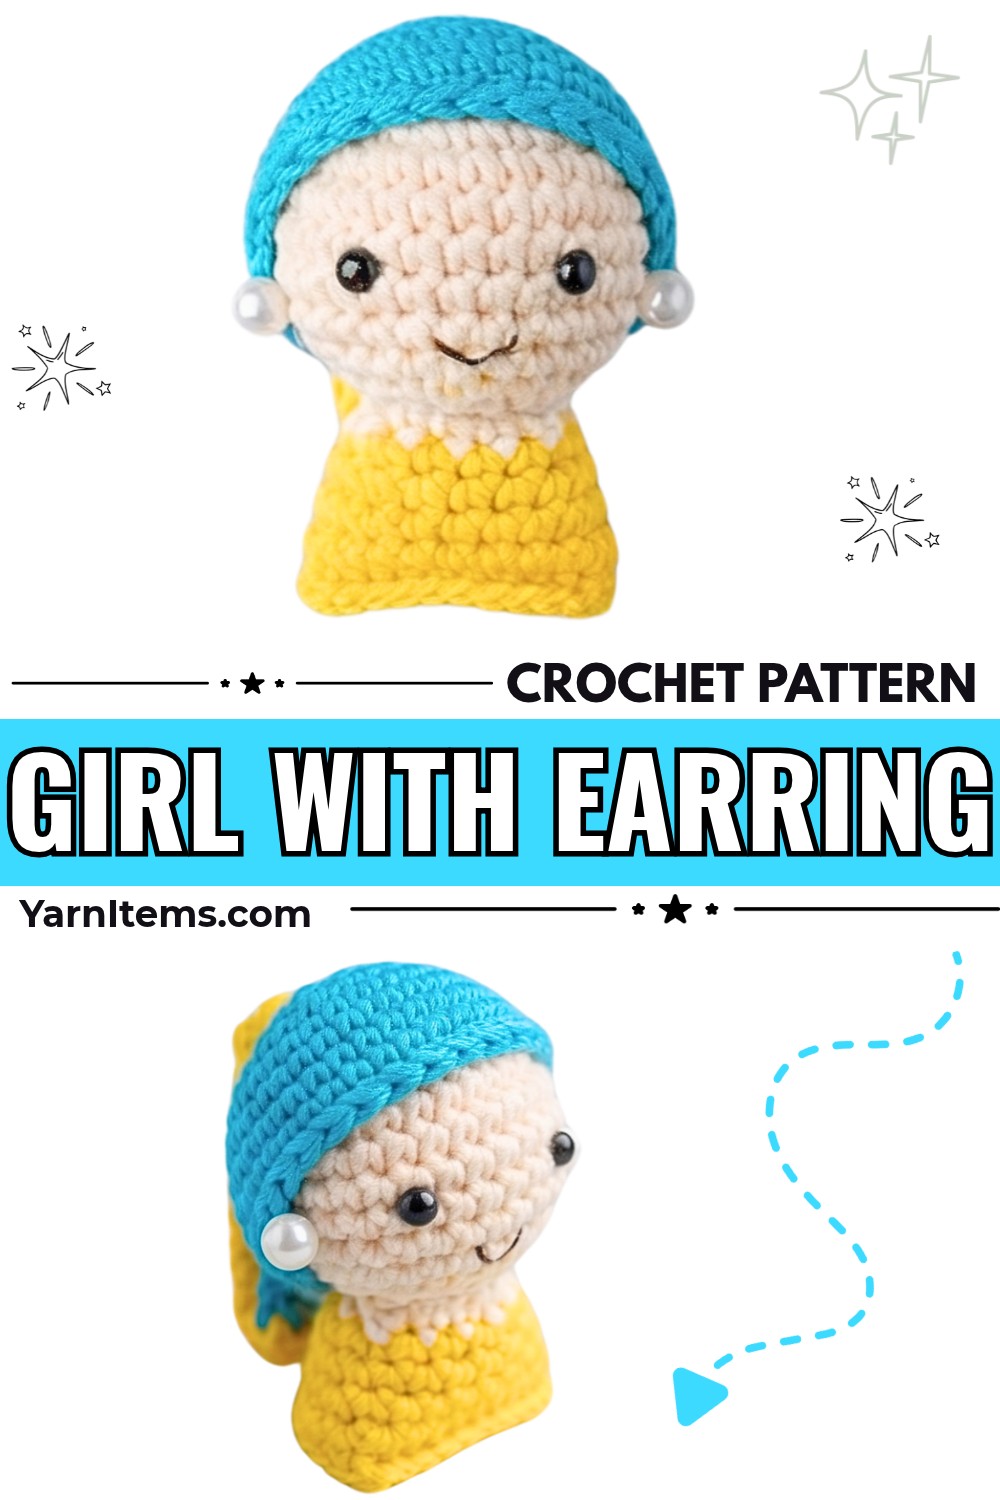
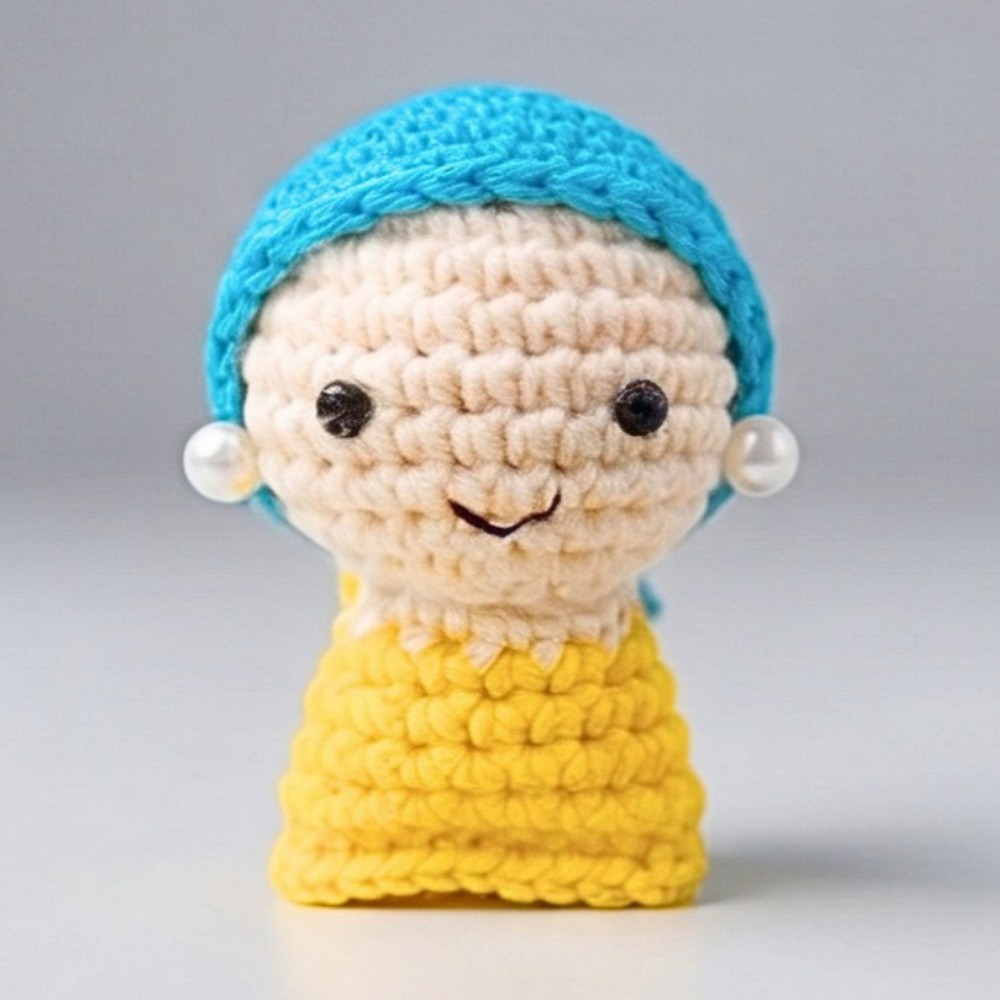
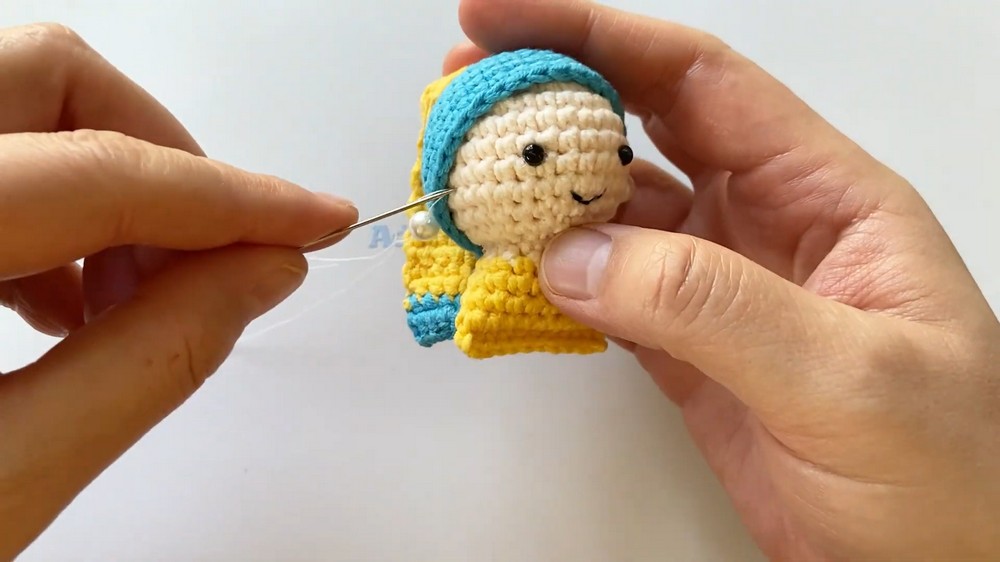
Inspired by Girl with a Pearl Earring, this miniature crochet doll brings recognizable portrait details to life in amigurumi. The blue-and-gold headscarf, simple dress, and carefully placed facial features give this little crochet character its distinctive look, while its compact size makes it ideal as a keychain or bag charm.
Cotton yarn and a 2.15 mm hook help create its small proportions, with separate instructions for shaping the head, adding the crochet headscarf, and forming the dress. You’ll also find guidance for joining each part, arranging facial details, and adding an optional pearl-inspired accent to complete its recognizable look.
Credit Ada’s Handmade
Materials & Tools
Yarn
- 4-ply cotton yarn in skin tone.
- Headscarf/turban colors matching the iconic painting, such as blue and gold/yellow.
- Dress/collar colors.
Crochet Hook
- 2.15 mm crochet hook.
Other Supplies
- Fiberfill stuffing.
- Yarn needle for sewing and weaving ends.
- Stitch marker (optional).
Finished Size & Customization
Finished Size
The finished piece is designed as a miniature amigurumi suitable for use as a keychain or bag charm when made with a 2.15 mm hook and 4-ply cotton yarn. Exact finished measurements were not specified in supplied pattern details.
Customization Ideas
- Classic Headscarf Colors: Experiment with alternative classic art color palettes, such as rich ultramarine blue and warm ochre yellow.
- Pearl Detail: Add tiny French knot or securely stitched bead on side of head/face to represent iconic pearl earring.
Once all yarn ends are secured and the headscarf is neatly attached, your miniature portrait-inspired crochet doll is ready to display or carry as a small accessory.
Abbreviations
- sc: Single crochet
- inc: Increase (work 2 single crochets in same stitch)
- dec: Decrease (work 2 single crochets together)
- sl st: Slip stitch
- ch: Chain
- st(s): Stitch(es)
- R: Round
- BLO: Back loop only
- FLO: Front loop only
Step-by-Step Pattern
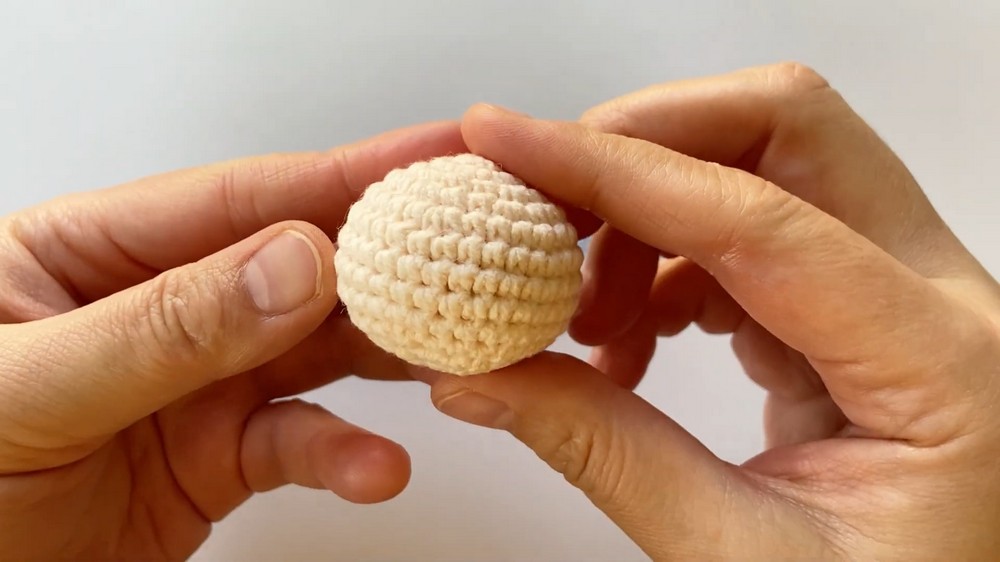
Crochet Head
Use skin-tone 4-ply cotton yarn and a 2.15 mm hook. Work in joined rounds, closing each completed round with a slip stitch and beginning subsequent rounds with a chain 1 wherever specified.
R1: Start with 6 sc in a magic loop. Pull the yarn tail to tighten the loop, join with a sl st in the first stitch, and ch 1. (6 sts)
R2: Work 2 sc in each stitch around. Join with a sl st in the first stitch and ch 1. (12 sc)
R3: Work (1 sc, inc) repeat 6 times. Complete the round and ch 1. (18 sc)
R4: Work (1 sc, inc, 1 sc), repeat 6 times. Complete round and ch 1. (24 sc)
R5: Work (3 sc, inc), repeat 6 times. Complete round and ch 1. (30 sc)
R6-R9: Work 1 sc in each stitch around for 4 rounds. Complete R9 and ch 1. (30 sc per round)
R10: Work (3 sc, dec) repeat 6 times. Complete round and ch 1. (24 sc)
R11: Work (2 sc, dec) repeat 6 times. Complete round and ch 1. (18 sc)
R12: Work (1 sc, dec) repeat 6 times. Complete round. (12 sc)
Stuff the Head
Firmly fill head with fiberfill stuffing. Distribute stuffing evenly to maintain its rounded shape. Ch 1 before continuing.
R13: Work dec 6 times. Complete the round and sl st in the first stitch. Leave a long yarn tail for sewing. (6 sc)
Shaping guidance: Add stuffing before closing the final round so you can reach inside and distribute fiberfill evenly. Avoid leaving loose spaces around sides or top. Once the final 6 stitches are gathered, check the head shape before using the remaining yarn tail for assembly.
Crochet Headscarf (Turban)
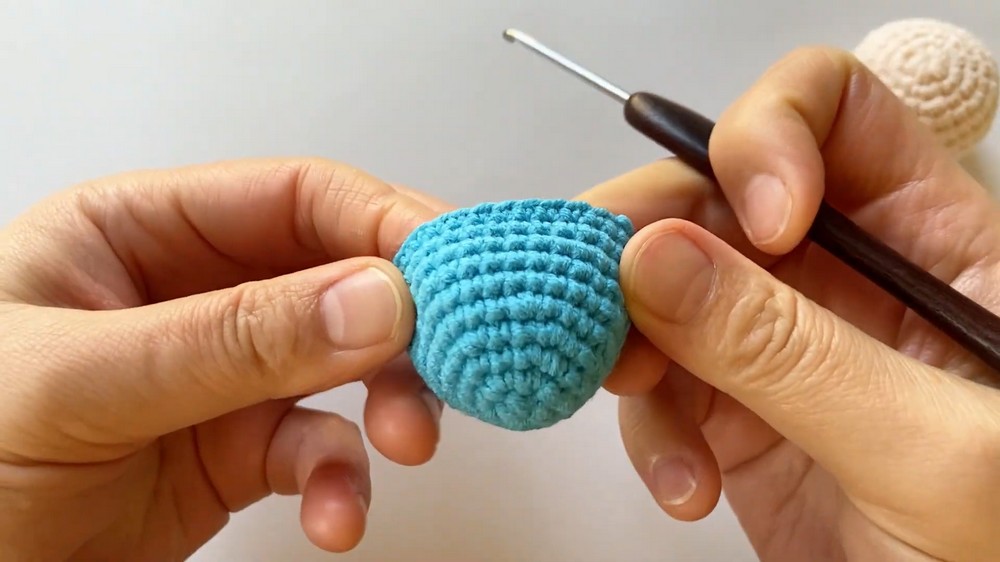
Use blue and gold/yellow 4-ply cotton yarn as required by your chosen color arrangement, with a 2.15 mm hook. Follow the same stitch sequence as the head for the first five rounds.
R1-R5: Follow exact same pattern sequence as head (R1 through R5), ending with 30 stitches.
R6-R10: Work 1 sc in each stitch around for 5 rounds (30 sc). Complete R10, ch 1, and cut yarn, leaving a tail if needed for assembly.
Keep color arrangement consistent with your chosen headscarf design so the finished turban reflects a recognizable blue-and-gold appearance.
Placement guidance: Before sewing the turban onto the head, place it loosely over the finished head and check how the color sections sit from the front view. This makes it easier to align the headscarf before securing it.
Make Body and Dress
Use yarn colors selected for body, collar, and dress. Work body section with joined rounds as specified.
R1: Work 6 sc in magic loop. Pull yarn tight to close, sl st in first stitch, and ch 1. (6 sc)
R2: Work 2 sc in each stitch around. Sl st in first stitch and ch 1. (12 sc)
R3: Work 1 sc in each stitch around. Sl st in first stitch and ch 1. (12 sc)
R4: Work (1 sc, inc) repeat 6 times, working only in BLO. Sl st in first stitch and ch 1, leaving long tail for sewing. (18 sc)
Add Collar Accent
Attach yarn to remaining front loops of R4 and ch 1.
Work sl sts into next 4 stitches. Ch 1, turn work, and make 1 sc into each of the next 4 stitches. Repeat texturing rows as desired.
Technique guidance: R4 was worked in back loops only, leaving front loops available for collar detail. Insert hook into exposed front loops rather than working through both loops. This keeps raised collar detail separate from body fabric.
Crochet Lower Dress Flare
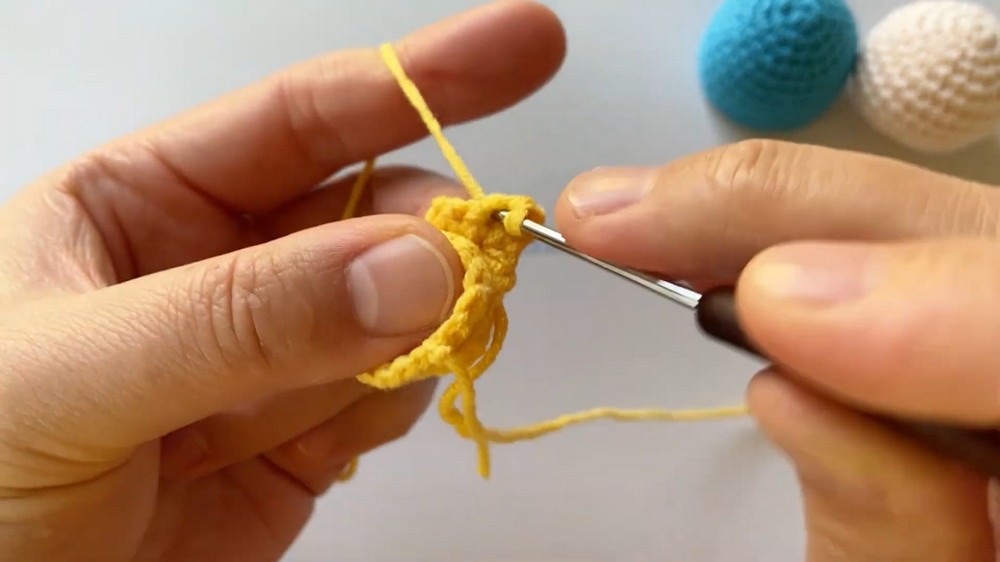
Change yarn color to build main lower dress section.
Ch 12, then connect with sl st to first stitch to form ring. Ch 1.
Dress R1: Work 1 sc in each chain around. (12 sc)
Change yarn color if desired, sl st in first stitch, and ch 1.
Dress R2: Work (5 sc, inc) repeat 2 times. Sl st in first stitch and ch 1. (14 sc)
Dress R3: Work (6 sc, inc) repeat 2 times. Sl st in first stitch and ch 1. (16 sc)
Dress R4: Work (7 sc, inc) repeat 2 times. Sl st in first stitch and ch 1. (18 sc)
Dress R5: Work (8 sc, inc) repeat 2 times. Sl st in first stitch and ch 1. (20 sc)
Prepare for final assembly.
Dress shaping guidance: Keep each increase round evenly distributed around the ring. As dress widens, lay it flat occasionally to check that flare spreads evenly rather than twisting. Keep color changes neat and weave loose ends inside finished fabric.
Assembly & Finishing
Join Head to Body
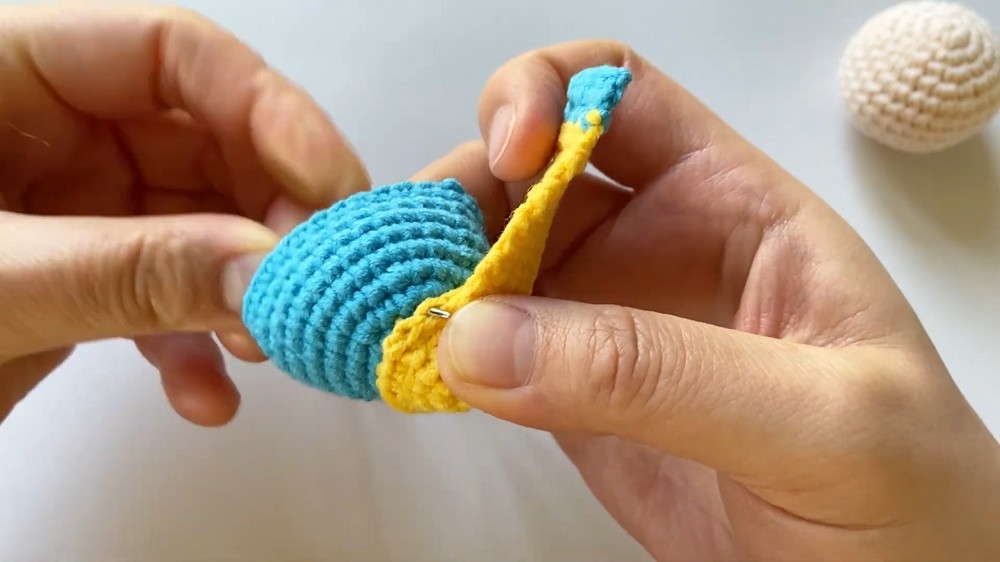
Use the long yarn tail left from R13 of the head to sew the head securely onto the top of the body/dress structure.
Before sewing, position head centrally and use ball-head pins if needed to hold pieces in place. Check front view, so face will sit above dress without leaning.
Important stitch-count check: Head R13 finishes with 6 stitches, while body R4 finishes with 18 stitches. The supplied assembly instruction refers to aligning 24 stitches of the neck opening with the head base. These counts do not match the supplied head and body instructions. Do not force a one-to-one stitch join or silently alter either count. Check original video or finished-piece orientation to confirm which body opening is intended for head attachment before completing seam.
Position Headscarf
Place finished turban snugly over head. Align color blocks, and position pointed or front-facing section as intended by chosen design. Tack down securely using invisible stitches.
Check front and side views while pinning so headscarf sits evenly rather than slipping toward one side.
Add Facial Details
Arrange facial details carefully to keep the miniature portrait balanced.
- Pearl Earring: Add a tiny French knot or bead securely stitched onto the side of the head/face to represent an iconic pearl earring.
- Final Details: Weave all loose yarn ends safely inside the amigurumi.
Add a keychain loop if you want to use the finished piece as a keychain accessory, as intended in the tutorial.