Crochet Multi-Stitch Sweater Vest Pattern Free
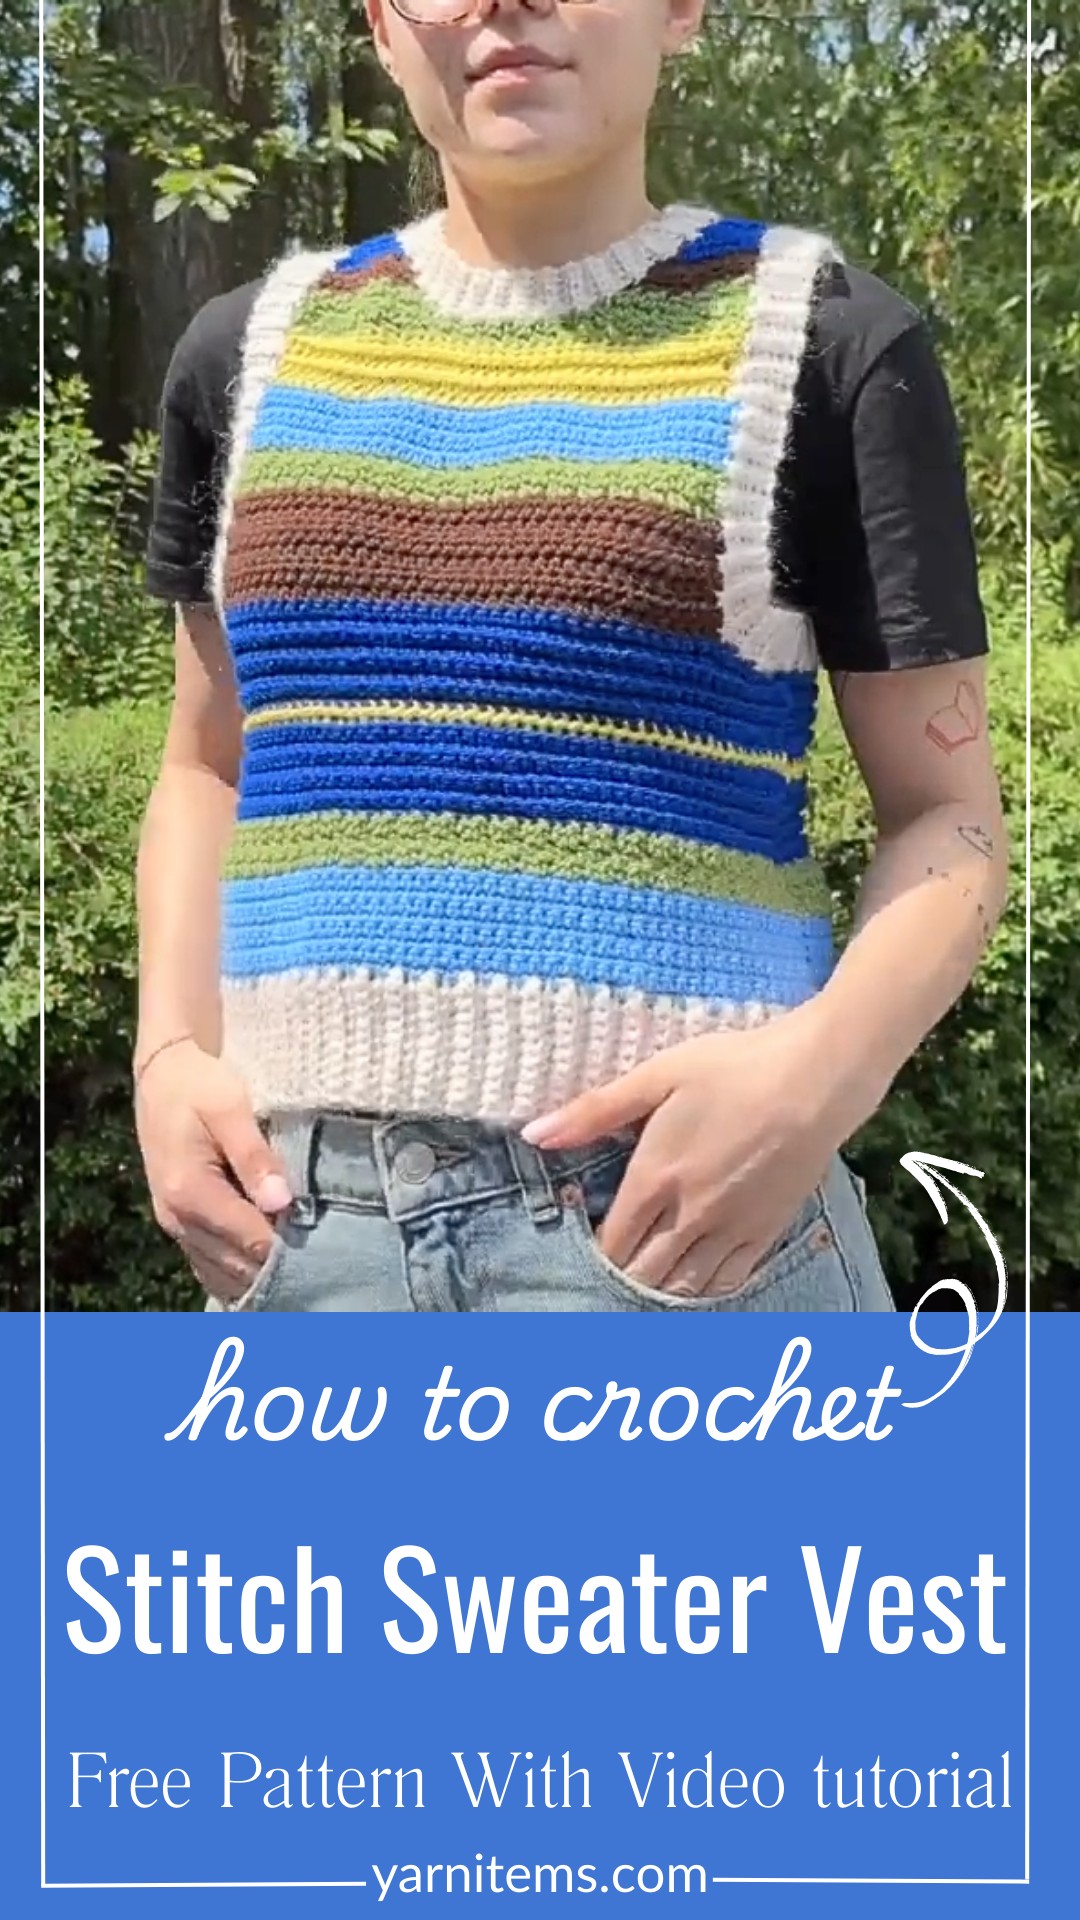
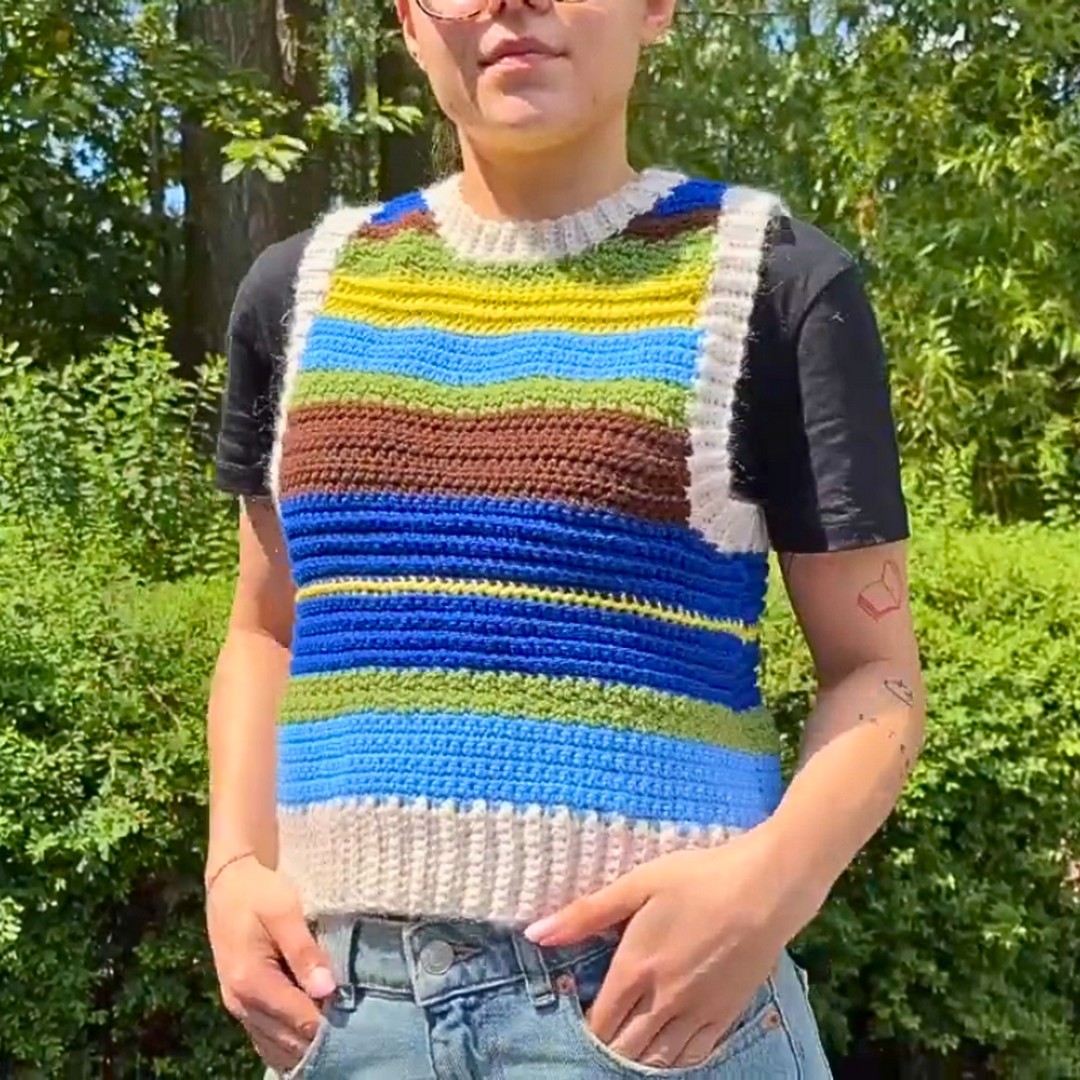
A colorful mix of stitches can transform a simple sweater vest into a standout handmade piece.
This crochet design blends textured patterns, soft ribbing, and carefully placed color changes to create a stylish layer that’s comfortable to wear throughout the year. Built in separate front and back panels, it offers a balanced structure while leaving plenty of room for personal creativity. The finished crochet piece is equally suited for everyday outfits and thoughtful handmade gifts.
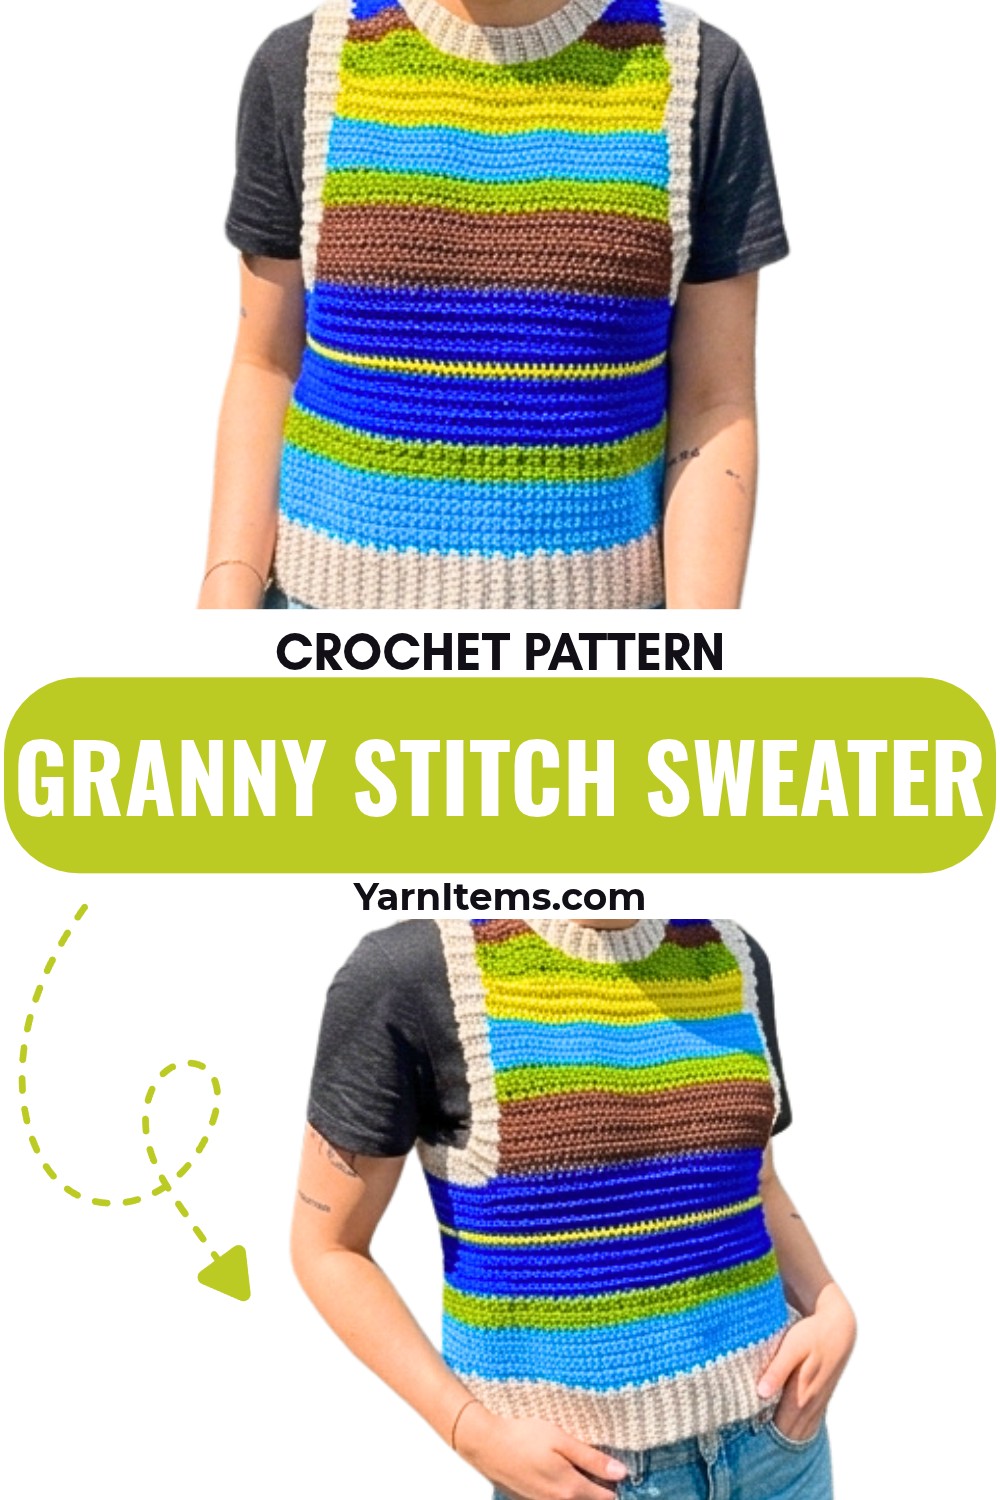
Every section of this vest adds a new detail that makes the overall crochet design more interesting without becoming difficult to follow.
The guide below includes the materials, gauge tips, stitch abbreviations, shaping details, and step-by-step instructions needed to complete each panel with confidence. You’ll also find helpful ideas for adjusting the size, experimenting with color layouts, and customizing the final look. The result is a versatile crochet piece that combines warmth, texture, and timeless style in one wearable design.
Credit Kenikse Crochet
Materials & Tools Needed
- Yarn: Six colors of DK weight yarn (100g per color, approx. 600g total).
- Colors: Green, light blue, dark blue, brown, beige, and yellow.
- Yarn selection links provided in the original video description.
- Hook: 4.5 mm crochet hook.
- Extra Tools: Yarn needle and scissors.
Gauge
- Ribbing: Rows of single crochet worked in the back loop only.
- Other stitches: Ensure consistent stitch tension, particularly when alternating different stitch types.
- Gauge should match for the ribbing and fabric sections.
Tips to Achieve Gauge Match:
- Swatch Testing:
Create swatches of both the ribbing and the fabric sections using the recommended yarn and hook. Compare their measurements to ensure they match. - Adjustments:
- If the ribbing swatch is too tight or loose compared to the fabric section, adjust by either:
- Changing hook sizes for the ribbing or fabric section.
- Modifying your tension while working on the ribbing.
- If the ribbing swatch is too tight or loose compared to the fabric section, adjust by either:
- Blocking:
Blocking can help even out discrepancies between the ribbing and fabric sections, especially if the project uses natural fibers like wool. - Count Stitches Carefully:
- Ribbing rows often appear more compressed, making stitch consistency even more important.
- Double-check counts while crocheting.
Key Points:
- Construction:
- The sweater vest is made in two panels: Front and Back.
- Each panel is created in sections using different crochet stitches.
- Customization:
- Adjustments can be made by altering row counts (ribbing) or stitch counts (main panels) to achieve the desired size.
- Color Changes:
- Seamless color transitions are used in the sections, ensuring a polished finish.
- Shaping:
- Pay close attention to instructions for shoulder edges and armholes, as they feature specific shaping techniques.
- Note: The front panel has a deeper neckline compared to the back panel.
- Ribbing:
- Neckline and armhole ribbing are both worked in rows.
- The ribbing ends are joined together with slip stitches for a seamless look.
Finished Size: Adjustments and Ideas
Width Adjustment
- Ribbing Modification: Adding or subtracting rows to the ribbing changes the circumference of the vest. Make sure to measure your half-waist or bust size accurately for a good fit.
- Even Stitch Distribution: If you adjust the ribbing width, ensure the stitch count matches throughout the sections (e.g., body panels, armholes) to maintain symmetry.
Length Adjustment
- Section-Specific Changes: If you want to increase or reduce the length, identify the sections where it’s easiest to modify (like the hem, body, or shoulder area).
- Aesthetic Continuity: Ensure the stitch pattern flows seamlessly across the sections you’re elongating or shortening. E.g., if using a cable knit or color block, maintain alignment.
Customization Ideas
Texture
- Experiment with combining stitch patterns, such as cable knitting, seed stitch, or moss stitch, for depth and interest.
- For added uniqueness, you could alternate between smooth stockinette sections and textured panels.
Color Choices
- Color Blocking: Use multiple complementary or contrasting colors for ribbing, the main body, and armholes.
- Ombre Effect: Knit with gradient or variegated yarn for a subtle color shift across the vest.
Edging Options
- Swap basic ribbing for decorative edges like picot hems or twisted rib for a clean yet fancy effect.
- Add embroidered details or crochet applique along edges for extra flair.
Custom Fit
- Consider shaping techniques like darts or short rows to better match your own body contours.
- Add side slits at the hem for a modern touch and improved fit.
Pattern Abbreviations & Terminology
- ch: Chain
- sc: Single Crochet
- hdc: Half Double Crochet
- dc: Double Crochet
- sl st: Slip Stitch
- RS: Right Side
- WS: Wrong Side
- back loop only: Work crochet into the back loop of the stitch, leaving the front loop unworked.
- third loop: A loop created in hdc stitches below the normal loops, visible on the side of the stitch.
- lemon peel stitch: Alternating sc and dc in the rows, working “opposite” (sc above dc and dc above sc) in subsequent rows.
Step-by-Step Detailed Crochet Instructions
1. Front Panel
Ribbing:
- Start: With your chosen yarn for ribbing, make a slip knot, insert your hook, and chain 11.
- Beginning in the second chain from your hook, work 10 SC, one into each chain.
- Row 2 onward: Chain 1, turn your work, and work the SC stitches into the back loop only (BLO) of the previous row.
- Repeat until your ribbing is long enough to cover half your waist circumference. (The tutorial example uses 60 rows.)
- Once the ribbing is complete, count the rows.
- There will be one stitch worked for every ribbing row in subsequent steps.
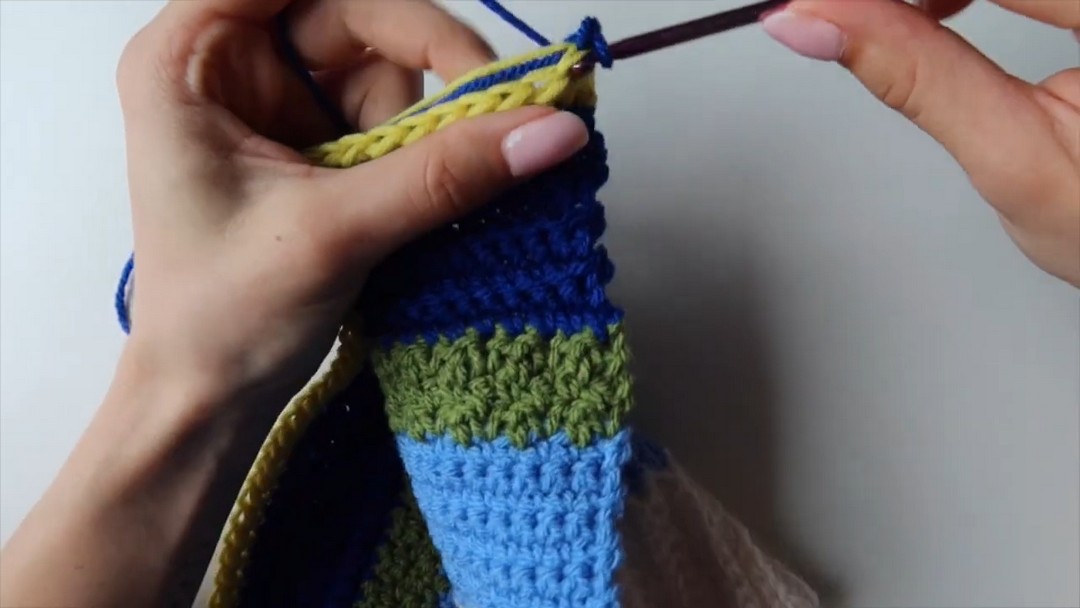
Main Body of Front Panel:
- Join First Color: At the end of the ribbing, change color as demonstrated in the tutorial.
- Insert your hook into the first row and pull through the new yarn. Chain 1 to secure.
- Row 1: Work 1 SC into each ribbing row edge.
- (In the example, 60 SC are worked, corresponding to the 60 rows of ribbing.)
- Carry your yarn tails under your stitches to secure them.
- Rows 2–9: Chain 1, turn your work, and continue working SC through both loops.
2. Adding Stitch Patterns
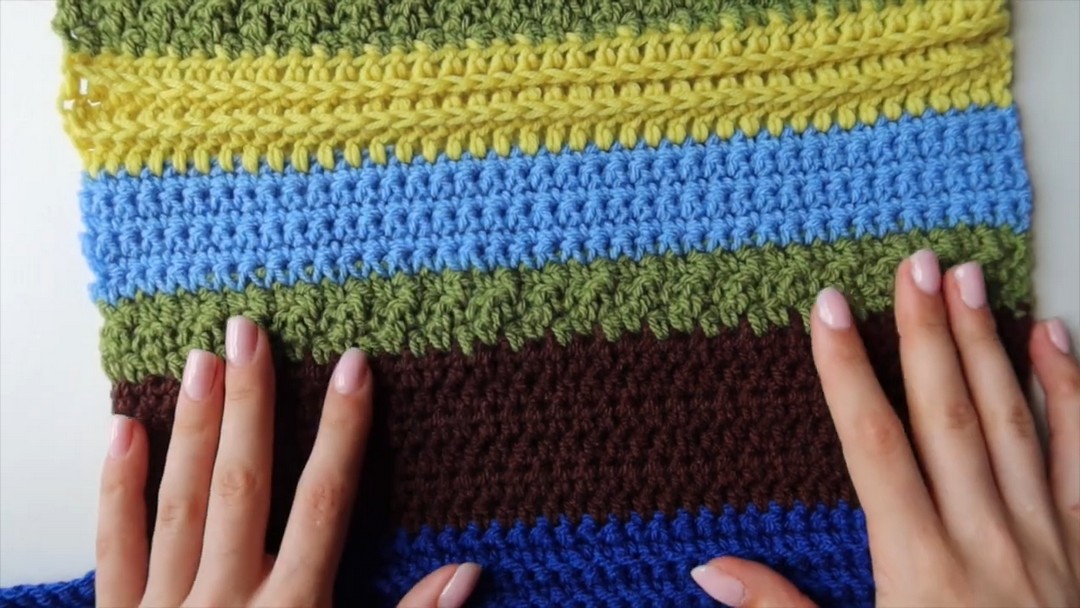
Lemon Peel Stitch Section (Green Yarn):
- Row 10: Change to green yarn and work an alternating pattern of SC, DC stitches across the row:
- Start with 1 SC, followed by 1 DC. Repeat.
- Row 11: Chain 1, turn. Work the opposite stitch for each: SC over the DCs and DC over the SCs.
- Row 12: Chain 1, turn. Repeat Row 11.
Dark Blue Rows (Single Crochet in BLO):
4. Change to dark blue yarn on your last stitch of Row 12.
- Row 13: Work SC through both loops.
- Rows 14–20: For the next 7 rows, work SC into the BLO.
Yellow Rows (Slip Stitch with Yarn Over):
7. Change to yellow yarn on the last stitch of Row 20.
- Rows 21–22: Work yarn-over-slip stitches across the row.
- Yarn over, insert your hook, pull up a loop, and pull the working loop through the two loops on the hook.
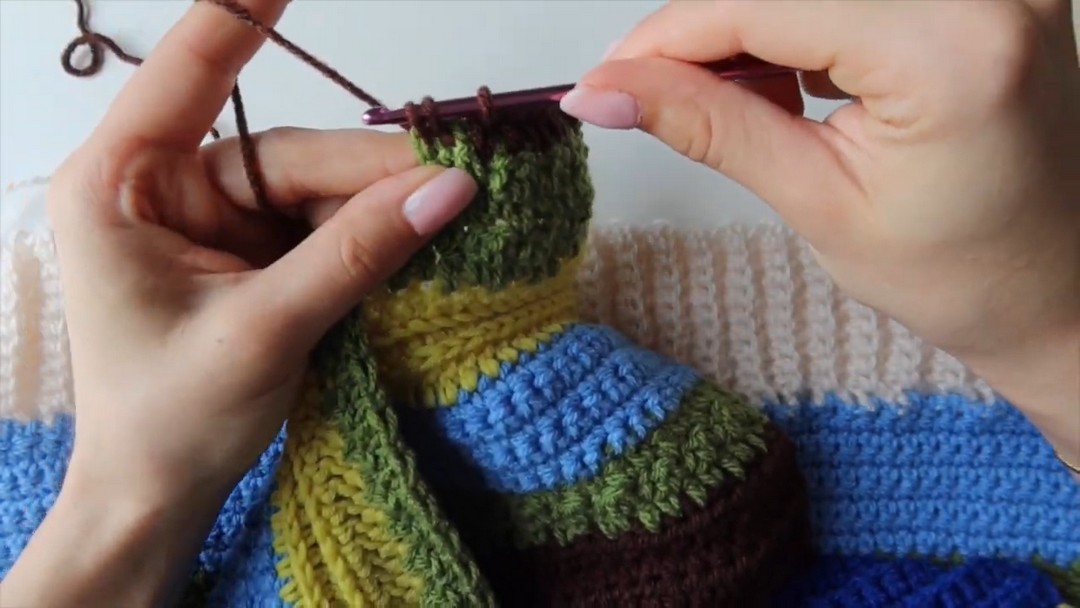
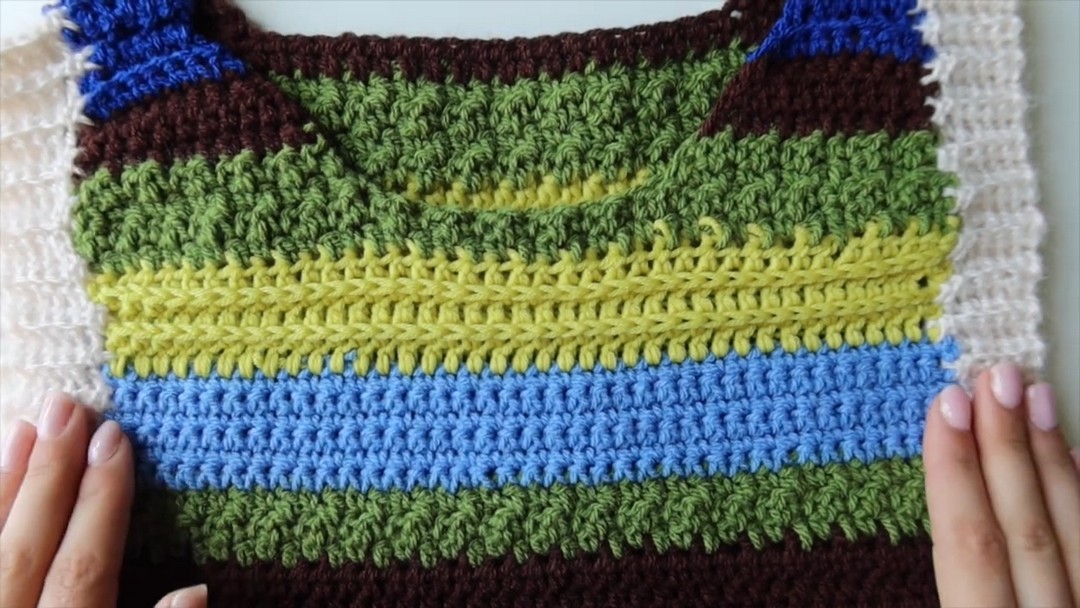
3. Shaping the Armholes
Armhole Area:
- After the main body stitches, begin shorter rows on one side to shape the armholes.
- Skip 10 stitches at the start and the end of the row to leave space for the armhole.
- (The exact number depends on your measurements.)
- Alternate stitch patterns such as half double crochet (HDC) and lemon peel stitches in shorter rows.
4. Back Panel
Constructing the Back Panel:
- Make a matching ribbing section and follow the same general stitch patterns above.
Difference from Front Panel:
- The back neckline is shallower than the front neckline.
- Adjust the depth of the shorter rows accordingly.
5. Joining Panels
Shoulder Seams:
- Place the front and back panels right sides together (wrong sides facing out).
- Use the leftover yarn from your front and back panel tails to sew the 6 shoulder stitches together (or use slip stitches).
Side Seams:
3. Sew or slip stitch along the side seams, leaving the armhole gaps open.
6. Adding Ribbing
Collar Ribbing:
- Locate the shoulder seam and insert your hook.
- Chain a number for the desired ribbing width (e.g., 5 for this tutorial).
- Work rows of SC in BLO across the collar edge, using 2 slip stitches for every row at the edge.
- Continue ribbing around the neckline. Join the ends with slip stitches when finished.
Armhole Ribbing:
- Repeat the same ribbing pattern for both armholes:
- Start from the seam and chain your desired width.
- Work rows of SC in BLO and join the ribbing ends as described for the collar.
Finishing
- Weave in all tails securely on the wrong side.
- Block the project if necessary to ensure the vest lies flat and maintains its intended shape.
Customization Notes
- Size Adjustments: Change the number of ribbing rows and body rows to fit your waist and torso size.
- Colors: Swap or rearrange colors to create unique designs.
- Length: Modify the row count for longer or cropped versions.
Closing Notes
This pattern faithfully recreates the Multi-Stitch Sweater Vest tutorial. Feel free to follow the instructions in the video for visual assistance or clarification. Enjoy your crocheting journey!