Crochet a Funky Top-Down Cardigan with Buttons
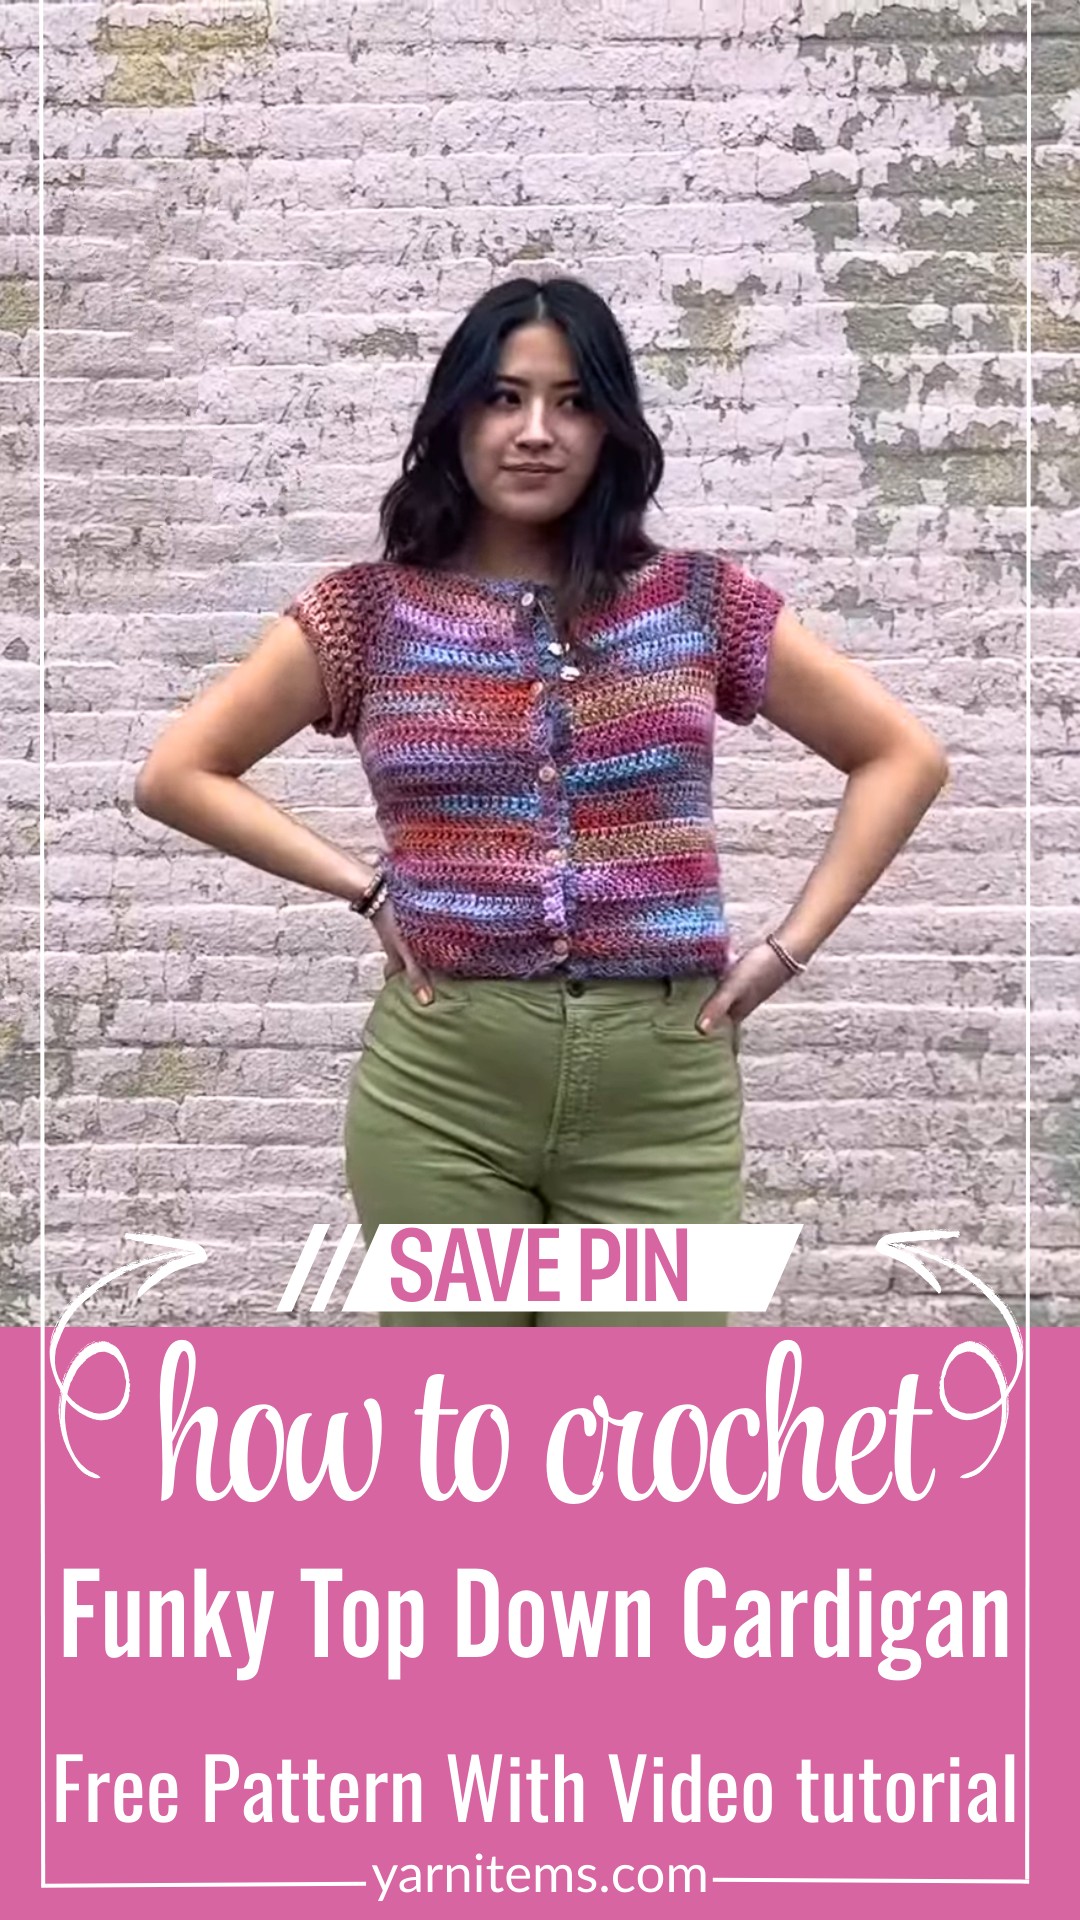
A cardigan doesn’t always have to be built from separate pieces and sewn together at the end. This top-down crochet cardigan takes a different approach. You begin at the neckline, gradually increase the fabric around four raglan points, and then separate the sleeves from the body. From there, you simply continue working downward until the crochet cardigan reaches the length you want.
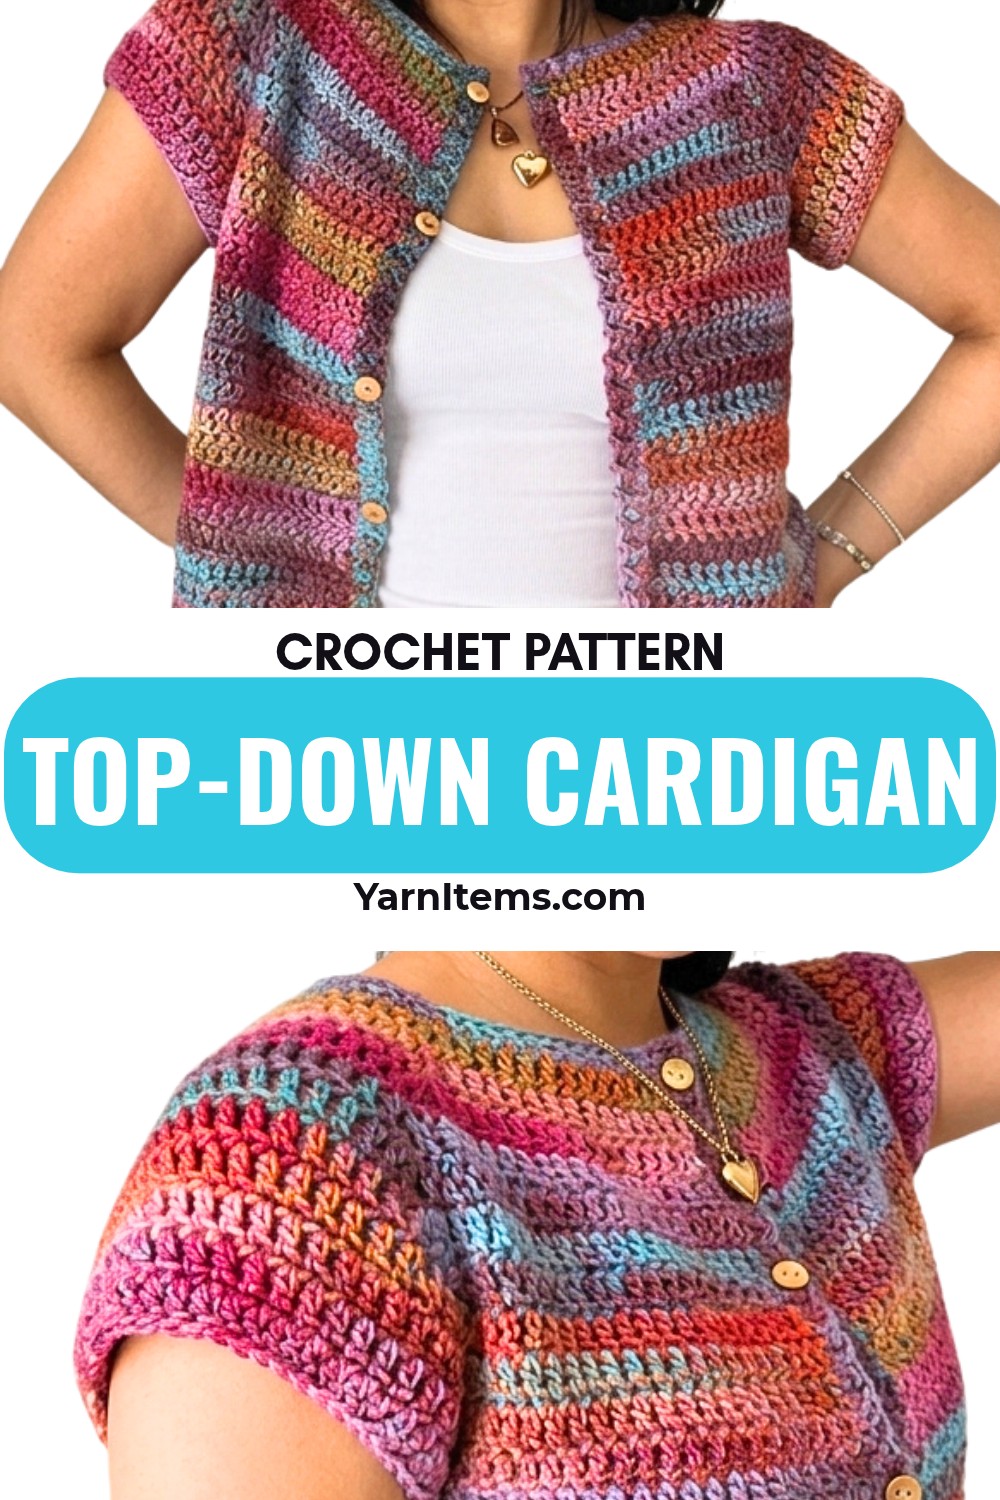
That construction makes this crochet pattern especially interesting if you’ve never made a top-down garment before. Instead of joining several large panels at the end, you can try the cardigan on as you work and make adjustments along the way.
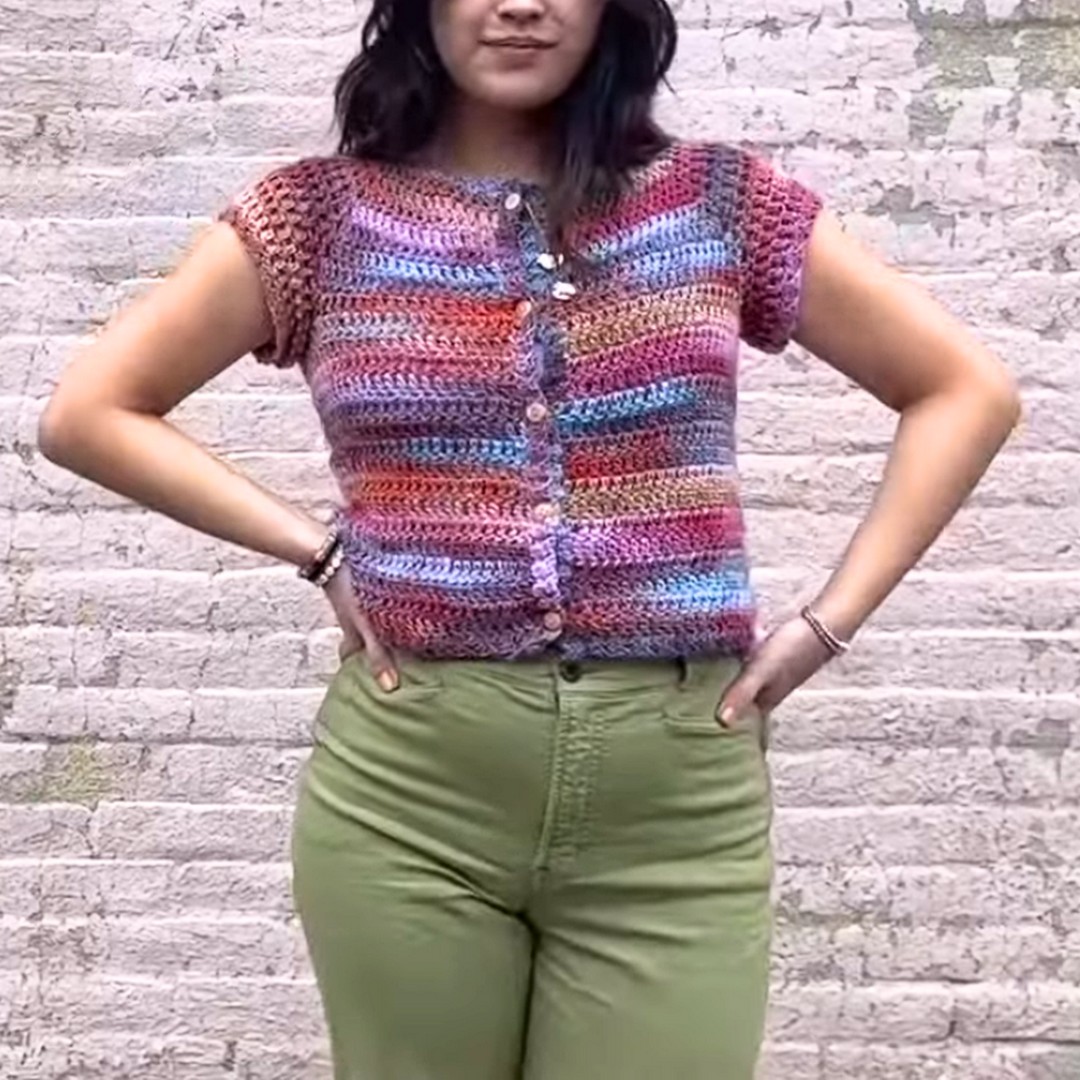
Use variegated yarn for a colorful, changing effect, or choose a solid shade for a simpler everyday look. Add buttons to the front and adjust the sleeves or body length to create a cardigan that suits you.
Credit Sarah Prescott
What You’ll Need
- DK-weight yarn (size 3)
- Approximately 546 yards for the small/medium example
- 6 mm crochet hook
- 4 stitch markers
- Scissors
- Yarn needle
- Optional: 5 buttons
The suggested yarn is Sirdar Jewelspun in Daybreak Delta, but a similar DK-weight yarn can be substituted.
If you’re substituting yarn, make a small gauge sample first. A different yarn can change the size and drape of the finished cardigan even when you use the same hook.
Why This Cardigan Is Worked Top Down
The main advantage of a top-down cardigan is that you can check the fit while you’re making it.
Instead of completing the entire garment before discovering that the body is too short or the sleeves aren’t comfortable, you can try the piece on at several stages.
The construction is based on four increase points around the neckline. These points gradually create the front, back, and shoulder sections of the cardigan.
Once the piece reaches the underarm area, the sleeves are separated, and the body continues downward.
So the overall construction is:
Neckline → Raglan increases → Sleeve separation → Body → Sleeves → Ribbing → Buttons
Keeping this sequence in mind will make the pattern much easier to understand.
Before You Start
Check the neckline first
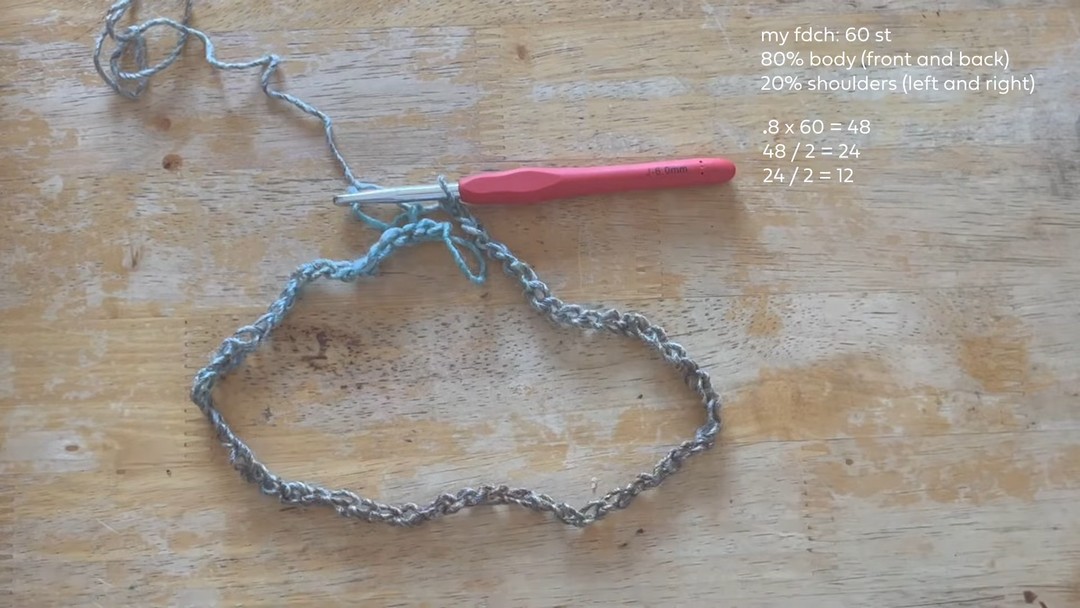
For the small/medium example, the foundation begins with 60 chains.
Before committing to the first row, make sure the chain fits comfortably around your neckline and can pass over your head if you’re making a pullover-style starting section.
If the neckline doesn’t feel right at this stage, it’s much easier to adjust the foundation chain now than later.
Mark the four increase points
Stitch markers are especially useful for this pattern.
For the 60-chain example, the sections are divided as follows:
- Front: 24 stitches total
- Back: 24 stitches
- Shoulders: 12 stitches total
- Shoulder sections: 6 stitches each
- Front sections: 12 stitches each
Place your four markers at the points where the raglan increases will be worked.
These markers become your landmarks throughout the yoke.
Understanding the Raglan Increase
The main shaping technique in this cardigan is simple:
1 dc → ch 1 → 1 dc
worked into the marked space.
This creates an increase point that allows the fabric to expand as you work down from the neckline.
Once you understand what is happening at these four points, the first few rows become much easier to follow.
Abbreviations
- ch — chain
- dc — double crochet
- sc — single crochet
- sl st — slip stitch
- st — stitch
- BL — back loop
- inc — increase
- rep — repeat
- RS — right side
The pattern uses US crochet terminology.
Steps: Start the Cardigan at the Neckline
Foundation Chain
Chain 60 for the small/medium example.
Before continuing, gently check the chain around your neckline.
If you are making a different size, adjust the starting chain according to the fit you want.
Mark the Raglan Points
Using the stitch markers, divide your foundation chain into the sections needed for the cardigan.
Starting from the beginning:
- Work through the first 12 stitches for one front section.
- Mark the first raglan point.
- Mark the next shoulder section after 6 stitches.
- Continue through the 24-stitch back section.
- Mark the second shoulder section after its 6 stitches.
- Finish with the remaining 12 front stitches.
These four marked points are where the cardigan will grow.
Don’t skip the markers. Once several rows have been worked, they make it much easier to identify exactly where each increase belongs.
Rows 1–8: Build the Raglan Yoke
Row 1
Chain 2. This chain does not count as a stitch.
Work double crochet in the third chain from the hook and continue across until you reach the first marked increase point.
At the marker, work:
1 dc, ch 1, 1 dc
Continue working double crochet until the next marker.
Repeat the same increase at all four marked points.
After the final increase, continue working double crochet to the end of the row.
Rows 2–8
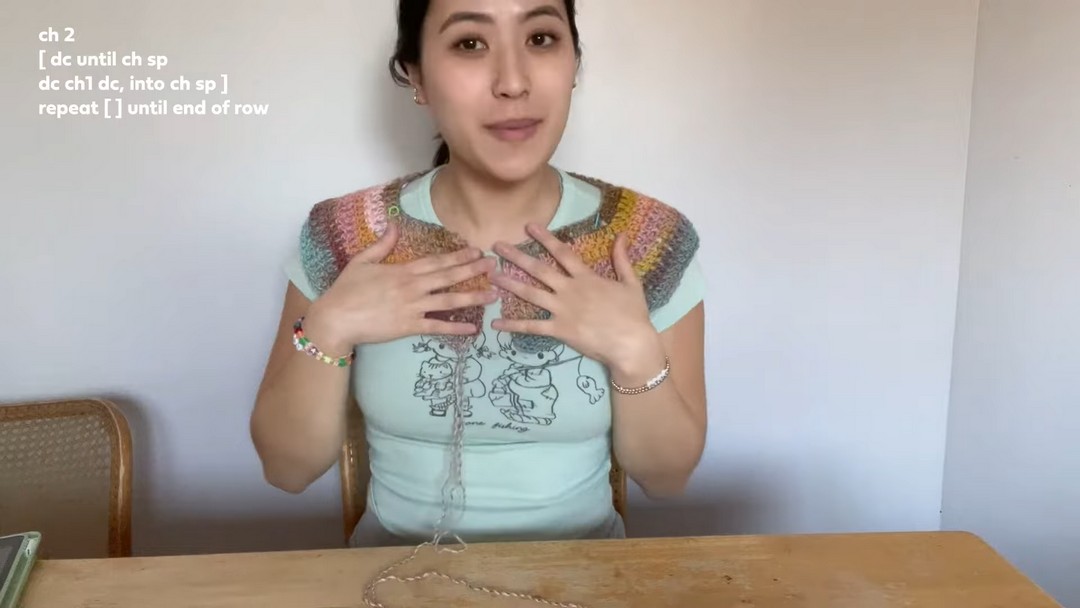
Chain 2 and turn.
Continue working double crochet across the row.
Whenever you reach one of the chain-1 spaces created by the previous row’s increase, work:
1 dc, ch 1, 1 dc
Repeat this at all four raglan points.
Continue this increase pattern through approximately 8 rows, or until the yoke reaches the underarm area.
Don’t rely only on the row number
The number of rows is a useful guide, but your body measurements are more important when making a wearable garment.
Try the cardigan on as the yoke grows.
If the underarm area has not reached the point where the sleeves will sit comfortably, continue the increase section rather than forcing the garment to match an exact row number.
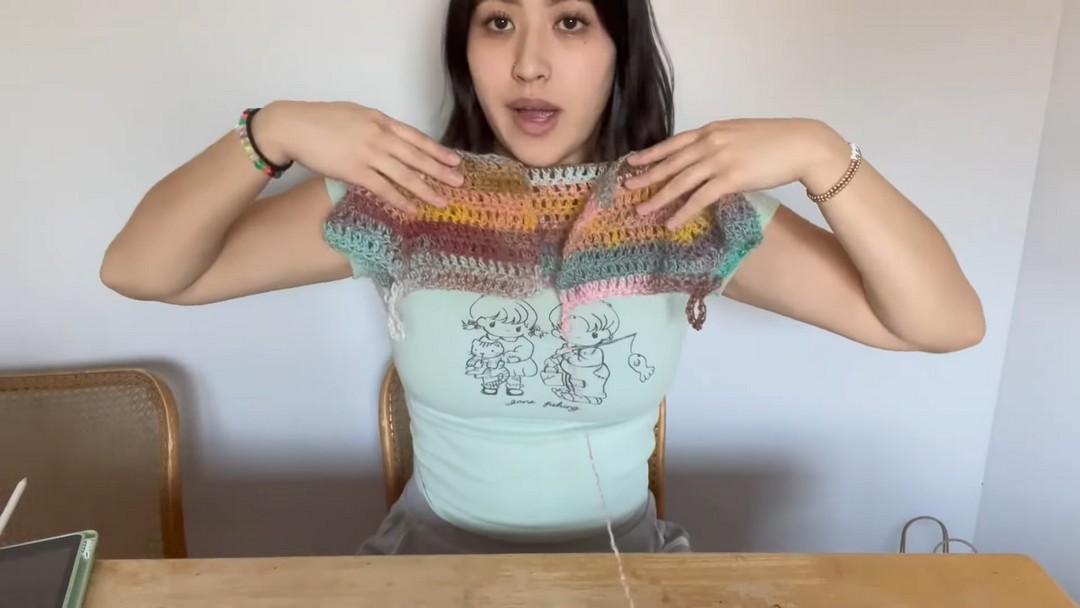
Separate the Sleeves
This is the point where the flat yoke begins turning into a cardigan.
Before separating the sleeves, try the piece on and check the distance between the front and back underarm areas.
The opening should allow comfortable movement rather than pulling tightly across the shoulders.
To create the sleeve openings, work across the body section until you reach the first raglan space.
Follow the pattern’s sleeve-separation instructions by connecting the relevant sections and chaining across the underarm space.
For the example, a chain of approximately 12 stitches / 15 cm can be used as a starting point, but this should be adjusted according to the desired fit.
Repeat the process on the opposite side.
At this point, the sleeves are no longer worked together with the body.
Continue the Body
Once the sleeves have been separated, the remaining stitches form the body of the cardigan.
Work double crochet rows back and forth across the body.
Continue until you reach your preferred length.
For a slightly cropped version, the example uses approximately 14 body rows, but this is not a fixed length.
This is your opportunity to customize the cardigan
Want it cropped?
Stop earlier.
Prefer a longer cardigan?
Keep adding rows.
Because the cardigan is worked from the top down, you can make this decision while you’re actually wearing or measuring the garment.
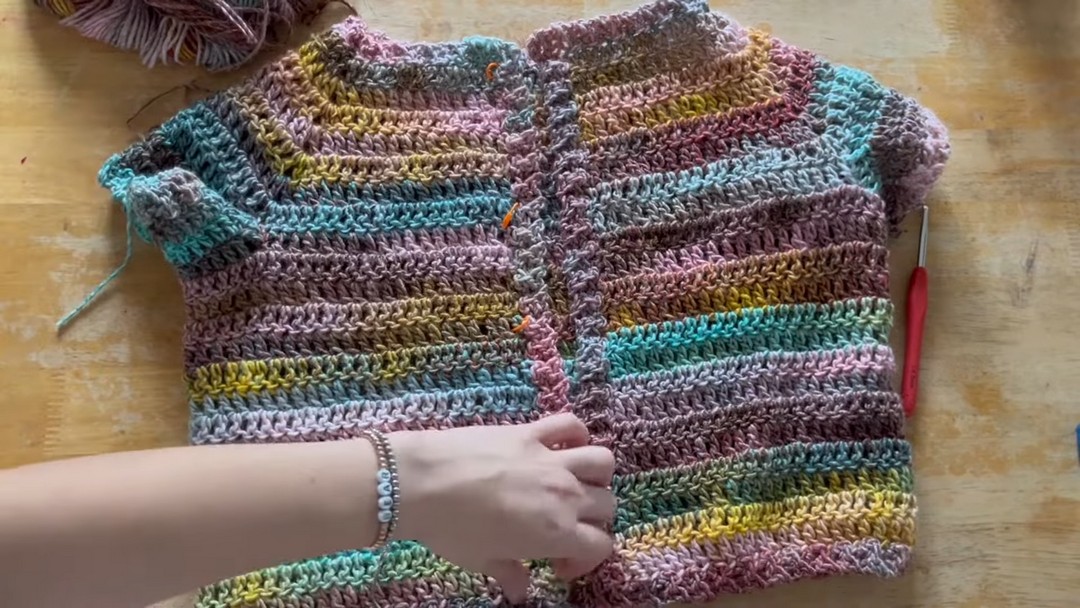
Add the Body Ribbing
The ribbing gives the cardigan a more finished edge and adds some visual definition.
Attach the yarn along the front edge.
For the ribbing:
- Chain 3.
- Work single crochet into the second chain from the hook and across the ribbing section.
- Attach the ribbing to the cardigan edge with slip stitches.
- Work approximately 2 slip stitches per double-crochet row along the edge.
- Create buttonholes at the marked positions by chaining 1 and skipping one ribbing stitch.
Continue along the front edge.
Use the same general ribbing technique around the neckline and bottom hem.
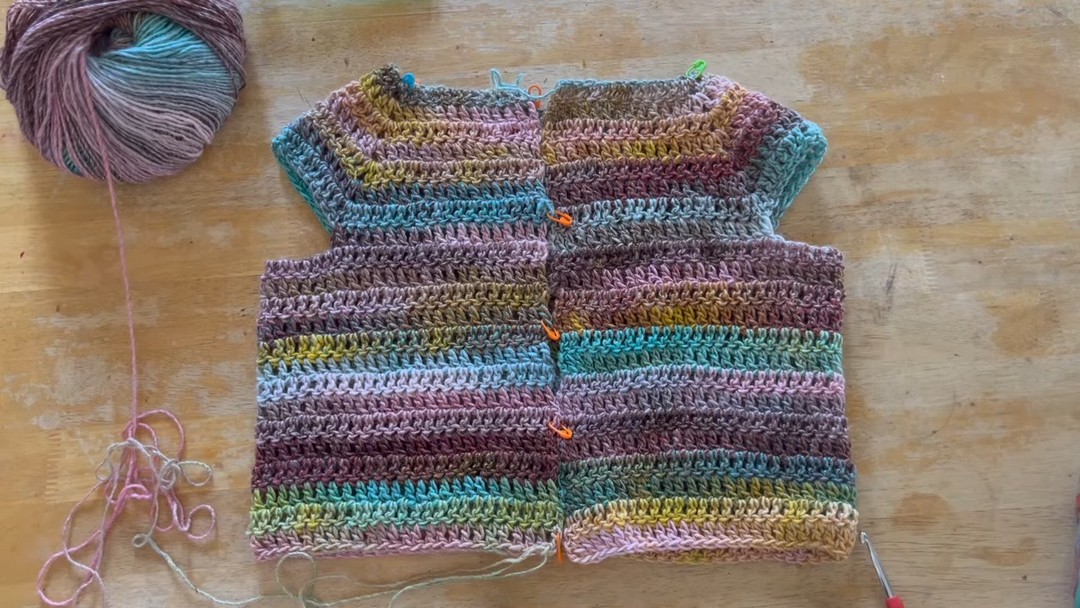
Crochet the Sleeves
Return to the sleeve openings and attach your yarn.
Work double crochet rows around the sleeve opening until the sleeve reaches your preferred length.
For a short-sleeve version, only a few rows may be needed.
For longer sleeves, continue adding rows until you reach the desired length.
Once the sleeve length is right, add the ribbed cuff using the same ribbing technique.
Repeat for the second sleeve.
Check both sleeves before finishing
Lay the sleeves side by side.
Make sure they are approximately the same length and width before completing all the finishing work.
Small differences are much easier to correct now than after the ends have been woven in.
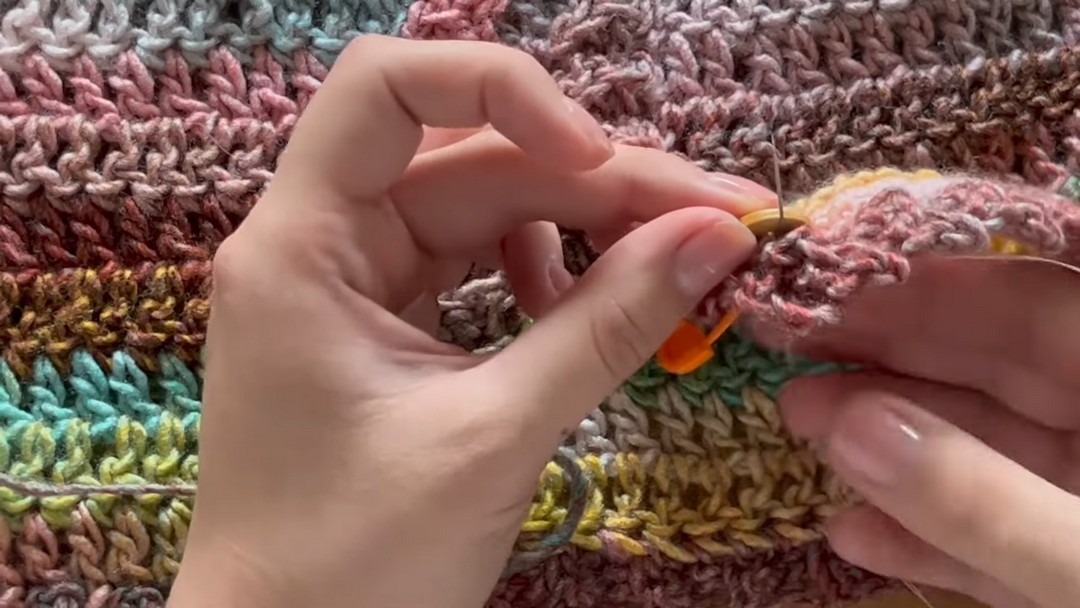
Add the Buttons
The final detail is the button closure.
Place your buttons opposite the buttonholes you created along the front edge.
Use a sewing needle and suitable thread to attach each button securely.
The number of buttons can be changed depending on how much of the cardigan you want closed.
Five buttons work well for the example, but you don’t have to follow that number if you prefer a different look.
Finishing
Once the cardigan is complete:
- Weave in all loose yarn ends.
- Check the seams and edges.
- Make sure each button is secure.
- Try on the cardigan and check the overall fit.
- Block the garment if necessary to even out the stitches and help refine its shape.
Blocking is optional, but it can help the finished garment look more polished.
Make Your Version Different
This cardigan has plenty of room for personalization.
Go colorful
Variegated yarn creates changing colors automatically, so every section can look slightly different.
Keep it classic
A single solid color gives you a much simpler, timeless cardigan that can be worn with almost anything.
Change the sleeves
Make them:
- short
- three-quarter length
- full length
Change the body
A cropped version works well with high-waisted outfits, while additional rows create a longer layering piece.
Change the finishing
Try contrasting ribbing, different buttons, or color-blocked sections to give the same basic construction a completely different appearance.
The Finished Cardigan
What makes this project different from a traditional panel-by-panel cardigan is the way it grows from the neckline.
You begin with a simple chain, establish four increase points, and gradually watch the shape of the cardigan appear. Once the sleeves are separated, the rest becomes much more straightforward: build the body, add the sleeves, finish the edges, and sew on the buttons.
And because you can check the fit as you work, you’re not limited to one exact finished size.
The first cardigan teaches you the construction.
The next one can be shorter, longer, brighter, simpler, or completely different.
That’s the real advantage of learning the technique rather than simply following a finished pattern.