Chunky Yarn Striped Vest Knitting Tutorial – Step-by-Step Guide
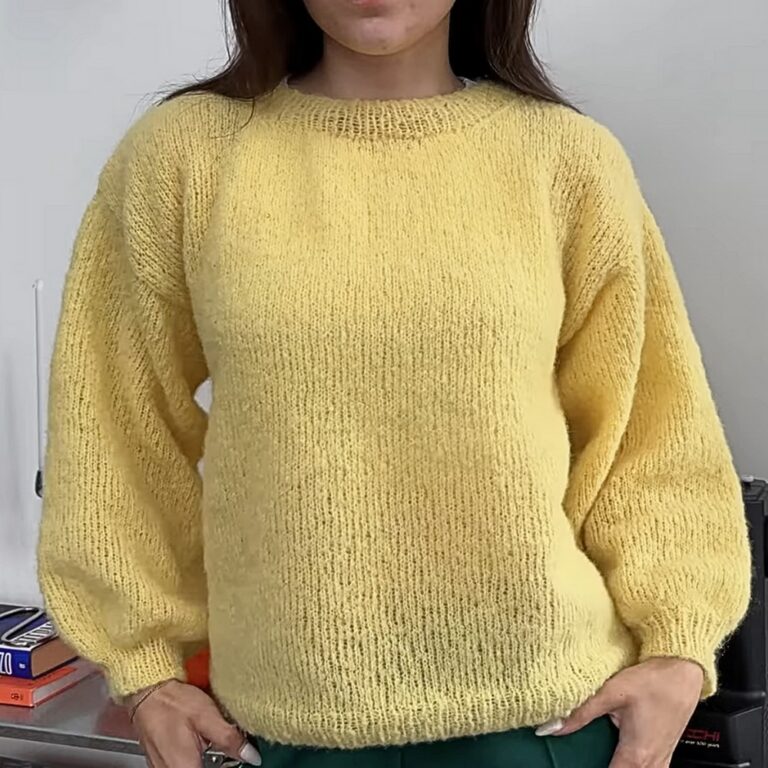
Knitting a striped vest with chunky yarn is a creative way to combine style with comfort. This tutorial offers step-by-step guidance for crafting a multi-colored vest using three vibrant yarn shades and straightforward techniques. Perfect for beginners and experienced knitters alike, this project focuses on creating a two-panel design with ribbed neck and armhole details. Its cozy yet chic aesthetics make it a versatile addition to any wardrobe, ideal for layering year-round.

Chunky Yarn Striped Vest
What makes this vest pattern incredibly charming is the designer’s strategic yet straightforward choices that enhance style and functionality. The use of chunky yarn not only adds warmth but also creates a beautifully textured and substantial fabric that drapes elegantly. With clear instructions on stitch choices, the tutorial outlines how to achieve ribbed hems that frame the vest perfectly. Flexible sizing adjustments are explored, enabling every maker to tailor the fit in ways that make the finished piece truly their own.
Pattern Highlights:
- Color Shifting Technique: Integrating new yarn colors at crucial points by using alternating knit and purl rows to create sharp, consistent stripe transitions.
- Panel Design: The vest is constructed from two panels (front and back), making assembly simple and offering flexibility for different sizes.
Credit Kenikse Crochet
Step-by-Step Pattern
Materials
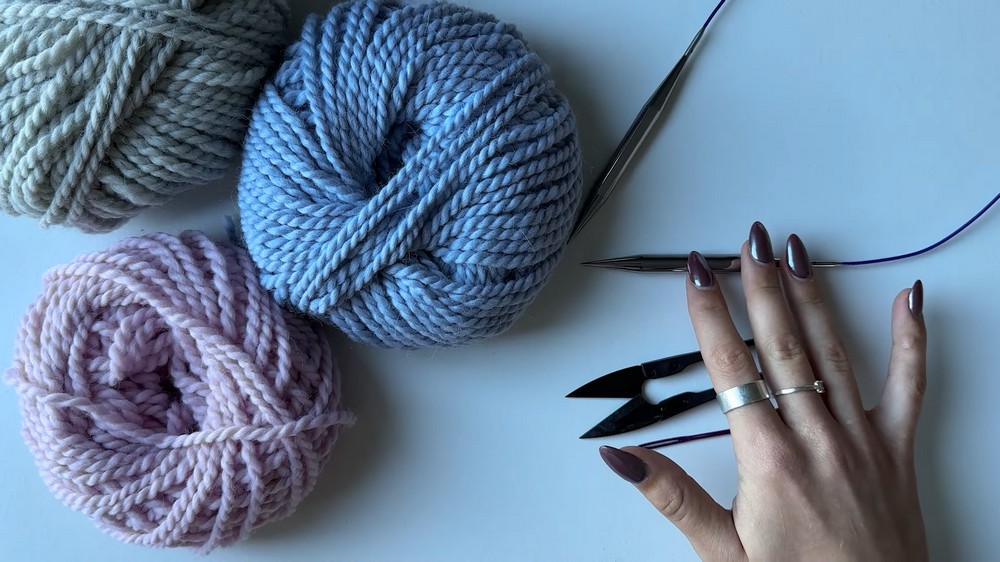
- Super Chunky Yarn
- Three colors for striped work (choose colors that complement one another).
- Knitting Needles
- 9mm knitting needles with a cable are recommended.
- Crochet Hook
- 9mm (optional, helps with casting off).
- Additional Tools
- Scissors
- Needle (for sewing panels)
- Row Counter (optional)
- Stitch Markers
Stitch Guide
Here’s a breakdown of the stitches and techniques you’ll use:
1. Long-Tail Cast-On
This method creates a sturdy edge for your work.
- Make a slip knot on your needle.
- Using your tail and working yarn, loop yarn around your thumb and index fingers.
- Insert your needle under the thumb loop, grab the yarn around your index finger, and pull through to create a stitch. Repeat.
2. Knitting a Stitch (Knit)
For knit stitches:
- Keep your working yarn in the back.
- Insert the right needle from left to right into the stitch.
- Wrap the yarn around the needle, pull the yarn through the stitch, and slide the stitch off.
3. Purling a Stitch (Purl)
For purl stitches:
- Keep your working yarn in the front.
- Insert the right needle from right to left into the stitch.
- Wrap the yarn around the needle, pull the yarn through the stitch, and slide the stitch off.
4. Ribbing Pattern
This vest uses a ribbing pattern:
- Knit 2, Purl 2 (repeat).
- Ribbing adds elasticity and structure to edges, like the bottom hem and collar.

Notes
- Gauge Swatch:
Always knit a gauge swatch before starting. This ensures your measurements match the desired size. Adjust needle size if needed.- Example: For this vest, cast on multiples of four stitches based on your gauge.
- Customization:
- For larger/smaller sizes, adjust the number of stitches cast on and the rows worked.
- Stripes can be varied by alternating colors at different row intervals.
- Tip for Seamless Joins:
When sewing panels, ensure the right sides are together and take your time aligning stitches. The wrong side should face inward during assembly.
Pattern Instructions
Step 1: Create Front Panel
- Cast On Stitches
- Using the long-tail cast-on, cast on any multiple of 4 stitches based on your gauge. For this tutorial, 48 stitches were used.
- Work Ribbing
- For the ribbing section, follow a Knit 2, Purl 2 pattern.
- Repeat for 8 rows to create a structured edge at the bottom of the vest.
- Switch to Stockinette Stitch
- After finishing ribbing, switch to stockinette stitch:
- Right Side Rows: Knit all stitches.
- Wrong Side Rows: Purl all stitches.
- After finishing ribbing, switch to stockinette stitch:

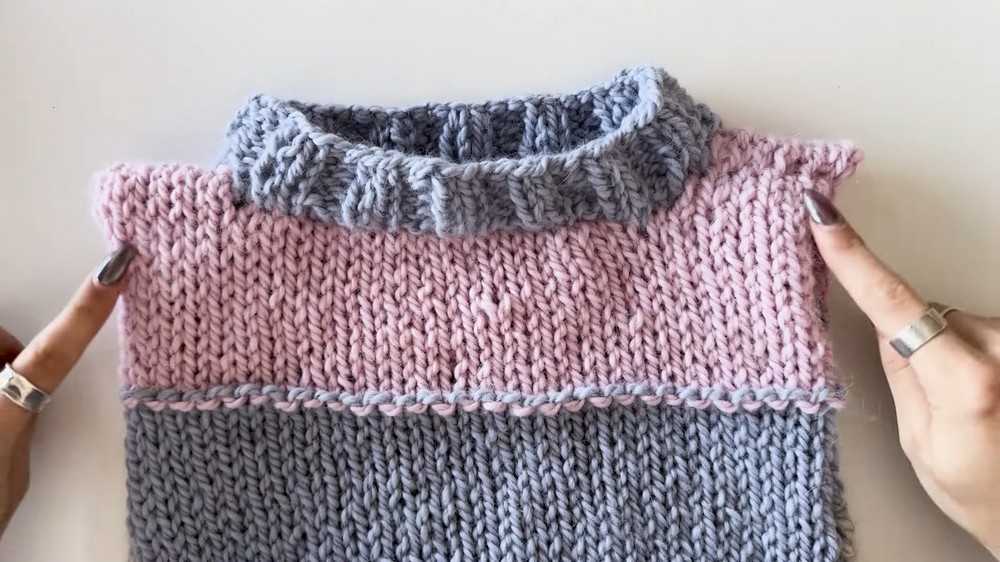
- Create Stripes
- Work your vest in stripes by changing yarn colors.
- Example:
- Gray stripe: 6 rows.
- Blue stripe: 12 rows.
- Pink stripe: 10 rows.
- To change colors:
- On a right-side row, switch to a purl row with the new color.
- On a wrong-side row, switch to a knit row with the new color.
- Shape Armhole
- Once the vest is the desired length (from hem to armpit), bind off stitches to create armholes.
- Bind off 8 stitches at the beginning and 8 at the end of the row.
- Continue stockinette stitch for the remaining stitches until the vest reaches the neck.
- Once the vest is the desired length (from hem to armpit), bind off stitches to create armholes.
- Shape Shoulders and Neckline
- Bind off center stitches (e.g., 16 stitches if working with 48 stitches total).
- Finish each shoulder separately:
- Shoulder width: 8 stitches.
- Work 4 rows on the front shoulders, then bind off.

Step 2: Create Back Panel
- Repeat all steps from the front panel, but make slight changes:
- Work fewer rows on the shoulders (e.g., 2 rows instead of 4) to create a higher neckline.
Step 3: Assemble Vest
- Sew Shoulders
- Use the leftover yarn from the front panel shoulders for sewing.
- Align the front and back panels (right sides out) and sew each shoulder using a whip stitch or mattress stitch.
- Sew Side Panels
- Using a matching color, sew the sides of the vest (from hem to armholes).
- Use horizontal bars between stitches to create a seamless finish.

Step 4: Add Ribbing to Collar and Armholes
- Pick Up Stitches
- Use a needle to “pick up and knit” stitches around the collar and armholes.
- Ensure total stitches are multiples of four.
- Work Ribbing
- Knit 2, Purl 2 for the collar and armholes.
- Example:
- Collar: 4 rows.
- Armholes: 5 rows.
- Bind Off
- Bind off using a ribbing pattern:
- Knit knit stitches and purl purl stitches while binding off.
- Bind off using a ribbing pattern:
Bonus Step: Hide Tails
- Use a darning needle to discreetly weave yarn tails into rows.
- For ribbing: Weave tails into knit stitches to keep them hidden.
- For stockinette: Replicate the knit pattern while hiding tails.
Pattern Question:
Q: Can I adjust the vest size to fit different body types?
A: Yes! By knitting a swatch to determine your stitch gauge, you can adapt the pattern by adding or reducing stitches and rows to achieve the desired size.