Gingham Baby Blanket Tutorial – Machine Knitting Guide
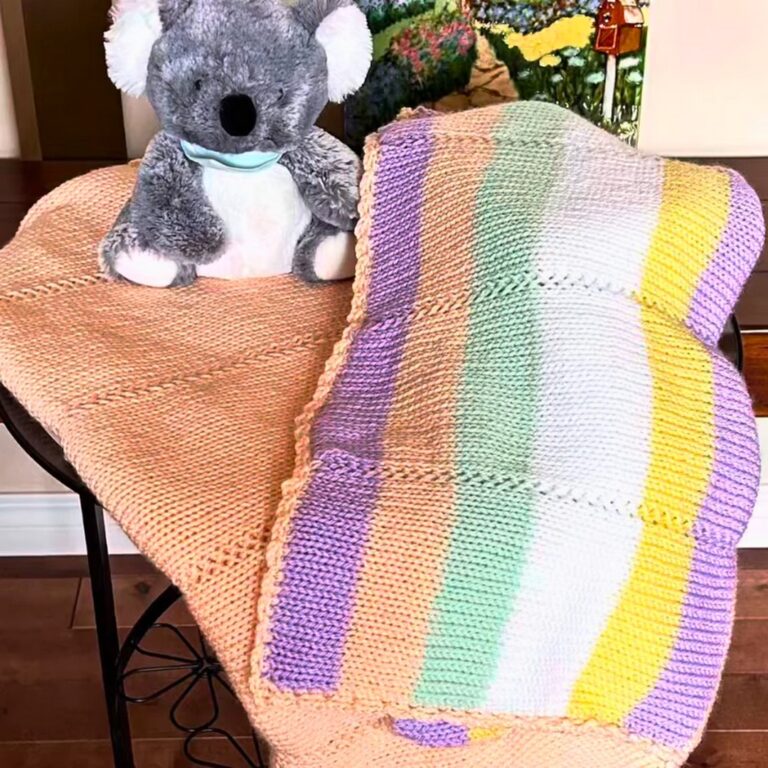
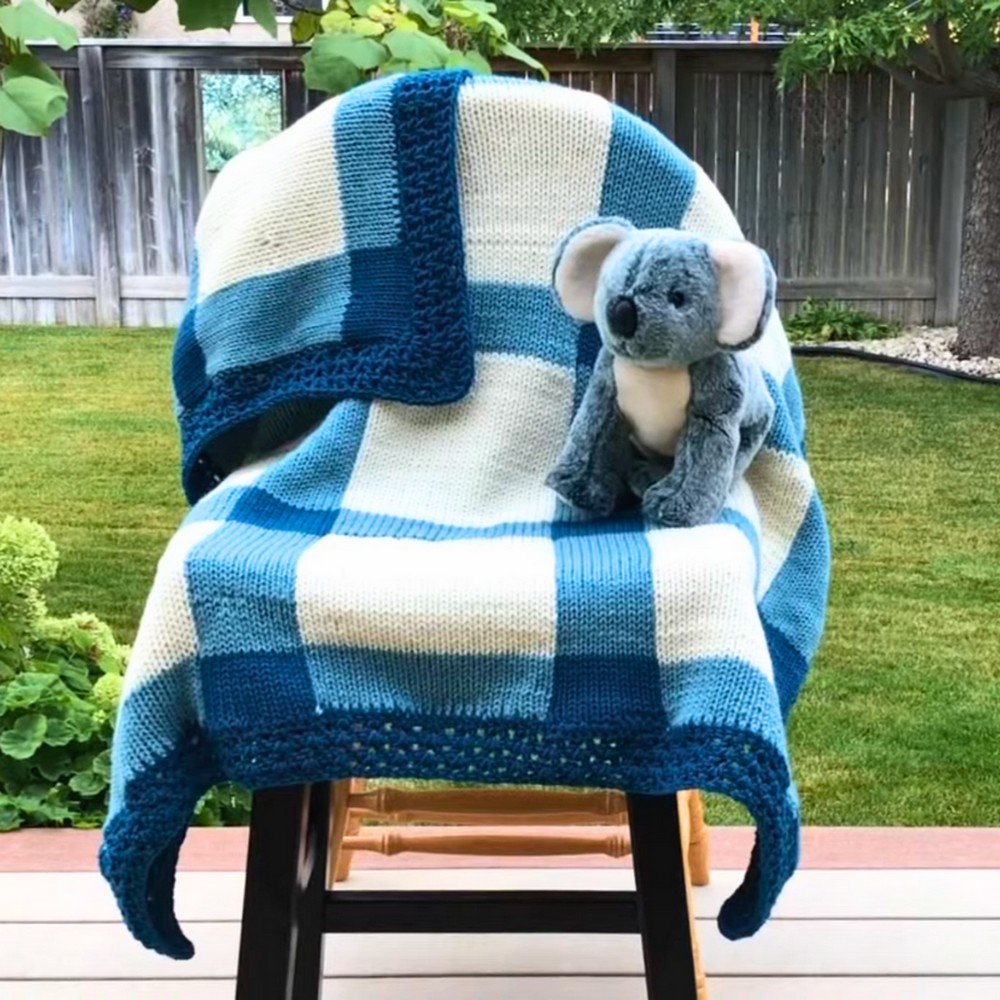
Creating the Gingham Baby Blanket is an enjoyable project that combines simplicity with sophistication. This double-thickness blanket, measuring 41×41 inches, offers a luxurious and cozy feel, making it a perfect gift for new parents or a stylish lap blanket for personal use. Using an Addi knitting machine, this tutorial promotes an accessible approach to crafting a timeless gingham pattern in three complementary shades, ensuring versatility and beauty for any color palette.
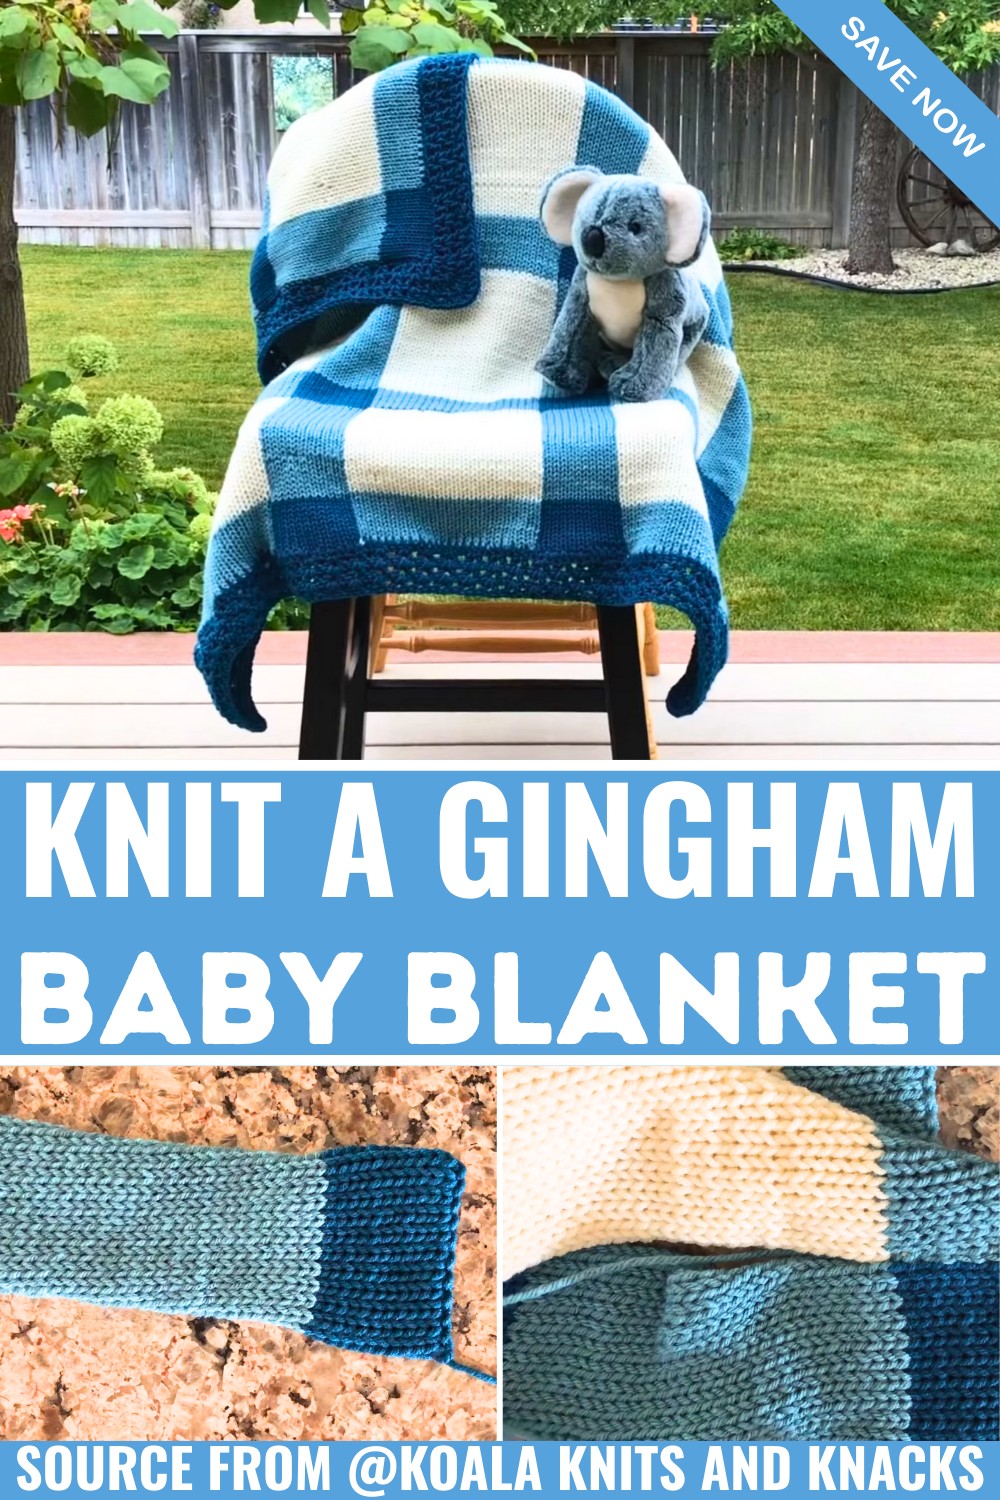
One unique feature explored is Shelly’s technique for assembling the panels with alternating row counts. Narrow panels use dark and medium shades, while wider panels alternate between medium and light tones, creating the gingham look. The video also includes tips for customization, such as making larger adult blankets or optional finishing touches like fringes or crochet borders. Such guidance ensures versatility and personalization in your project.
Key Points:
- Innovative Panel Assembly: Combine Addi 22 and 46 needle machines for precise design and texture.
- Yarn Selection Pro Tips: Use soft, machine-friendly yarns like Bernat for smoother results. Avoid coarse options such as Craft Smart Ivory for better machine compatibility.
Credit Koala Knits and Knacks
Step-by-Step Pattern
Materials
Here’s what you’ll need:
- Yarn: Three coordinating colors:
- Light color (e.g., ivory or white) – 2 balls
- Medium color – 2 balls
- Dark color – 2 balls
(Note: You won’t use the whole second ball, but it’s essential to have it ready.)
- Knitting Machines:
- Addi 22-needle circular knitting machine (for narrow panels)
- Addi 46-needle circular knitting machine (for wide panels)
(If you have a Centro 48-needle machine, it can be substituted, but note that the panels may be slightly wider.)
- Waste Yarn: For the beginning and end of each panel.
- Crochet Hook: To seam the panels using a flat seam or to create a crochet border (optional).
- Tapestry Needle: For weaving in ends.
- Scissors
- Measuring Tape
- Optional: Row counter, stitch markers, and a notebook to track rows.
Stitch Guide
This pattern mainly uses color striping and simple knitting techniques. While a knitting machine makes this easier, there are a few terms to know:
- Waste Yarn Start/End: Temporary yarn used at the beginning and end of your panels. This makes it easier to seam the panels later and prevents your stitches from unraveling.
- Flat Seam (Mattress Stitch): A technique to join panels invisibly by sewing side-by-side stitches together. Pull gently to make the seam neat and secure.
- Stretching Panels: Once off the machine, stretch each panel width- and length-wise to release tension and align stitches.
Notes
Here are some helpful tips to keep in mind:
- Size Adjustments: The finished blanket will measure about 41″ x 41″ using this pattern. For an adult-sized blanket, make five narrow panels and four wide panels, each measuring 282 rows.
- Row Organization:
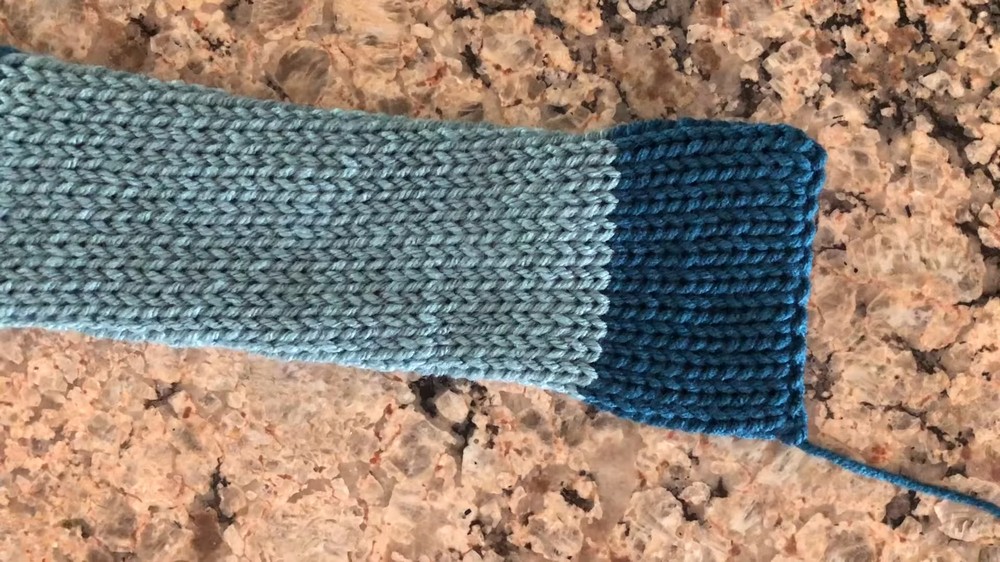
- Narrow panels: Alternate 12 rows of dark yarn and 33 rows of medium yarn.
- Wide panels: Alternate 12 rows of medium yarn and 33 rows of light yarn. Use a notebook to keep track of your color changes.
- Troubleshooting Missed or Tucked Stitches: If you experience trouble with stitches, ensure your machine tension is adjusted. Stretch panels entirely after removing them from the knitting machine.
- Yarn Selection: Avoid coarse or sticky yarns (e.g., some Craft Smart options). Softer yarns like Bernat are easier to work with and produce better results.
- Finishing Options: You can add a crochet border (e.g., the V-stitch), include fringe, or sew small pom-poms for added flair.
Pattern Instructions
1. Narrow Panels (4 Panels – Addi 22-Needle Machine)
Setup:
- Colors: Dark and medium
- Rows: Alternate between 12 rows (dark) and 33 rows (medium) until you reach 192 rows in total.
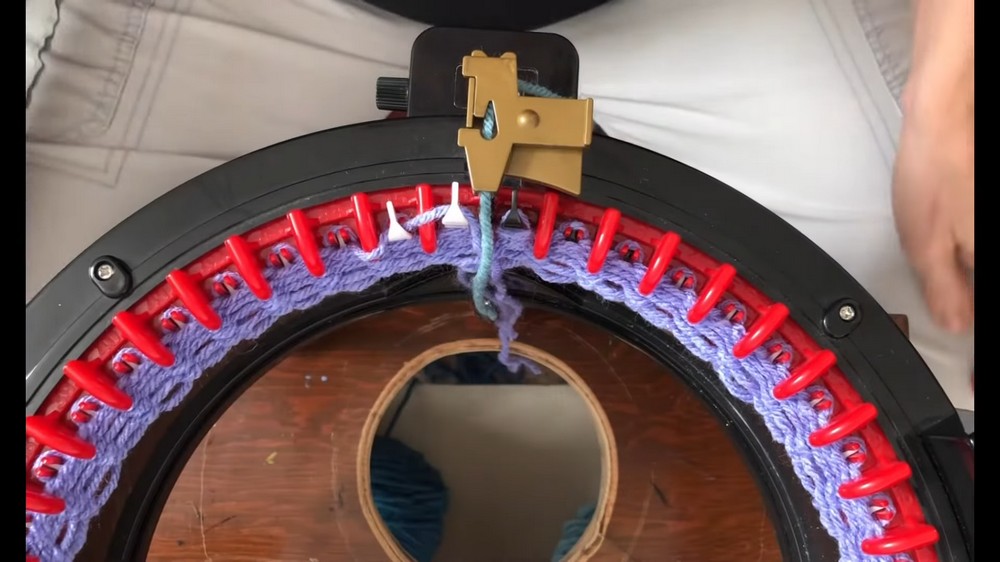
Step-by-Step:
- Begin with waste yarn:
- Cast on using 7-8 rows of waste yarn. This prevents unraveling later.
- Dark Yarn:
- Switch to your dark yarn. Knit 12 rows.
- Medium Yarn:
- Switch to your medium yarn. Knit 33 rows.
- Tip: Tie your yarn securely when switching colors. Avoid tight knots, as you’ll remove the excess waste yarn.
- Repeat: Continue alternating colors (12 rows dark, 33 rows medium) until you reach 192 rows.
- End with waste yarn:
- Add 7-8 rows of waste yarn. Remove the panel from the machine. Stretch it width- and length-wise.
- Make four panels total.
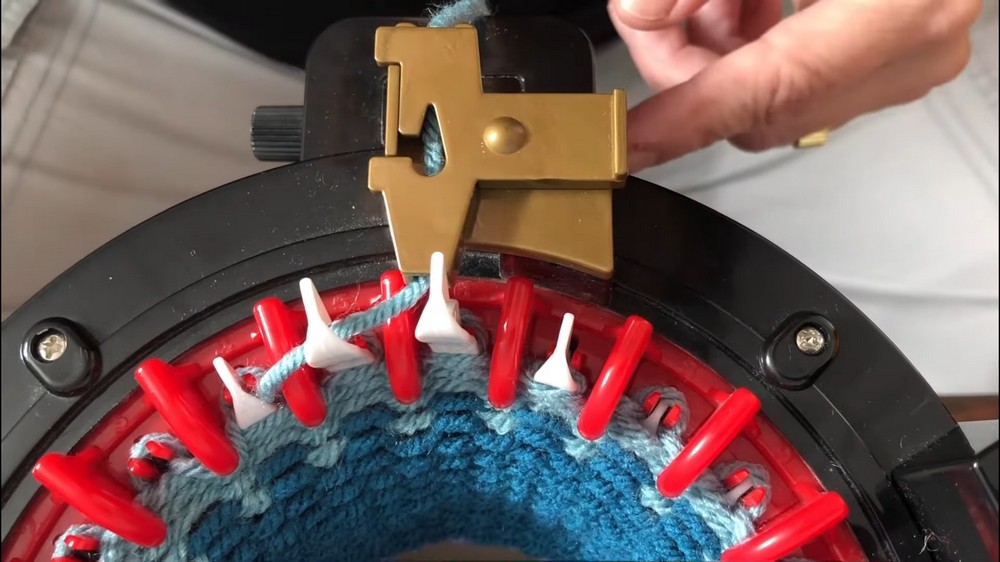
2. Wide Panels (3 Panels – Addi 46-Needle Machine)
Setup:
- Colors: Medium and light
- Rows: Alternate between 12 rows (medium) and 33 rows (light) until you reach 192 rows in total.
Step-by-Step:
- Begin with waste yarn:
- Cast on using 7-8 rows of waste yarn.
- Medium Yarn:
- Switch to your medium yarn. Knit 12 rows.
- Light Yarn:
- Switch to your light yarn. Knit 33 rows.
- Tip: Just like the narrow panels, track your rows carefully to keep color changes consistent.
- Repeat: Continue alternating colors (12 rows medium, 33 rows light) until you reach 192 rows.
- End with waste yarn:
- Add 7-8 rows of waste yarn. Remove the panel from the machine. Stretch it width- and length-wise.
- Make three panels total.
3. Seaming Panels
Assembly Order:
- Alternate between narrow and wide panels, starting and ending with a narrow panel.
Flat Seam Technique:
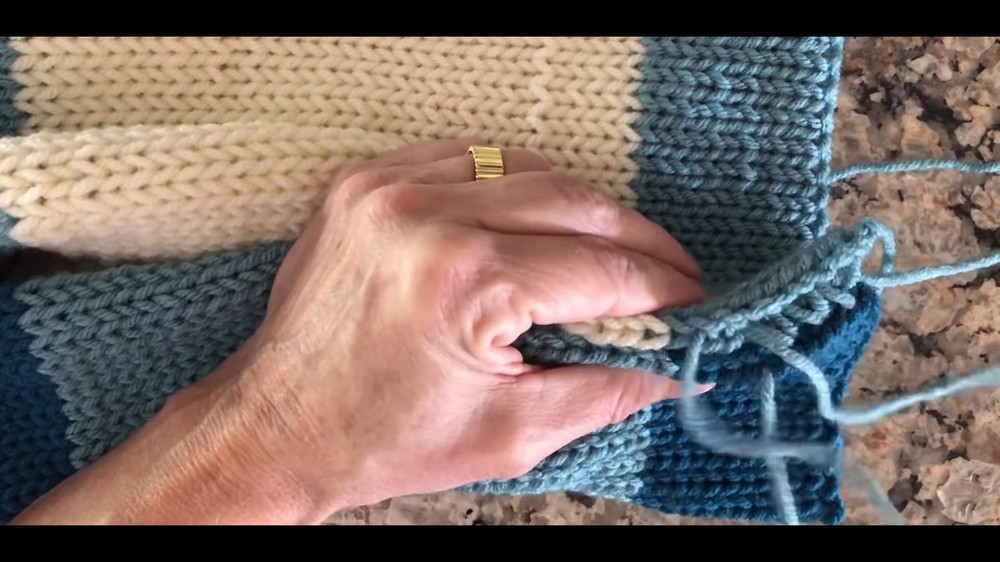
- Lay two panels side-by-side with the wider end (the bottom “V” of stitches) facing down on both panels.
- Use the mattress stitch to connect panels:
- Insert the needle under the two horizontal bars of the first stitch on one panel.
- Repeat this on the opposite panel. Alternate back and forth, pulling the seam tight every 10-12 stitches.
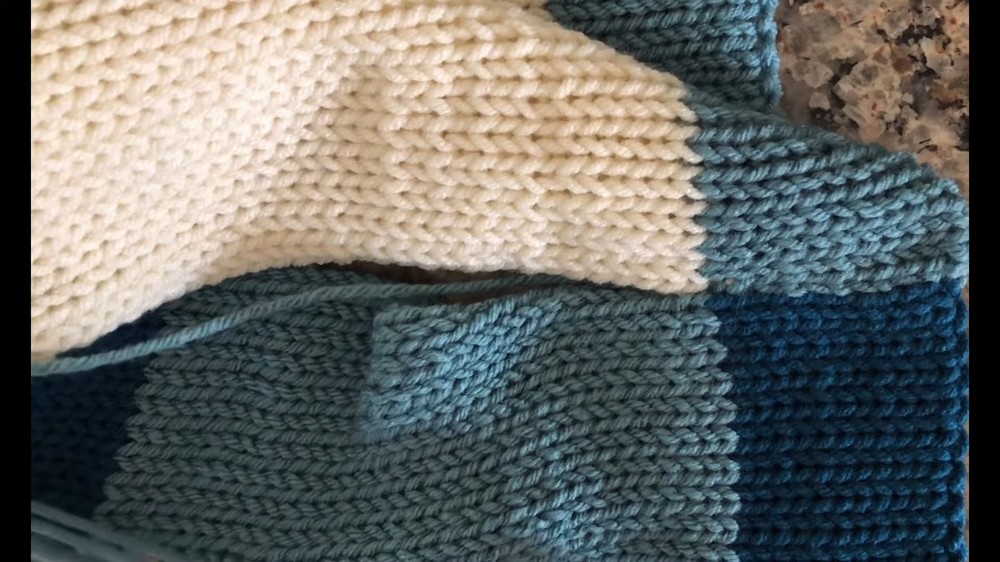
- Ensure color changes align seamlessly. Adjust your needle to pick up extra bars if needed.
- Continue until all panels are connected.
Tips:
- Use a yarn color matching the edge stitches (e.g., medium or dark) to minimize visible seams.
- Sew lightly to avoid puckering.
4. Finishing Touches
Crochet Border (Optional):
- Finish the edges with a crochet stitch (e.g., V-stitch) for a polished look. A video tutorial is available on Shelly’s YouTube channel.
Fringe or Pom-Poms (Optional):
- Attach fringes or small pom-poms to the edges or corners for added design.
Weave in Ends:
- Use your tapestry needle to weave in all loose ends securely. For added durability, weave multiple times.
Customization Ideas
- Color Scheme: Experiment with different color palettes, such as pastel shades for babies, or bold, contrasting colors for an adult throw.
- Larger Blanket: Follow the adult blanket instructions (5 narrow panels, four wide panels, 282 rows).
- Unique Borders: Use decorative crochet stitches or knitted trims to make your blanket stand out.
Pattern Question
Q: Can I use a different yarn or needle machine for this project?
A: Yes, you can adapt the project for different machines. For instance, a Centro machine with 48 needles can substitute for the Addi 46. Ensure the yarn matches the tension and feel for the best results.