Step-by-Step Flat Panel Throw Blanket Knitting Tutorial
Create an elegant throw blanket with ease using this detailed knitting tutorial! Perfect for cozy home decor, this pattern uses flat panels for a thinner, lightweight design. With Loops & Threads Facets yarn in the rich Slate color, this project balances beauty and practicality. It’s the ideal comfort companion for every season, whether you want warmth draped over a chair or lightweight layering on your favorite couch.
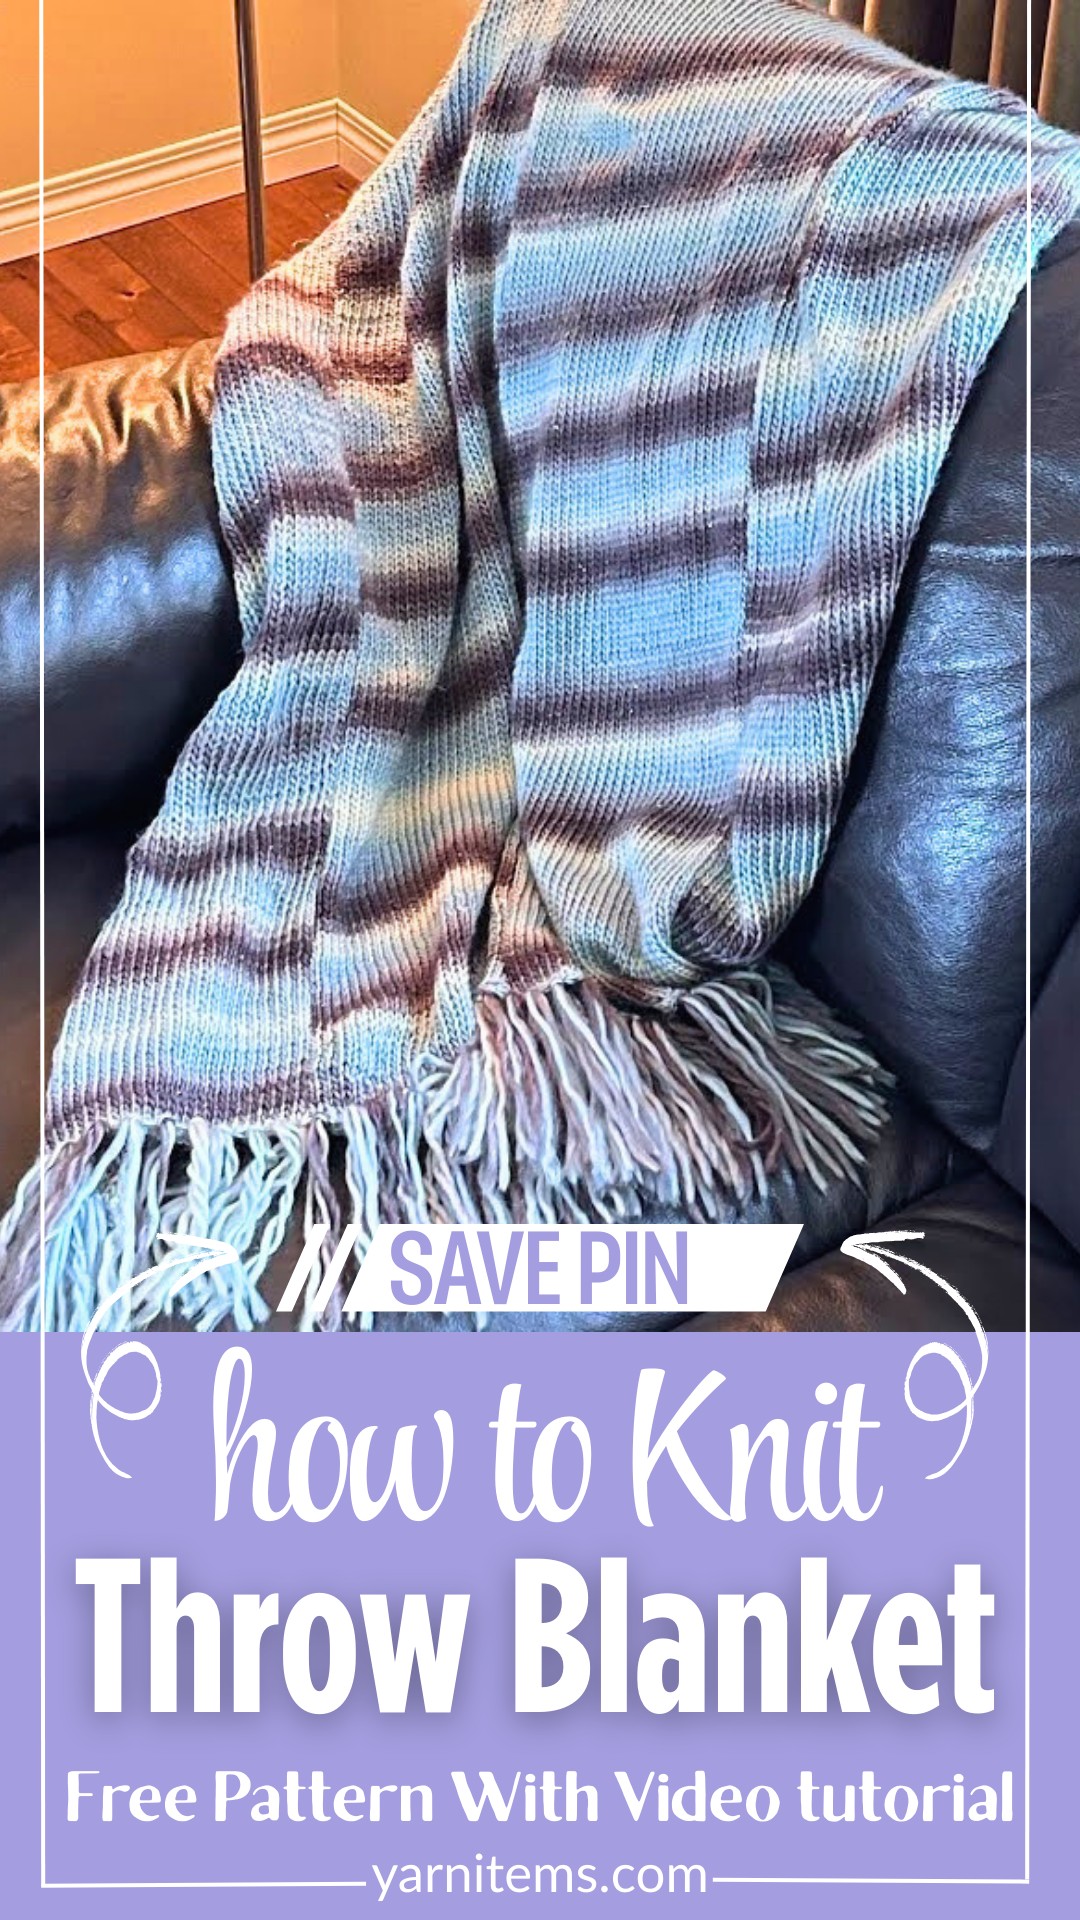
Flat Panel Throw Blanket
This tutorial introduces a clever flat-panel knitting technique that offers a lightweight alternative to traditional double-layer tube blankets. You’ll also master seaming with mattress stitches for virtually invisible joins, making this project stitch-perfect on both sides. Using waste yarn for clean edges and easy removal ensures your final piece is polished, professional, and ready to showcase.
Pattern Highlights
Yarn Selection
- The tutorial features Loops & Threads Facets yarn in Slate, sought-after for its soft texture and stunning color vibrancy, creating unmatched elegance.
Flat Panel & Seam Techniques
- Learn how to cast on 43 needles for flat-panel knitting, ensuring a lightweight blanket with seamless edges, while using mattress stitch for thin, beautiful joins.
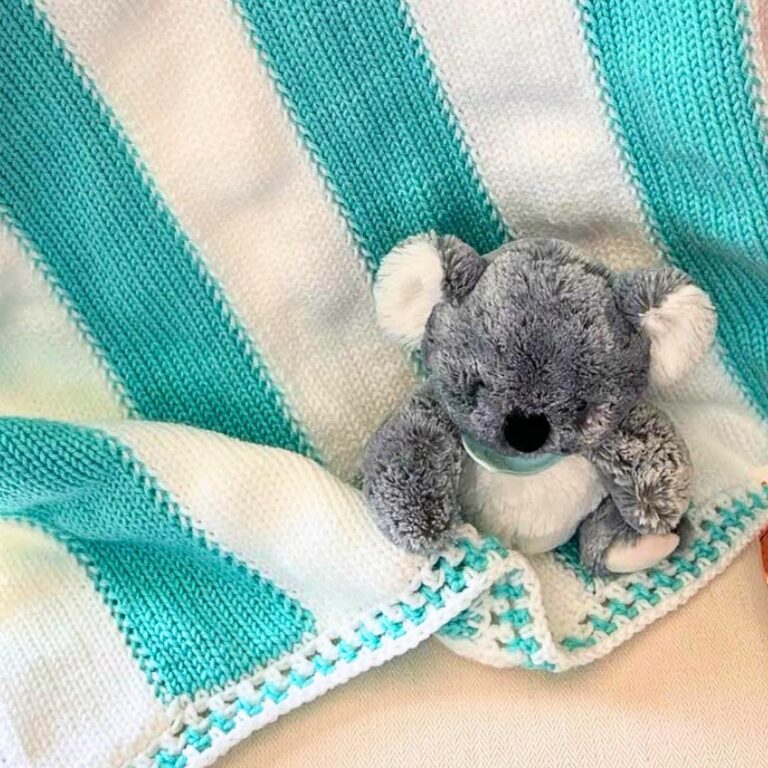
Credit Koala Knits and Knacks
Step-by-Step Pattern
Materials
To recreate this beautiful throw blanket, gather the following supplies:
- Yarn: 5 balls of Loops and Threads Facets Yarn in the color Slate (or a similar weight 4 yarn). Available at Michaels.
- Knitting Machine: 46-needle circular knitting machine (e.g., Addi, Sentro). Note: A 48-needle machine works as well.
- Waste Yarn: Use a contrasting color of yarn for the start and end.
- Crochet Hook: 4.0 mm for finishing and fringe attachment.
- Yarn Needle: For seaming and hiding ends.
- Stitch Markers or Bobby Pins: Essential for keeping track of stitches.
- Scissors: For cutting fringe and yarn ends.
- Optional: Aluminum foil (for machine adjustments) and lightweight, contrasting yarn for finer seaming.
Stitch Guide
Since this project is completed with a circular knitting machine, here’s a quick overview of the techniques used:
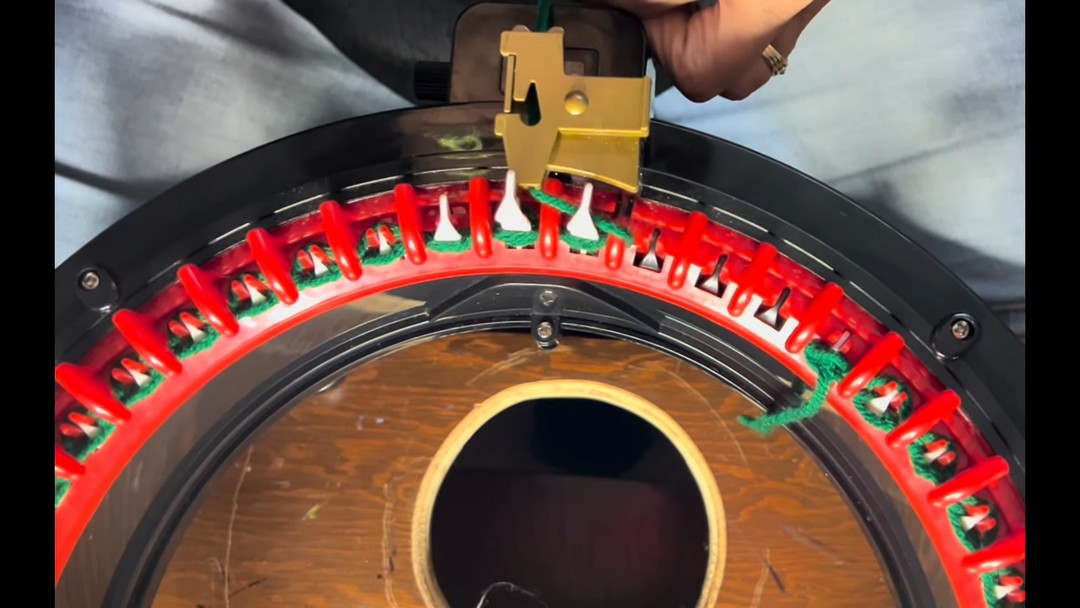
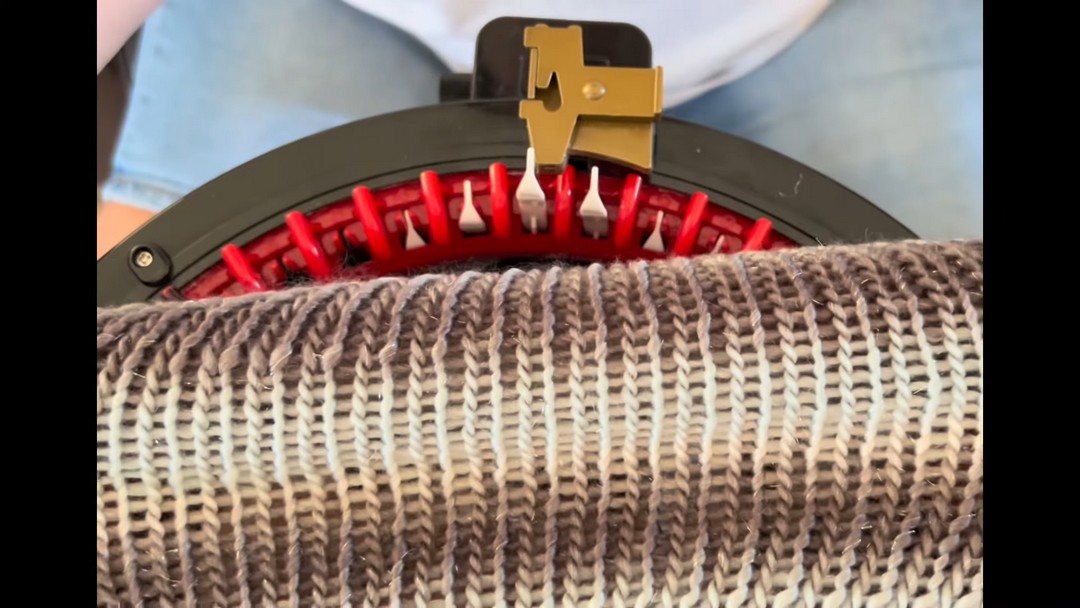
- Flat Panels: Unlike tubes, this project uses flat panels, meaning the machine will knit back and forth instead of in a continuous circle. You’ll work on 43 needles out of the 46 available (leaving 3 black needles for the turning room).
- Slip Stitch: Used to seam edges and to finish the border. A row of slip stitches creates a neat and polished frame.
- Single Crochet (Optional): Crocheted borders are added for structure or to create attachment points for fringe.
Notes
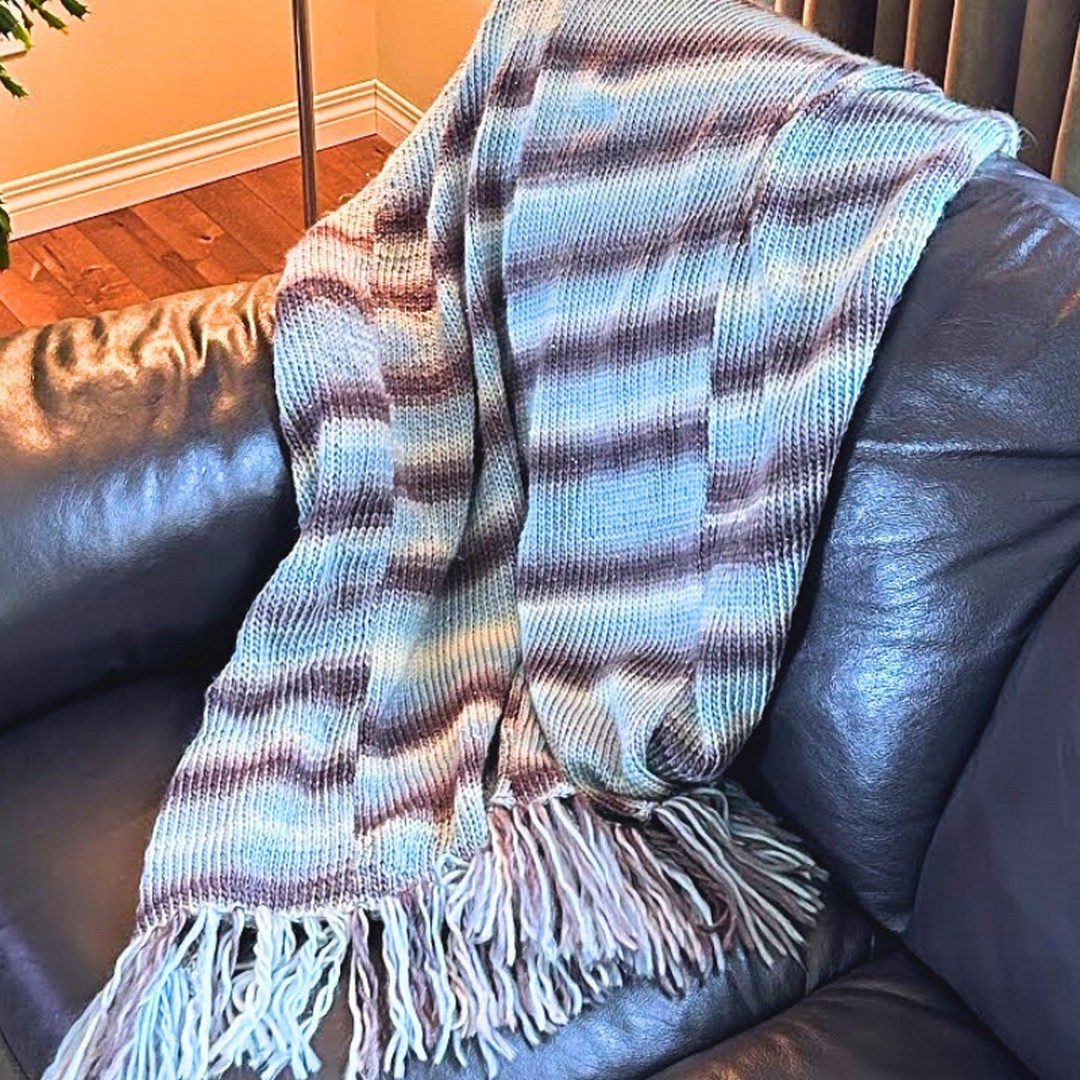
- Blanket Dimensions: The finished throw measures approximately 45 x 54 inches, perfect for a chair, couch, or bed accent.
- Tension Tips: Use gentle tension, especially along the edges of each row to ensure even stitches and clean edges. This is particularly important for the first and last needles of each row.
- Yarn Customization: You can choose any 4-weight yarn, but Loops and Threads Facets Yarn works exceptionally well in the machine due to its softness and gliding properties.
Pattern Instructions
Knit Four Flat Panels on Knitting Machine
- Prep the Machine:
- Cast 43 needles onto the machine, leaving 3 black needles unworked for the turning room. Use waste yarn for your cast-on rows (approximately 8 rows).
- Work the Main Yarn:
- Replace the waste yarn with your working yarn (Loops and Threads Facets Yarn). Make sure your tension is even, especially for the first and last stitches of each row.
- Knit 230 rows in flat-panel mode.
- Bind off by switching back to waste yarn for another 8 rows. Then remove the panel from the machine and secure stitches to prevent unraveling.
- Repeat:
- Complete three additional panels using the same method, ensuring consistent rows across all panels.
Seam the Panels Together
- Align Panels:
- Place two panels side by side with the right sides facing up.
- Use stitch markers or bobby pins to keep the edges aligned. You should have 43 live stitches along both panels’ edges.
- Mattress Stitch Seaming:
- Use a lightweight yarn to minimize bulk and your yarn needle to join the panels.
- Thread the needle and work the mattress stitch, grabbing two bars of each edge at a time. Work from one corner to the opposite end.
- Gently tighten the seam periodically to keep it smooth without puckering.
- Repeat:
- Seam the third and fourth panels together in the same way.
- Once you have two broad sections, seam those two together to form one complete blanket.
Add Border (Optional)
- Single Crochet Edge:
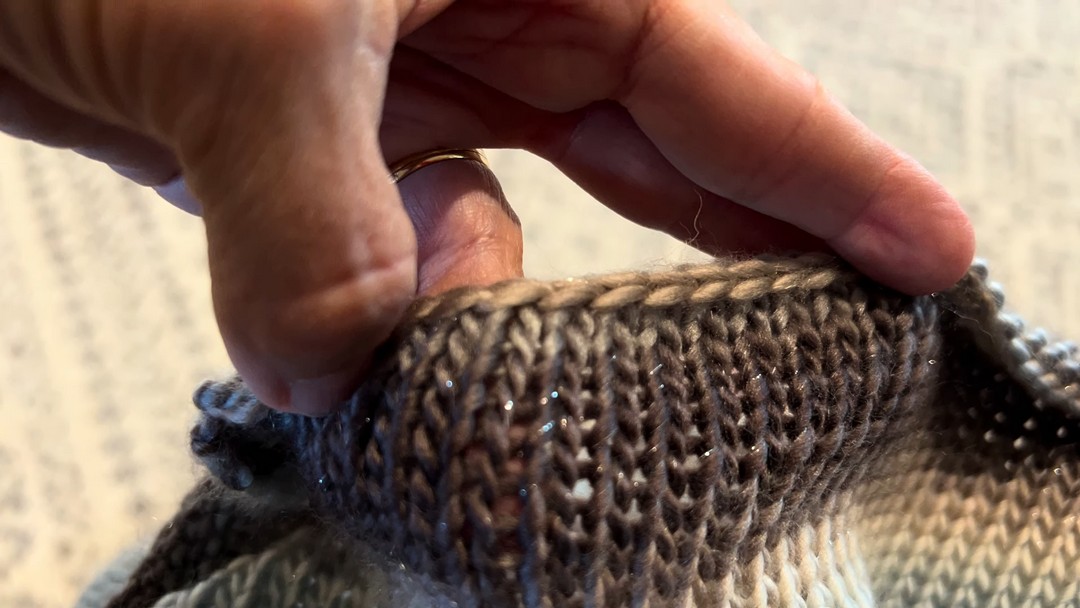
- Work a round of single crochet along the entire perimeter of the blanket for a polished edge.
- Use a contrasting or matching yarn, and evenly space your stitches to avoid ripples—place 2 single crochets in each blanket corner to round the edge.
- Alternative: If you prefer not to crochet, the unfinished ends of the knit panels already create a lovely, soft border. Skip this step if you’re fine with minimal finishing.
Add Fringe
- Cut Fringe Pieces:
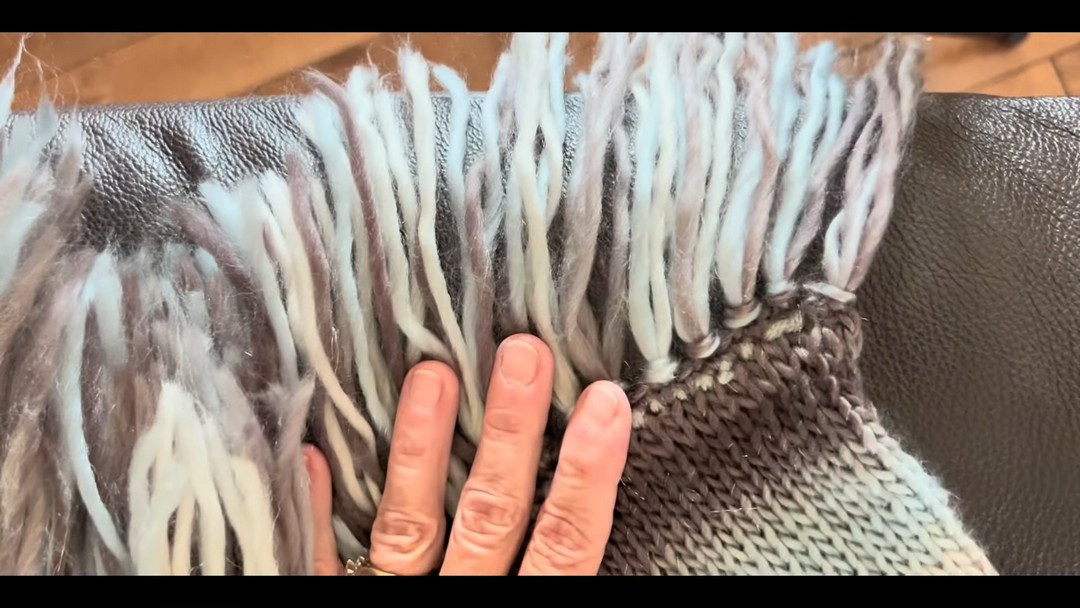
- Wrap yarn around a 6-inch object (e.g., a book or a cardboard piece) and cut to create 12-inch strands.
- Each fringe is made by folding two strands in half.
- Attach Fringe:
- Insert your crochet hook from the wrong side of the blanket to the right side at the edge of your blanket.
- Pull the center of your 12-inch strands through to form a loop.
- Pull the ends of the yarn strands through the loop, tighten, and secure.
- Add fringe to every other stitch along the short edges of the blanket.
- Trim:
- Once all fringe pieces are attached, trim the ends evenly for a clean finish.
Pattern Question:
Q: Can I use a different yarn type for this blanket?
A: Yes! While the tutorial uses Facets Yarn, you can choose any yarn with a similar weight and texture to achieve a lightweight, soft finish.
Video Tutorial