Easy and Stylish Knit Crop Top Tutorial – Step By Step
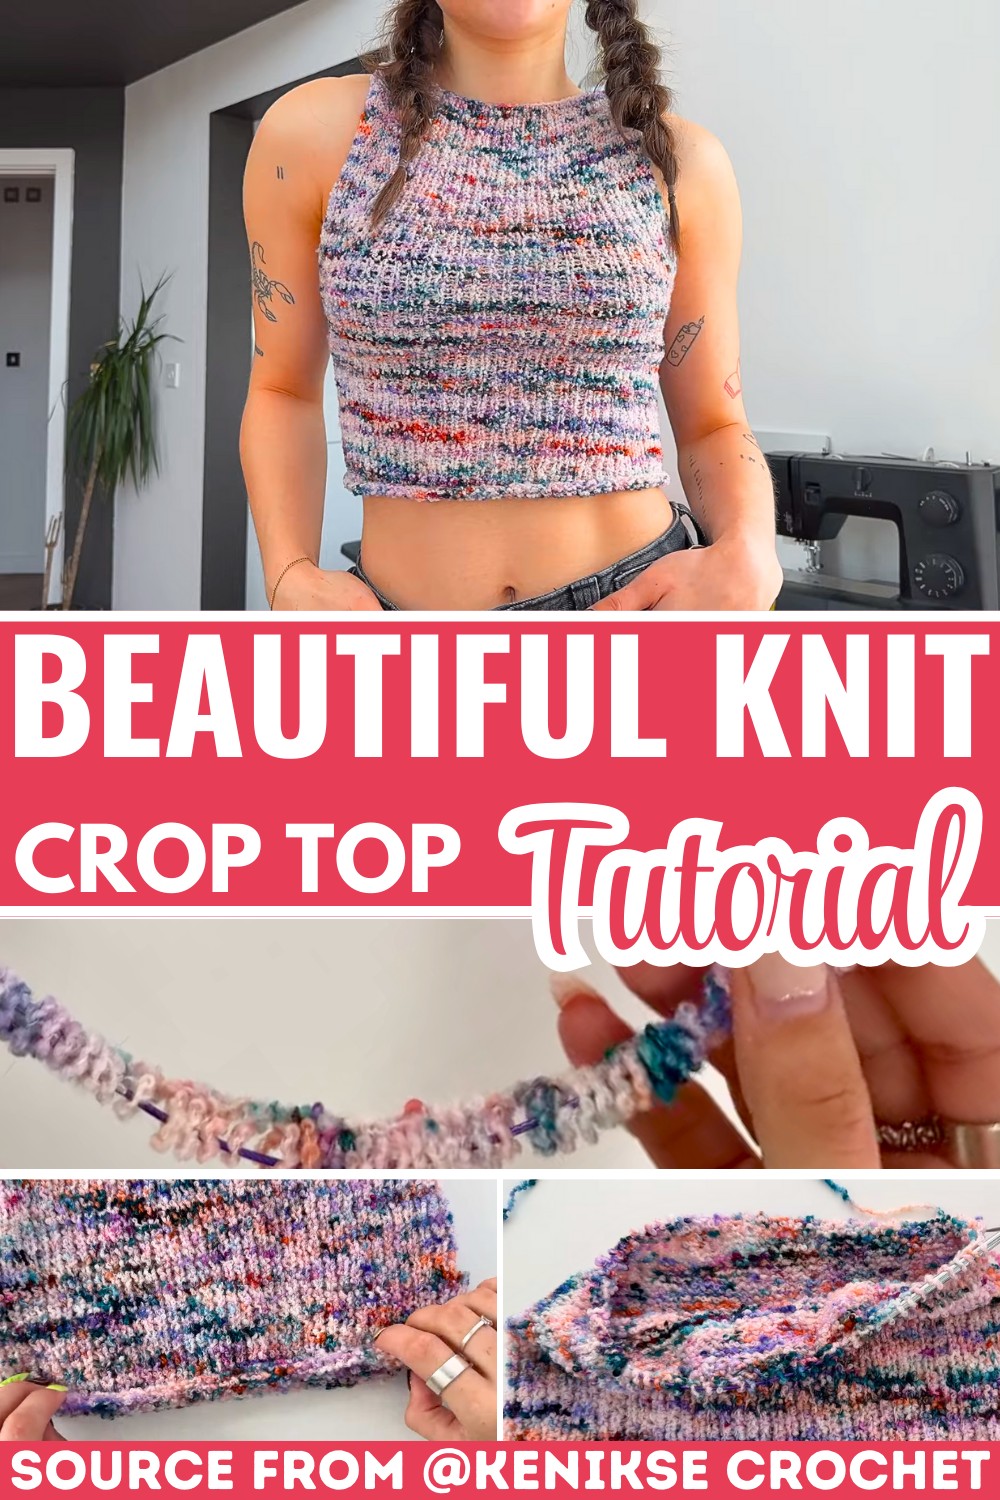
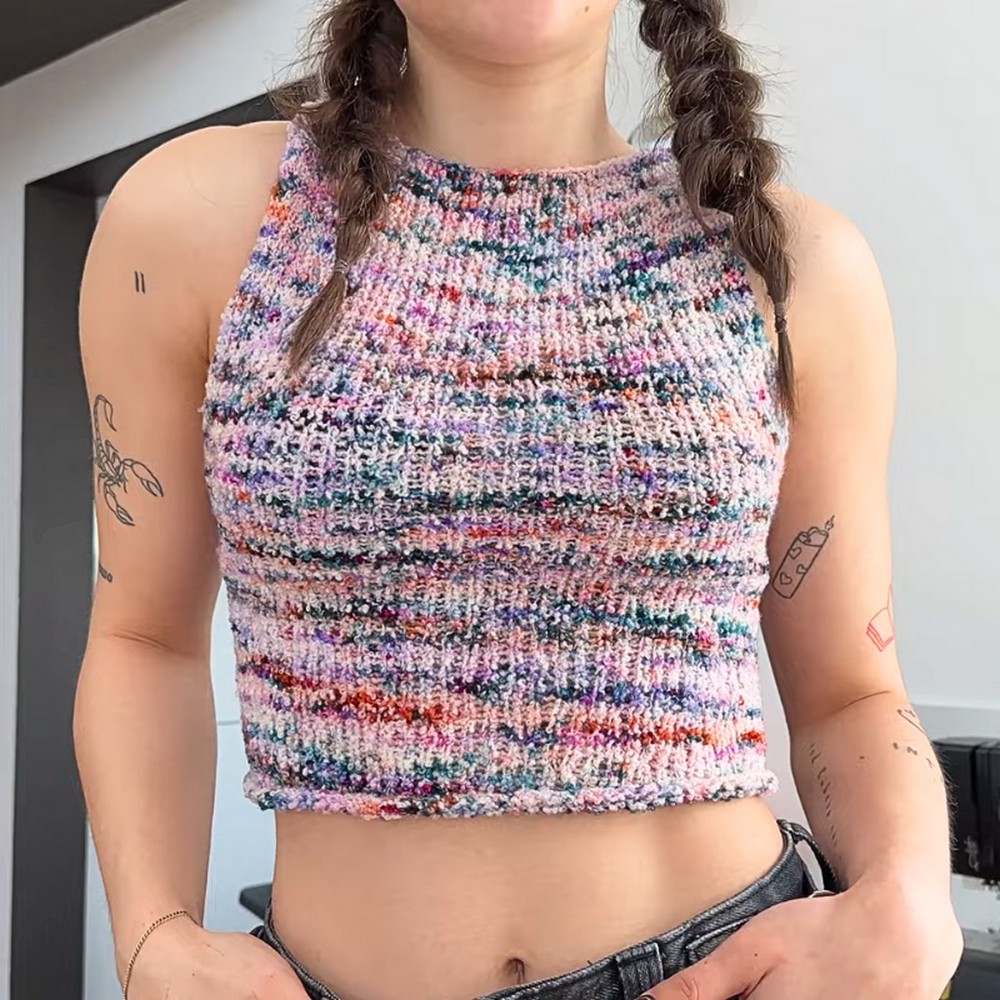
Looking for a stylish yet simple handmade addition to your wardrobe? In this step-by-step tutorial, you’ll learn how to craft a chic knit crop top that’s perfect for every occasion. Whether you’re new to knitting or looking for a manageable project, this beginner-friendly design pairs functionality with flair.
The seamless, round-knitting technique ensures a smooth finish, while the flexibility to adjust top and armhole length lets you make it exactly how you want. With just basic tools—5mm needles, stitch markers, scissors, and yarn—this tutorial allows you to craft a trendy piece while honing your skills and building your handmade wardrobe.
Stylish Crop Top
What sets this tutorial apart is its clever adaptation for all crafting levels and body shapes. From creating your gauge swatch to measuring and evenly splitting stitch sections, the kniting pattern breaks down each step, helping new knitters understand the how and why of crafting a perfect crop top. You’ll discover tips to ensure an untwisted cast-on, smooth stitching for seamless rounds, and methods for smart armhole shaping to achieve a flattering, comfortable, and stylish fit. The video tutorial at the end of the blog post includes guidance on shaping the top to suit your preferences—whether cropped, standard length, or extended—while maintaining its signature look.
Pattern Highlights
- Learn how to use hand-dyed double-knit bouclé yarn for a textured, unique finish.
- Follow along with practical techniques for seamless circular knitting, including step-by-step instructions for joining stitches and creating armholes.
Credit Kenikse Crochet
Step-by-Step Pattern
Materials
To complete this project, you will need:
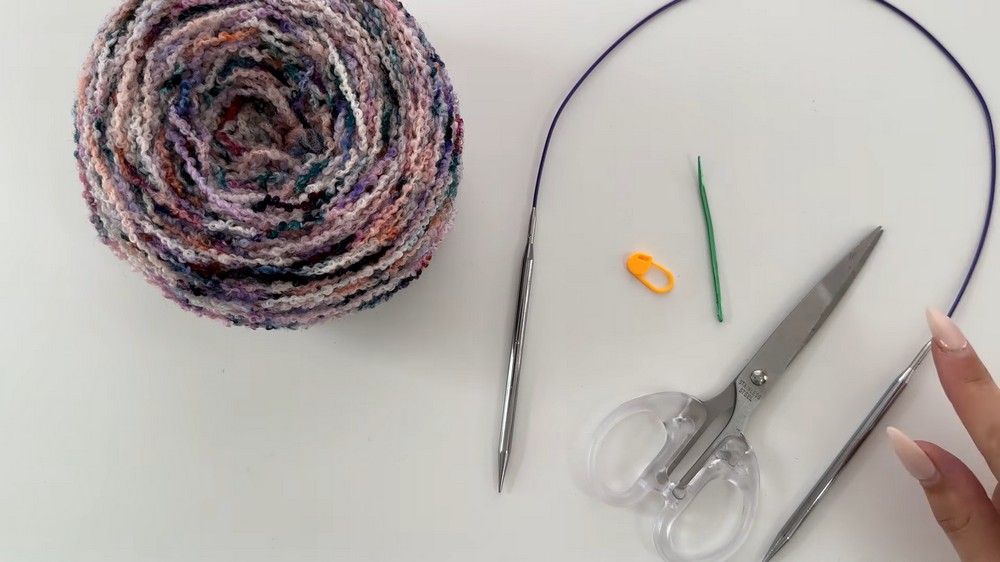
- Yarn: Double-knit bouclé yarn (hand-dyed yarn available at kxyarns.com). You may substitute with other double-knit yarns of your choice.
- Needles: 5 mm knitting needles with a 40 cm cable (or any cable comfortable for working in rounds).
- Gauge Tools: Measuring tape and ruler for gauge swatching.
- Accessories:
- Stitch markers
- Scissors
- Yarn needle
Stitch Guide
To knit this crop top, you’ll need to know the following basic techniques:
- Long-Tail Cast-On:
- Start with a slip knot on your needle, leaving a long tail.
- Use the long-tail method (combining the working yarn and tail) to cast stitches onto your needle.
- Knit Stitch (used for the body of the top):
- Insert the needle knitwise (from front to back), wrap the yarn around, pull it through the loop, and drop the stitch.
- Purl Stitch (used for shaping the rows later):
- Insert the needle purlwise (from back to front), wrap the yarn around, pull it through the loop, and drop the stitch.
- Joining in the Round:
- Align your cast-on stitches flat on the needles, and join them to form a continuous loop using the method described below.
- Basic Bind-Off:
- Knit two stitches, then pull the first stitch on the right needle over the second. Repeat until all stitches are bound off.
Notes
- Gauge Adjustment: Before beginning, make a gauge swatch to determine how many stitches you’ll need to fit your waist. For example, for a 62 cm waist, you might cast on 80 stitches.
- Customizing Length: Knit the bottom portion as cropped as you like or extend it to create a longer top.
- Sizing Tip: Always cast on an even number of stitches plus one extra stitch for joining the piece in the round.
Pattern Instructions
Step 1: Gauge Swatch and Casting On
- Make a gauge swatch using your yarn and needles to determine the number of stitches per cm.
- Based on your waist measurement, calculate the number of starting cast-on stitches. The example uses 80 stitches + 1 extra stitch (for joining in rounds).
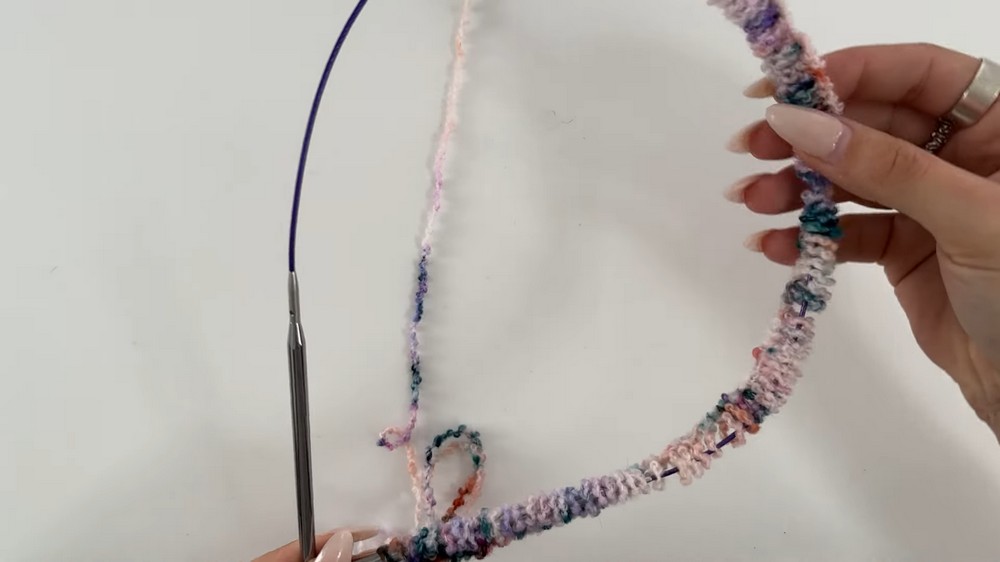
- Use the long-tail cast-on method to cast on your stitches.
Step 2: Joining the Round
- Ensure all cast-on stitches are sitting flat on the needles so they don’t twist.
- Join the work into a round as follows:
- Take the first stitch from the left needle.
- Slip it off the needle, and pull the first stitch on the right needle over it tightly.
- This reduces your stitch count by 1. You should now have an even number of stitches.
- Place a stitch marker at the start of the round.
Step 3: Knitting the Body
- Knit the first round: This can feel tight, but the tension will ease as you continue.
- Transfer your stitch marker at the end of each round.
- Repeat knit stitches for all rounds to create a stockinette pattern.
- Knit until your piece measures around 20 cm for a cropped look (or adjust as desired for a longer fit).
Step 4: Shaping the Armholes
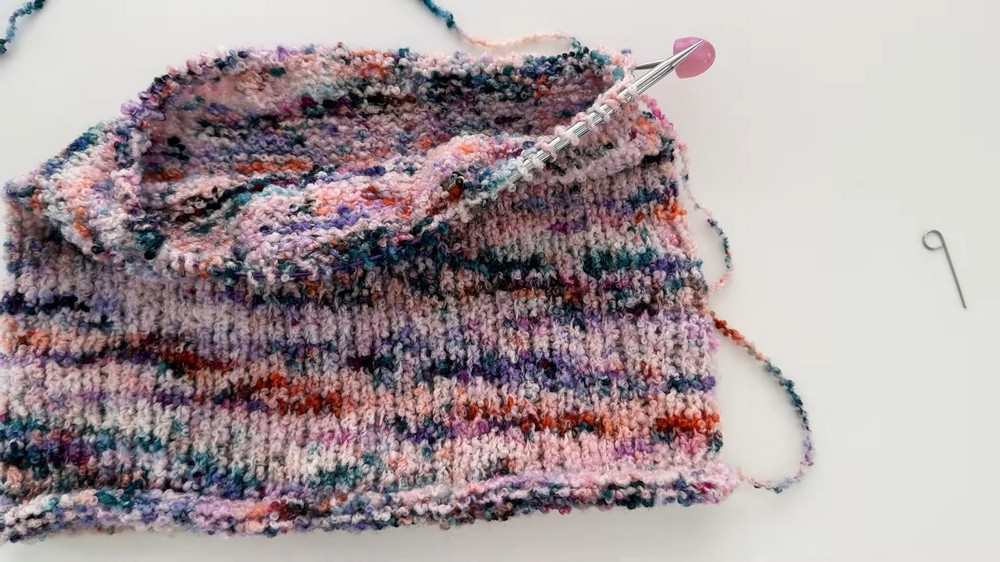
- Divide the stitches into equal halves, and mark the midpoint with a stitch marker. For example, if you have 80 stitches, mark 40 stitches for the front and 40 for the back.
- Attach each half to separate cables, and add stoppers to prevent losing stitches.
Step 5: Knitting the Front Panel
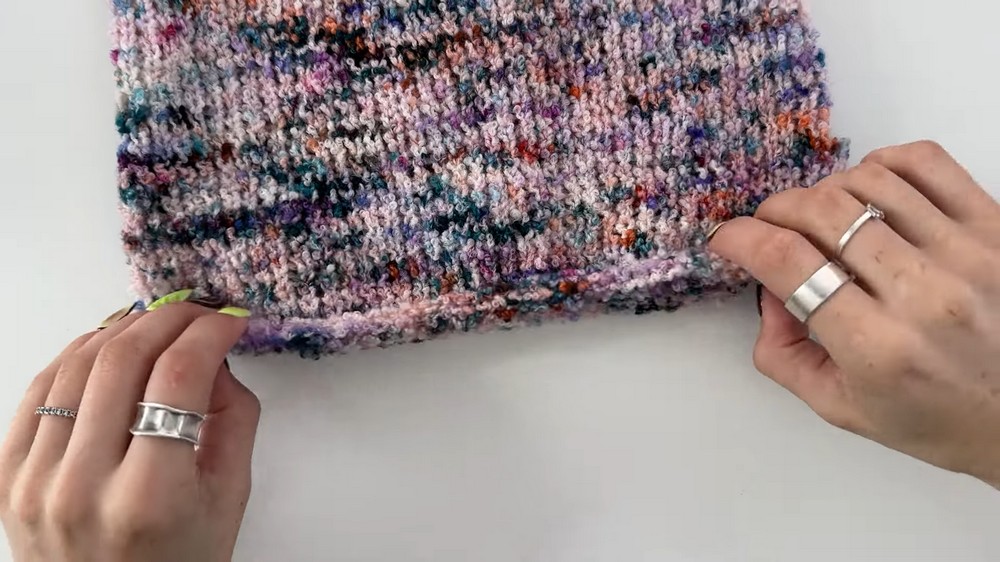
- Work flat (no longer in rounds) by turning the piece to create rows.
- On the first row (wrong side), use purl stitches to create the stockinette pattern.
- Alternate between knit rows (right side) and purl rows (wrong side).
- Continue knitting rows until the panel reaches your desired length for armholes and shoulders.
Step 6: Binding Off the Front Panel
- Use the basic bind-off technique: Knit two stitches, pull the first stitch over the second, and repeat.
- Leave a yarn tail long enough for sewing the shoulders later.
Step 7: Knitting the Back Panel
- Repeat the same steps for the back panel:
- Pick up the back stitches from the stopper.
- Alternate knit and purl rows when working flat.
- Bind off when the length matches the front panel.
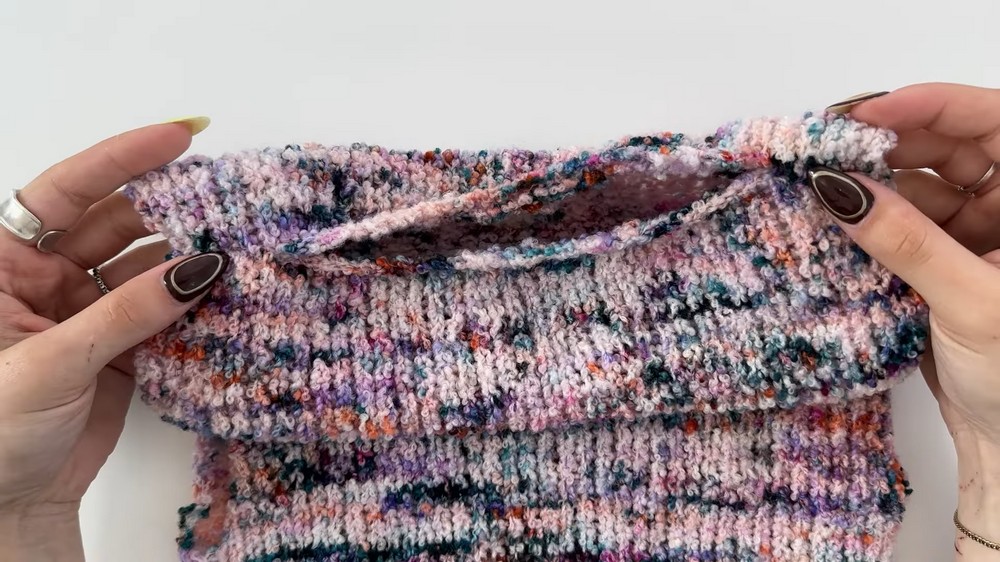
Step 8: Joining the Shoulders
- Use your yarn needle and the long tails from the front and back panels to sew the shoulders.
- Carefully sew around 8 stitches on each shoulder, ensuring the neckline will still accommodate your head.
- Test the fit before finishing the sewing.
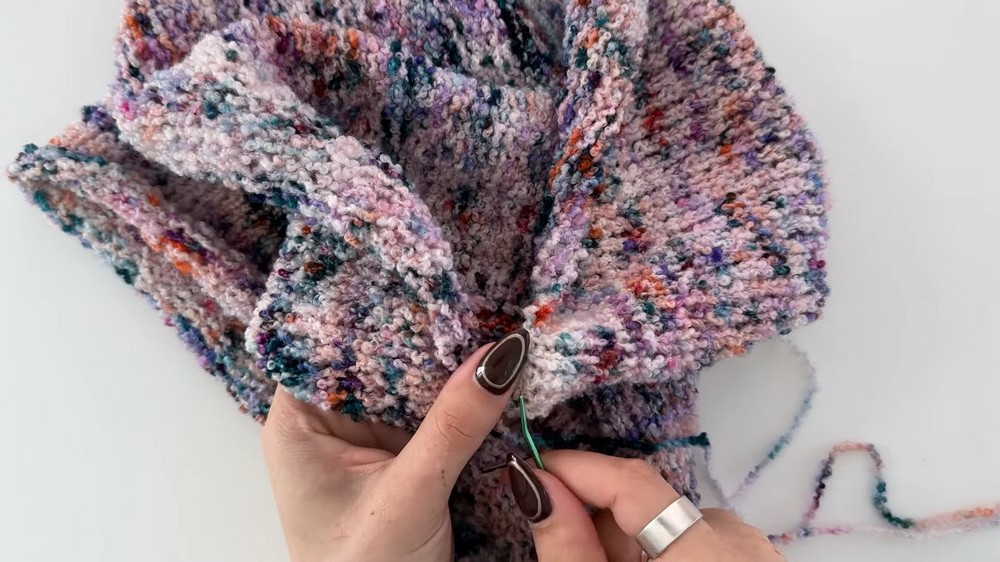
Step 9: Weaving in Ends
- Flip your piece to the wrong side. Hide all yarn tails by weaving them into the seams using your yarn needle.
- Trim off any excess yarn.
Final Touches
Congratulations! Your crop top is now complete! Wear it as-is or customize it further with creative additions, such as embroidery, decorative borders, or embellishments.
Pattern Question
Q: How do I adjust the pattern for different waist sizes?
A: Make a gauge swatch to calculate your stitches per centimeter. Measure your waist, then multiply by the stitch count per cm. Ensure the total number is even to balance the front and back panels.