Knit a Brushed Mohair Vest with Customizable Colors & Ribbing
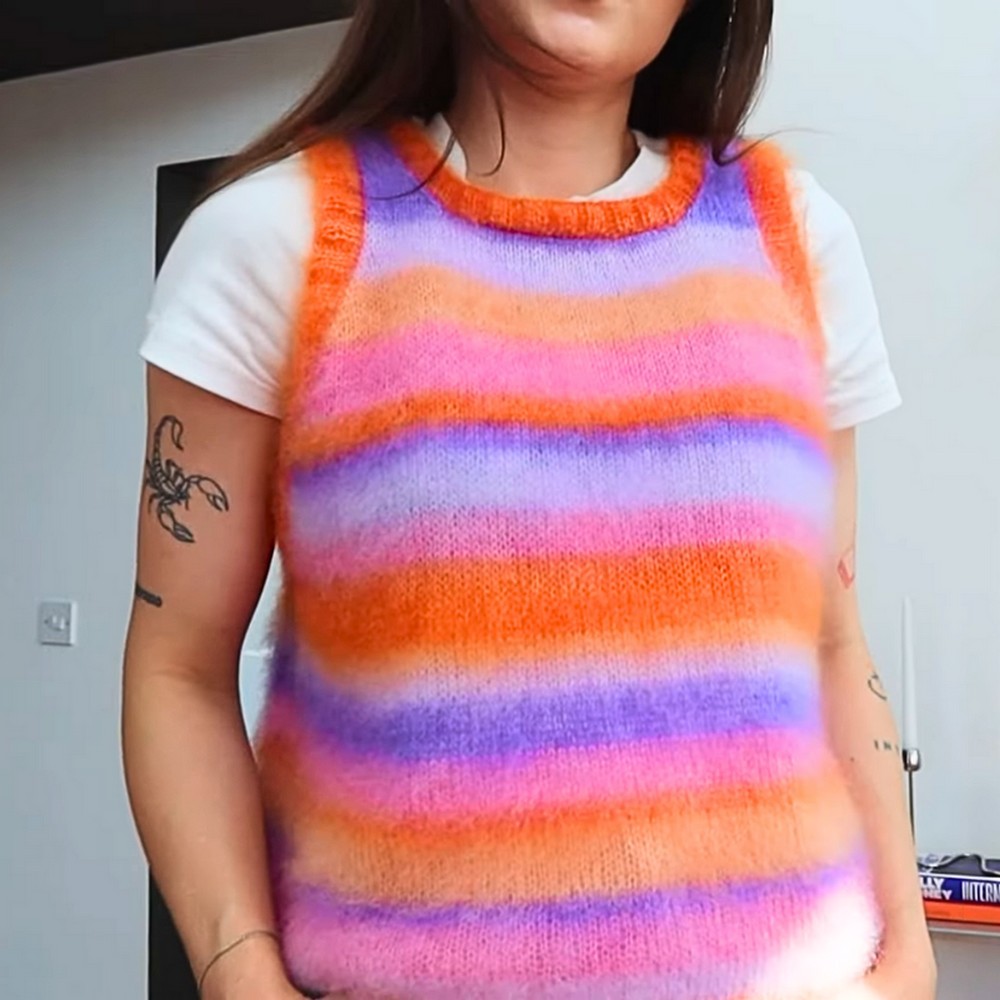
Crafting a brushed mohair vest brings together elegance, warmth, and creativity in a single project. In the tutorial “Knit a Brushed Mohair Vest,” viewers are shown how to create a bottom-up vest that incorporates both traditional and modern knitting techniques. This project’s appeal lies in its versatility—it can complement any wardrobe, from layering for chilly days to being the centerpiece of a cozy yet fashionable look.
The brushed texture adds an elegant flair, while the easy-to-follow approach makes the vest accessible for knitters of varying skill levels. With options to personalize the vest using one or multiple colors, this project encourages creativity without compromising its beginner-friendly nature. The tutorial breaks down every step clearly, ensuring each knitter can craft a piece tailored to their size and style requirements.
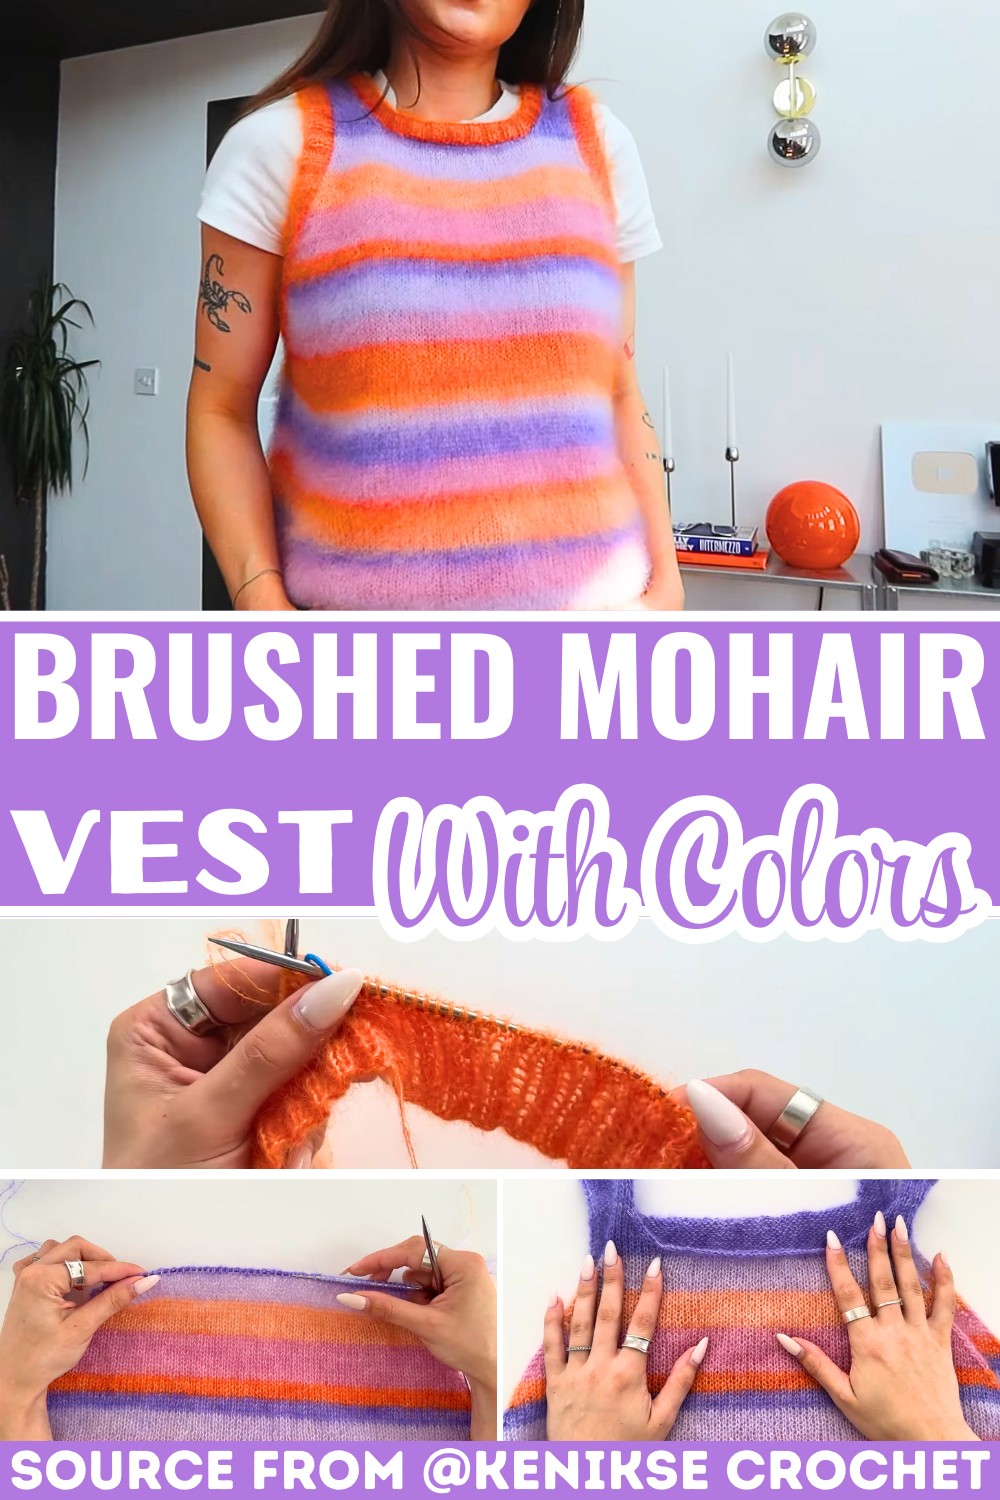
What makes this pattern stand out is its use of vibrant yarn combinations and innovative techniques, such as the brushed finish applied with a wire bristle brush. The creator’s approach includes a doubled-yarn method, winding multiple yarn colors into two balls to achieve subtle tonal transitions and depth in the design. A standout part of the tutorial is the detailed process of shaping the shoulders and neckline. The two-row repeat for performing clean decreases ensures the vest’s elegant fit.
Additionally, both the armholes and collar are finished with 2×2 ribbing, creating a polished and professional look. These thoughtful touches combine practicality with artistry and help knitters master techniques that elevate their work.
- Brushed Mohair Finish: The tutorial uses a wire bristle brush to achieve a soft, luxurious feel while enhancing the yarn’s unique fluffiness.
- Flexible Yarn Choices: Guidance on combining five colorful yarns into doubled strands allows knitters to customize their vest according to their preferences.
Credit Kenikse Crochet
Step-by-Step Pattern
Materials
To make your brushed mohair vest, you will need the following:
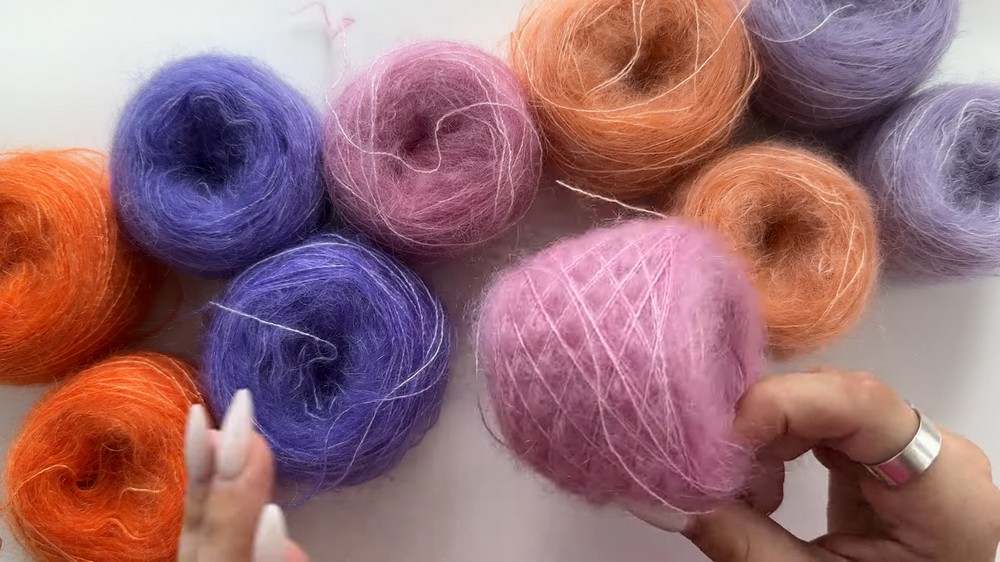
- Yarn: Five different colors of brushed mohair or one color depending on your preference. Decide whether to double your yarn by winding them into two balls or pull both ends (center and outside) for doubling.
- Needles:
- 4 mm needles: For ribbing.
- 4.5 mm needles: For the main body.
- Circular cables:
- 40 cm cable (for collar and armhole ribbing).
- 60 cm cable (for the main vest body).
- Additional tools: Stitch markers, scissors, needle for sewing, and wire bristle brush for brushing.
Stitch Guide
The vest employs the following stitches:
1. Knit Stitch:
- How-To:
- Insert the needle knitwise (through the front loop).
- Yarn over the needle and pull the loop through.
- Drop the old stitch off the needle.
2. Purl Stitch:
- How-To:
- Insert the needle purlwise (through the front loop from right to left).
- Bring the yarn to the front.
- Yarn over the needle and pull through.
- Drop the old stitch off the needle.
3. Ribbing (2×2 Rib):
- Alternate between:
- Knit two stitches (knits).
- Purl two stitches (purls).
- Repeat this pattern for the entire row/ribbon.
4. Mattress Stitch:
- Used for seaming panels together.
- Insert the needle in the stitch on one side, pull through, then alternate with the corresponding stitch on the opposite panel. Repeat back and forth for an invisible seam.
5. Decreases:
- Slip Slip Knit (SSK): Slip two stitches knitwise individually, return them onto the left needle, and knit them together through the back loops.
- Knit Two Together (K2Tog): Insert the needle into two stitches at once knitwise and knit them together.
Notes & Tips
Gauge Adjustments:
- Before casting on, knit a gauge swatch to measure how many stitches you need for your desired waist size.
Customization Ideas:
- Color Choices: The tutorial uses five colors, but you can use one color or as many as you’d like.
- Striping: Decide whether stripe widths will be consistent across colors or vary.
Brushing Technique:
- After finishing, use a wire bristle brush to fluff up the mohair.
- Always brush vertically (up and down) and avoid sideways brushing.
Pattern Instructions
1. Bottom Ribbing
- Casting On:
- Use the 4 mm needle with the 40 cm cable.
- Make a slip knot and cast on a number of stitches that are multiples of 4 for the ribbing pattern. Add one extra stitch for joining in the round.
- Example: Cast on 200 + 1 stitches.
- Joining in the Round:
- Ensure stitches are lying flat to avoid twisting.
- Pearlwise, go into the first stitch on the left needle.
- Use the left needle to grab the first stitch from the right needle and pass it over. Drop it off, re-tighten, and place a stitch marker to denote the start of the round.
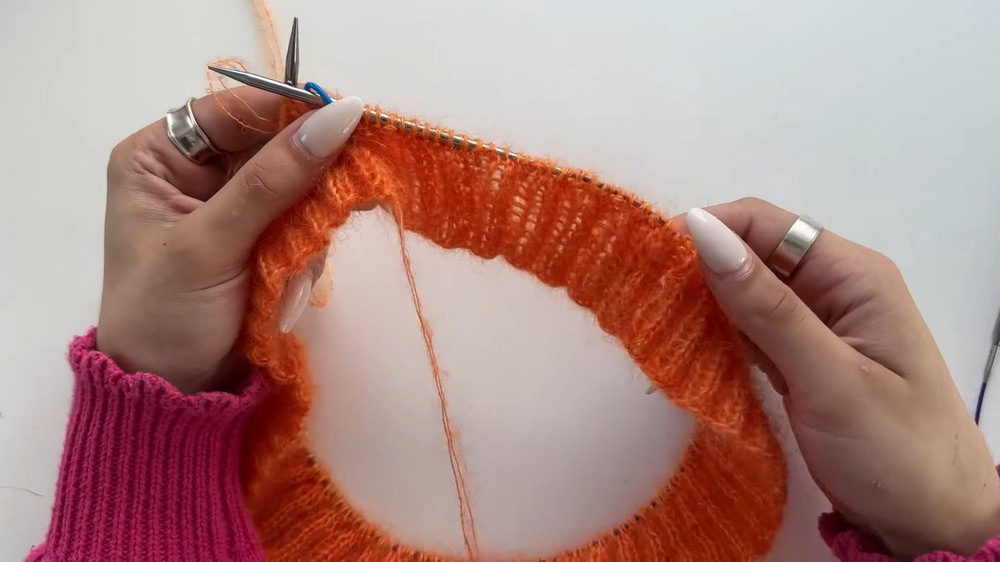
- Ribbing Pattern:
- Knit two, purl two for the entire round.
- Continue knitting your knits and purling your purls by observing the horizontal bars (purl) and V-shaped stitches (knit).
- Repeat for 12 Rows:
- Continue with the ribbing until it reaches the desired thickness.
2. Body of the Vest
- Switch Needles and Cable:
- Change to 4.5 mm needles and 60 cm cable for the main body.
- Begin Stockinette Stitch in the Round:
- Knit every stitch for all rounds.
- Color Changes (Optional):
- Introduce a new color to create stripes.
- Cut your yarn, leaving a tail, and start with the new color.
- Knit Until Waist Measurement is Achieved:
- Example: The tutorial recommends 66 rows in total (inclusive of the ribbing).
3. Splitting for Front and Back Panels
- Divide Stitches:
- Count half of the total stitches and place them onto a separate needle with a stopper.
- Work on One Panel:
- Start with the 100 stitches for the front panel and knit rows, turning your work at the end of each row instead of working in rounds.
- Decrease Rows:
- Row 1 (Right Side):
- Knit 1, SSK, knit until 3 stitches remain, K2Tog, knit 1.
- Row 2 (Wrong Side): Purl all stitches.
- Repeat Rows 1 and 2 until shoulder shaping is achieved. Decrease to the desired stitch count (tutorial decreases from 100 to 54).
- Row 1 (Right Side):
- Create Shoulder Pieces:
- Work shoulder pieces with 12 stitches each, decreasing to 8 by alternating knit rows with decreases and purl-only rows.
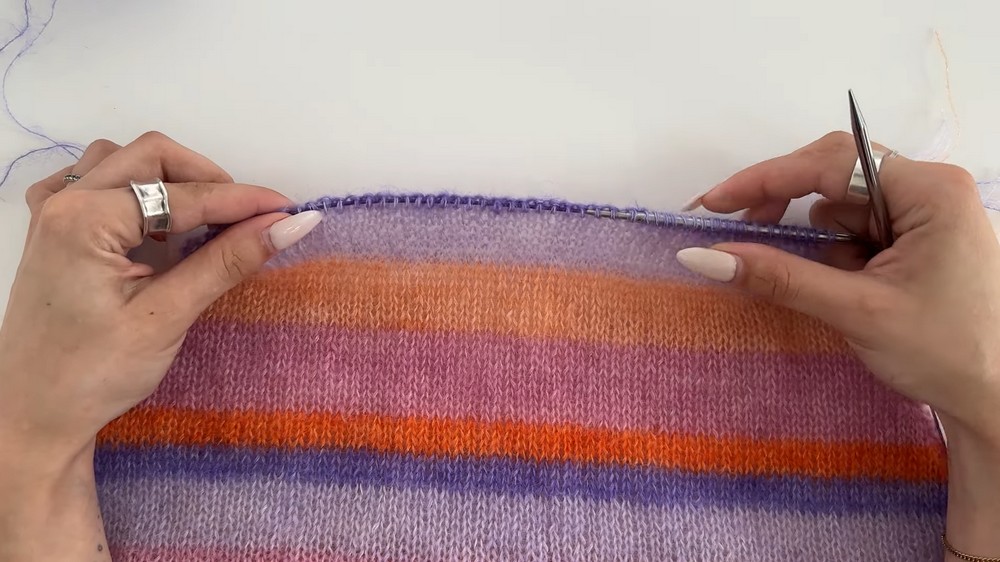
4. Back Panel
- Repeat the steps for the back, but reduce shoulder heights to create a shallower neckline for the back.
5. Seaming Panels Together
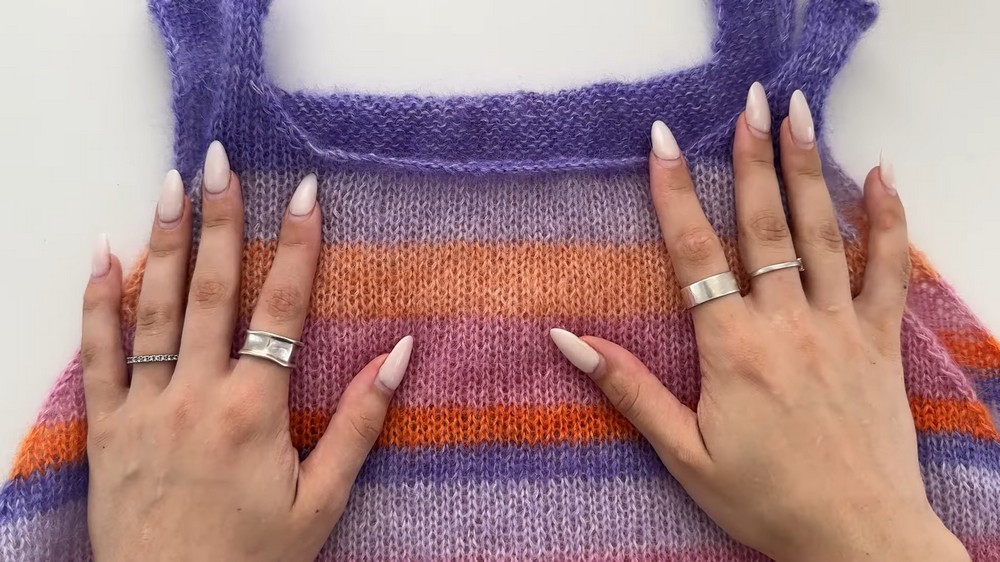
- Use mattress stitch to seam together the front and back shoulder panels.
6. Ribbing for Collar and Armholes
- Picking Stitches:
- Use the 4 mm needle with a 40 cm cable.
- Start at the shoulder seam and pick up stitches around the armhole or neckline. Ensure the stitch count is a multiple of 4.
- 2×2 Ribbing:
- Begin with knit two, purl two and repeat for six rounds (or desired thickness).
- Bind Off:
- Knit the knits and purl the purls as you cast off for a neat edge.
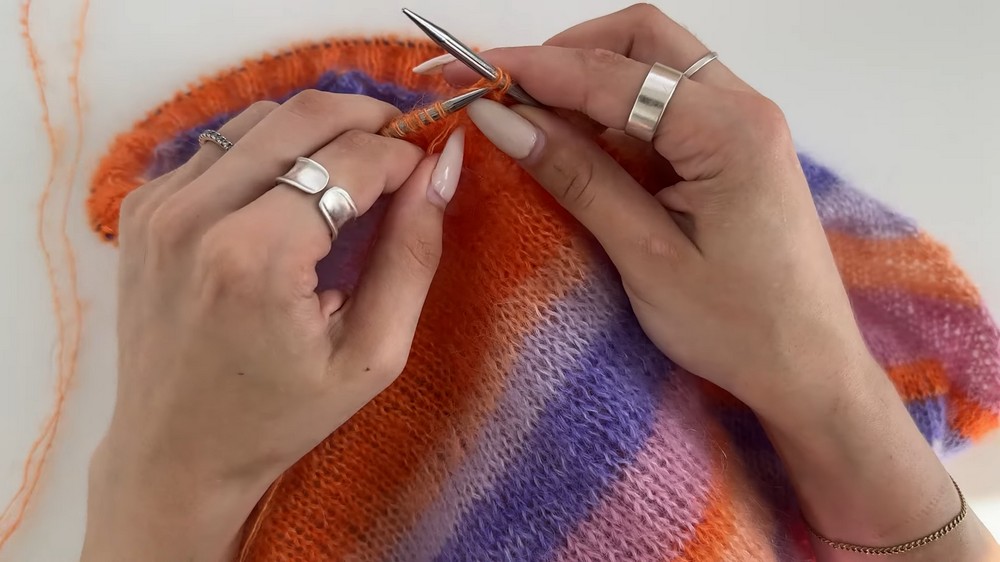
7. Brushing the Vest
- Use a wire bristle brush to fluff up the mohair. Brush in sections, holding the vest securely, and work vertically.
Finished Vest
Your brushed mohair vest is now complete! With its unique texture and customizable elements, this cozy project is sure to be one of your wardrobe favorites.
Pattern Question:
Q: How do I ensure I cast on the right number of stitches for my size?
A: Start by knitting a gauge swatch to determine how many stitches per inch you get. Use this information to calculate your cast-on stitches, ensuring it’s a multiple of four plus an extra stitch for joining in the round.