
Step-by-Step Guide to Crochet a Baby Monster Hat
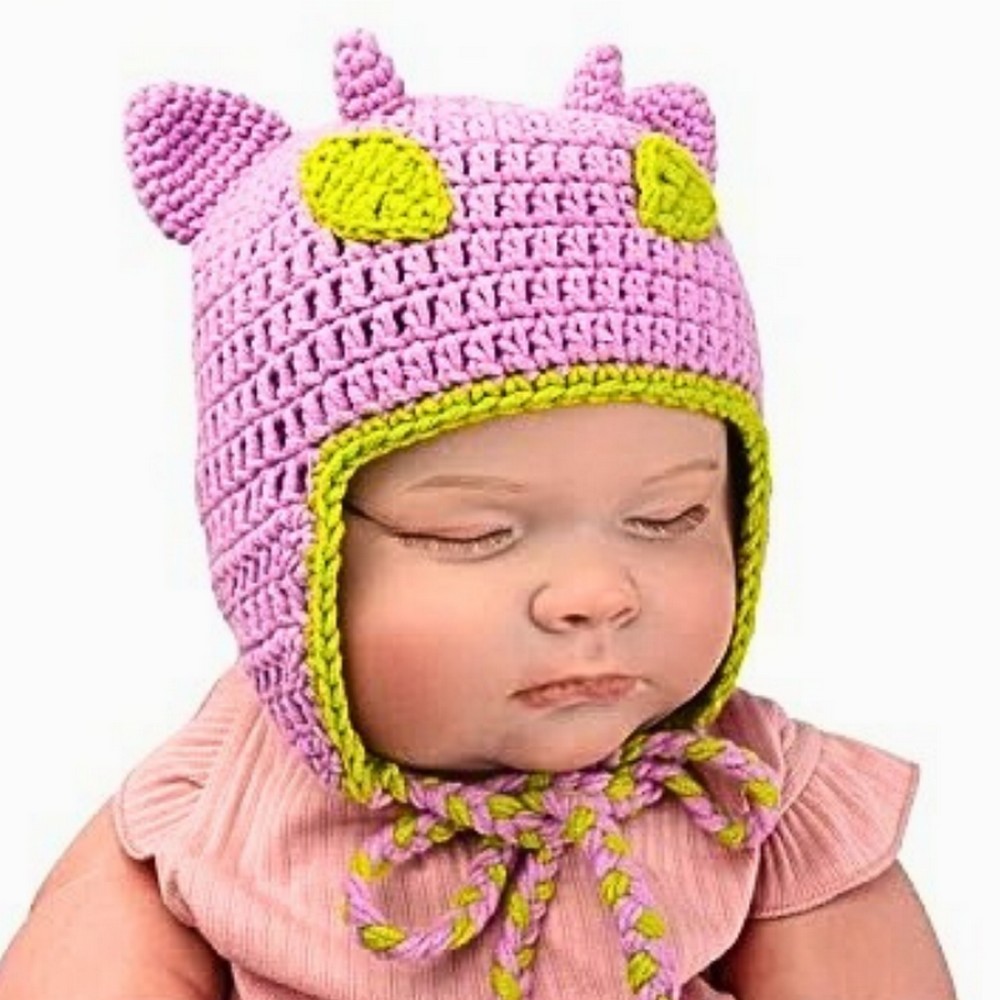
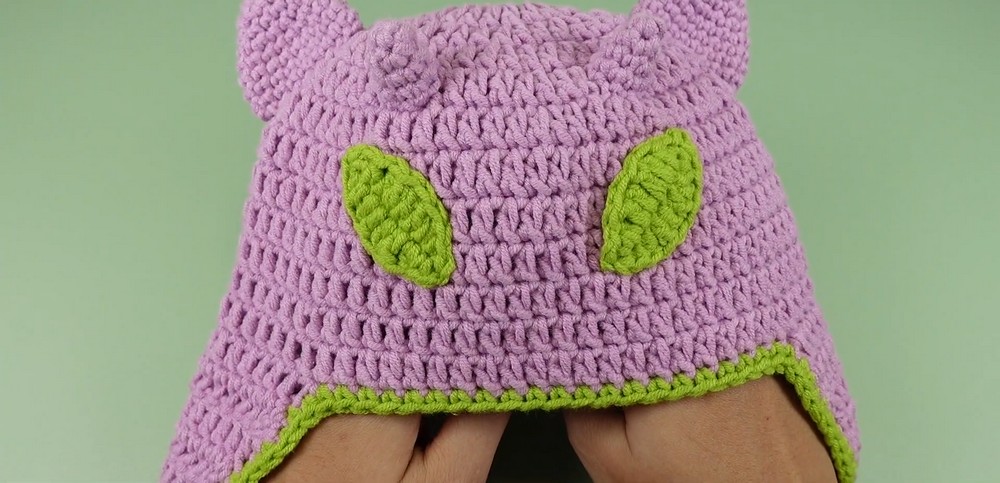
A tiny splash of color can turn an ordinary baby hat into the most unforgettable piece in the wardrobe. This crochet baby monster hat combines cozy comfort with playful details like cute horns, big eyes, and cheerful shades that instantly stand out.
It is a delightful crochet item that feels just as special to make as it does to see on a little one. Every stitch adds personality, creating something that brings smiles wherever your baby goes.
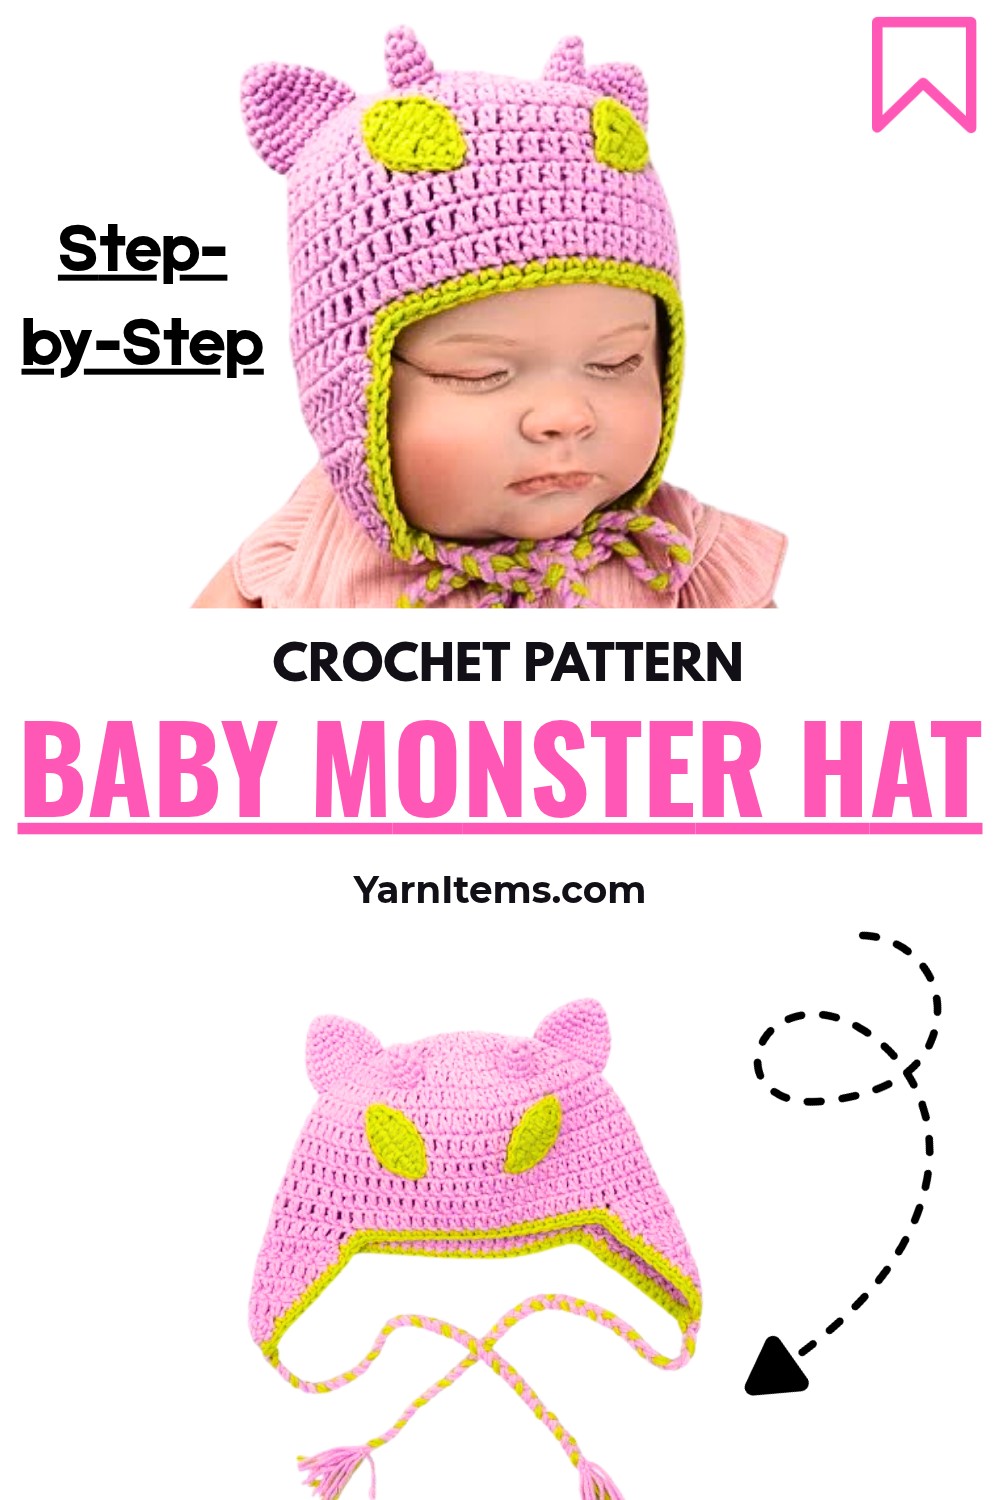
Bright details and a fun design make this crochet hat impossible to ignore from the very first glance. Along with keeping babies warm on cool days, it makes an adorable choice for family photos, celebrations, and memorable outings.
The simple construction keeps the process enjoyable for beginners while still producing a charming handmade item with plenty of character. By the end, you’ll have a colorful crochet piece that is both practical and filled with handmade love.
Credit Emma Crochet for Baby
Top Reasons to Love the Baby Monster Hat
- Beginner-Friendly
Even if you’re new to crocheting, this pattern is designed for success with easy, step-by-step instructions. - Whimsical Design
The monster-inspired details like ears, horns, and oversized eyes make it irresistibly fun and memorable. - Comfortable for Babies
Using soft yarn ensures both coziness and warmth, making it ideal for cool-weather wear. - Ideal for Special Moments
From baby showers to birthdays and family photos, this hat creates picture-perfect memories. - Customizable and Creative
You can experiment with different yarn colors for endless design possibilities or add fun personal touches. - Quick and Enjoyable
The hat comes together quickly, making it a satisfying project for busy crocheters or last-minute gift ideas.
Everything You’ll Need
- Yarn: Milk Cotton Yarn (Fingering weight / 2.5 mm rope yarn)
- Color A: Purple (Main Body, Ears, Horns)
- Color B: Bright Green (Edging, Eyes)
- Crochet Hooks:
- 4.5 mm (No. 7.5/0): Hat Crown, Body, Ear Flaps, Edging
- 3.5 mm (No. 6/0): Monster Ears, Horns, Eyes
- Accessories:
- Stitch markers
- Yarn needle
- Scissors
- Measuring tape
Choose the Perfect Size Before You Crochet
Premature Baby
- Hat Circumference: 12″–13″ (30.5–33 cm)
- Hat Depth: 4″ (10 cm)
0–3 Months
- Hat Circumference: 13.4″–15″ (34–38 cm)
- Hat Depth: 5″–5.5″ (12.5–14 cm)
3–6 Months (In Tutorial)
- Hat Circumference: 15.7″–17.3″ (40–44 cm)
- Hat Depth: 5.9″ (15 cm)
6–12 Months
- Hat Circumference: 17.3″–18.1″ (44–46 cm)
- Hat Depth: 6.3″ (16 cm)
1–2 Years
- Hat Circumference: 18.1″–18.9″ (46–48 cm)
- Hat Depth: 6.3″–6.9″ (16–17.5 cm)
2–5 Years
- Hat Circumference: 18.9″–19.7″ (48–50 cm)
- Hat Depth: 6.9″–7.5″ (17.5–19 cm)
6–10 Years
- Hat Circumference: 20.1″–20.9″ (51–53 cm)
- Hat Depth: 7.5″–7.9″ (19–20 cm)
Crochet Terms
-
ch: Chain
-
sl st: Slip stitch
-
sc: Single crochet
-
hdc: Half double crochet
-
dc: Double crochet
-
dc2tog: Double crochet 2 together (decrease)
-
2dc: 2 double crochet in the same stitch (increase)
-
2sc: 2 single crochet in the same stitch (increase)
-
MR: Magic Ring
-
st(s): Stitch(es)
Let’s Crochet This Cute Baby Monster Hat Step by Step
Component 1: Hat Crown & Body (Rounds 1–12)
Hat Crown (Increases)
- Round 1:
- In a magic ring (MR), ch 2, work 12 dc into the ring.
- Pull the tail to close the ring.
- Join with a sl st to the 1st dc. (12 sts)
- Round 2:
- Ch 2, 2 dc in each st around. (12 times)
- Join with a sl st to the 1st dc. (24 sts)
- Round 3:
- Ch 2, [1 dc, 2dc] (repeat 12 times).
- Join with a sl st to the 1st dc. (36 sts)
- Round 4:
- Ch 2, [1 dc, 2dc, 1 dc] (repeat 12 times).
- Join with a sl st to the 1st dc. (48 sts)
- Round 5:
- Ch 2, [3 dc, 2dc] (repeat 12 times).
- Join with a sl st to the 1st dc. (60 sts)
- Round 6:
- Ch 2, [9 dc, 2dc] (repeat 6 times).
- Join with a sl st to the 1st dc. (66 sts)
Measurement Check: At this point, the crown diameter should measure approximately 16″–17″ in circumference, fitting a 3–6 month size head.
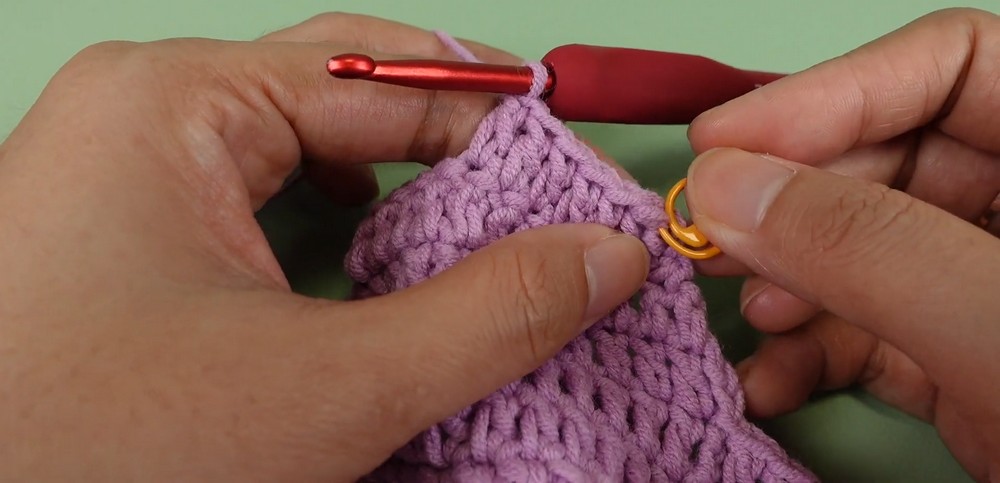
Hat Body (Straight Rounds)
-
- Ch 2, 1 dc in each st around (66 sts).
- Sl st to the 1st dc to join.
- Do not fasten off after Round 12.Rounds 7–12:
Component 2: Ear Flaps (Make 2)
Note: Ear flaps are worked in turned rows directly onto the bottom edge of the hat.
- First Ear Flap:
- Row 1: Ch 2, 13 dc across the next 13 sts. Turn. (13 sts)
- Row 2: Ch 2, dc2tog, 9 dc, dc2tog. Turn. (11 sts)
- Row 3: Ch 2, dc2tog, 7 dc, dc2tog. Turn. (9 sts)
- Row 4: Ch 2, dc2tog, 5 dc, dc2tog. Turn. (7 sts)
- Row 5: Ch 2, dc2tog, 3 dc, dc2tog. Turn. (5 sts)
- Row 6: Ch 2, dc2tog, 1 dc, dc2tog. Fasten off and cut yarn. (3 sts)
- Second Ear Flap:
- Skip 20 stitches along the brim from the edge of the 1st ear flap.
- Reattach yarn into the 21st stitch.
- Repeat Rows 1–6 as for the first ear flap.
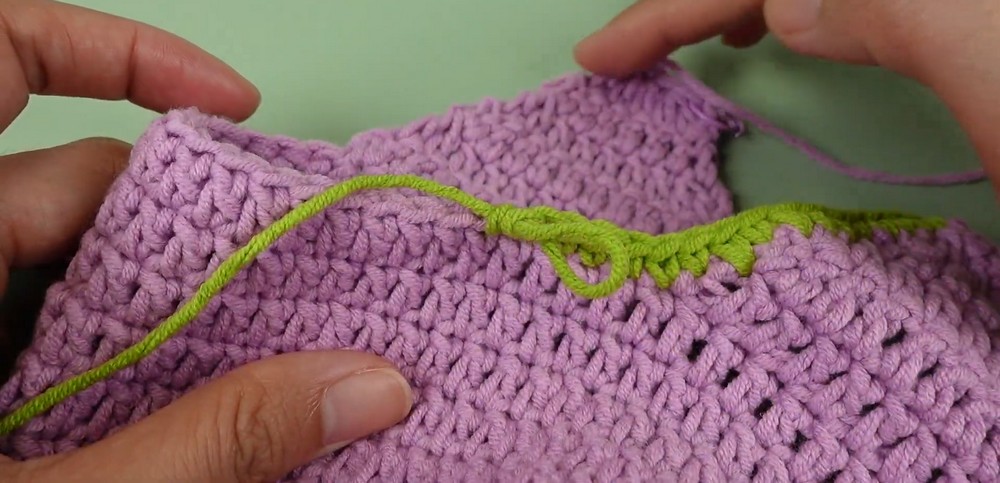
Component 3: Border Edging
-
- Join yarn at any stitch along the bottom rim/ear flap edge.
- Round 1: Ch 1, work 1 sc evenly around the hat’s brim and both ear flaps.
- Sl st to the 1st sc or use an invisible join.
- Fasten off and weave in all ends.Using Color B (Bright Green):
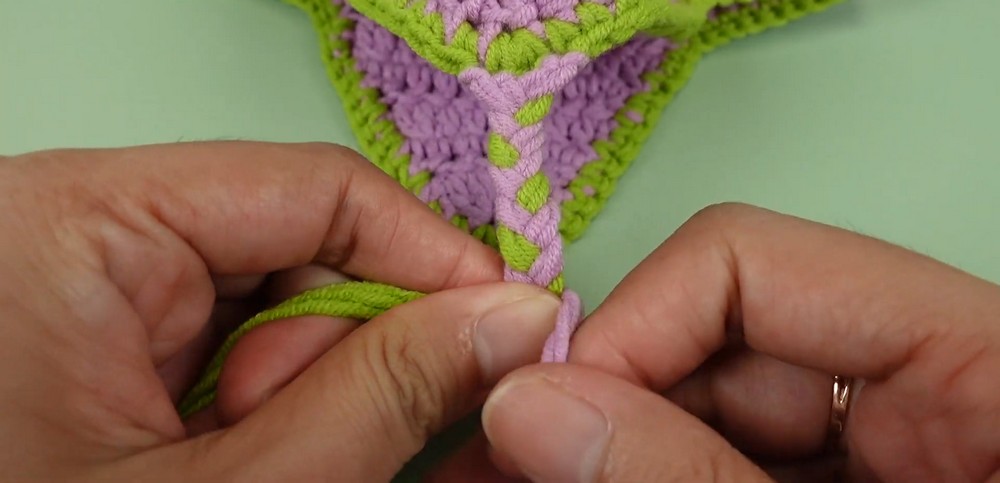
Component 4: Three-Strand Braided Ties
- Strand Preparation:
- Cut 2 bright green strands and 4 purple strands for each ear flap (all equal lengths).
- Attachment:
- Fold 6 strands in half to form a loop.
- Use a hook to pull the loop through the ear flap’s tip.
- Pull ends through the loop to secure.
- Braiding:
- Divide 12 strands into 3 groups (mix colors as desired).
- Braid tightly (~8″–10″ length).
- Tie a knot at the base and trim evenly.
Component 5: Monster Ears (Make 2)
- Using Color A (Purple):
- Round 1: In MR, ch 1, 6 sc into ring. Sl st to 1st sc. (6 sts)
[Time Marker: 27:03] - Round 2: Ch 1, [1 sc, 2sc] (repeat 3 times). (9 sts)
- Round 3: Ch 1, [1 sc, 2sc, 1 sc] (repeat 3 times). (12 sts)
- Round 4: Ch 1, [3 sc, 2sc] (repeat 3 times). (15 sts)
- Round 5: Ch 1, [2 sc, 2sc, 2 sc] (repeat 3 times). (18 sts)
Rounds 6–8: Ch 1, 1 sc in each st around (18 sts).
- Fasten off, leaving a long tail (~10″) for sewing.
- Round 1: In MR, ch 1, 6 sc into ring. Sl st to 1st sc. (6 sts)
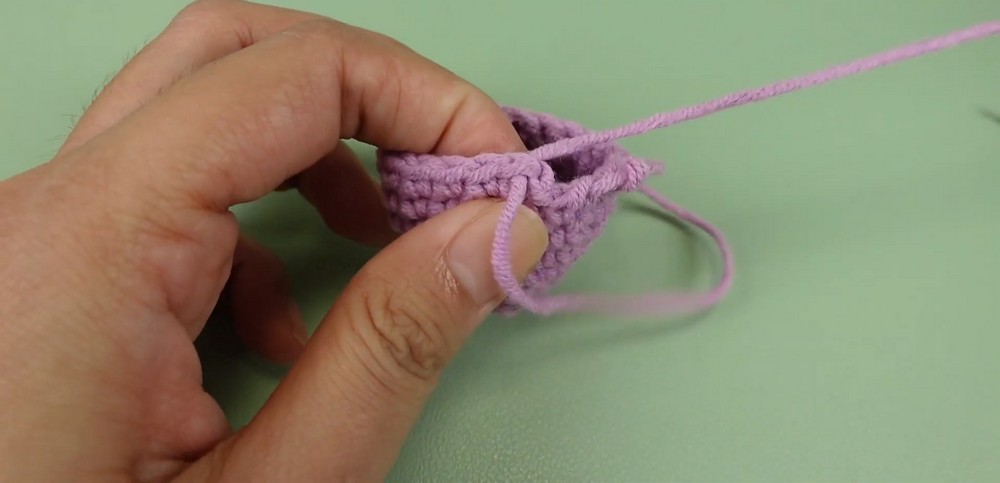
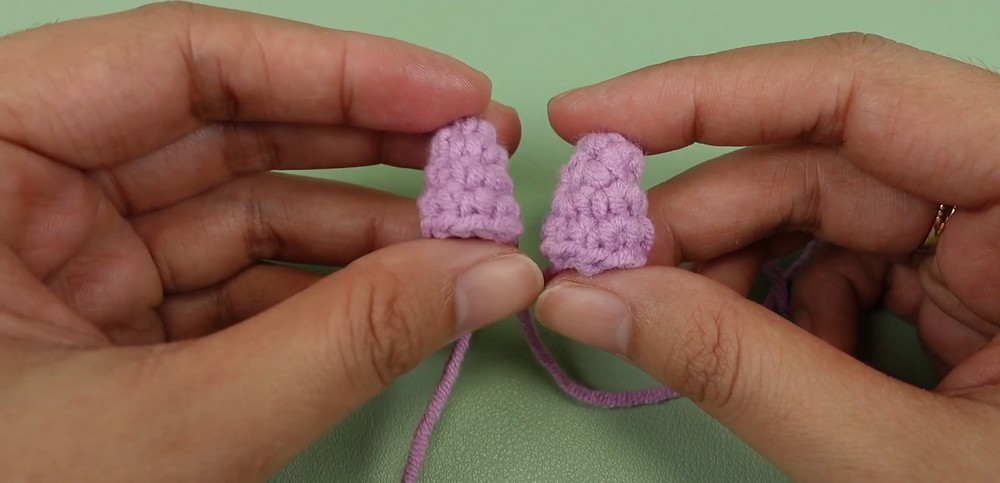
Component 6: Horns (Make 2)
- Round 1: In MR, ch 1, 4 sc. Sl st to 1st sc. (4 sts)
- Round 2: Ch 1, [1 sc, 2sc] *(repeat 2 times). (6 sts)
- Round 3: Ch 1, [1 sc, 2sc, 1 sc] *(repeat 2 times). (8 sts)
- Round 4: Ch 1, 1 sc in each st (8 sts).Fasten off and leave a long tail for sewing.
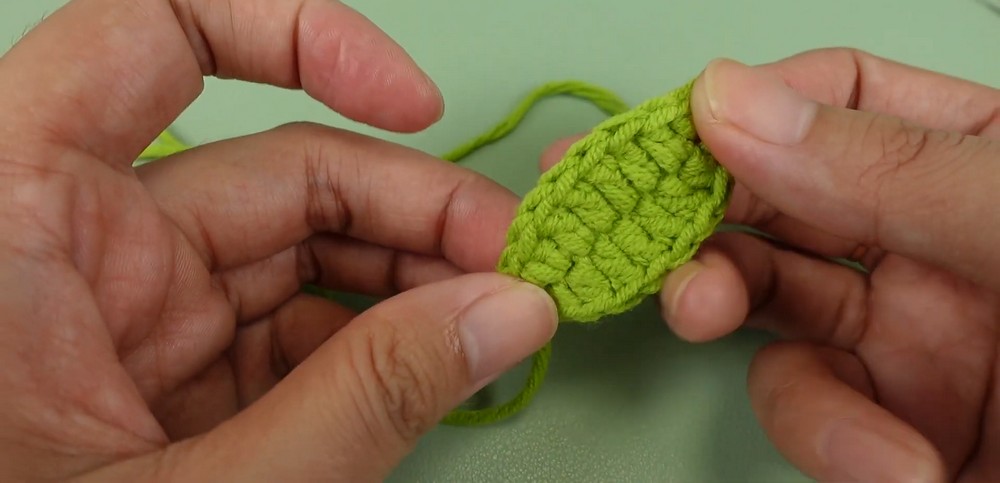
Component 7: Eyes (Make 2)
- Using Color B (Bright Green):
- Ch 10.
- Round 1 (Oval): Starting in 2nd ch from the hook:
- Work down 1 side: 1 sl st, 1 sc, 1 hdc, 4 dc, 1 hdc, 1 sc, 1 sl st.
- Rotate and work along the other side of the chain.
The Final Assembly That Turns It Into an Adorable Monster
- Sewing:
- Attach monster ears on the top sides of the hat (centered at Rounds 3–4).
- Place horns between the ears near the forehead.
- Flatten eyes and sew to the hat’s front.
Final Touches Before Your Monster Hat Is Ready
-
- Secure all yarn ends with knots, weave them in, and trim excess.




One Comment