Learn How to Crochet a Hexagon Granny Square with Six Unique Corners
A simple change in shape can completely transform the look of classic crochet. The beautiful crochet hexagon granny square brings a fresh style with its six graceful corners and eye-catching design.
This charming piece feels light, balanced, and full of creative possibilities for every skill level. It easily becomes a standout item whether you prefer soft shades or bold color combinations.
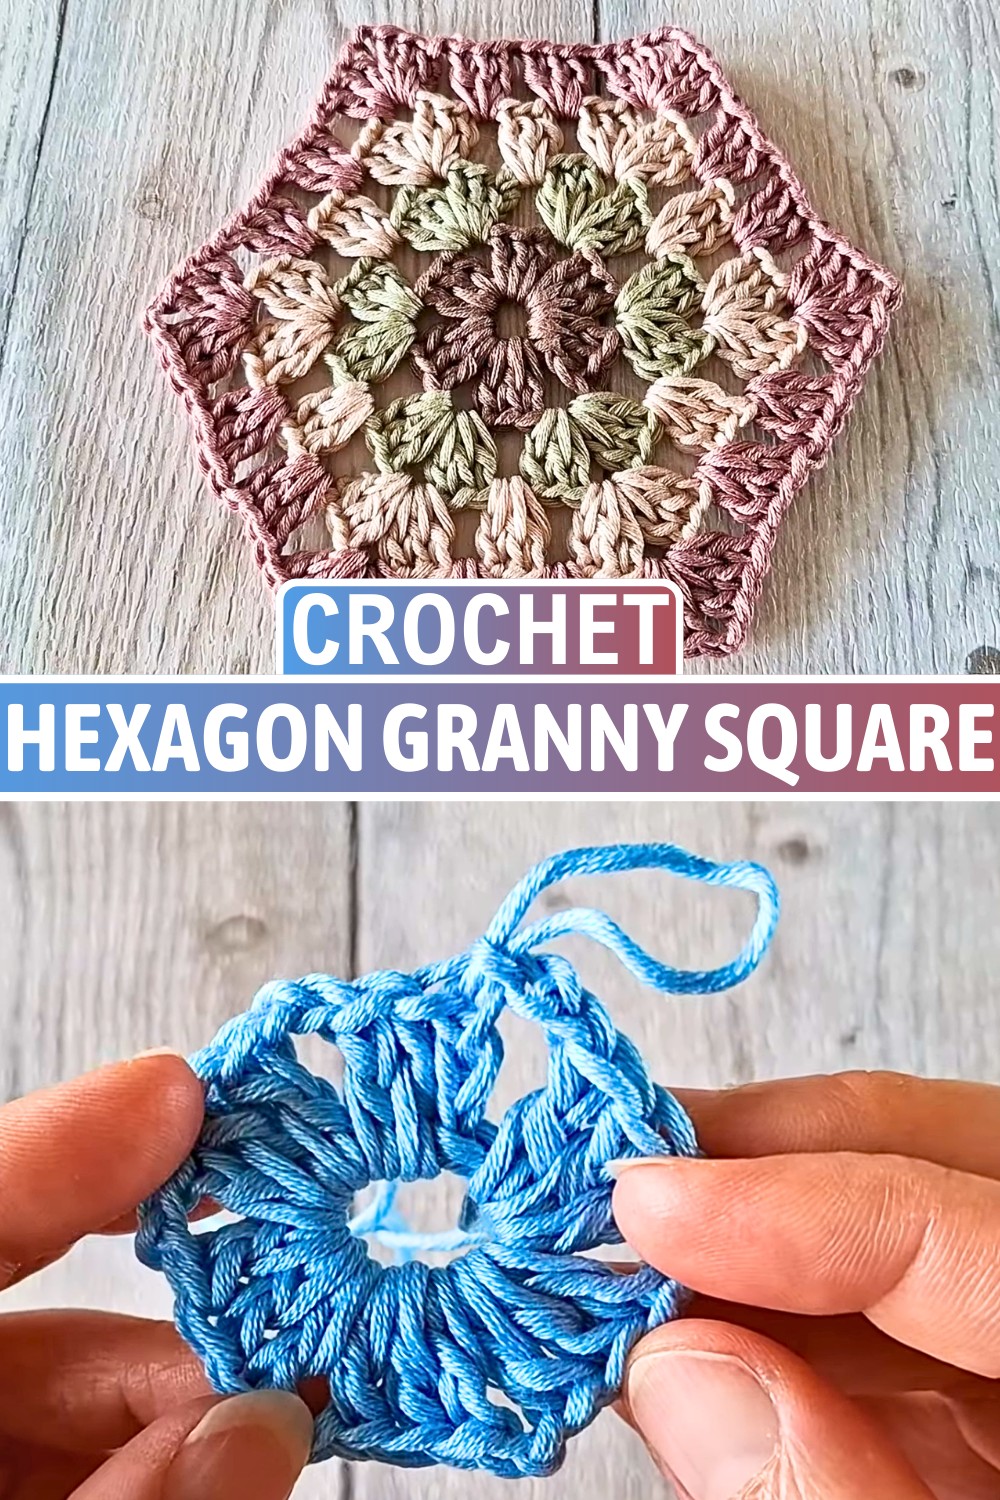
Every new round adds more beauty without making the pattern feel complicated. Built with familiar stitches, this lovely crochet piece grows smoothly while keeping its neat hexagon shape.
It works beautifully for blankets, bags, table covers, wall décor, and many other handmade items. The flexible design also makes it easy to adjust the size, giving every finished crochet piece its own unique character.
Credit Crochet And Coffee
Materials & Tools Needed
- Yarn: Any yarn of your choice (tutorial uses multiple colors for clarity). Recommended: Medium-weight yarn.
- Hook: Crochet hook suitable for your chosen yarn (e.g., 4mm or 5mm for medium-weight yarn).
- Scissors: To cut yarn during color changes or finishing.
- Tapestry Needle: To weave in ends neatly.
Finished Size & Customization Ideas
- Size: The hexagon granny square’s size depends on the number of rounds you complete, yarn weight, and hook size. Start with 3 rounds as per the tutorial, and adjust as desired.
- Customization:
- Use multiple colors for each round for a vibrant look.
- Create a blanket, coaster, or table runner by joining multiple hexagons.
- Experiment with yarn types like cotton for sturdier projects or acrylic for softer textures.
Pattern Note
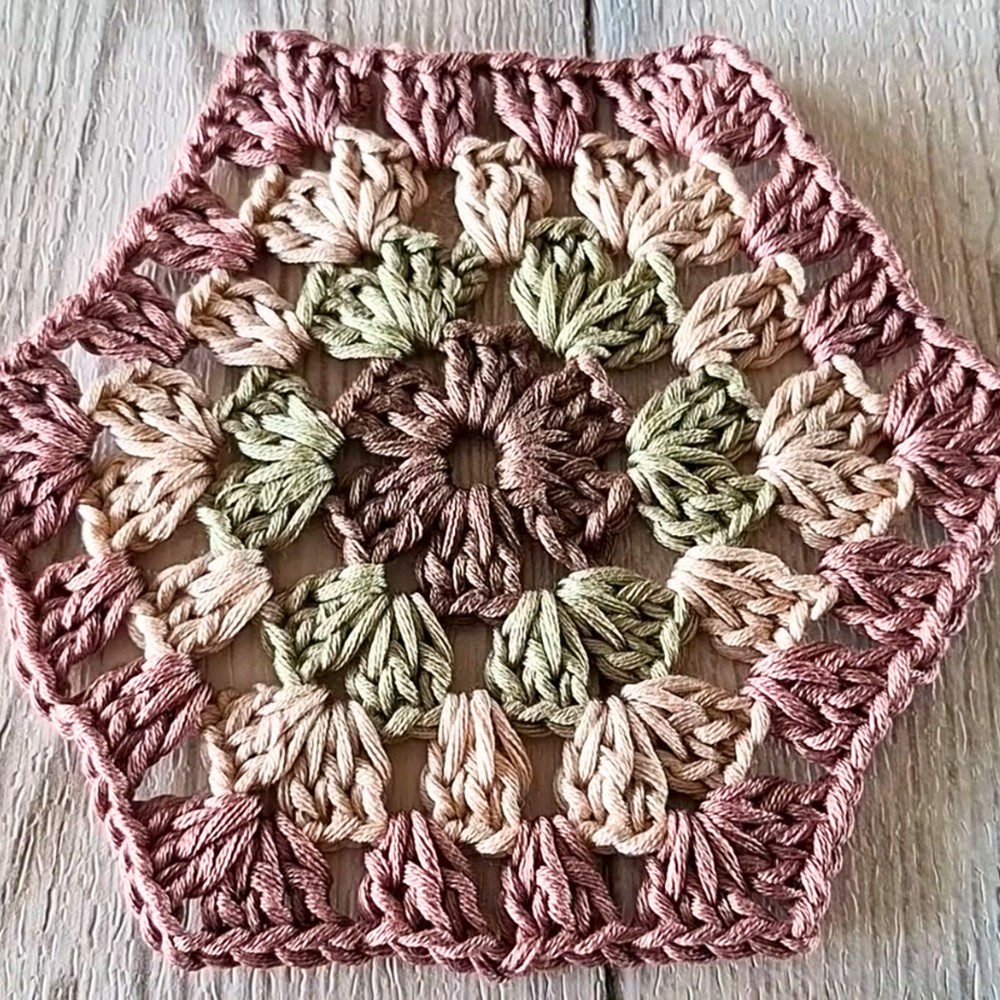
- This hexagon uses clusters of three double crochets with chain spaces to form its shape.
- Unlike traditional granny squares, this pattern creates six corners instead of four.
- Each corner consists of two 3-dc clusters separated by chain spaces to maintain the hexagonal design.
Pattern Abbreviations & Terminology
- ch: Chain
- sl st: Slip Stitch
- dc: Double Crochet
- sp: Space
- yo: Yarn Over
- cluster: A group of 3 double crochets worked into the same space.
Terminology:
The tutorial uses standard US crochet terms.
Tips Before You Start
- Practice Regular Granny Squares: If you’re unfamiliar with granny squares, practice a traditional four-corner granny square to understand the technique.
- Color Changes: Master the standing stitch technique for neat and secure color transitions between rounds.
- Tension: Maintain consistent tension throughout for an even appearance.
Step-by-Step Detailed Crochet Instructions
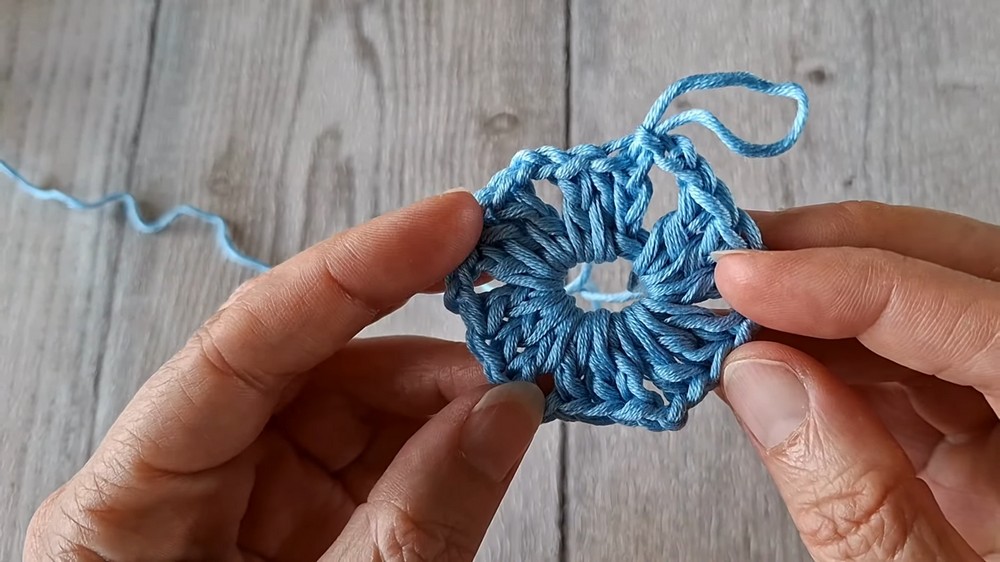
Round 1: Create the Foundation
- Create a Ring:
- Chain 6.
- Join with a slip stitch into the first chain to form a ring.
- Start with First Cluster:
- Chain 3 (counts as the first double crochet).
- Work 2 dc into the ring. This forms your first cluster.
- Create the Corners:
- Chain 2 (corner space).
- Into the ring, work a cluster of 3 dc (second cluster).
- Repeat the pattern: Cluster of 3 dc → Chain 2, until you have 6 clusters and 6 chain-2 spaces.
- Finish Round 1:
- Chain 2, and join with a slip stitch into the third chain of the starting chain-3.
- You now have 6 clusters forming the hexagon’s base.
Round 2: Expand the Hexagon
- Transition to the First Corner:
- If continuing with the same color:
- Slip stitch into the next dc, and then into the chain-2 space.
- If changing colors:
- Cut the yarn, fasten off, and attach new yarn with a slip knot. Begin in any chain-2 corner space.
- If continuing with the same color:
- Work Each Corner:
- Start with Chain 3 (counts as the first dc), and work 2 more dc into the corner space.
- Chain 2, and work another cluster of 3 dc into the same space (corner completed).
- Create Chain-1 Spaces Between Corners:
- Chain 1, and move to the next chain-2 space.
- Repeat the Pattern All Around:
- In every corner: (3 dc → Chain 2 → 3 dc).
- Between corners: Chain 1.
- Finish Round 2:
- After the last chain-1, join with a slip stitch into the third chain of the starting chain-3.
- Fasten off or slip stitch to the next round.
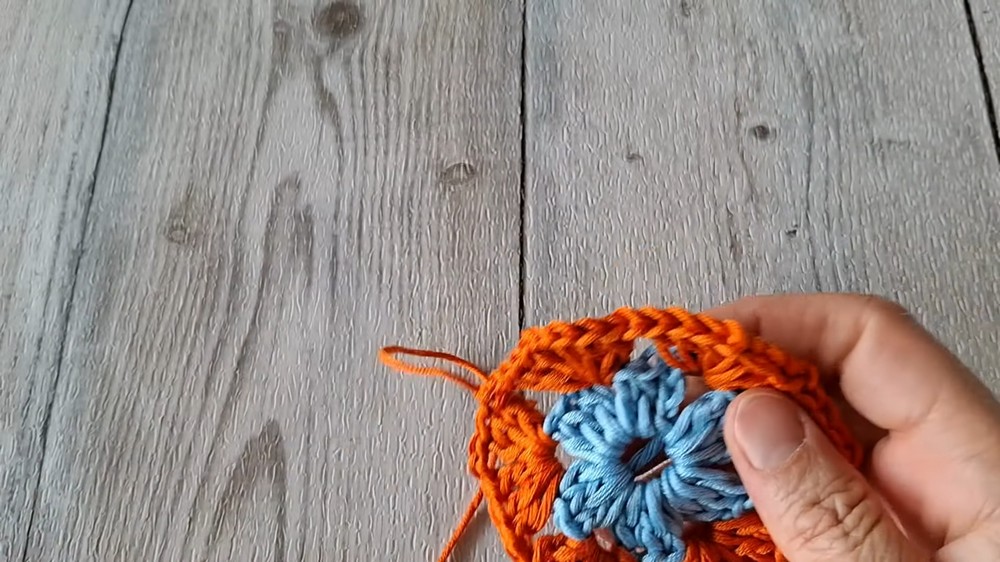
Round 3: Add Color and Build the Shape
- Prepare for the Next Round:
- If using the same color: Slip stitch to the next chain space.
- If changing colors: Fasten off, attach new yarn, and begin in any chain-2 corner space.
- Corners:
- Work a corner using the pattern: (3 dc → Chain 2 → 3 dc).
- Chain-1 Spaces:
- Work 3 dc into each chain-1 space between corners.
- Repeat the Pattern:
- Continue all around the hexagon, placing clusters in chain-1 spaces and corners in chain-2 spaces.
- Finish Round 3:
- Join with a slip stitch. Fasten off if completed or repeat additional rounds following the same pattern.
Additional Rounds
- Follow the same process as Round 3, with:
- Clusters in chain spaces (3 dc).
- Corners as 3 dc → Chain 2 → 3 dc.
- Chain-1 spaces between corners maintained for growth.
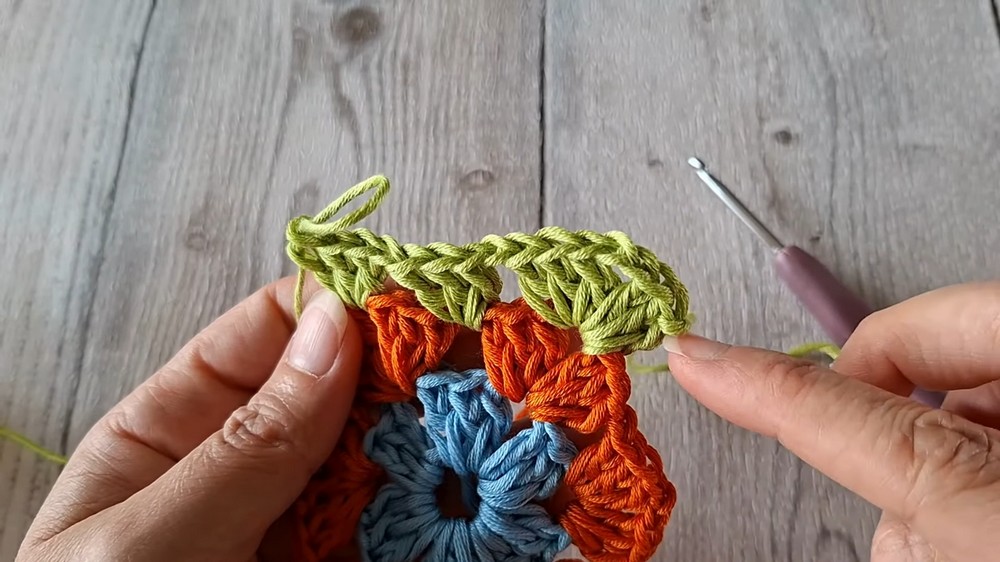
Final Assembly
- Joining Hexagons:
- Use slip stitch, whip stitch, or join-as-you-go methods to attach multiple hexagons.
- Align corners and side chain spaces neatly.
- Weave in Ends:
- Use a tapestry needle to weave in any remaining yarn tails for a polished finish.
- Block Your Work:
- Lightly block your hexagon granny squares to even out the shape and stitches.
Conclusion
The hexagon granny square is a versatile and easy-to-follow pattern, ideal for beginners and advanced crocheters alike. Its six-corner design adds a unique visual appeal, and the ability to customize with colors makes it suitable for various projects like blankets, coasters, and bags. Follow the pattern instructions carefully, and feel free to experiment with yarn weights and combinations to create a piece that reflects your creativity. Enjoy crocheting!