Free Crochet Strawberry Bucket Hat Pattern
Need a playful summer accessory? This crochet strawberry bucket hat combines a bright red crown, leafy green top, and tiny yellow seeds for a fruity handmade look.
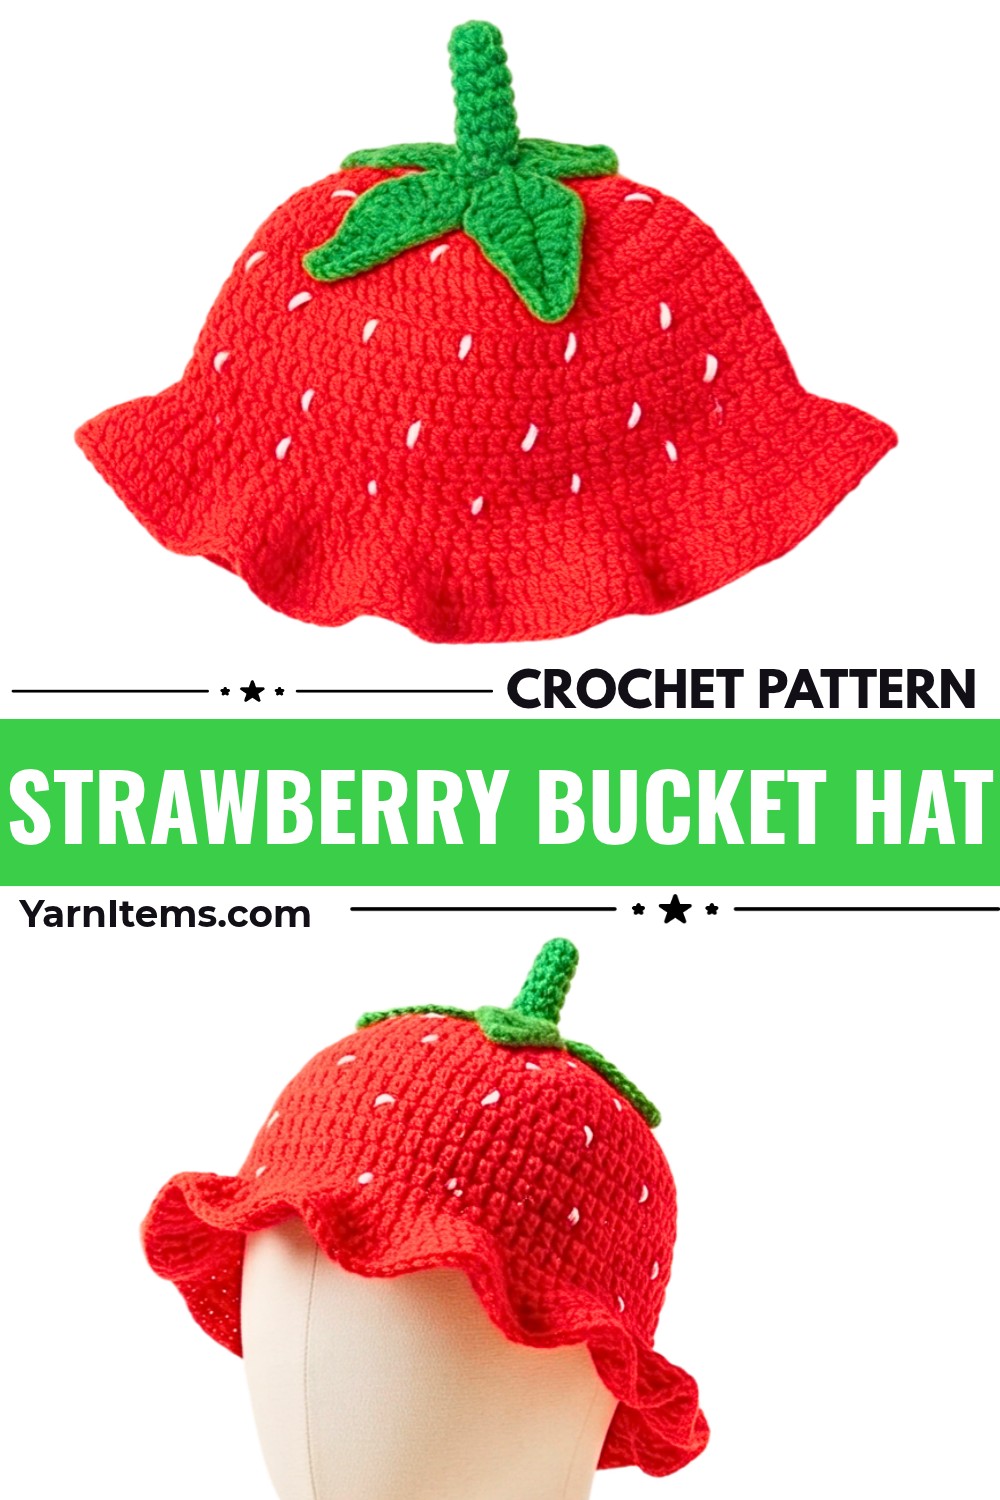
This bright red bucket hat, decorated like a ripe crochet strawberry, adds a fun pop of color to a casual outfit. Its rounded crown, gently flared brim, leafy green top, and scattered white seeds give it a recognizable fruit-inspired look, while the wearable crochet shape makes it suitable for sunny days, summer outings, and playful everyday styling. The stretchy fit suits teens and adults, making it a cheerful handmade accessory to enjoy or give as a gift.
You’ll crochet the hat from the crown downward, increasing the stitches to create its rounded shape before working the straight sides and flared brim. After you finish the red hat, make a small green stem and five individual leaves, sew them onto the crown, and embroider yellow seeds across the body. The instructions below guide you through each crochet part, including ways to adjust the hat depth and brim shape.
Credit Arosiesky
Materials & Tools Needed
- Red Yarn: 5-ply milk cotton yarn (Main hat body)
- Green Yarn: 5-ply milk cotton yarn (Stem and leaves)
- Yellow Yarn: For embroidering the seeds
- Crochet Hook: 4.5 mm
- Notions: Scissors and yarn needle
Finished Size & Customization Ideas
Finished Size: Standard adult/teen bucket hat size (stretchy fit).
You can adjust the shape of the hat to suit your preferred fit:
- Hat Depth: Adjust the number of straight body rounds (Rounds 7–12) to make the hat shallower or deeper.
- Brim Shape: Adjust the brim increase frequency to make the brim flatter or wider.
Pattern Abbreviations & Terminology
- Ch: Chain
- St: Stitch
- Sl St: Slip stitch
- Sc: Single crochet
- Hdc: Half double crochet
- Dc: Double crochet
- Rnd: Round
- Rep: Repeat
How the Strawberry Bucket Hat Takes Shape
Crochet the hat from the top of the crown downward. The first six rounds gradually increase the stitch count to create the rounded top. Once the crown reaches 72 stitches, Rounds 7–12 maintain that stitch count to form the sides of the hat. The final three rounds add increases again, allowing the brim to spread outward.
This shift from increasing to straight rounds, then back to increasing, gives the hat its bucket-hat silhouette. Tracking the round numbers also makes it easier to adjust the depth without accidentally changing the crown or brim shaping.
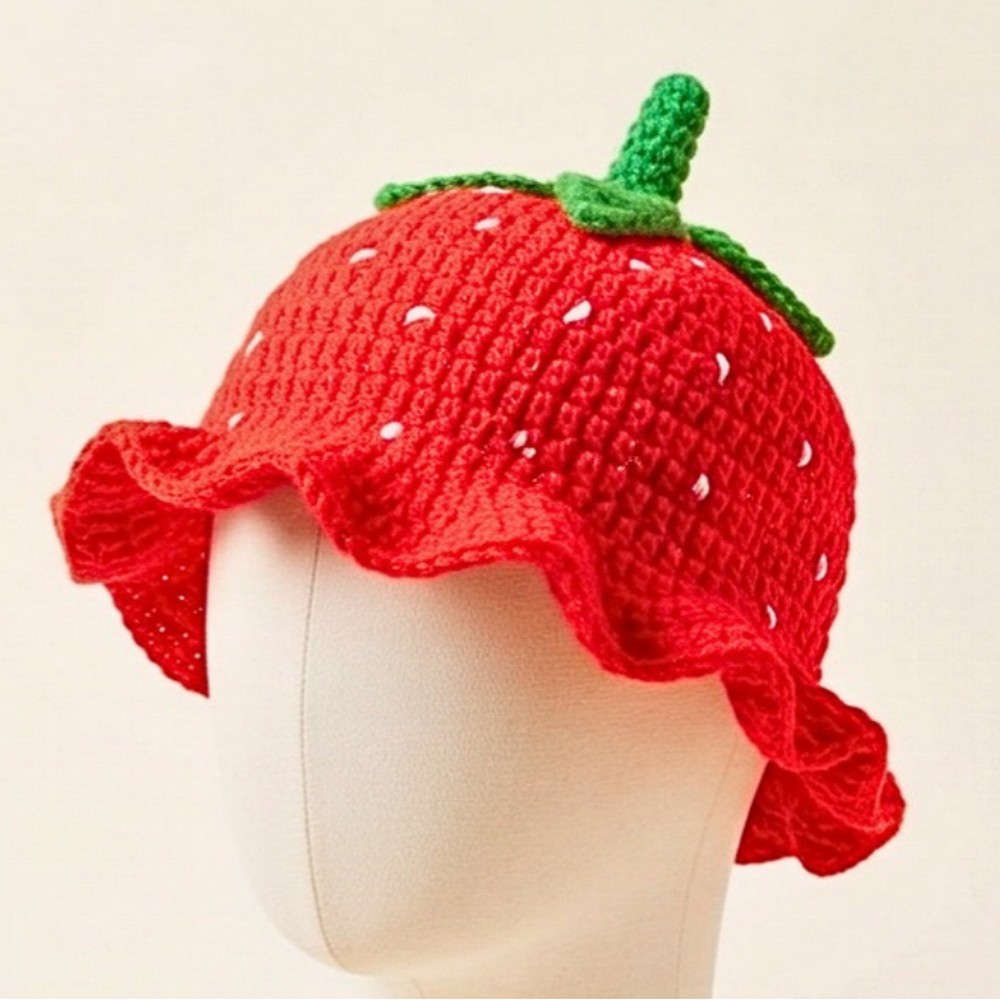
Part 1: Crochet the Red Hat Body
Use red 5-ply milk cotton yarn and a 4.5 mm crochet hook.
Work in rounds. Each round is joined with a slip stitch to the first stitch and begins with a Chain 2 (Ch 2) unless otherwise noted.
Shape the Crown
- Rnd 1: Start with a magic circle, work 12 Dc into the circle, pull the tail tight to close, and join with a sl st to the top of the first DC. (12 St)
- Rnd 2: Ch 2, work 2 Dc into each st around, join with a sl st. (24 St)
- Rnd 3: Ch 2, 1 Dc in the next st, 2 Dc in the next st; rep from * around, join with a sl st. (36 St)
- Rnd 4: Ch 2, 1 Dc in each of the next 2 sts, 2 Dc in the next st; rep from * around, join with a sl st. (48 St)
- Rnd 5: Ch 2, 1 Dc in each of the next 3 sts, 2 Dc in the next st; rep from * around, join with a sl st. (60 St)
- Rnd 6: Ch 2, 1 Dc in each of the next 4 sts, 2 Dc in the next st; rep from * around, join with a sl st. (72 St)
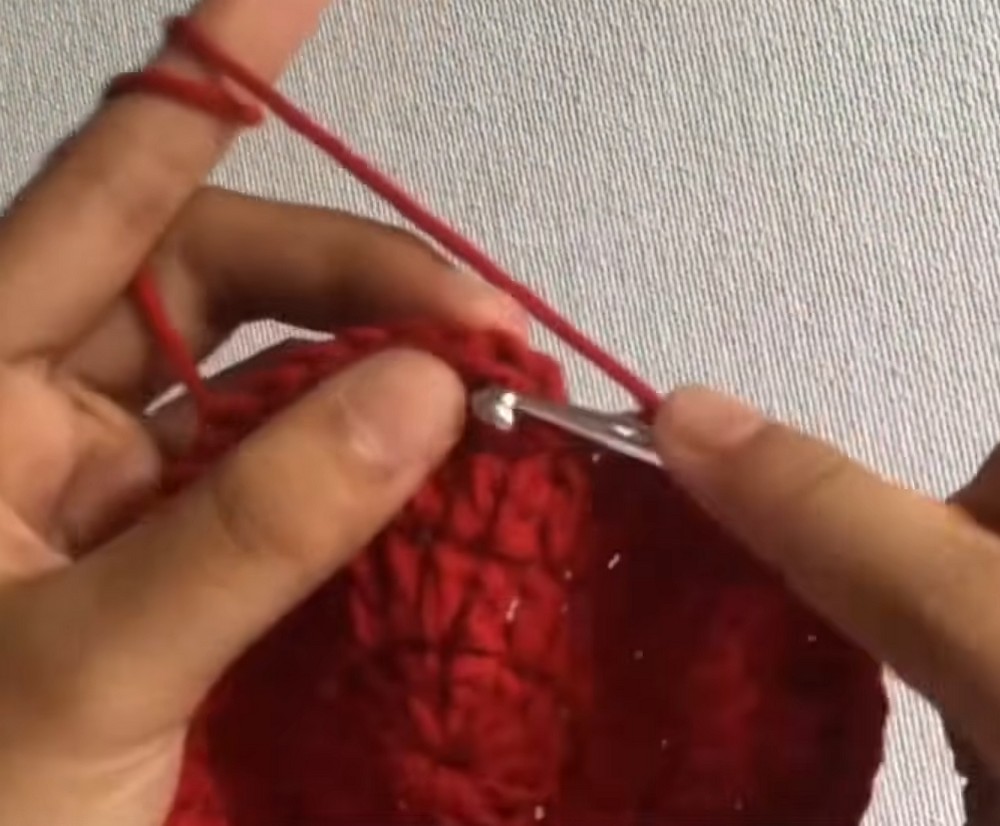
Work the Straight Hat Body
With the crown complete, continue without increasing to build the bucket hat sides.
- Rnds 7-12: Ch 2, 1 Dc in each st around, join with a sl st. (72 St per round)
Crochet the Flared Brim
The last three rounds increase the stitch count to create the outward-spreading brim.
- Rnds 13-15 (Brim): Ch 2, 1 Dc in each of the next 2 sts, 2 Dc in the next st; rep from * around, join with a sl st. At the end of Rnd 15, chain 1, cut the yarn, and pull through to fasten off.
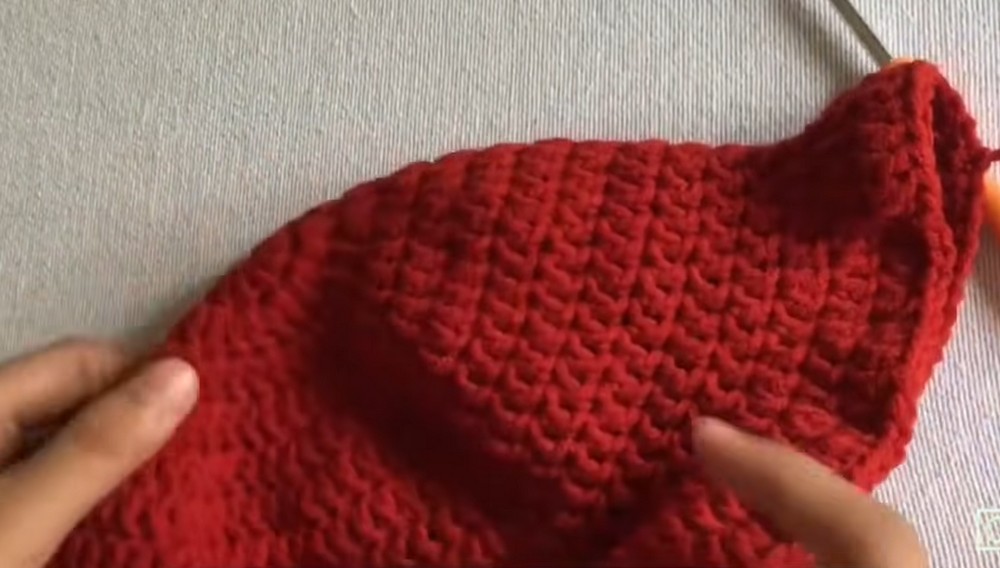
Part 2: Make the Green Stem and Leaves
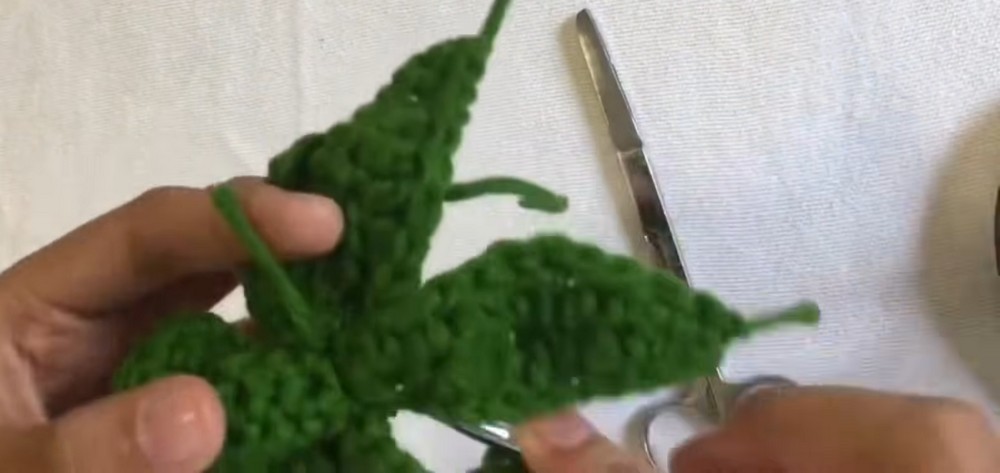
Make the strawberry decoration separately using green yarn. It has one small center stem and five leaves, sewn onto the top of the red hat.
Crochet the Center Stem
Use green yarn.
- Rnd 1: Make a magic circle, work 6 Sc, join with a sl st. (6 St)
- Rnds 2-5: Chain 1, work 1 Sc in each st around, join with a sl st. Fasten off, leaving a tail for sewing.
Make the Five Strawberry Leaves
Make 5 leaves using green yarn. Each leaf begins with a chain, and you work stitches along both sides of that chain to form its shape.
For each leaf:
- Step 1: Chain 11.
- Step 2 (Working down one side of the chain): Work 2 Sc, 2 Hdc, 3 Dc, 2 Hdc, 1 Sc, 1 sl st.
- Step 3 (Working down the opposite side of the chain): Chain 1, work 1 Sc, 2 Hdc, 3 Dc, 2 Hdc, 2 Sc, 1 sl st to finish. Fasten off, leaving a tail for assembly.
Repeat these steps until you have five individual leaves.
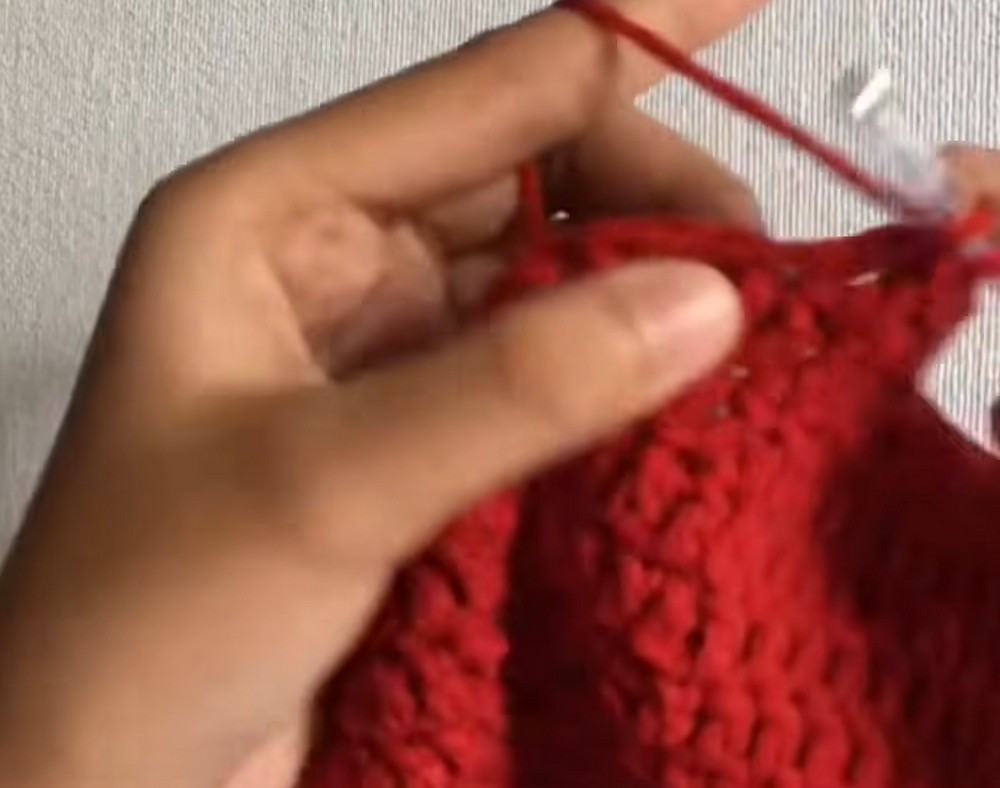
Part 3: Assemble the Strawberry Decoration
Once the red hat, center stem, and five leaves are ready, arrange the green pieces at the top of the crown.
Attach the Stem and Leaves
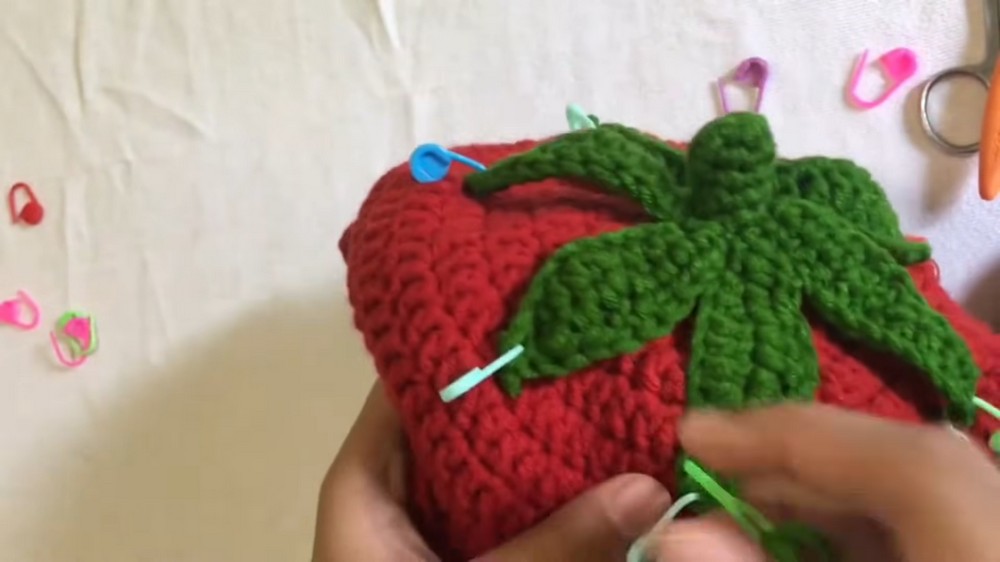
- Position the center stem at the exact top center of the red hat body, surrounded by the 5 individual leaves.
- Use stitch markers to pin them securely in place.
- Thread your yarn needle with green yarn and neatly sew the leaves and stem down to the hat crown.
Embroider the Yellow Strawberry Seeds
The yellow embroidery gives the red hat its strawberry-inspired finish.
- Thread your yarn needle with yellow yarn.
- Secure your yarn inside the hat.
- Stitch short, angled, straight stitches scattered across the red body of the hat to mimic strawberry seeds.
- Fasten off securely on the inside.
Finishing Your Crochet Strawberry Bucket Hat
Weave in all remaining loose yarn ends securely, checking that the green leaves and stem are firmly attached and the yellow seed stitches are secure on the inside.
Your Crochet Strawberry Bucket Hat is complete and ready to wear! Enjoy its bright fruit-inspired look as a playful summer accessory or a handmade gift for someone who loves colorful crochet pieces.