Tiny Crochet Christmas Decorations for Festive Home Décor
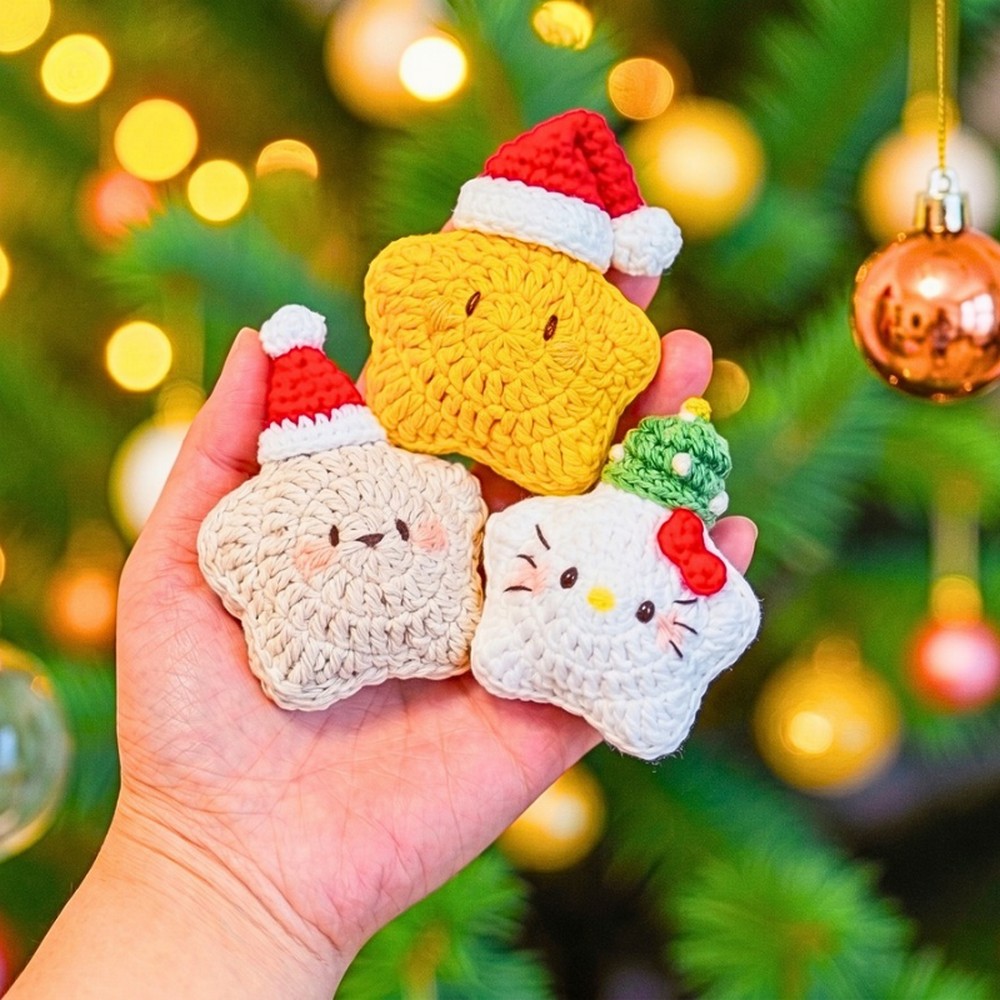
Sometimes the smallest decorations make the biggest difference during Christmas. These tiny crochet Christmas decorations are perfect for filling empty branches on the tree.
Adding charm to wrapped presents or create a festive garland with just a handful of handmade pieces. Each design works up quickly, making it easy to mix different shapes and colors for a display that feels uniquely yours. The crochet pattern ahead shows how these little accents come together in a surprisingly simple way.
Crochet Christmas Decorations for Décor
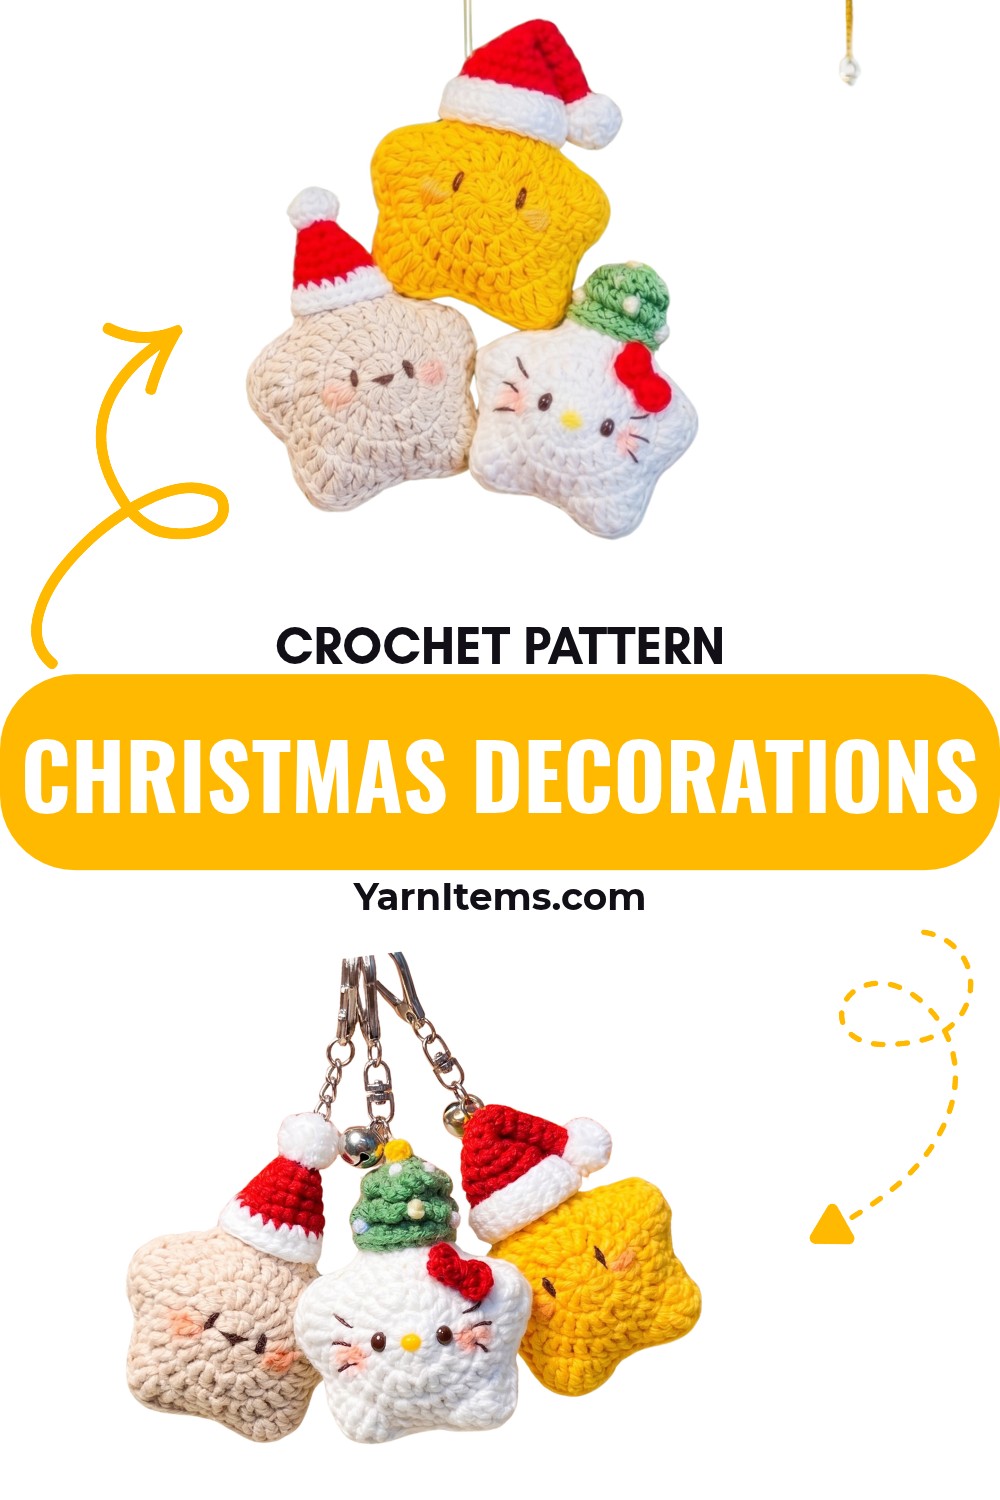
You don’t need a large crochet piece to make your holiday décor feel special. With a few basic stitches and small amounts of yarn, you can crochet delightful decorations that are fun to make and even more enjoyable to display. Follow the step-by-step instructions to create your favorites, then keep experimenting with different colors and finishing touches as your collection grows.
Credit Let’s crochet
Materials & Tools
- Yarn (Sport or DK weight cotton/acrylic):
- Yellow – star body
- Red – Santa hat
- White – hat brim and pom-pom
- Small scrap of Black – facial features
- Hook: 2mm
- Stuffing: Fiberfill
- Tools: Yarn needle, scissors, stitch markers, pink cosmetics blush + cotton swab
Finished Size
- Approx. 2.5–3 in (6–8 cm) tall, depending on yarn and hook.
Customization Ideas
- Add a chain loop/ornament hook at the top for hanging.
- Change facial expression (closed eyes, smiling mouth, etc.).
- Use alternate colors: mint green, cream, pastel pink, etc.
Abbreviations (US Terms)
- MR – Magic Ring
- ch – chain
- sl st – slip stitch
- sc – single crochet
- hdc – half double crochet
- dc – double crochet
- tr – treble crochet
- dtr – double treble crochet
- inc – increase (2 sts in same st)
- st(s) – stitch(es)
1. Star Body (Make 2)
Note:
- Weave in the tail on the first piece.
- On the second piece, leave a long tail (~15 cm / 6 in) for sewing.
Round 1
- Start with an MR.
- Ch 3 (counts as first dc).
- Crochet 10 dc into the ring.
- Pull the ring tight.
- Join with sl st to the top of the ch-3.
- [11 sts] (10 dc + ch-3 as 1 dc)
Round 2
- Ch 3 (counts as first dc).
- Work 2 dc in each st around (1 dc in the ch-3 base st, and 2 dc in each of the remaining 10 dc).
- Join with sl st to top of ch-3.
- [20 sts]
Round 3
- Ch 3.
- Work around: [1 dc in next st, 2 dc (dc inc) in next st] repeat 10 times.
- Join with sl st to top of ch-3.
- [30 sts]

Round 4 – Star Points
You will form 5 points around the 30-stitch circle. Each point uses 6 stitches:
Point sequence (over 6 sts):
- St 1: 1 sc
- St 2: 1 hdc
- St 3: 1 dc
- St 4 (peak): (1 tr, 1 dtr, ch 1, 1 tr) all in same st
- St 5: 1 dc
- St 6: 1 hdc
- Repeat this 6-stitch sequence 5 times around the circle.
- You will end at the end of the fifth point.
- Fasten off.
Make a second identical star body piece.

2. Assembly & Stuffing
- Place both star pieces together, wrong sides facing in, matching points and edges.
- Thread the long tail from the second piece onto a yarn needle.
- Sew around the edges using whipstitch or mattress stitch, going stitch by stitch around each point and valley.
- Before closing the final point:
- Add fiberfill stuffing to the center. Make it puffy but not overstuffed so it keeps its shape.
- Finish sewing the opening closed.
- Securely weave in the yarn tail.

3. Face & Details
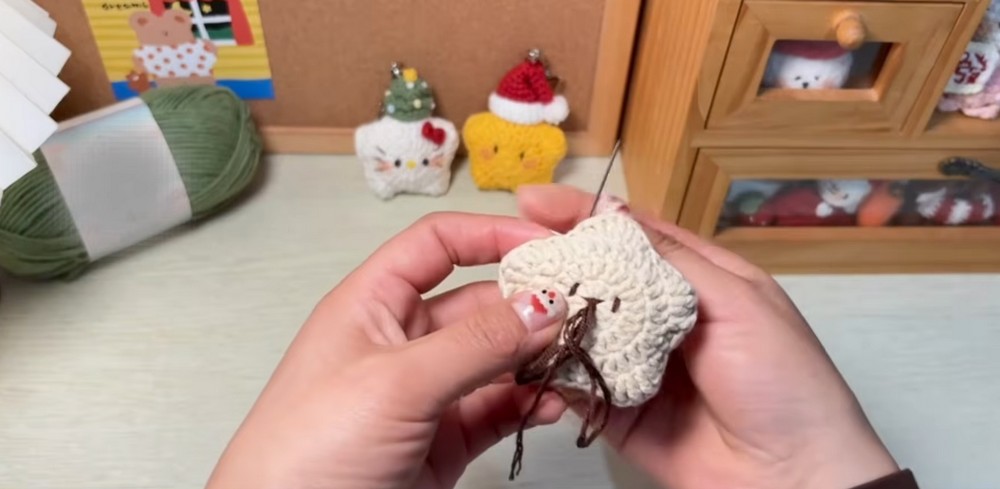
Face (Bear Expression)
Using black yarn or embroidery floss:
- Place the face on the center front panel of the star.
- Eyes: small horizontal stitches or French knots, evenly spaced.
- Muzzle/mouth: a small “Y” shape between and slightly below the eyes (one vertical line down, splitting into two short diagonal lines).
(You can pin or lightly mark positions with a sewing pin before stitching.)
4. Mini Santa Hat
Hat Body (Red)
- Round 1: MR, 4 sc into ring, pull tight.
- Round 2: [sc, inc] around (2 repeats) → 6 sts.
- Round 3: 6 sc around.
- Round 4: [2 sc, inc] around → 8 sts.
- Repeat 1–2 more increase rounds as needed to get a tiny cone that fits your star’s scale (e.g., up to 10–12 sts), working:
- Next round: sc around
- Then: [3 sc, inc] etc., if needed.
You’re aiming for a small cone, not very tall.
Hat Brim (White)
- Attach white yarn to any st at the base of the cone.
- Work 1 round of sc or hdc around.
- Fasten off and weave in the tail.
Pom-Pom (White)
Options:
- Make a tiny knot ball:
- Cut a short piece of white yarn, tie a few knots tightly at one spot, leaving tiny ends, and sew the knot to the tip of the hat.
Or
- Make a very small yarn pom-pom or simply embroider a small white bump at the top.
Attach the Hat
- Position the hat at the top point of the star at a slight angle for cuteness.
- Use a yarn needle and matching yarn to sew the hat securely to the star.

5. Blush & Finishing
- Use pink cosmetics blush and a cotton swab.
- Lightly dab blush just under each eye to create soft rosy cheeks.
- Optional:
- Add a chain loop or braided loop from the top point (or from the hat) for hanging as an ornament.
- Adjust eyes (closed / curved) for different expressions.