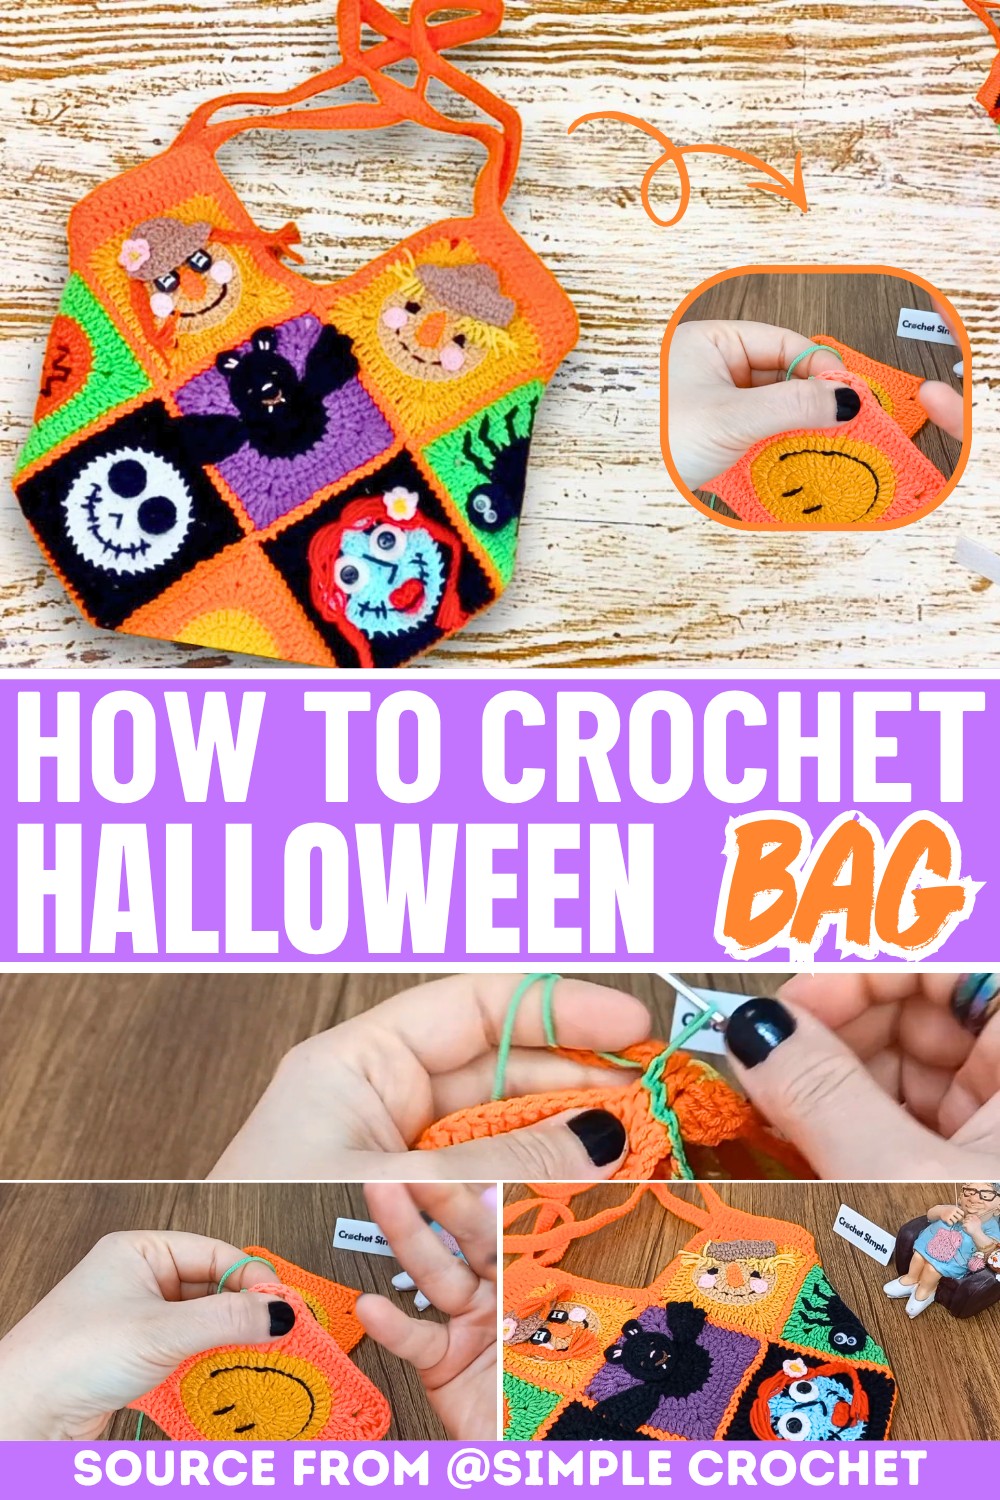
Crochet Halloween Bag For Making Your Own Treat Bag
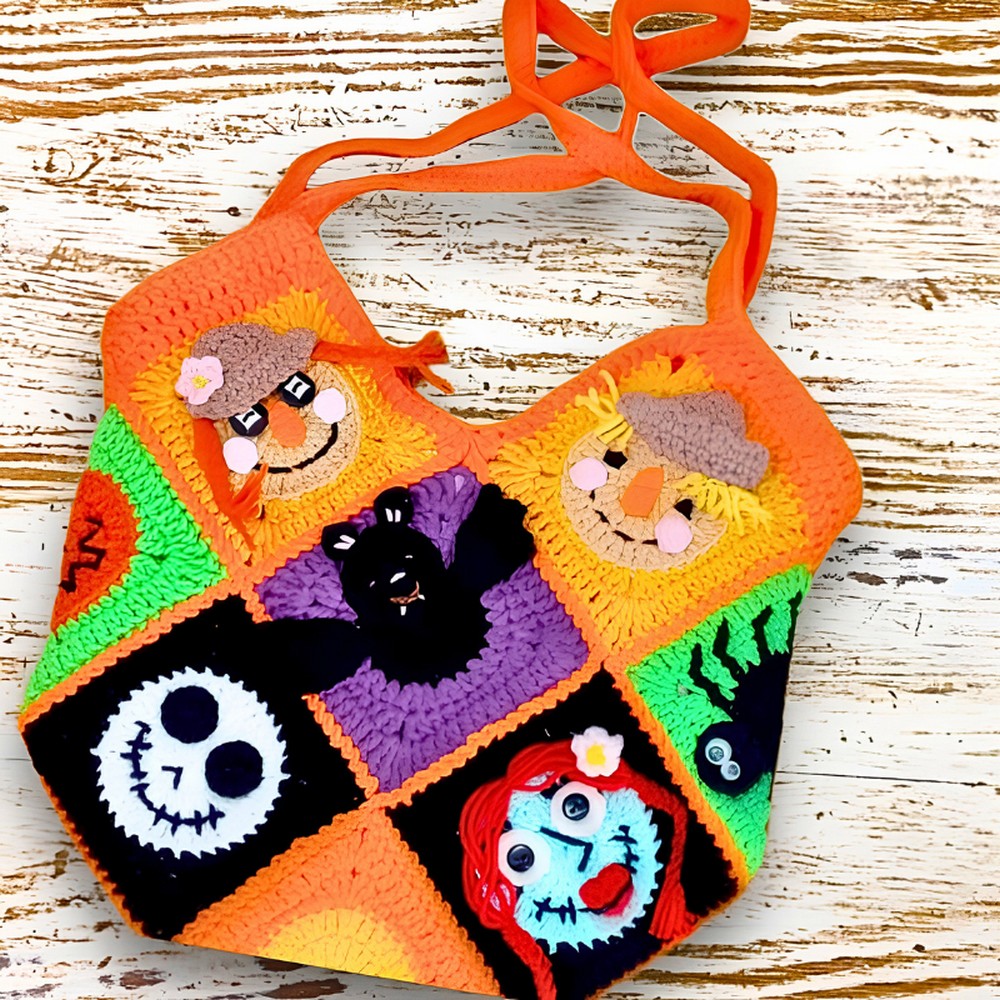
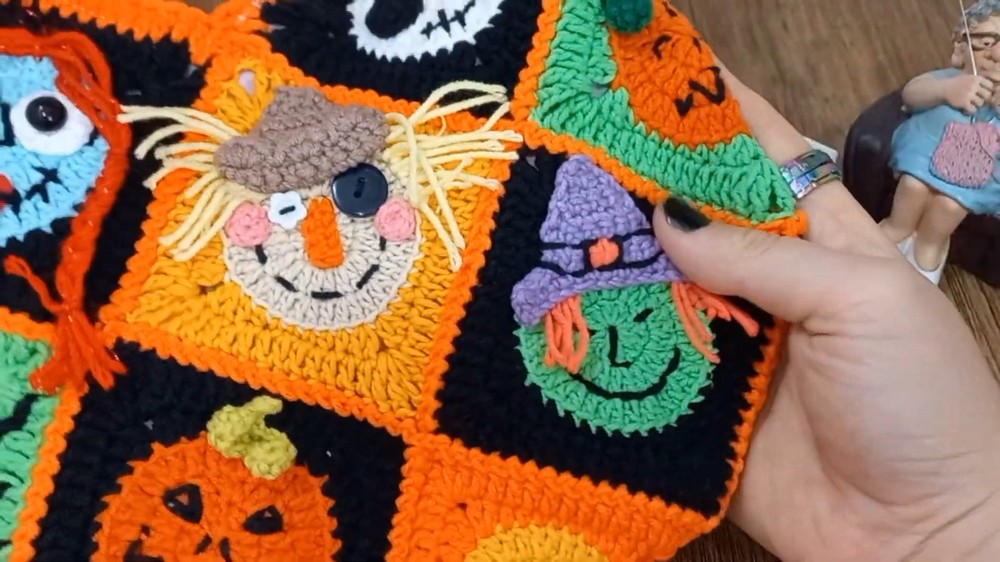
Add a handmade charm to Halloween with this unique crochet bag made from colorful granny squares. Designed for treats, small gifts, or costume details, it features playful patterns, a sturdy handle, and a fabric lining. That makes it a practical seasonal accessory with a creative handmade touch. The thoughtful details in this design show how simple crochet techniques can turn yarn into a memorable Halloween piece.
Free Halloween Crochet Bag Tutorial
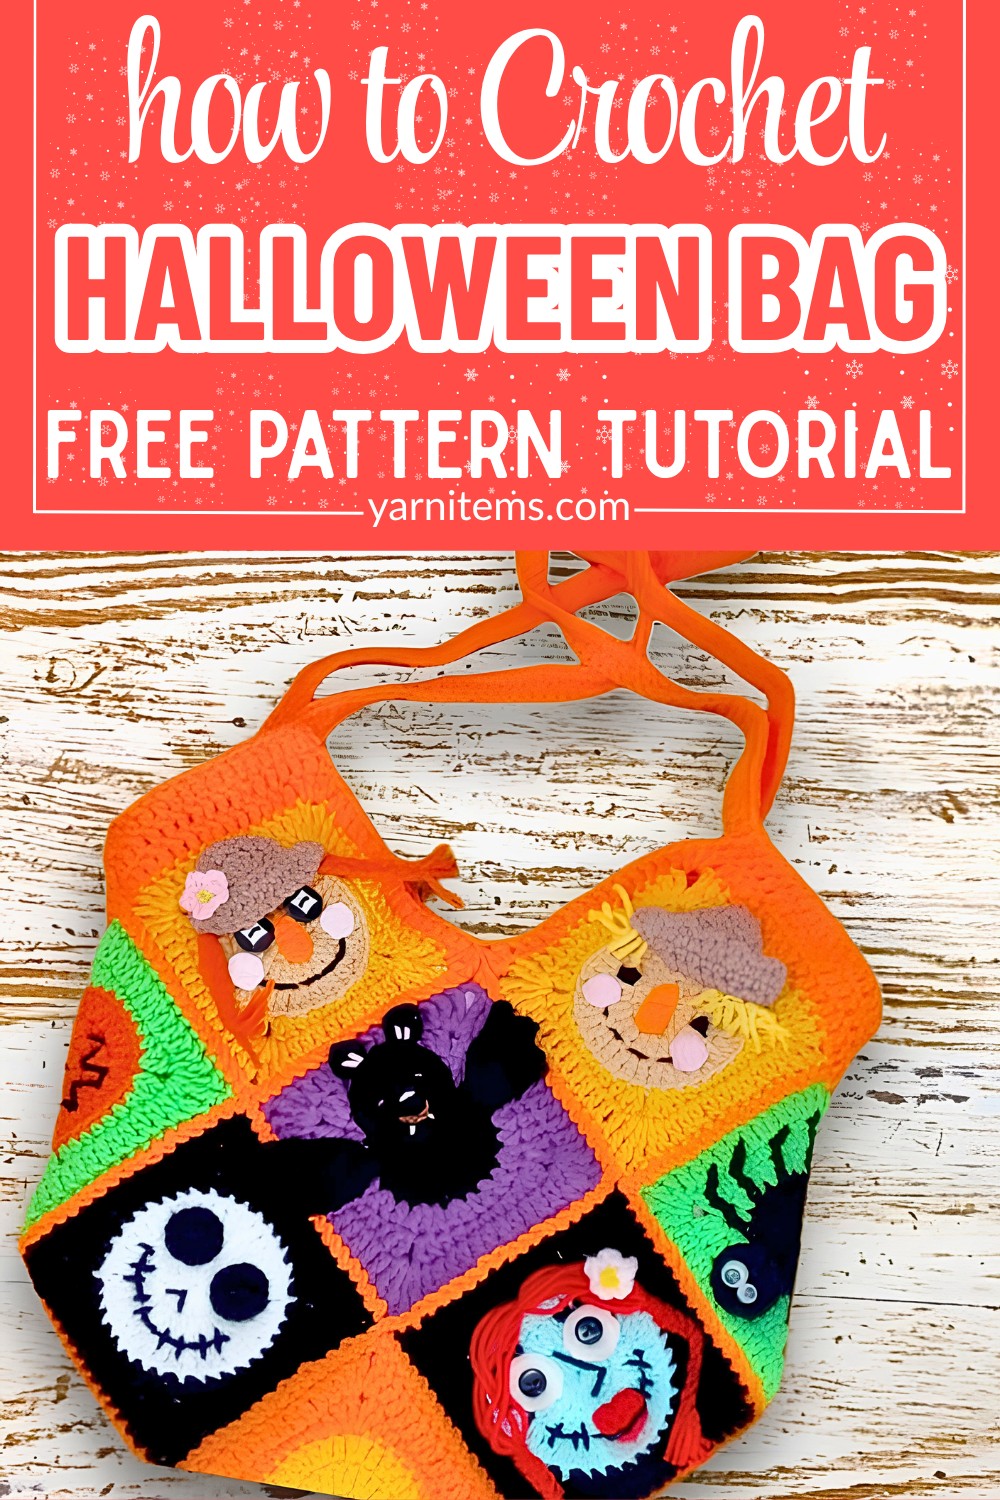
This bag is an enjoyable piece for beginners and experienced crafters alike. The granny squares are joined with a neat linking technique, while the double crochet row adds strength to the handle. Customize the colors, strap length, or decorations to create a personal design, and complete it with a button closure for a functional finishing detail.
Credit Simple Crochet
Materials & Tools Needed:
- Yarn: Use any yarn of your choice, but a medium-weight yarn in Halloween colors (e.g., orange, black, green, and purple) is recommended.
- Hook: Use a crochet hook size that matches your yarn (typically 4mm–5mm for medium-weight yarn).
- Tapestry Needle: For weaving in ends and attaching components of the bag.
- Fabric for lining: Optional, for the inside of the bag.
- Sewing needle and thread: To attach the lining.
- Magnetic button or any button: For the bag closure.
- Scissors
Finished Size & Customization Ideas:
- Bag Dimensions: The actual size will depend on your granny squares and how many you use. Following the tutorial, a typical bag could be approximately 10″–12″ wide and 12″–15″ in height.
- Handle Length: You can customize the strap by adjusting the number of chains to match your desired length. The tutorial suggests 100 chains for the strap.
- Customization Ideas:
- Use glow-in-the-dark yarn for spooky effects.
- Add pumpkin or bat appliques for a playful Halloween look.
- Experiment with different granny square patterns (e.g., spiderweb or pumpkin-themed squares).
Pattern Abbreviations & Terminology:
- ch: Chain
- dc: Double Crochet
- sl st: Slip Stitch
- sp: Space
- st(s): Stitch(es)
- yo: Yarn Over
- tog: Together (used for joining stitches)
- hdc: Half Double Crochet
Step-by-Step Detailed Crochet Instructions:
1. Create Granny Squares
- Follow your favorite granny square pattern (use the square designs from the previous tutorial).
- Suggested granny square colors: Green, orange, black, purple, or any Halloween palette.
- Make as many squares as needed for the desired bag size (e.g., 2 rows of 4 squares for the front and back).
2. Connect the Granny Squares
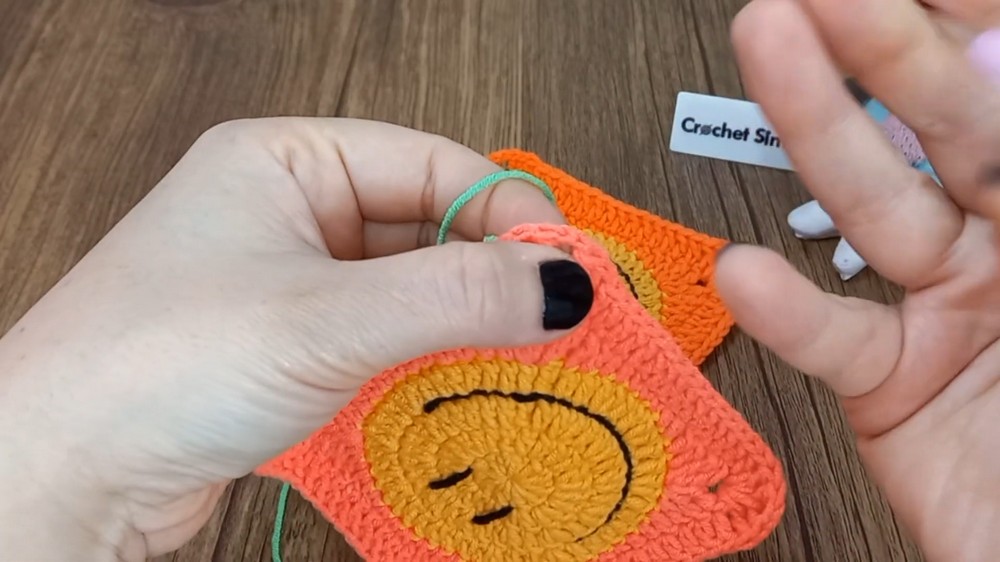
- Use the slip stitch method to join the granny squares:
- Start with a slip knot on your hook.
- Insert the hook into the corner ch-sp of the two squares you want to join.
- Pull yarn through, creating a slip stitch.
- Continue working one slip stitch per corresponding st of both squares until you reach the end.
- Alternate method: You can use a whip stitch with a tapestry needle to join the squares.
- Repeat for all rows and columns to form the bag body.
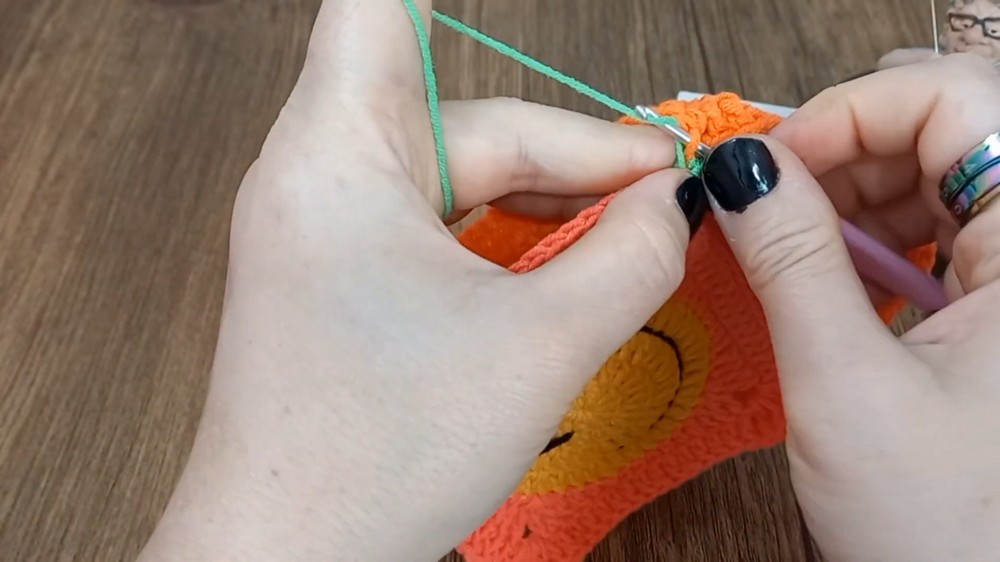
3. Add a Row of Double Crochet Around the Top
- Start at any spot along the top edge of the bag:
- Attach your yarn with a slip stitch.
- Work 1 dc in each dc from the granny squares.
- In ch-spaces, work 3 dc to maintain the structure.
- At the joins between squares, make 1 dc in the ch-sp, yo, work 1 dc across the connected squares, and yo again to pull through all loops until joined.
- This creates a clean, decorative edge at the top of your bag.
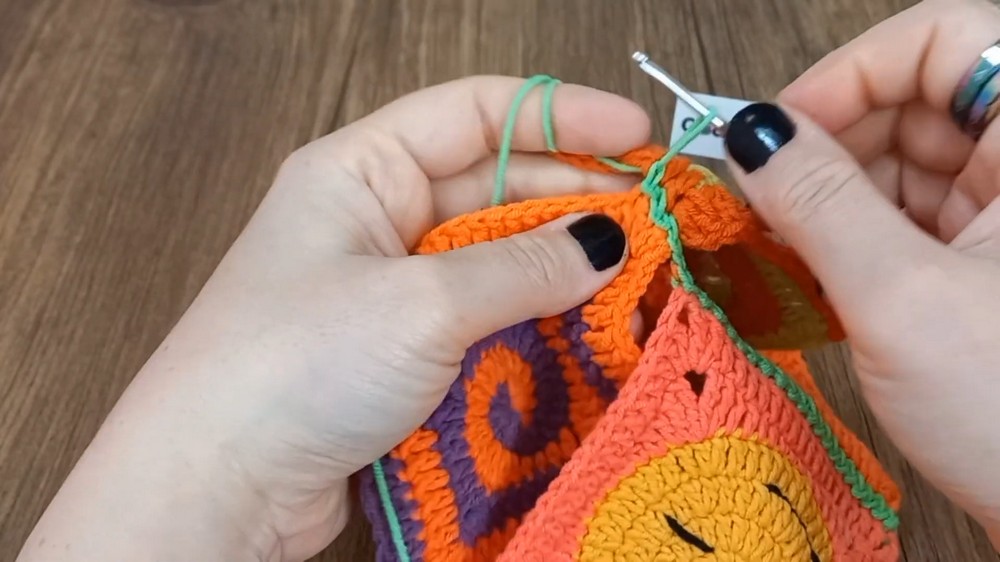
4. Create the Bag Handle
- From the top edge:
- Attach yarn where you want the strap to begin.
- Work a row of chains as long as you need for the strap (the tutorial recommends 100 chains).
- Once the desired length is achieved, attach the other end to the opposite side of the bag using a slip stitch.
- Second Row of Strap:
- Work 1 dc in each chain across.
- Slip stitch the end to the bag for secure attachment.
- Optionally, repeat with additional rows for a thicker strap.
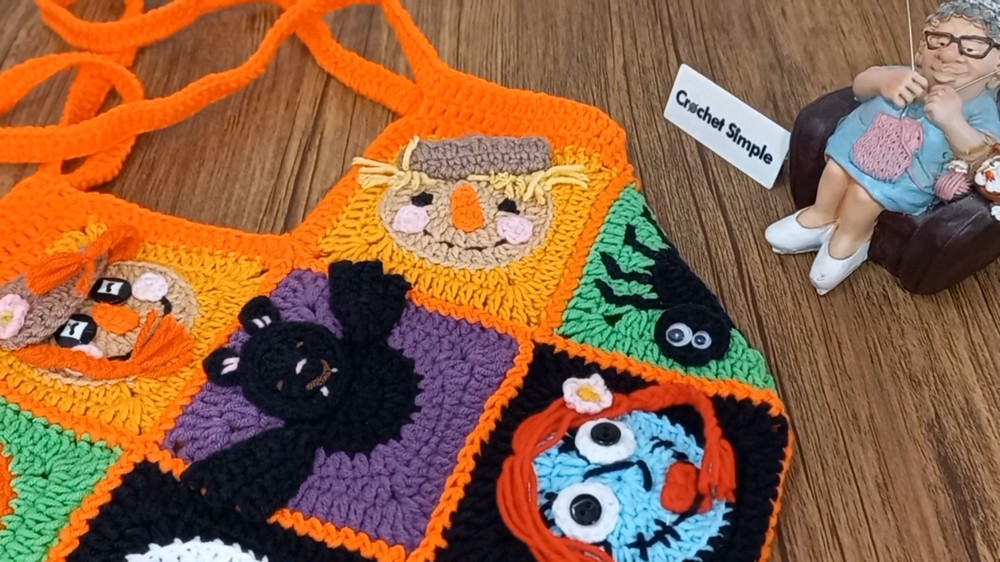
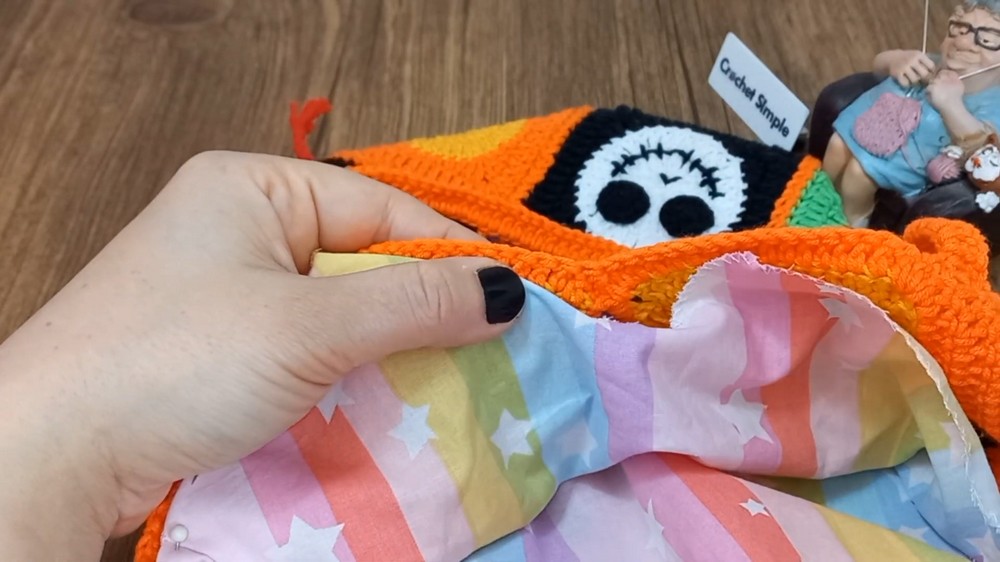
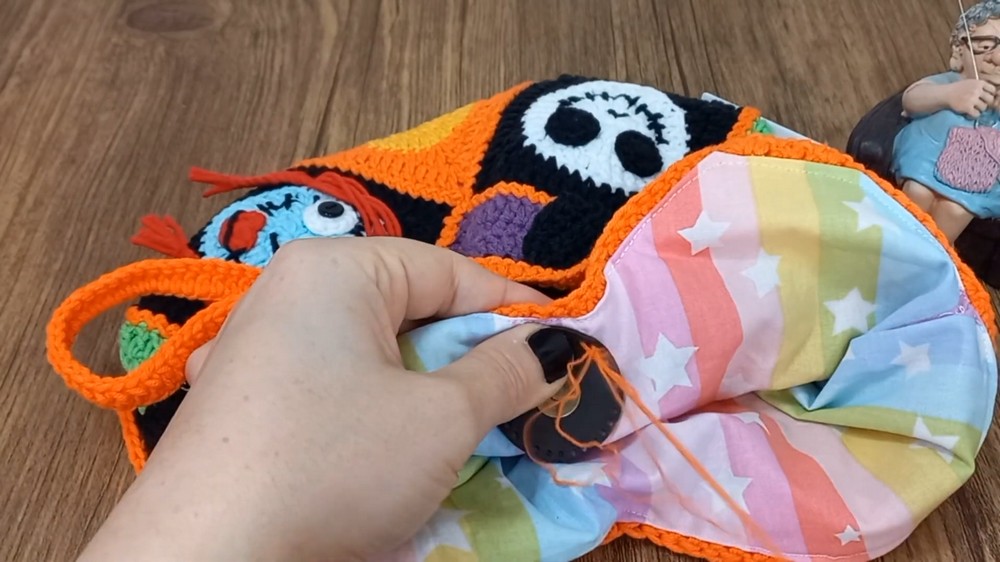
5. Add Bag Lining (Optional)
- Create a fabric insert:
- Spread lining fabric flat and place the bag on top.
- Trace around the bag, leaving about 3mm–5mm seam allowance.
- Cut out the traced fabric.
- Sew the lining:
- Use a sewing machine or hand sew the sides of the lining together.
- Insert the sewn lining into the bag and pin it in place.
- Attach the lining:
- Stitch the lining to the bag using a needle and thread.
- Keep the stitches close to the top edge of the bag for a clean finish.
6. Add Button Closure
- Attach Magnetic Button:
- Position the male part of the button at the center of the top edge on one side.
- Sew around the edges to secure.
- Repeat for the female part of the button on the other side.
- Test the closure to ensure it aligns properly.
Finishing Steps:
- Weave in any loose ends with the tapestry needle.
- Inspect the bag for any missed stitches or weak joins and reinforce as needed.
- If desired, steam block the bag gently to relax the stitches and give it a polished look.
Summary
Your completed Halloween crochet bag will be a stylish and functional accessory, perfect for trick-or-treating or carrying Halloween goodies. The tutorial’s unique join-as-you-go method for connecting squares and the addition of a sturdy handle and optional lining will ensure durability.