Easy & Beautiful Crochet Ribbed Cardigan Pattern Free
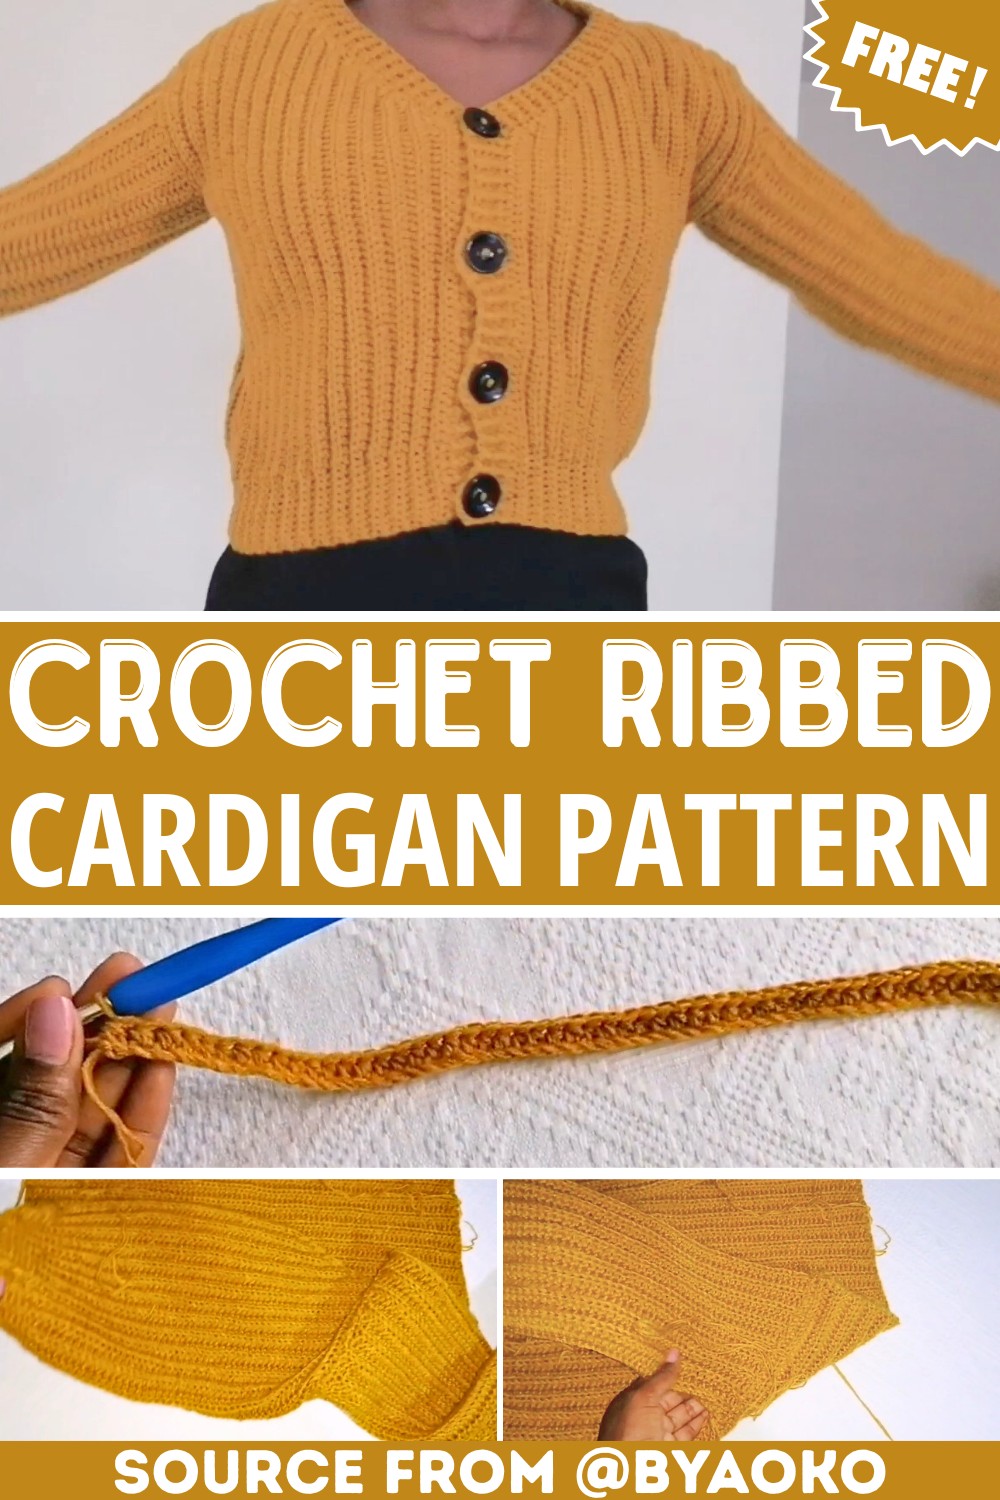
Build a cozy ribbed crochet cardigan with shaped front panels, a simple design, and customizable length and fit for a style that feels truly yours.
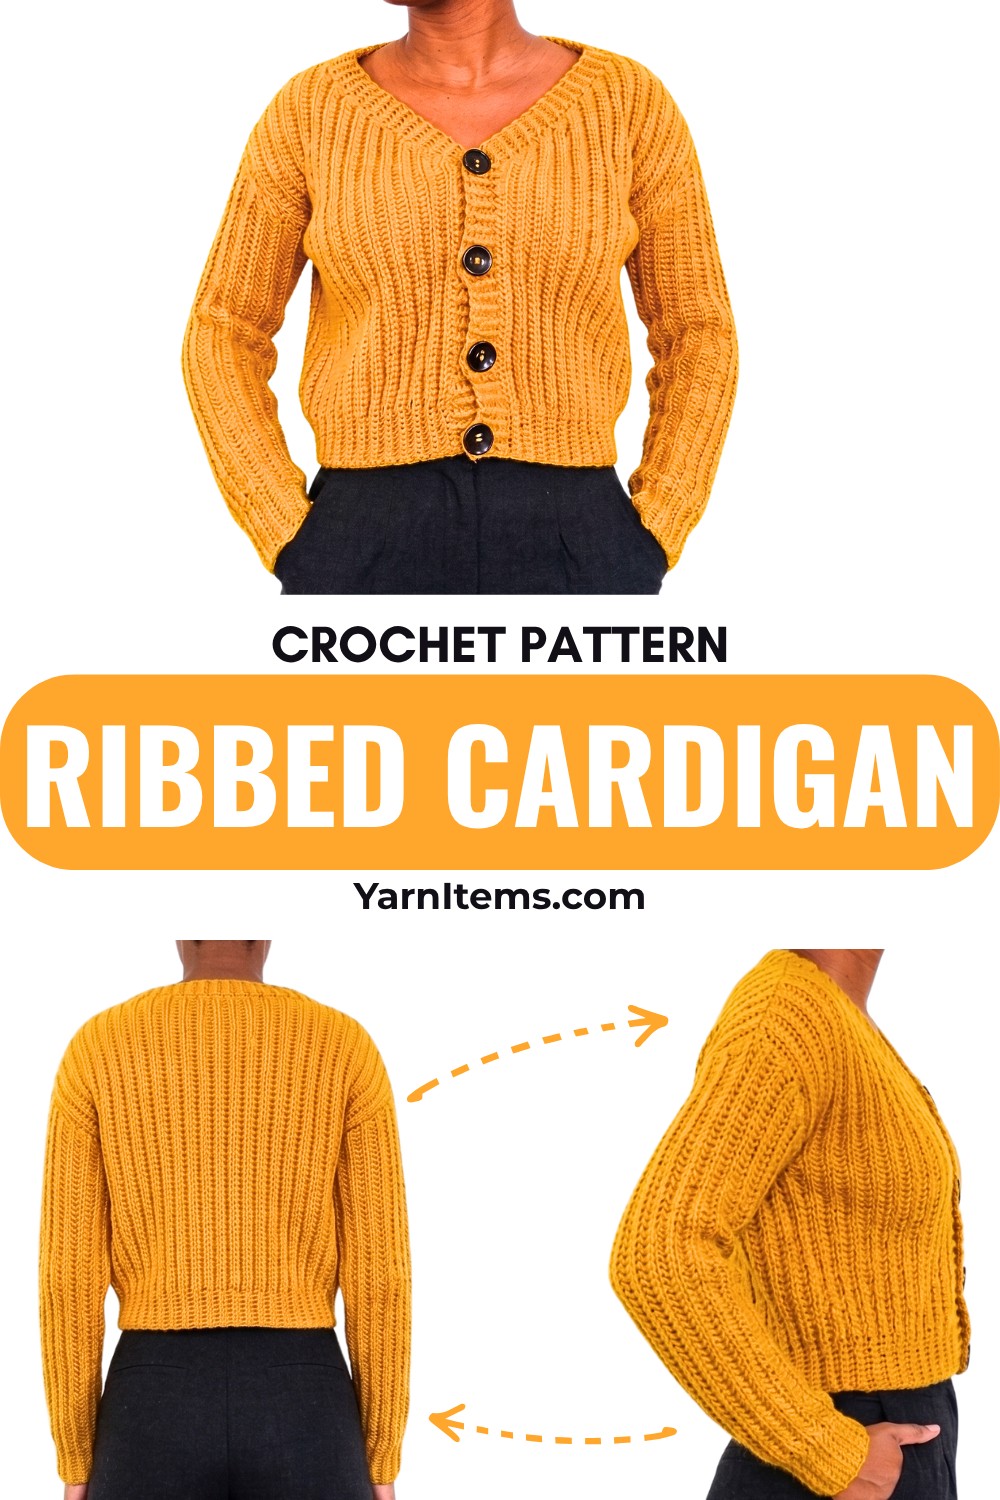
Ribbed Crochet Cardigan Pattern
A handmade cardigan can be one of those crochet pieces that look more complicated than they really are. This ribbed design keeps the crochet design manageable by working the front panels separately, building a simple back panel, and then joining the pieces before adding the sleeves and finishing details.
The most important part is keeping track of the front-panel increases and measuring along the way. Once the panels reach the right shoulder width, the design changes from shaping to straight rows, making it easier to build the rest of the crochet cardigan. From there, the sleeves and ribbed front band bring the separate pieces together into a finished garment.
Credit BYAOKO
Materials & Tools Needed
- Yarn: Medium-weight yarn
- The tutorial uses Seagull yarn.
- For a size S, approximately 4–5 skeins may be needed when using a single strand.
- Approximately 8 skeins may be needed when doubling the strand to achieve a medium-weight fabric.
- Actual yarn amounts will vary with size, length, sleeve adjustments, and yarn choice.
- Crochet Hook: 5 mm for the main body
- Crochet Hook: 4 mm for the neckline and finishing
- Large-eye tapestry needle: For sewing and weaving in ends
- Scissors
- Measuring tape: Especially useful when customizing the cardigan
Finished Size & Customization
The basic tutorial creates a small, semi-cropped cardigan with a starting height of approximately 11 inches.
One of the useful features of this construction is that you can adjust the garment while you work:
- Make the cardigan longer by increasing the foundation-chain length.
- Adjust the front-panel width for a larger or looser fit.
- Reduce the starting height for a more cropped silhouette.
- Extend the sleeves to your preferred wrist length.
- Use different colors or stripes to create a completely different look.
For sizing changes, measurements are more useful than simply adding a fixed number of stitches. Check the panel against the intended body measurement as you build it so the finished cardigan does not become wider or narrower than planned.
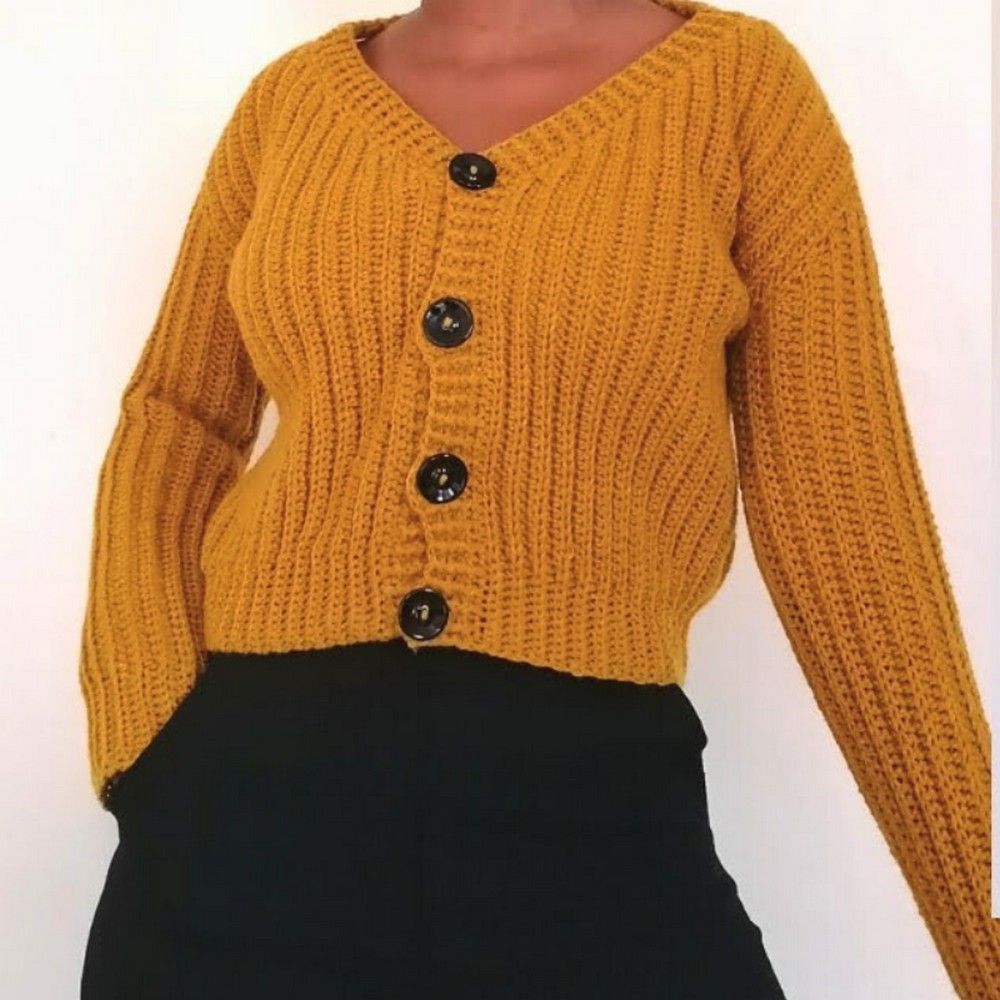
Crochet Abbreviations
This pattern uses US crochet terminology.
- ch: Chain
- sc: Single crochet
- hdc: Half double crochet
- sl st: Slip stitch
- st(s): Stitch(es)
- BLO: Back loop only
- RS: Right side
- WS: Wrong side
Before You Start:
Understand the Construction
This cardigan is built from separate pieces rather than being worked as one continuous garment. You will make two front panels, create the back panel, join the shoulder and side sections, and then work the sleeves from the armhole area.
The front panels are the section that needs the most attention. Their outer edge increases until it reaches the desired shoulder measurement. Once that measurement is reached, you stop increasing and work straight rows. Measuring this edge as you go will help you decide exactly when to change from shaping to straight rows.
How to Front Panels: Make Two
Foundation Chain
For the basic small-size version:
- Make a slip knot.
- Chain 60.
- Add 1 extra chain for turning, giving you 61 chains in total.
If you want a different starting height, adjust the foundation chain according to your desired measurement.
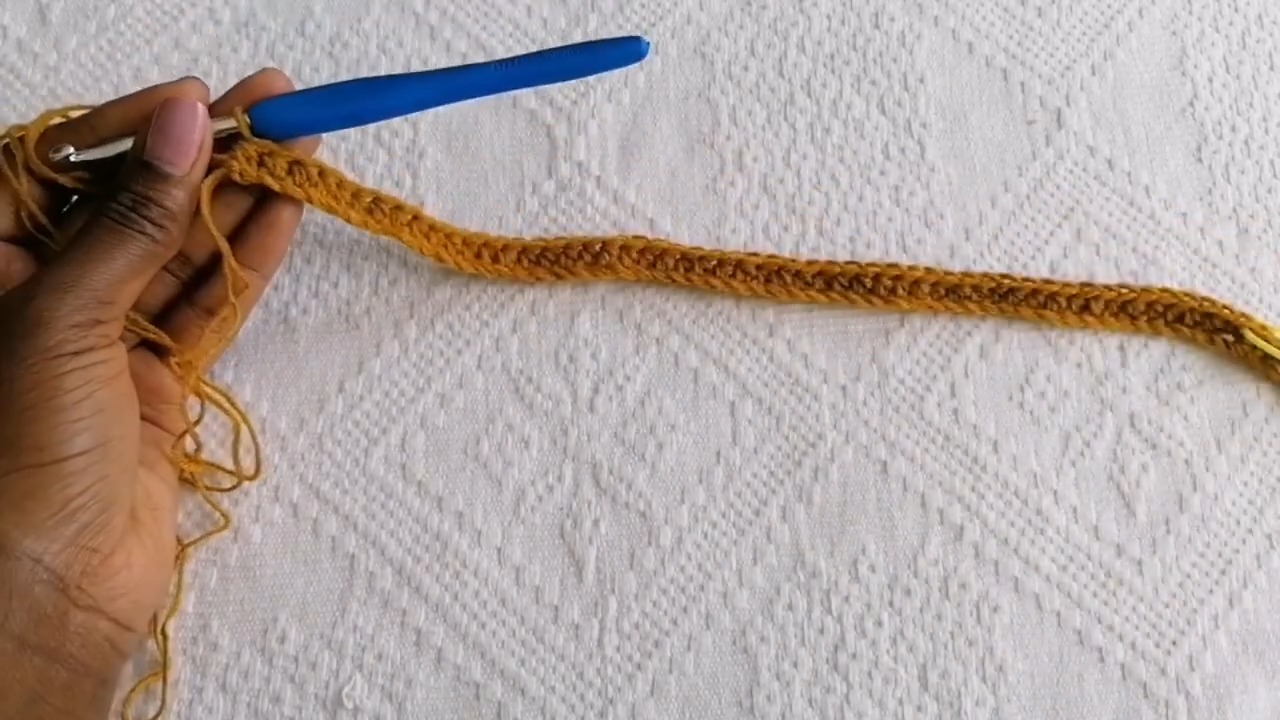
Row 1
- Chain 1 and turn.
- Work 10 sc in BLO to create the bottom ribbed band.
- Place a stitch marker in the last sc of the band.
- Work hdc in BLO across the remaining stitches.
- Turn.
The stitch marker is useful because the ribbed band needs to remain visually separate from the main hdc section.
Row 2: First Increase
- Chain 1 and turn.
- Work 3 hdc in the first stitch to create the increase.
- Continue working hdc in BLO until you reach the ribbed band.
- Work 10 sc in BLO across the band.
- Work the final sc through both loops in the last stitch.
- Turn.
Continue the Increasing Rows
For each following increase row:
- Chain 1 and turn.
- Work 3 hdc in the first stitch.
- Continue with hdc in BLO across the main section.
- Work 10 sc in BLO for the ribbed band.
- Work the final sc through both loops in the last stitch.
- Turn.
Continue until the increasing edge reaches your desired shoulder length.
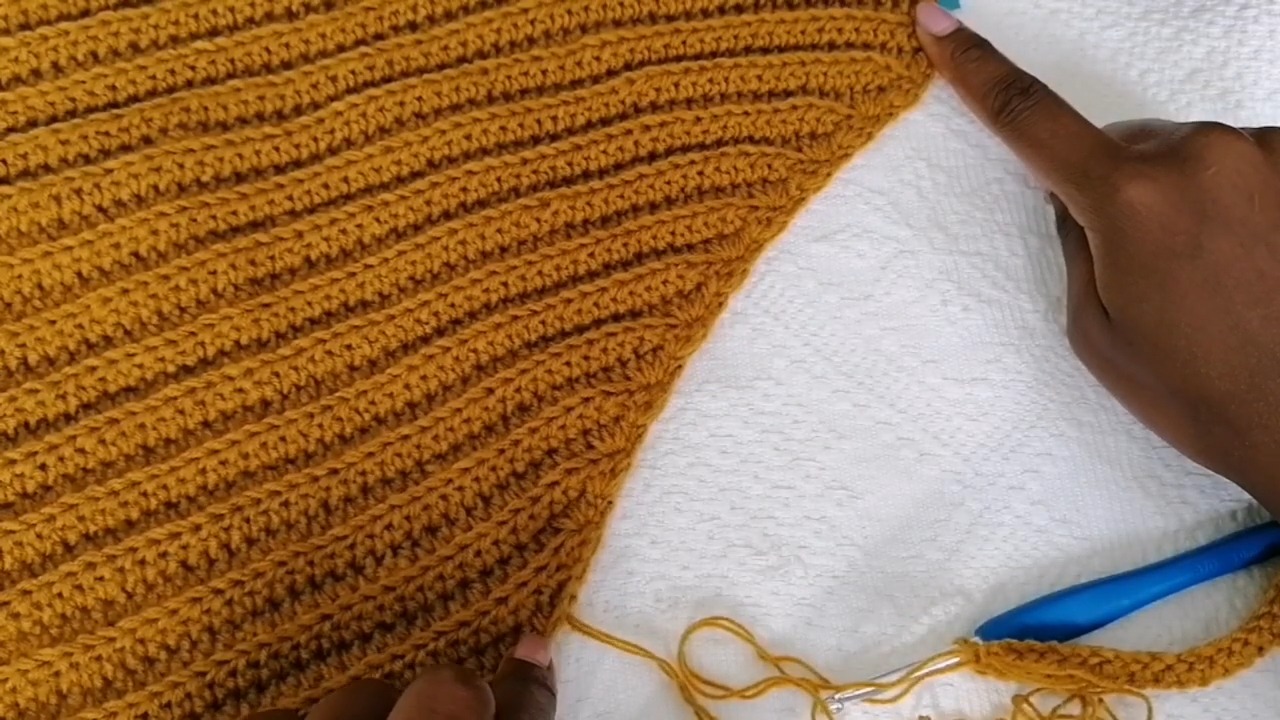
Measuring Check
This is the point where it is worth stopping to measure rather than relying only on the row count. Lay the panel flat and measure along the increasing edge. Once it reaches the shoulder measurement you want, stop making increases.
This simple check is what keeps the cardigan from becoming unintentionally oversized or too narrow.
Straight Rows
Once the front panel has reached the desired shoulder width:
- Chain 1 and turn.
- Work hdc in BLO evenly across the main section.
- Continue working the ribbed band as established.
- Do not add the 3-hdc increase at the beginning.
- Continue until the panel reaches the desired height.
Make the second front panel to match the first one.
Matching check: Lay both front panels on top of each other before assembly. Their shoulder edges, ribbed bands, and overall height should line up. Fixing a difference here is much easier than trying to correct it after the panels are joined.
Back Panel
The back panel is worked as one rectangular piece.
- Create a foundation chain long enough to match the combined width of the two front panels.
- Work 10 sc in BLO for the ribbed band.
- Continue with hdc in BLO across the remaining stitches.
- Work the rows evenly without increases or decreases.
- Continue until the back panel reaches the same height as the front panels where the shoulders will join.
- Fasten off and weave in the ends.
Before joining, place the three panels flat together. This gives you an easy visual check that the back width corresponds with the two front sections.
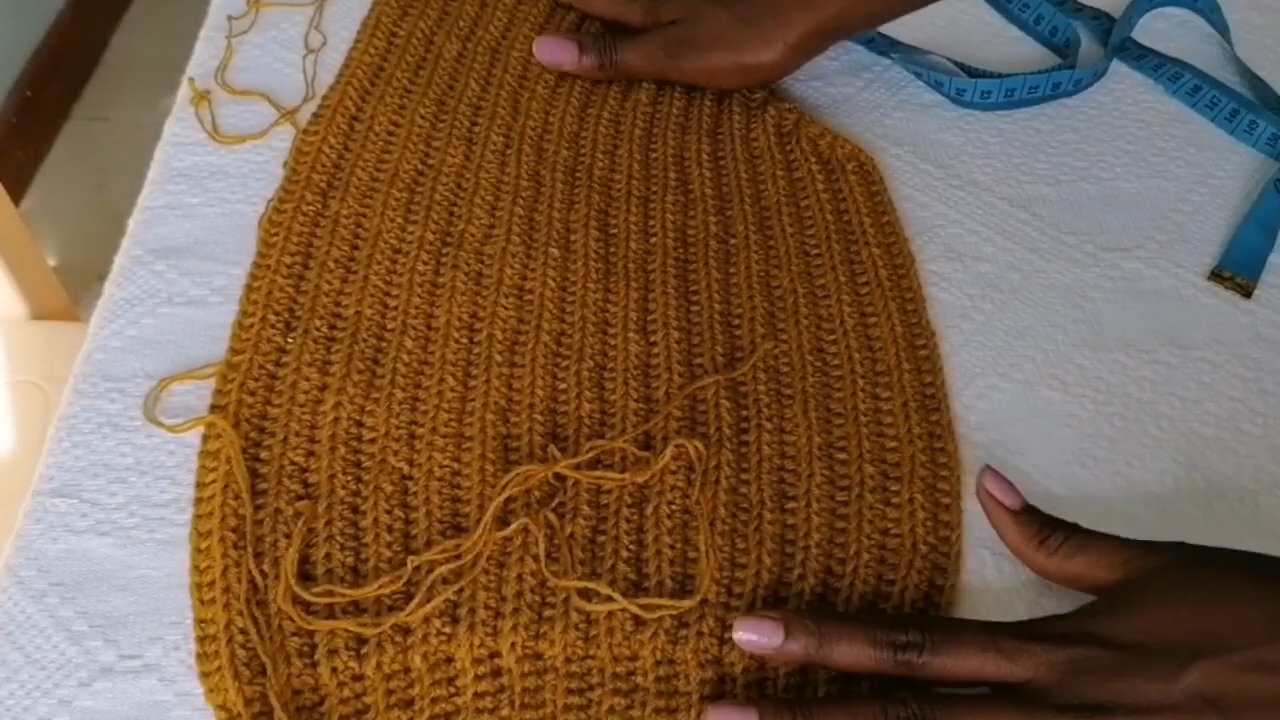
Join the Shoulders
- Place one front panel against the back panel with the corresponding shoulder edges aligned.
- Sew or slip stitch the shoulder edges together.
- Insert your needle or hook through corresponding stitches to keep the seam even.
- Repeat with the second front panel.
Avoid pulling the seam too tightly. A firm but flexible seam will help the cardigan retain its shape without making the shoulder area stiff.
Seam the Sides
- Align the side edges of the front and back panels.
- Begin at the bottom hem.
- Sew or slip stitch upward.
- Leave approximately an 8-inch opening for the armhole, or adjust the opening according to your desired fit.
- Repeat on the opposite side.
Armhole Check
Before starting the sleeves, place the cardigan flat and check both openings. They should be similar in height and width. If one side is noticeably different, correct the side seam before attaching the sleeves.
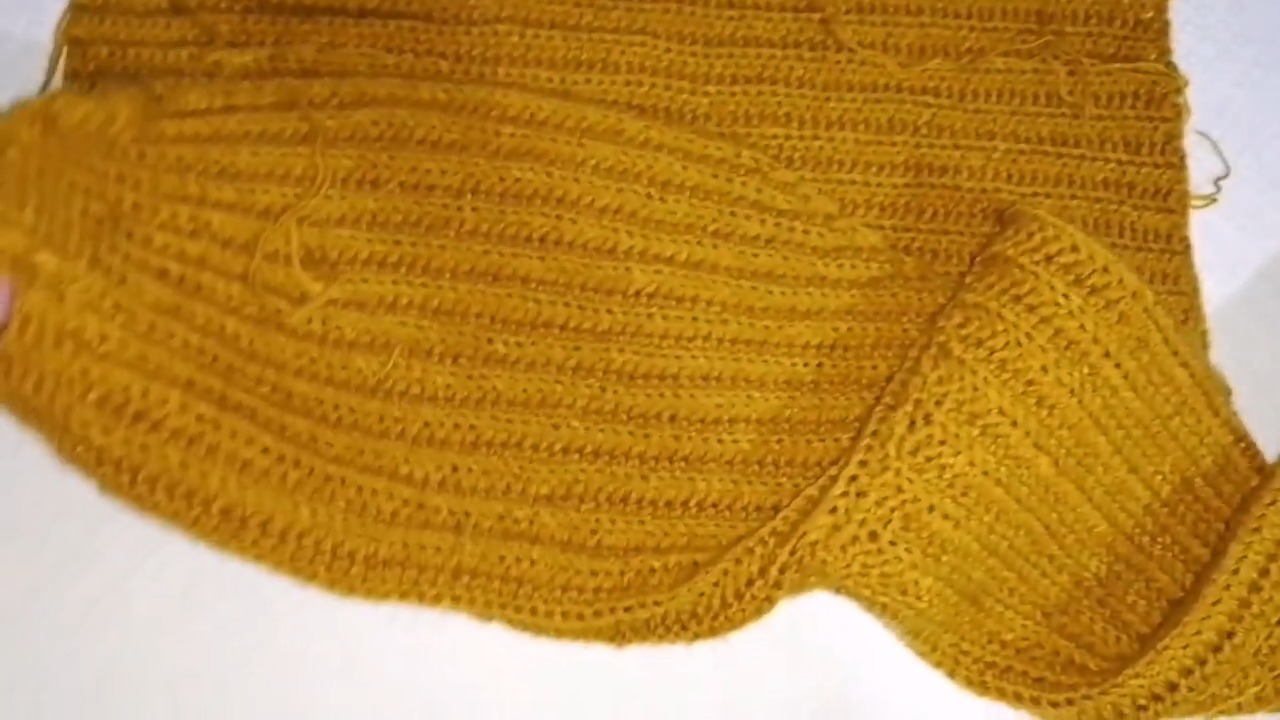
Sleeves
The sleeves are worked from the armhole openings.
- Lay the cardigan flat and locate the armpit corner.
- Attach the yarn at the armpit.
- Chain a length corresponding to the measurement from the armpit to the wrist. The tutorial example uses approximately 18 inches.
- Work the first sleeve row as follows:
- Work 12 sc in BLO for the sleeve band.
- Continue with hdc in BLO across the remaining stitches.
Attach the Sleeve to the Body
- Skip the first stitch along the armhole edge.
- Slip stitch into the next stitch.
- Chain 1 and turn.
- Continue working the sleeve rows.
Shape the Sleeve
For an increase row:
- Chain 1 and turn.
- Work 2 hdc in the first stitch to add an extra stitch.
- Continue with hdc in BLO across.
For a non-increase row:
- Chain 1 and turn.
- Work the hdc stitches evenly without adding an extra stitch.
Alternate the rows as needed to create the sleeve shape you want. Continue until the sleeve reaches your desired length.
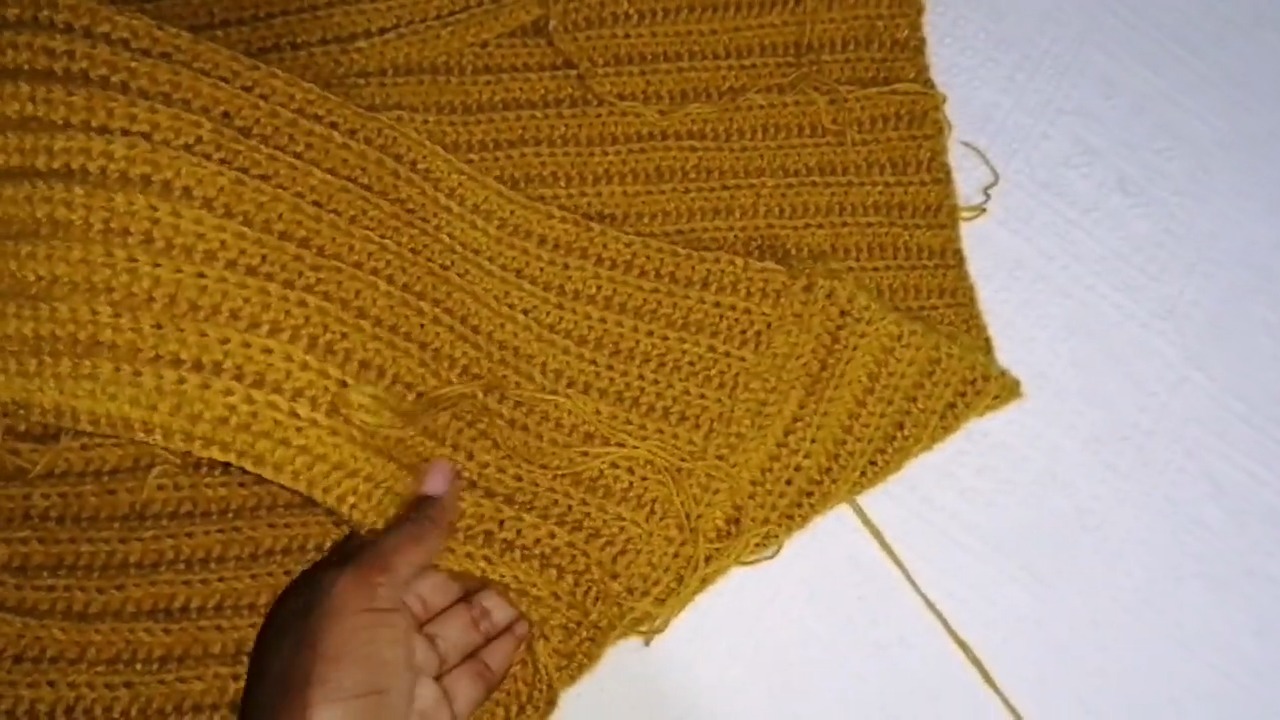
Close the Sleeve
Once the sleeve reaches the wrist:
- Fold the sleeve in half with the wrong side facing outward.
- Align the sleeve edges.
- Use slip stitches to seam from the wrist upward toward the armhole.
- Fasten off.
- Weave in the remaining end.
Repeat the same process for the second sleeve.
Front Band & V-Neckline
Switch to the 4 mm hook for a slightly firmer finishing edge.
- Attach the yarn at the bottom corner of one front panel.
- Work hdc in BLO up the front edge.
- At the V-neck point, work 3 hdc in the corner stitch to help the edging turn smoothly.
- Continue around the neckline.
- Reduce the neckline slightly by working approximately 1 hdc per row as you move around the neck.
- Continue until you return to the front edge.
Add Ribbed Texture
Work 2–3 rows of front-post and back-post hdc to create the ribbed finishing texture.
The ribbing should remain even around the neckline and front edge. At the V point, take a moment to check that the corner sits flat rather than pulling or bunching.
Add Buttonholes
On the side where you want the buttons:
- Work the front band normally until you reach the desired button position.
- Chain 4.
- Skip 2 stitches.
- Continue working the band.
- Repeat at each button position.
Try placing the buttonholes at equal distances before crocheting them. This will make the finished cardigan look more balanced.
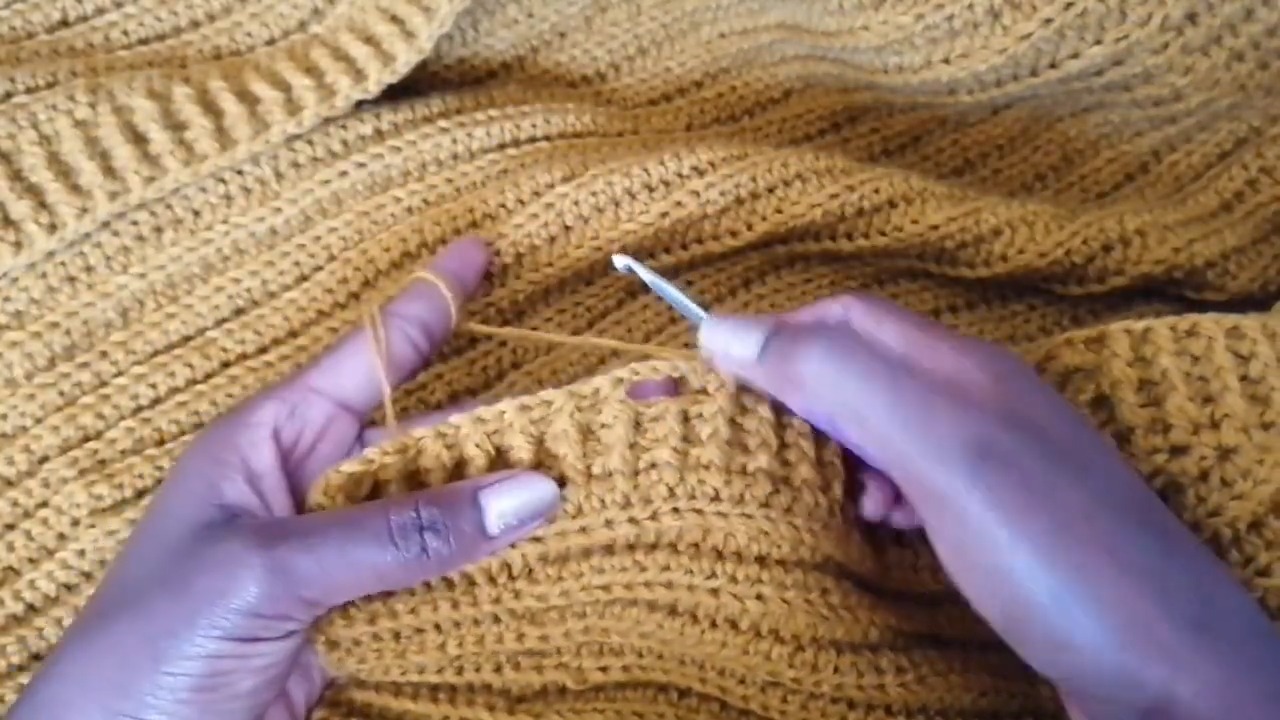
Finishing
Once all construction is complete:
- Sew the buttons onto the opposite front band.
- Align each button with its corresponding buttonhole.
- Weave in all remaining loose ends with a tapestry needle.
- Lightly wash and block the cardigan if your yarn allows it.
- Allow it to dry in the desired shape.
Blocking can help the panels settle into a more uniform shape and make the ribbed edges look neater.
Fit & Construction Check
Before wearing the finished cardigan, check the areas that determine the final fit:
- Front panels are equal in size.
- Shoulder seams line up.
- Side seams leave matching armhole openings.
- Sleeves are the same length.
- V-neck edging lies flat.
- Buttonholes line up with the buttons.
- All loose ends are securely woven in.
Because this cardigan is designed to be customizable, these checks are more useful than relying on a fixed number of rows for every size.
Customize Your Ribbed Cardigan
Once you understand the panel construction, it is easy to make the design your own. Add more foundation-chain length for a longer cardigan, continue the body for extra coverage, or extend the sleeves for a different fit. You can also experiment with solid colors, stripes, or contrasting ribbing.
The ribbed texture gives the finished cardigan a clean, wearable look, while the panel-based design makes it easier to adjust the proportions as you crochet. With a little measuring at the shaping and assembly points, you can create a cardigan that fits your preferred length and style rather than being limited to one fixed size.
Video Tutorial