Crochet Granny Square Bag Accessory Pattern Free
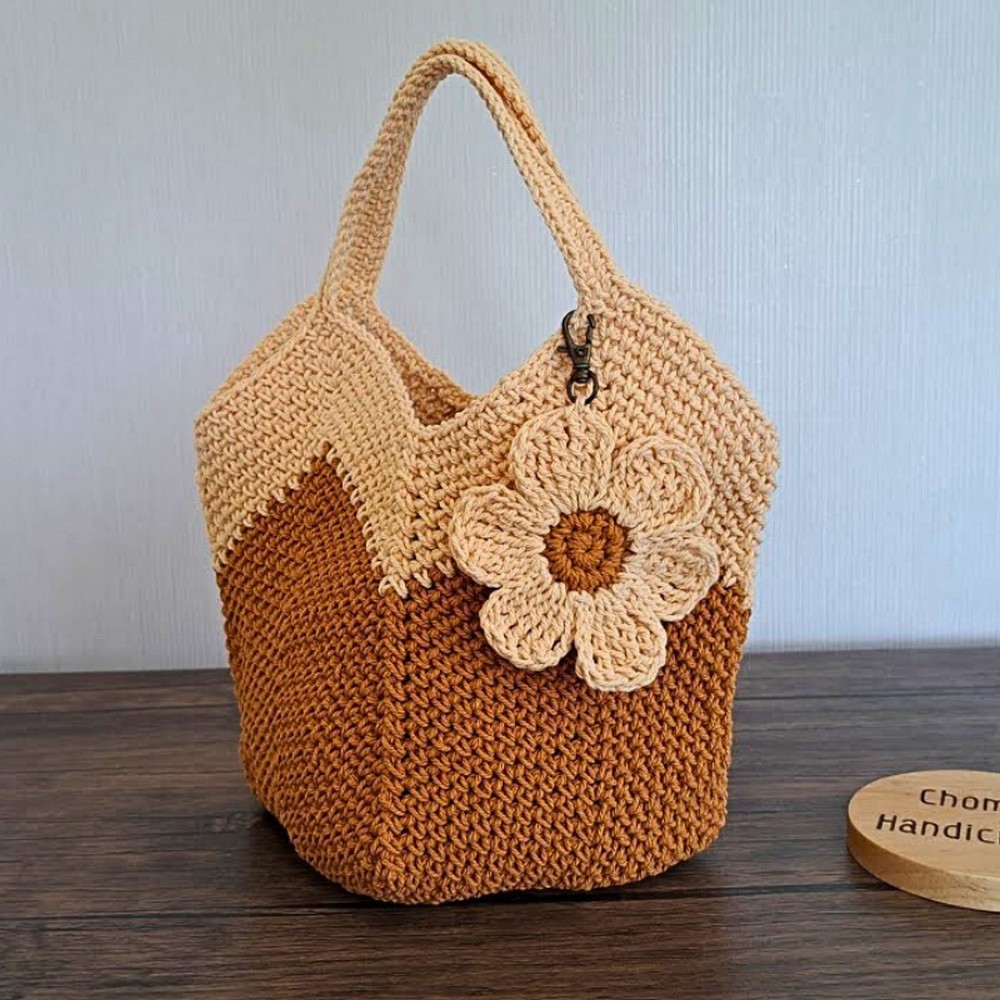
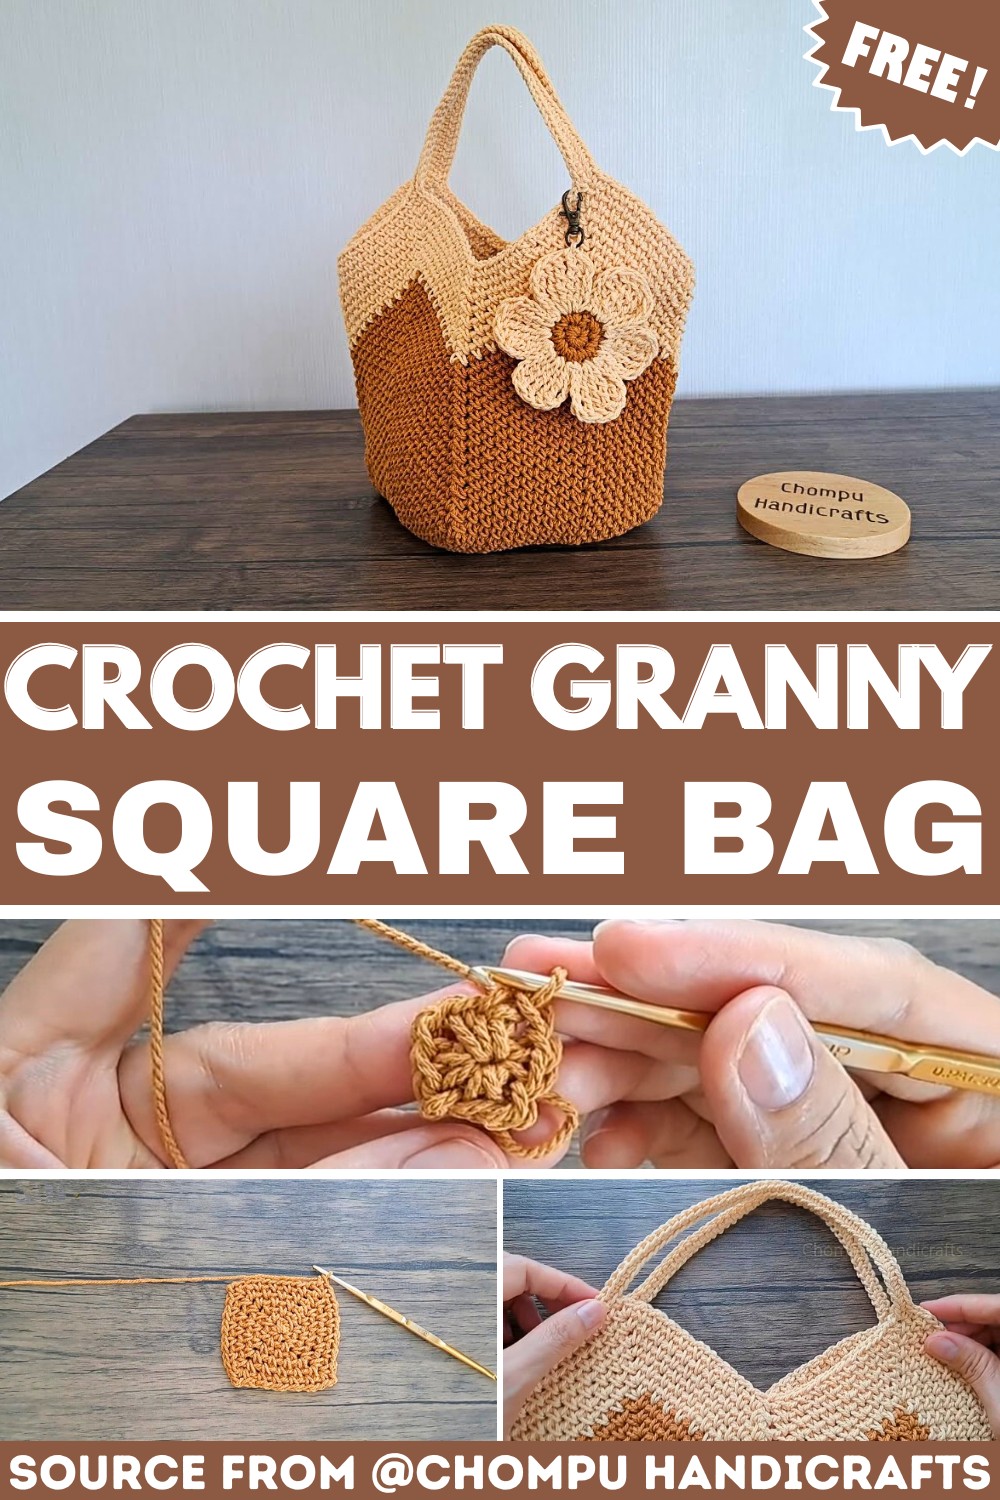
A granny square can be the starting point for much more than a flat crochet pattern. In this tutorial, a simple four-corner square grows into a practical crochet bag with a softly shaped body and built-in handles. The color combination keeps the design simple, while the changing shape gives the finished bag its own character.
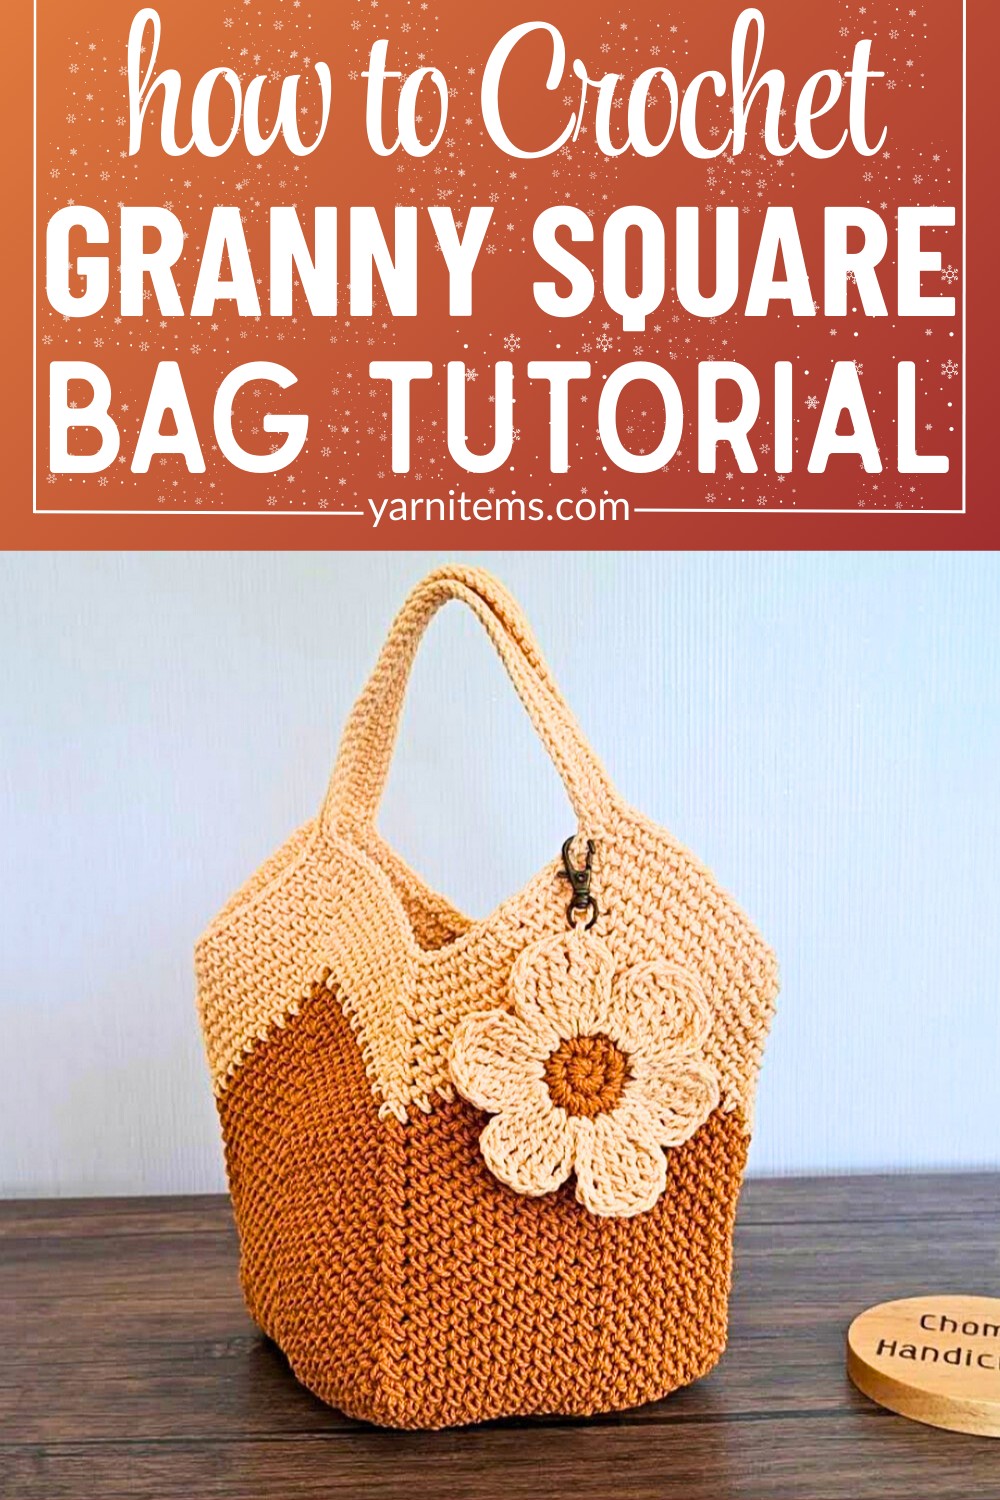
The construction is easier to follow when you look at it in stages. You’ll first build the square base with moss stitch, then shape the sides by adding decreases at the center of each side. Once the crochet bag reaches the right height, the handles are worked directly into the final rounds, so there’s no separate handle piece to sew on later.
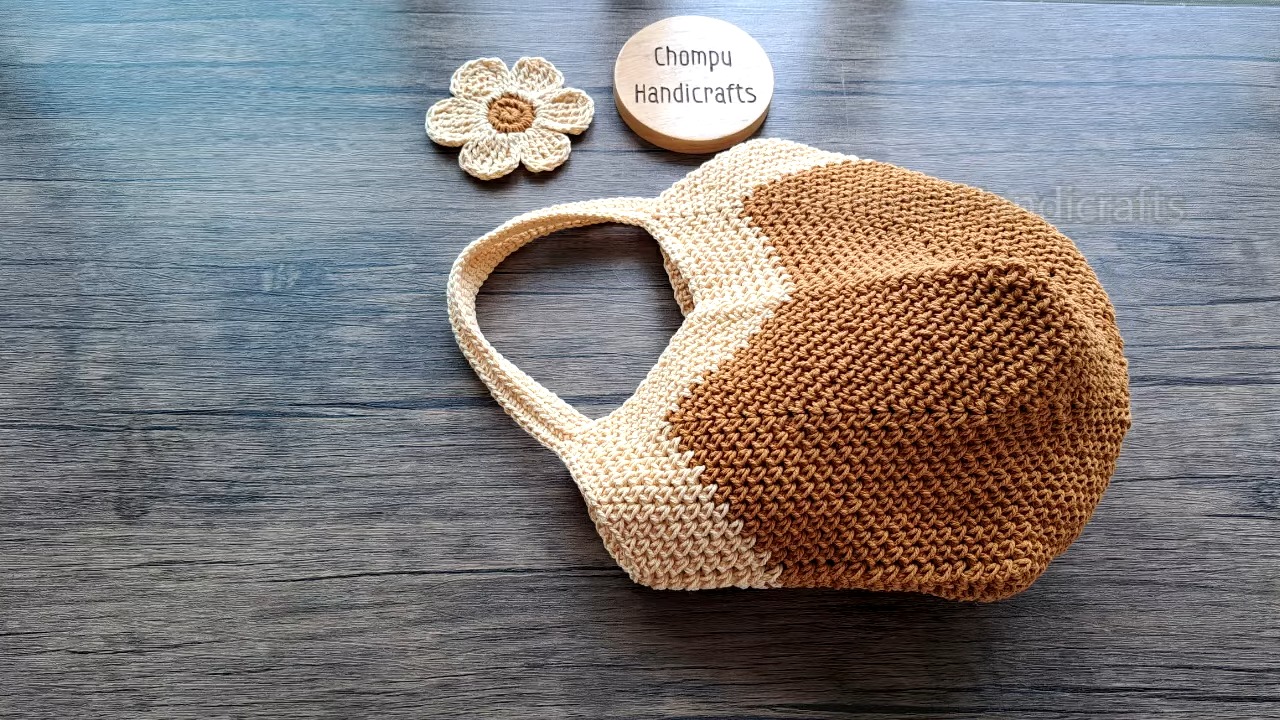
Credit Chompu Handicrafts
Materials & Tools Needed
- Yarn: 2.0 mm cotton rope (approx. 220 g total).
- Color A: Brown / Bronze.
- Color B: Cream / Beige.
- Hook: 3.0 mm crochet hook (No. 5/0).
- Notions:
- 4 stitch markers.
- Tapestry needle.
- Scissors.
- Measuring tape.
Finished Size
- Dimensions: Approximately 15 cm (Width) × 15 cm (Length) × 20 cm (Height).
Customization Ideas
- Size:
- To adjust the square bottom size, modify the number of base rounds (Rows 1–19 in the pattern).
- Color Blocking:
- Change the row count where color changes occur (e.g., Row 34) to create a custom two-tone or ombre pattern.
- Handles:
- To adjust handle size, increase or decrease the length of the initial chain (defaults to 45 ch in the tutorial).
Pattern Notes
- Stitch Pattern:
- Uses the Moss Stitch (1 single crochet, 1 chain, skip 1 stitch).
- Stitches are worked into the chain-1 spaces of the previous row.
- Construction:
- The bag begins with a 4-corner granny square base worked in rounds.
- The sides transition seamlessly into the chevron pattern with decreases (e.g., sc2tog) placed at the center of each side to create the peak-and-valley shape.
Pattern Abbreviations (US Terms)
- mr: Magic Ring (starts the round)
- ch: Chain stitch (used for foundation and spaces)
- sc: Single Crochet (basic crochet stitch)
- sc2tog: Single Crochet 2 Together (decrease stitch)
- st(s): Stitch(es) (refers to individual loops)
- ch-sp: Chain Space (gap formed by chains between stitches)
- [ ]: Instructions within brackets are repeated as indicated (e.g., [sc, ch] x3 for 3 repeats)
Tips Before You Start
- Mark the Center Decreases:
- After completing the base, place stitch markers at the midpoint of each side.
- These markers guide the placement of the sc2tog decreases, creating the 3D bag shape.
- Consistent Tension:
- Relax your chain-1 spaces; this ensures your hook glides smoothly into them during the next rounds.
Step-by-Step Detailed Crochet Instructions
Phase 1: Square Base (Color A)
Round 1
- Start with a magic ring.
- Wrap yarn and create a loop; secure with a slip knot.
- Into the ring, work:
- 1 single crochet (sc), 2 chain (ch), 1 sc, 2 ch, 1 sc, 2 ch, 1 sc, and 1 ch
- Pull the magic ring tight to close the center
- Finish the round with 1 sc into the initial space.
- This forms 4 corner chain spaces.
Round 2
- Chain 1 (ch) to start
- In the first corner, work: [1 sc, 2 ch, 1 sc] into the corner chain space.
- Chain 1, skip the next single crochet (sc).
- Repeat for each corner:
- Work [1 sc, 2 ch, 1 sc, 1 ch] in every corner chain space around.
- Finish the round with 1 sc in the starting space.
Round 3
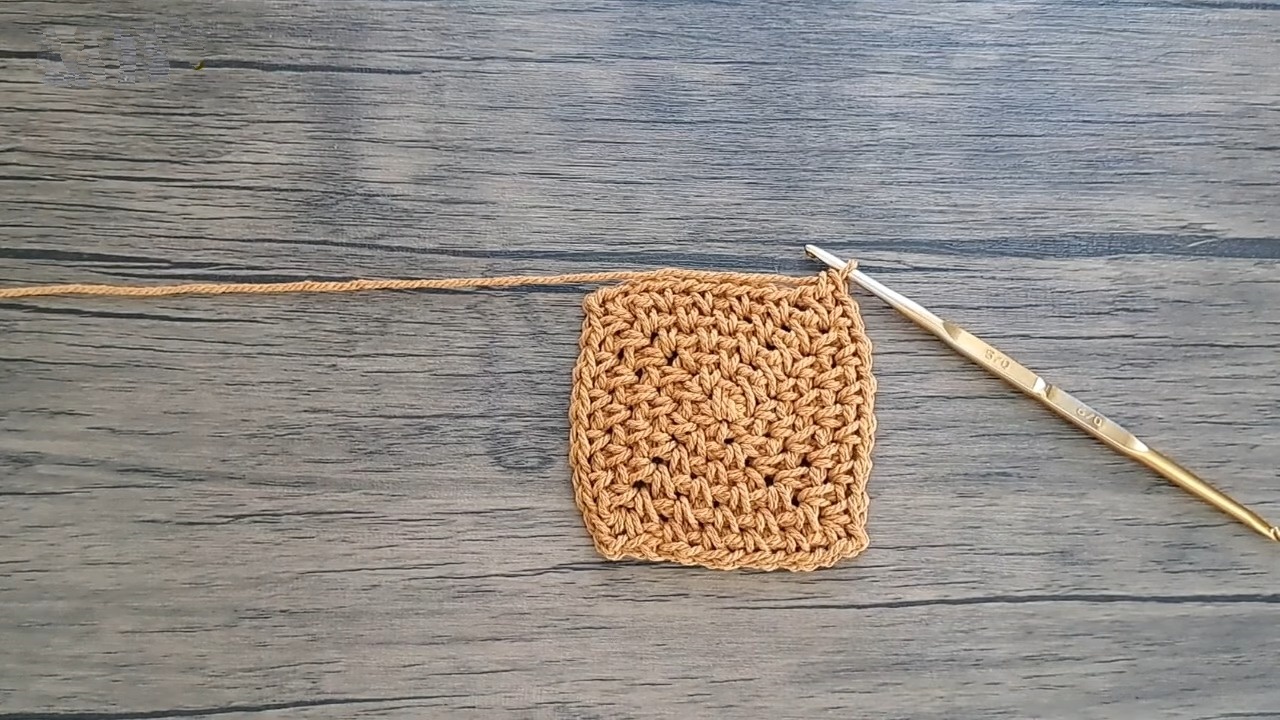
- Chain 1 (ch) to start [05:22].
- Work 1 sc in chain-1 space, 1 ch
- In each corner chain-2 space, work: [1 sc, 2 ch, 1 sc].
- Repeat across all 4 sides:
- Chain 1, 1 sc in chain-1 space, 1 ch, and corner pattern: [1 sc, 2 ch, 1 sc]
- Finish the round with 1 sc in the starting chain space.
Rounds 4 to 19
- Continue using the Moss Stitch Pattern:
- [1 sc, 1 ch in each chain space along the sides].
- In each of the 4 corners, work: [1 sc, 2 ch, 1 sc].
- Repeat this pattern for every round until Round 19 is complete.
- The base will measure approximately 21 cm × 21 cm.
Phase 2: Bag Body (Forming Peaks & Valleys)
Marking the Midpoints
- Fold and measure each of the 4 sides to locate the center stitch or chain space.
- Place a stitch marker at each midpoint
Body Rounds (Color A)
Round 20
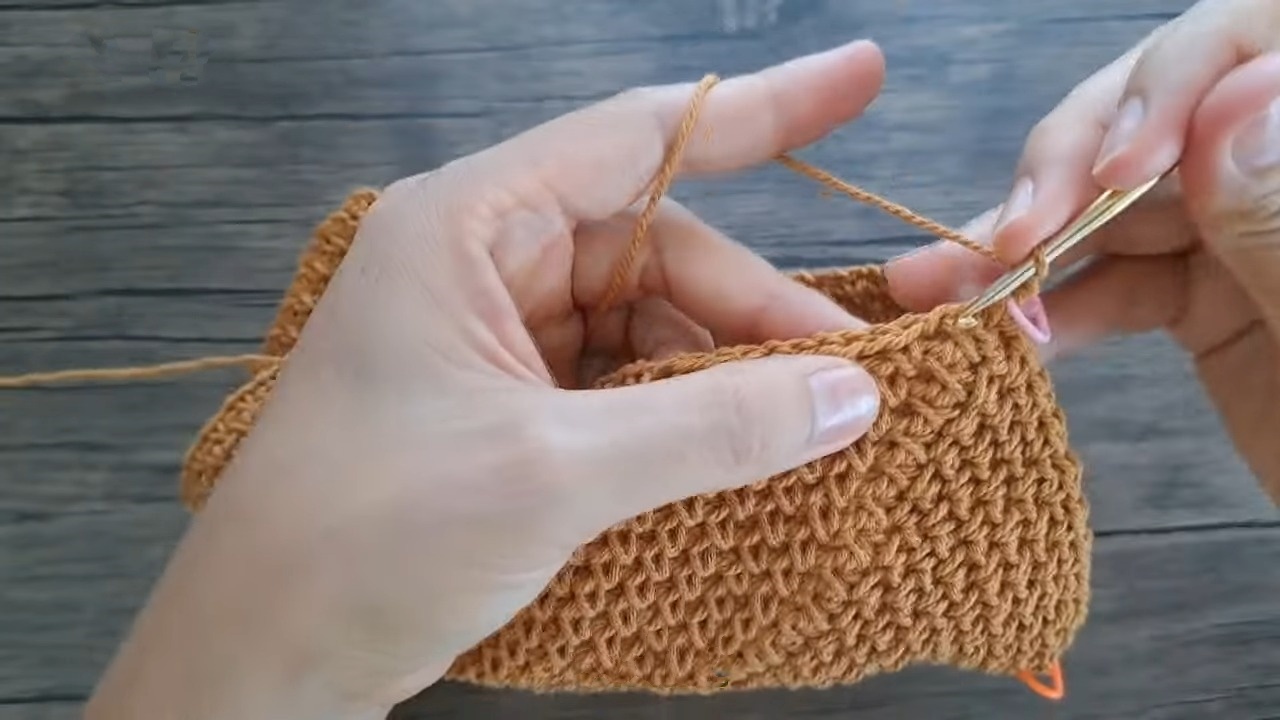
- Work Moss Stitch along the side to the corner.
- At the corner, work: [1 sc, 2 ch, 1 sc] into the corner chain space.
- Continue Moss Stitch until reaching the midpoint marker
- At the midpoint: Work single crochet two together (sc2tog) across the spaces flanking the midpoint.
- This creates an “inner valley.”
- Resume Moss Stitch to the next corner and work [1 sc, 2 ch, 1 sc]
- Repeat this pattern around all 4 sides
Rounds 21 to 33
- Continue repeating the pattern similar to Round 20:
- Corners (Peaks): [1 sc, 2 ch, 1 sc].
- Sides: 1 sc, 1 ch in each chain space.
- Midpoints (Valleys): Work sc2tog.
- Repeat this structure until Round 33.
Phase 3: Color Change & Upper Body (Color B)
Round 34
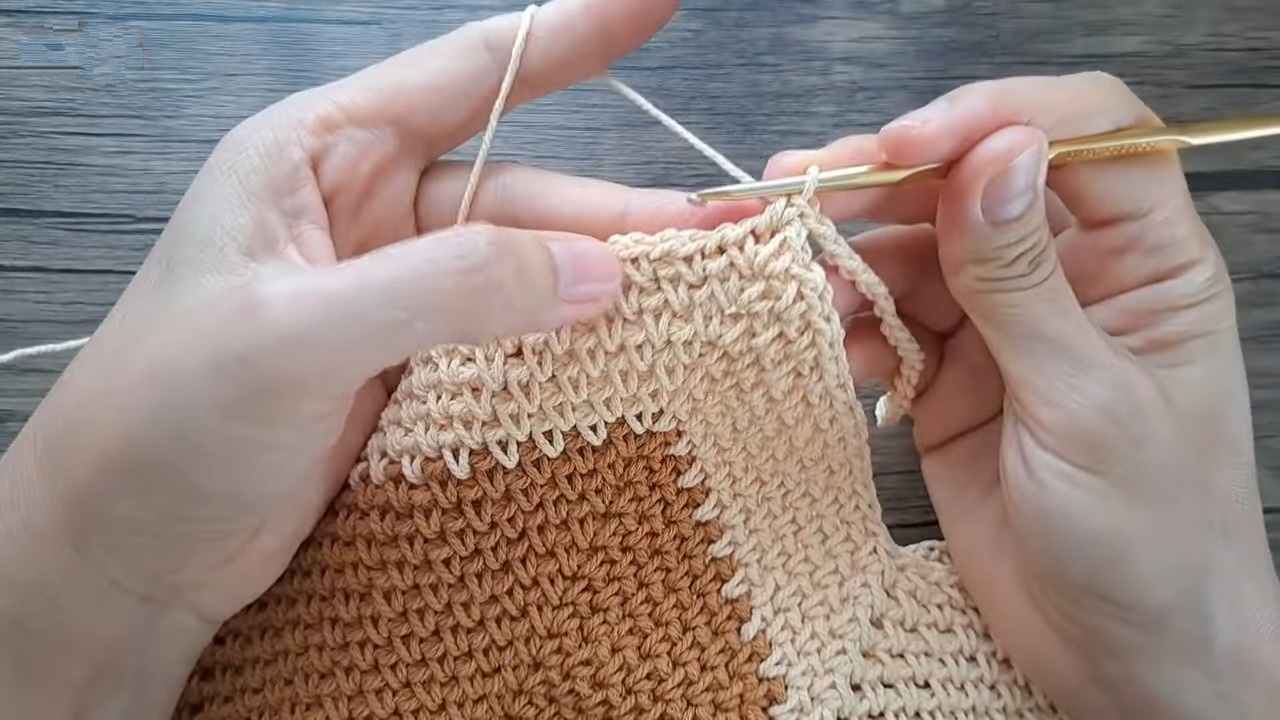
- Cut Color A and attach Color B
- Work Round 34 in Moss Stitch, maintaining:
- Corner increases: [1 sc, 2 ch, 1 sc].
- Midpoint decreases: sc2tog
Rounds 35 to 42
- Continue working with Color B for 8 additional rounds.
- Maintain:
- [1 sc, 2 ch, 1 sc] in each corner peak.
- sc2tog at each side valley.
Phase 4: Integrated Handles (Color B)
Round 43: Handle Setup
- Work Moss Stitch to the first corner peak.
- At the corner peak:
- Work 1 sc, then chain 45.
- This forms Handle 1.
- Skip over to the adjacent corner peak on the same side and join with 1 sc in the corner chain space.
- Work Moss Stitch along the side wall to the next corner peak.
- At the corner peak:
- Work 1 sc, then chain 45
- This forms Handle 2.
- Skip to the adjacent corner peak and join with 1 sc.
- Work Moss Stitch across the remaining side wall to complete the round.
Round 44: Handle Reinforcement
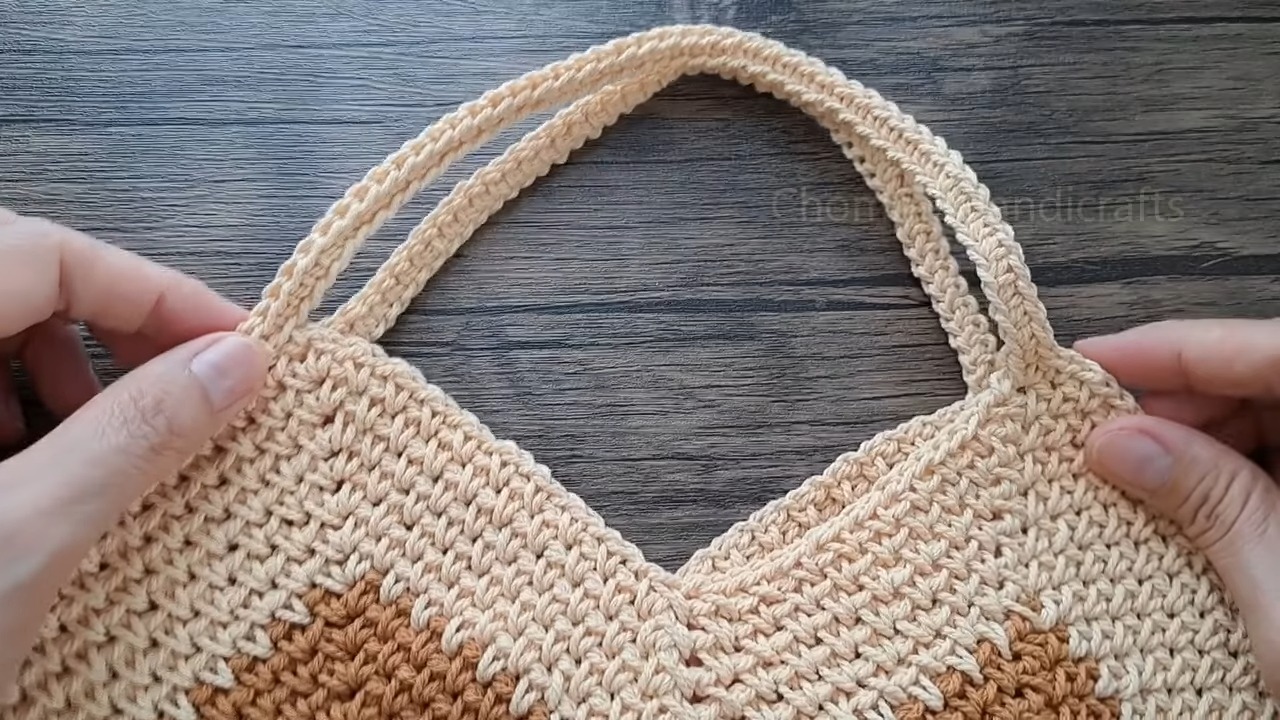
- Work 1 sc in each stitch along the side walls
- For each 45-chain handle loop:
- Work 1 sc in each chain stitch across
- Continue sc2tog at side midpoints/valleys
- Finish by fastening off and leaving a tail for weaving
Final Assembly & Finishing
Weaving Ends:
- Thread the yarn tail into a tapestry needle.
Seamless Finish:
- Weave the thread back through the first stitch of the final round to create a continuous stitch loop for a polished look.
Securing Loose Ends:
- Carefully weave in all loose yarn ends on the interior side of the bag.
Conclusion
Your Granny Square Crochet Bag is complete! You now have a structured tote designed with contrasting peak-and-valley geometry and durable integrated handles.