
How to Crochet a Heart in a Granny Square for Beginners
A tiny crochet heart can transform a classic granny square into something wonderfully meaningful. This charming crochet design combines the familiar texture of a granny square with a sweet heart motif, creating a piece that feels both timeless and personal. Its simple shape makes it a lovely choice for blankets, pillow covers, bags, and thoughtful handmade gifts.
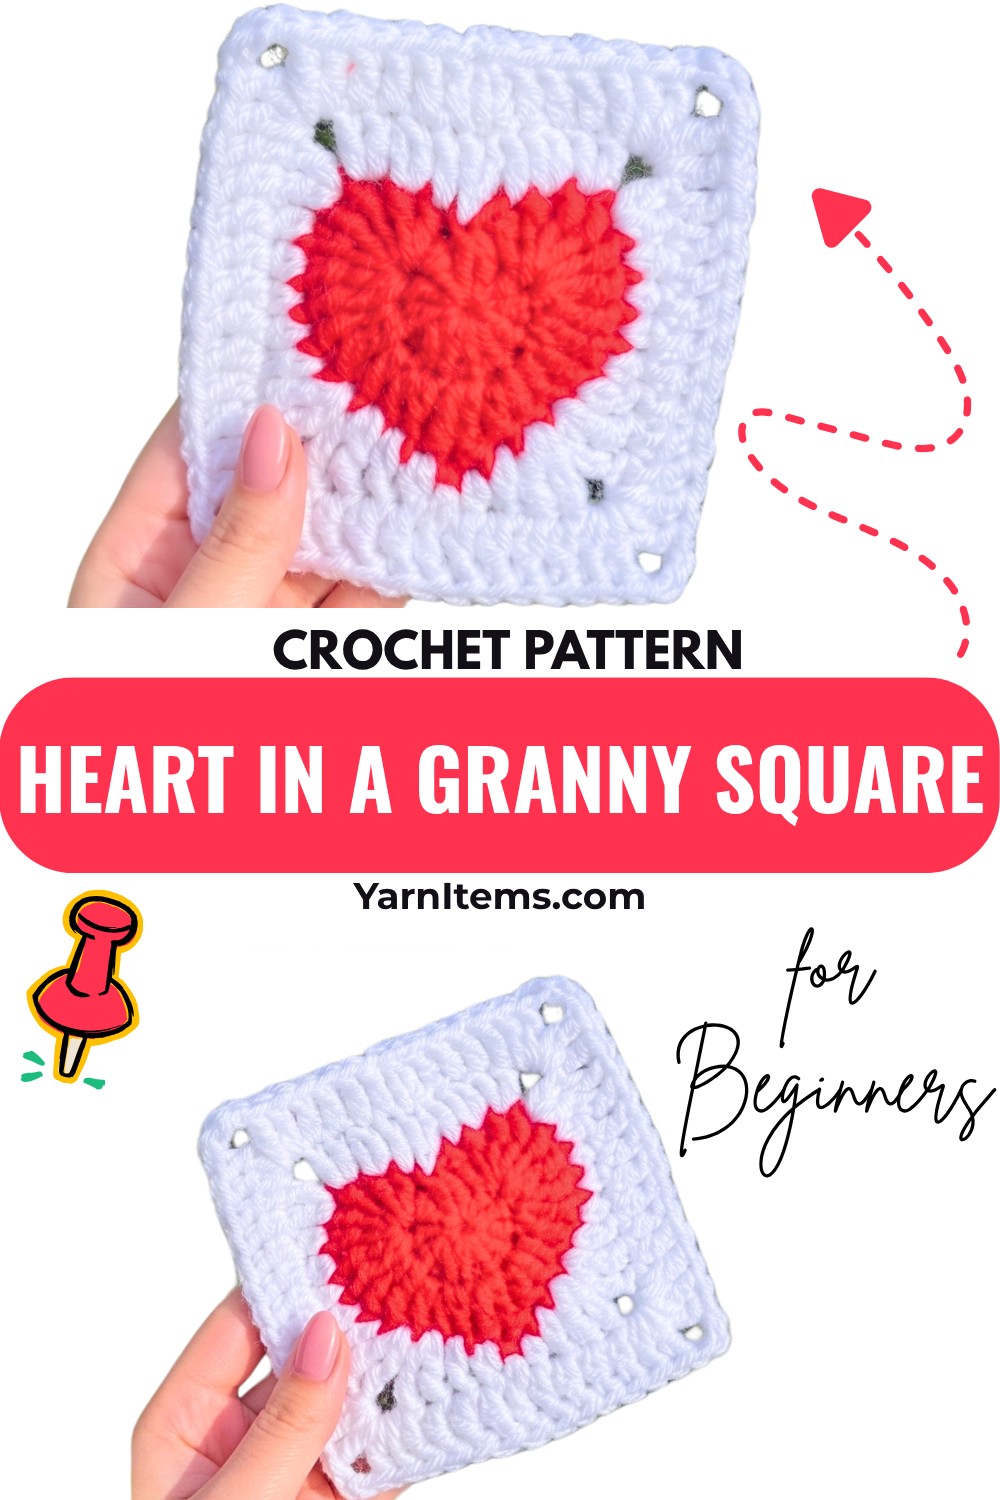
One simple motif can bring warmth and character to so many crochet creations. The heart can add a cozy decorative touch to home décor or become part of a special handmade item for someone you love. With its clear structure and beginner-friendly stitches, this design is also a delightful way to practice crochet while creating something beautiful and versatile.
Credit dreampls
Time Estimate
- 30–45 minutes, depending on your crochet speed and familiarity with granny square and heart patterns.
Why You Will Love This Pattern
- Combines the timeless charm of a granny square with a beautiful, textured heart motif.
- Great for making blankets, pillows, or decorative crafts.
- Perfect project for Valentine’s Day or to create a heartfelt gift.
- Learn to create a magic ring, work seamless rounds, manage color changes, and practice different stitches like double crochet and triple crochet.
Materials & Tools Needed
- Yarn:
- Main color for the heart (e.g., red, pink, or your favorite color).
- Secondary contrasting color for the granny square.
- Hook: Size recommended for your chosen yarn (typically 4.5mm–6mm for worsted weight yarn).
- Scissors.
- Tapestry or yarn needle (for weaving in ends).
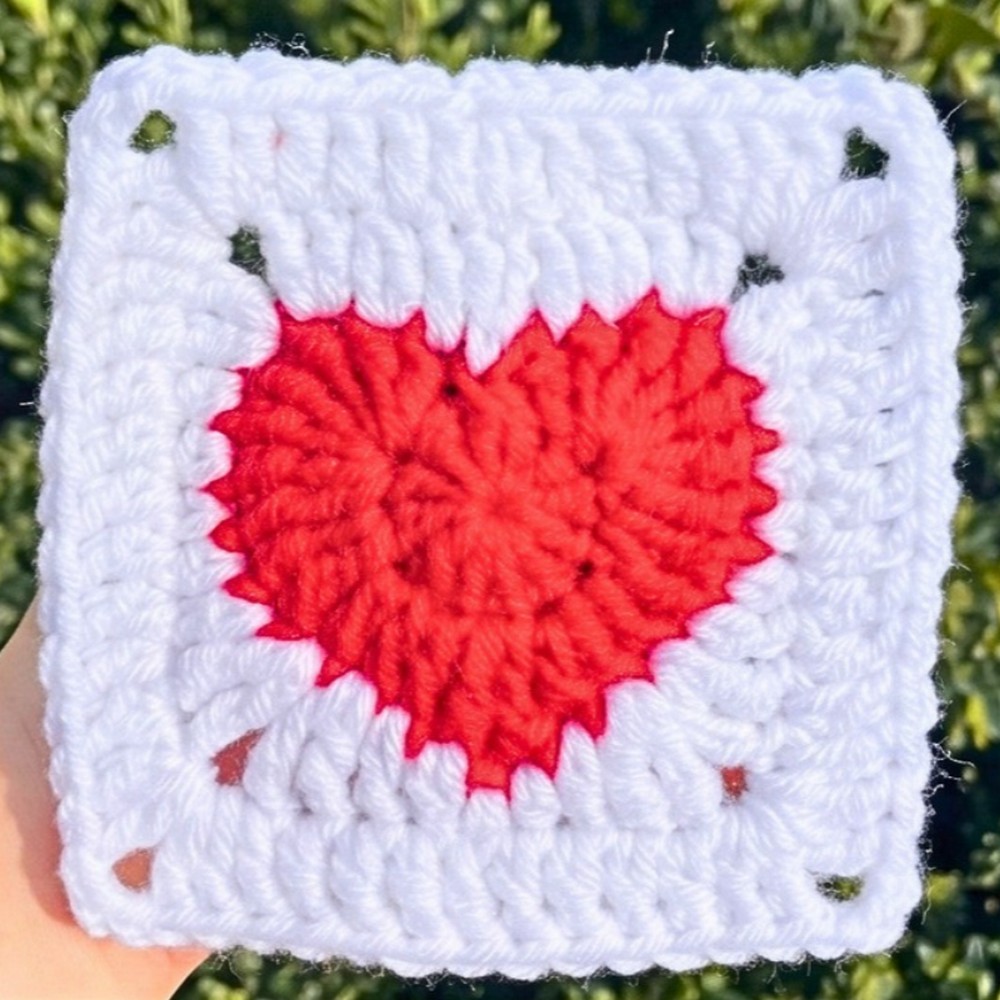
Finished Size & Customization Ideas
- The final square measures approximately 4–6 inches, depending on the yarn weight and hook size.
- Customization Ideas:
- Create multiple squares in different colors and join them to make a blanket.
- Use a metallic yarn for the heart to add sparkle.
- Add extra border rounds to increase the size of the square.
Pattern Note
- This pattern is worked in rounds, starting with a magic ring.
- The heart is created in the first two rounds, while the square is formed in subsequent rounds.
- Keep your tension consistent to ensure the square lays flat.
- Use stitch markers to mark important stitches, especially the starting stitch of each round.
Pattern Abbreviations & Terminology
- ch: Chain
- sc: Single Crochet
- sl st: Slip Stitch
- dc: Double Crochet
- tr: Triple (Treble) Crochet
- hdc: Half Double Crochet
- MR: Magic Ring
- st(s): Stitch(es)
Pattern is written in US crochet terms.
Tips Before You Start
- Familiarize yourself with creating a magic ring; it’s essential for this pattern.
- Practice triple crochet (tr) stitches if you’re new to them, as they are used frequently in the heart shape.
- Ensure the tension of the yarn is consistent, especially when tightening the magic ring.
- Weave in ends securely to prevent unraveling.
- If you’re new to color changes, review color-changing techniques in crochet for seamless transitions.
Step-by-Step Detailed Crochet Instructions
Heart Motif
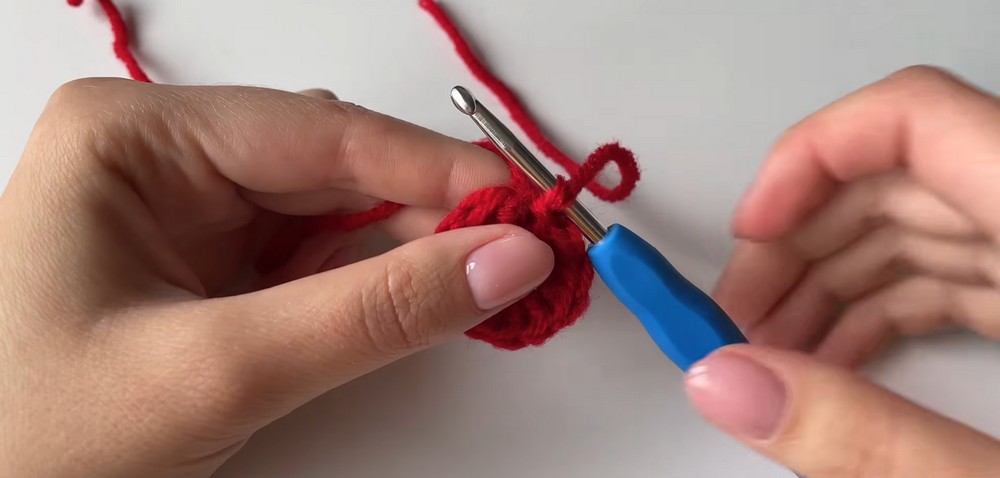
Round 1: Create the Magic Ring and Foundation
- Make a magic ring.
- Work 11 double crochets (dc) into the ring.
- Instructions for dc: Yarn over, insert your hook into the ring, pull up a loop (3 loops on the hook), yarn over, pull through two loops (2 loops remain), yarn over, pull through the remaining two loops.
- Pull the short tail of the yarn to close the magic ring tightly.
- Slip stitch (sl st) into the top of the starting chain to form a complete round. (12 sts, including the starting chain)
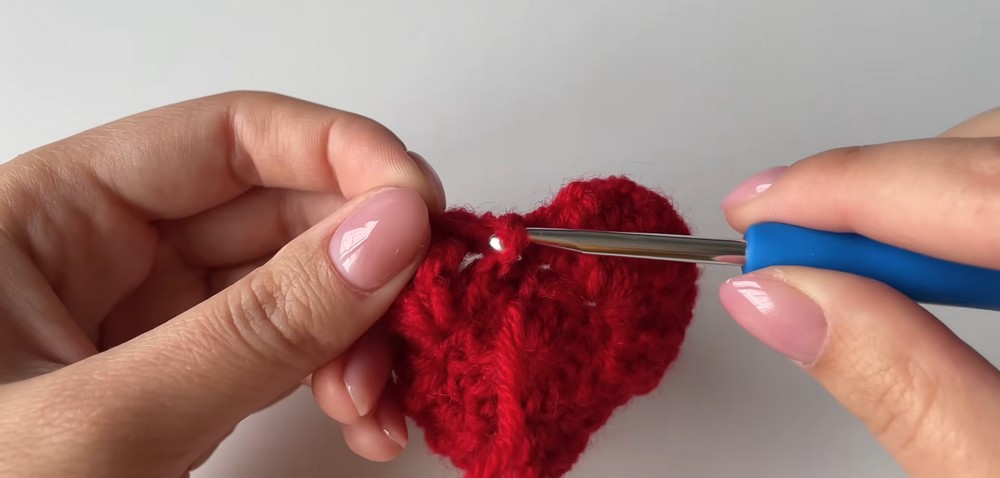
Round 2: Form the Heart
- Chain 1, then make 1 single crochet (sc) into the same stitch as the sl st.
- Skip the next stitch, and in the following stitch:
- Work 1 double crochet (dc).
- In the same stitch, make 6 triple crochets (tr).
- Instructions for tr: Yarn over twice, insert your hook, pull up a loop (4 loops), yarn over, pull through 2 loops, yarn over, pull through 2 loops, yarn over, pull through final 2 loops.
- Repeat for a total of 6 times.
- In the next stitch, make 2 triple crochets.
- In the next stitch, make 1 double crochet (dc).
- In the next stitch, work 2 dc into the same stitch.
- In the next stitch:
- Make 1 triple crochet.
- Chain 1, then make another triple crochet into the same stitch.
- Into the next stitch, work 2 double crochets.
- Into the next stitch, work 1 double crochet.
- Into the next stitch, make 2 triple crochets.
- Into the next stitch:
- Work 6 triple crochets and 1 double crochet, all in the same stitch.
- Join with a slip stitch into the first sc. Cut the yarn and fasten off to complete the heart.
Granny Square Around Heart
Round 3: Adding Granny Square
- Attach your secondary yarn (e.g., white) into the center single crochet from Round 2 with a slip stitch.
- Chain 1 and make 1 sc into the same stitch.
- Ch 2, make 1 dc into the first single crochet.
- Work 1 dc into the next stitch.
- In the next st:
- Yarn over, insert hook, pull up a loop, yarn over, pull through 2 loops.
- Yarn over, insert hook into same st, pull up a loop, yarn over, pull through 2 loops.
- Now yarn over and pull through all 3 loops (this creates 2 dc with a single top).
- Into the next stitch, make 2 dc.
- Ch 2, and into the next stitch, work 2 more dc.
- Work these stitches in the following order for the rest of the round:
- hdc, 1 hdc, 1 sc, 1 hdc, 1 hdc, 1 dc.
- 2 tr into the next stitch.
- Ch 2, and 2 tr into the next stitch.
- 1 dc, 1 hdc, 1 sc, and so forth, following the pattern around.
- Join with a slip stitch into the first double crochet at the end of the round.
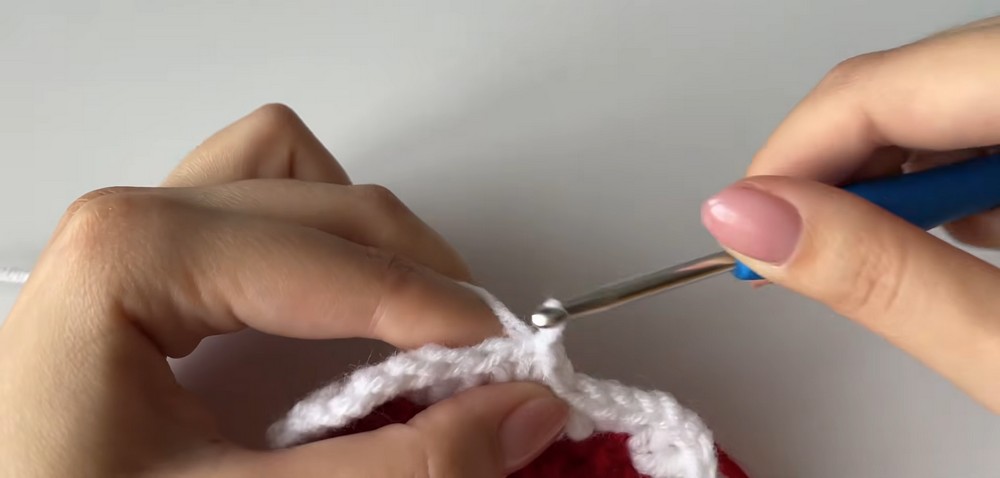
Round 4: Forming Square
- Chain 1. Into the slip stitch space, make 1 dc.
- Work 4 dc (1 dc in each stitch).
- At the corner space:
- Work 2 dc, ch 3, 2 dc, all into the same space to form the corner.
- Continue by working 9 dc, then forming the next corner as described.
- Repeat the process around the square, ensuring you maintain straight edges and sharp corners.
- Complete the round with a slip stitch into the first dc.
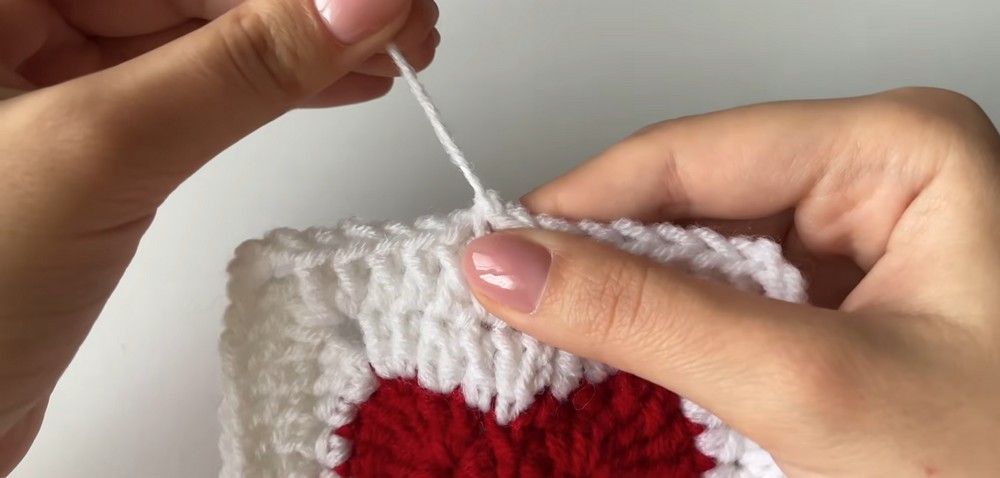
Final Assembly
- Cut the yarn, leaving a tail.
- Use a tapestry needle to weave in any loose ends into the back of your work securely.
- Block the square lightly to ensure it lays flat and the edges are even.
Conclusion
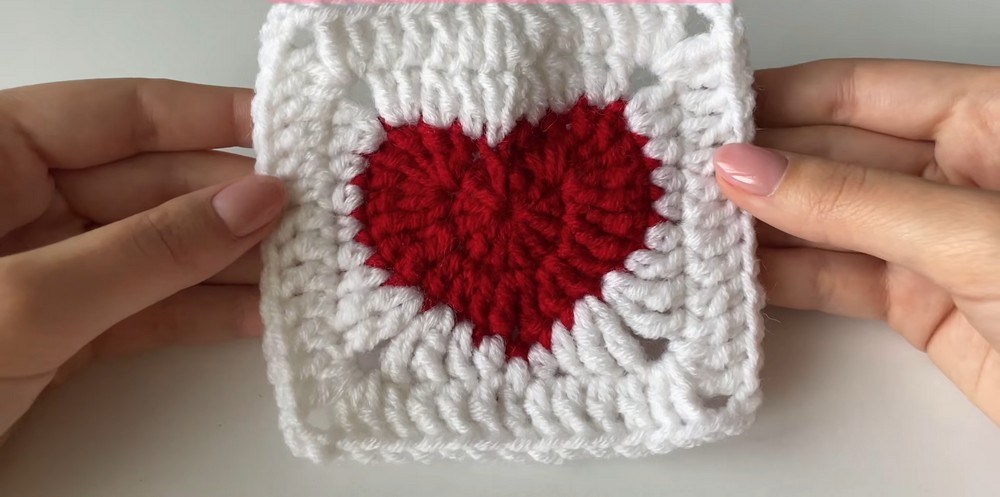
- Your beautiful granny square with a heart motif is complete! You can now use it as a motif in larger projects like blankets, bags, or wall hangings, or simply enjoy it as a standalone piece.
- Thank you for crocheting with me! If you enjoyed this tutorial, don’t forget to like, share, and subscribe for more crochet projects!



One Comment