
Crochet Rilakkuma Scarf With Face, Ears, Arms & Legs
Need a playful winter scarf that looks like a tiny Rilakkuma character? This crochet design turns a simple brown rectangle into a wearable bear with a face, ears, and little limbs.
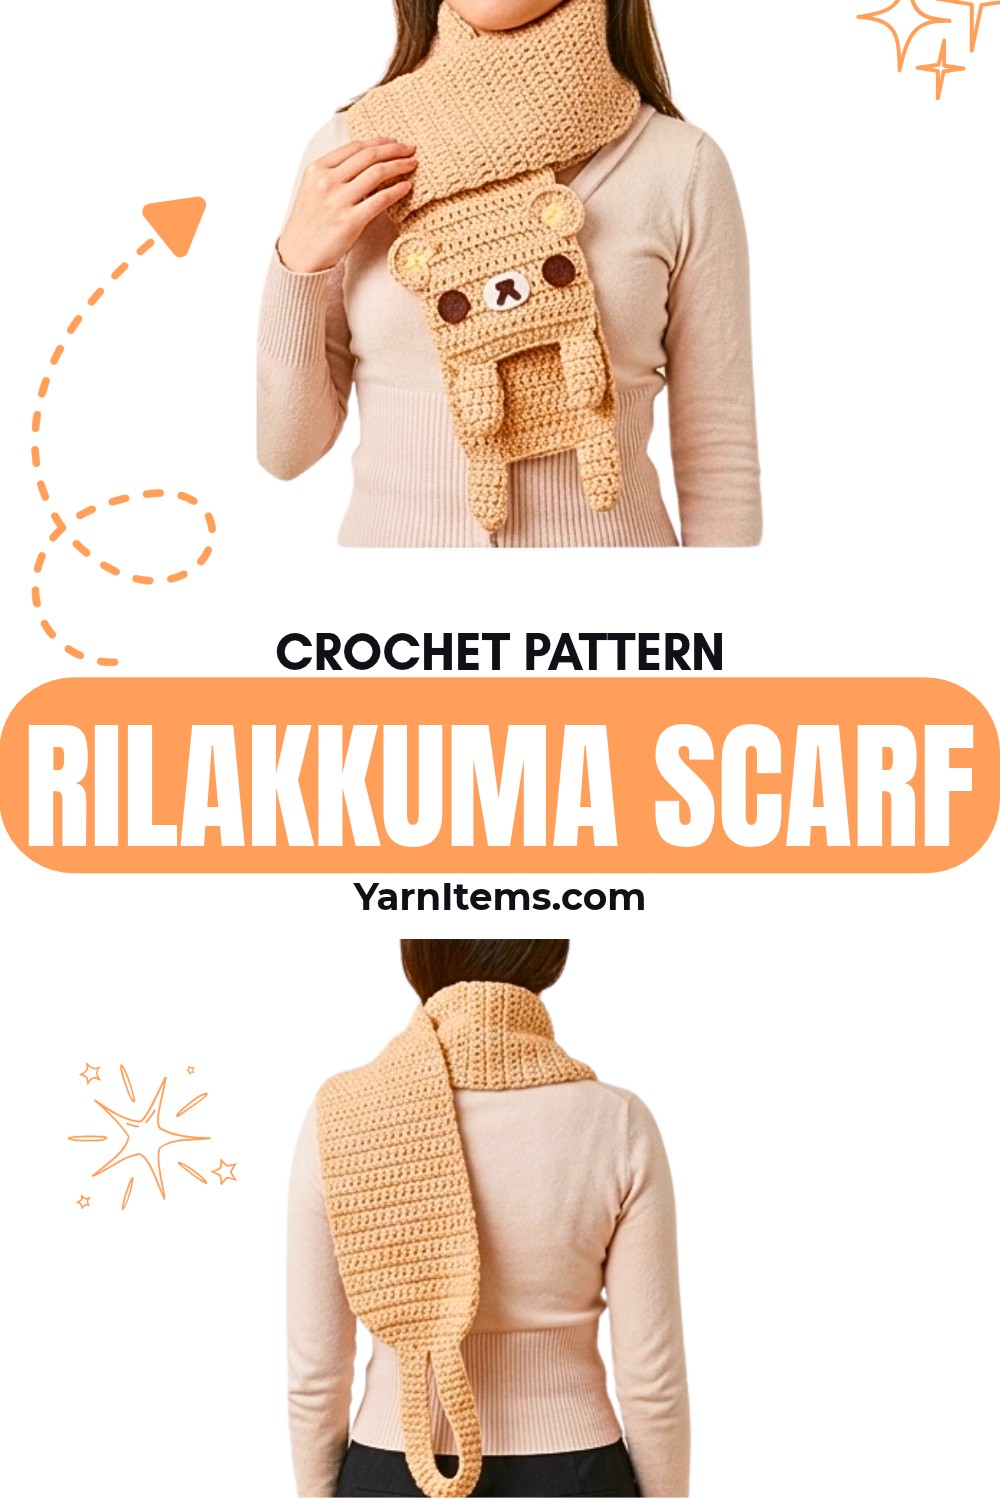
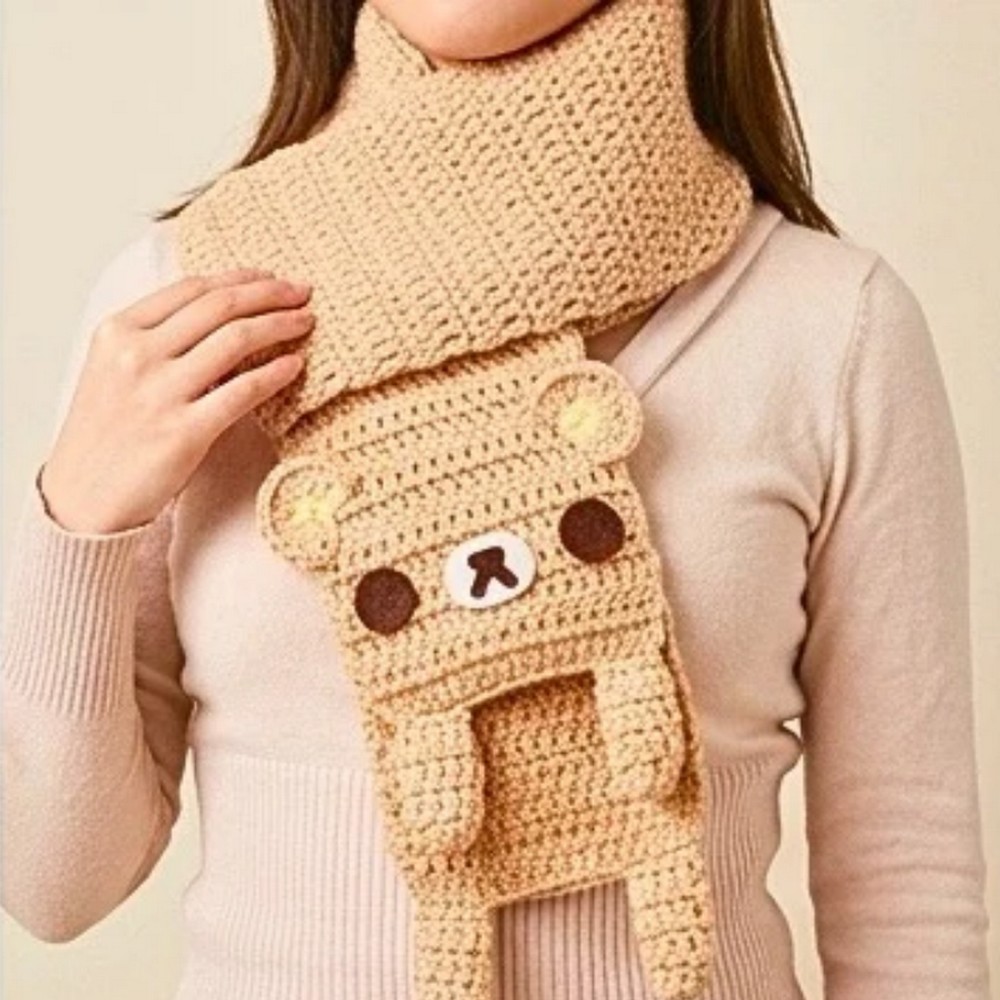
A long strip of brown crochet becomes much more than an ordinary scarf once its folded ends are shaped into a Rilakkuma-inspired head and torso.
The simple double-crochet fabric keeps the main piece approachable, while the yellow-and-brown ears, felt facial features, and four small limbs create the character details that make the finished scarf instantly recognizable.
The instructions below take you from the first 22-chain foundation through the long rows of the scarf, then guide you through the small circular limbs, color-changing ears, felt face, and final placement.
You’ll also learn where to measure the crochet scarf as you work so the folded ends form balanced sections when it is worn around the neck.
Credit Crochet With Yaz
Materials & Tools Needed
- Yarn: 1 skein of Rilakkuma body-color yarn in brown, such as Loops & Threads, plus a small amount of yellow yarn.
- Crochet Hook: 4.0 mm crochet hook.
- Felt: Brown and white felt for the facial features.
- Tools: Darning or tapestry needle, scissors, and E6000 glue or sewing thread.
Finished Size & Customization
The finished scarf is approximately 5’5″ long and is worked over about 134 rows of double crochet.
You do not have to stop at exactly 134 rows. The more useful measurement is how the scarf sits when folded and wrapped around your neck. Continue until the two folded ends create proportional square sections—one becoming the head and the other forming the torso.
This makes the length easier to personalize without changing the basic stitch pattern.
Pattern Abbreviations
- CH: Chain
- DC: Double Crochet
- HDC: Half Double Crochet
- INC: Increase – 2 stitches in the same stitch
- SL ST: Slip Stitch
- MR: Magic Ring
- FO: Fasten Off
Crochet the Long Scarf Body
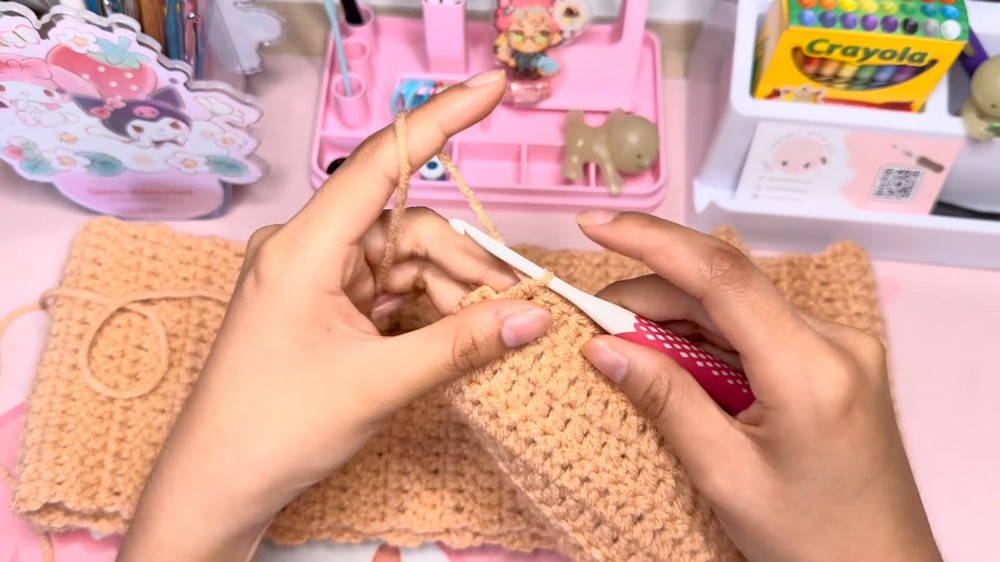
The entire character starts as one long, narrow rectangle. Once it is worn folded around the neck, the ends become the two character sections, so keeping the fabric width consistent is especially important here.
Row 1: Ch 22. Starting in the 3rd ch from the hook, work 1 dc in each chain across. (20 dc)
Row 2: Ch 2 and turn. Work 1 dc in each stitch across.
Rows 3–134: Repeat Row 2, working continuous rows of 20 dc until the scarf reaches the desired length, approximately 5’5″ for the stated version.
Finishing the Body: Sl st to finish the last stitch, FO, and cut the yarn.
Length Check
Do not rely only on the row number when deciding whether the scarf is long enough. Fold the piece in half and loosely position it as it will sit around your neck. The two ends should have enough length to form the head and torso sections without looking cramped or excessively long.
This is also the easiest point to adjust the length. If the folded sections are not balanced, continue crocheting before fastening off.
Shape the Four Limbs
The arms and legs are made separately, but they all use the same small four-round shape. Make 4 limbs in brown yarn.
Round 1: Create a MR, ch 2, and place 6 dc into the ring. Sl st into the first stitch to join. (6 sts)
Round 2: Ch 2. (Dc in the next 2 sts, inc in the next st) repeat 2 times. Sl st to join. (8 sts)
Rounds 3–4: Ch 2. Work 1 dc in each of the 8 stitches around. Sl st to join at the end of each round. (8 sts)
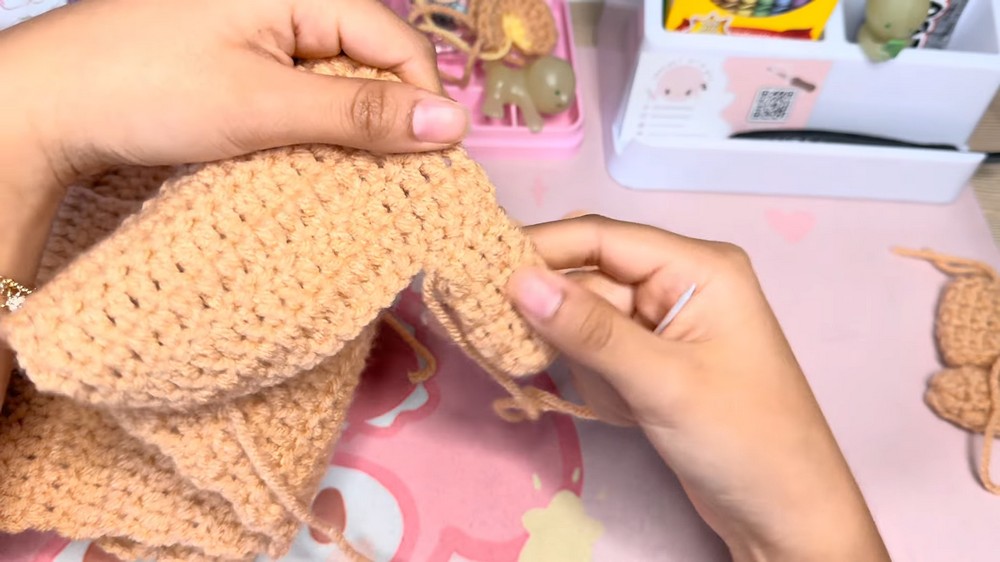
Finishing the Limbs: FO, leaving a long tail for sewing. Thread the darning needle and close the open end by stitching the 4 opposite stitches together so the limb lies flat. Secure with a knot.
Flattening Check
The open end should close into a flat edge rather than remaining round. That flattened section is what will sit against the scarf, so make sure the four opposite stitches are brought together neatly before you attach the limb.
Crochet the Two Ears
Each ear begins in yellow and changes to brown before the second round. The color change happens while completing the final HDC of Round 1, which keeps the yellow center connected cleanly to the brown outer shape.
Round 1 – Yellow: Create a MR, ch 1, and place 6 hdc into the ring. On the 6th hdc, pause before pulling through the final loop and change to brown yarn. (6 hdc)
Round 2 – Brown: Ch 2 and turn the work to create a semi-circle rather than a complete round. Work an inc-2 dc-in every stitch across, carrying the yarn ends inside the stitches as you work to hide them.
Finishing the Ears: Sl st, FO, and cut the yarn. Weave all remaining ends completely inside the ear so no loose tail remains.
Ear Shape Check
The second round deliberately turns the circular beginning into a semi-circle. Keep the flat edge clean because this is the edge that will later sit against the scarf. If that edge becomes uneven, the ear can look tilted once it is attached.
Assemble the Character
Once the long scarf, limbs, ears, and facial pieces are ready, the placement of each part determines how clearly the character reads when the scarf is worn.
Attach the Limbs
Thread the long yarn tail left on each flattened limb.
Line up the flattened top of each limb with the bottom edge of the scarf ends. Sew 2 limbs to the bottom corners of one side of the scarf and the other 2 limbs to the bottom corners of the opposite side.
Knot the yarn tightly against the scarf, then pull the end through the inside of the limb to hide it. Trim the excess.
Placement Check: Lay the scarf flat before securing all four limbs. Compare the two ends from side to side so the limbs sit at corresponding bottom corners. Making this check before trimming the tails makes small adjustments much easier.
Create the Felt Face
The face is made separately from felt and then positioned onto one end of the scarf to establish the character’s head.
Cut the Eyes
Use a small circular object, such as a nickel, as a guide. Trace and cut two smooth circles from the brown felt.
Cut the Muzzle
Cut a small oval from the white felt for the muzzle.
Make the Nose and Mouth
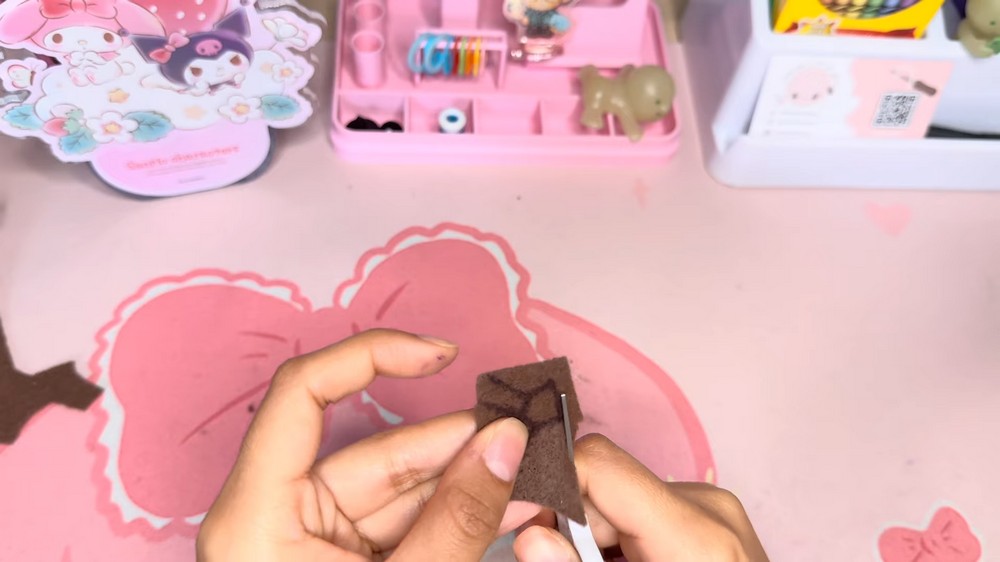
Trace and cut a small Y-shaped nose and mouth design from the brown felt.
Assemble the Face
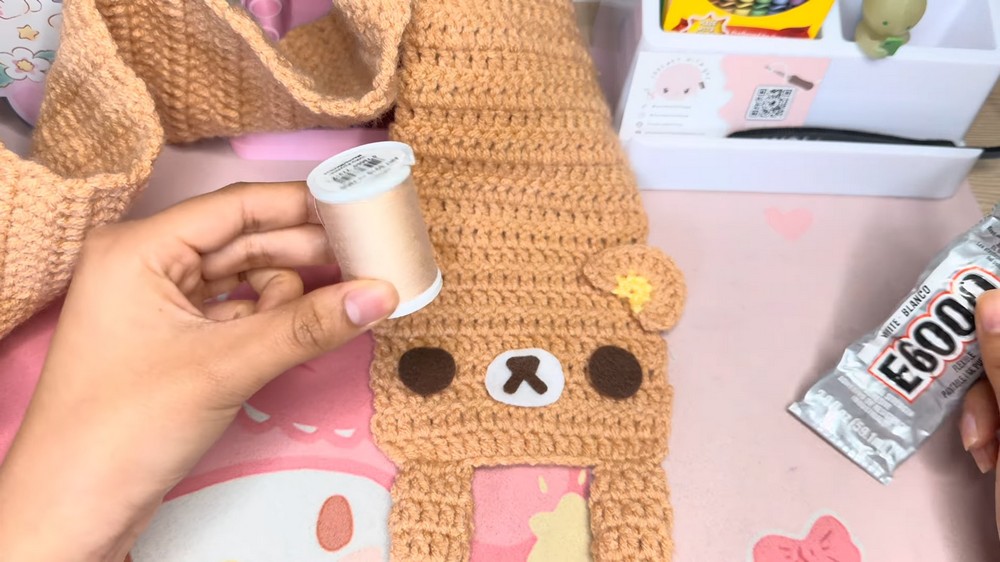
Apply E6000 glue to the brown nose-and-mouth piece and attach it to the center of the white muzzle.
Once it has set, apply glue to the back of the muzzle and eyes. Position them closely together on one end of the scarf. This end becomes the character’s head.
Press the pieces firmly into place.
Face Placement Check: Before gluing, place the felt pieces on the brown scarf without adhesive and step back to look at the overall shape. The face should sit comfortably within the section that will become the head when the scarf is folded and worn.
Attach the Ears
The ears complete the character’s head shape, so their position matters just as much as the felt features.
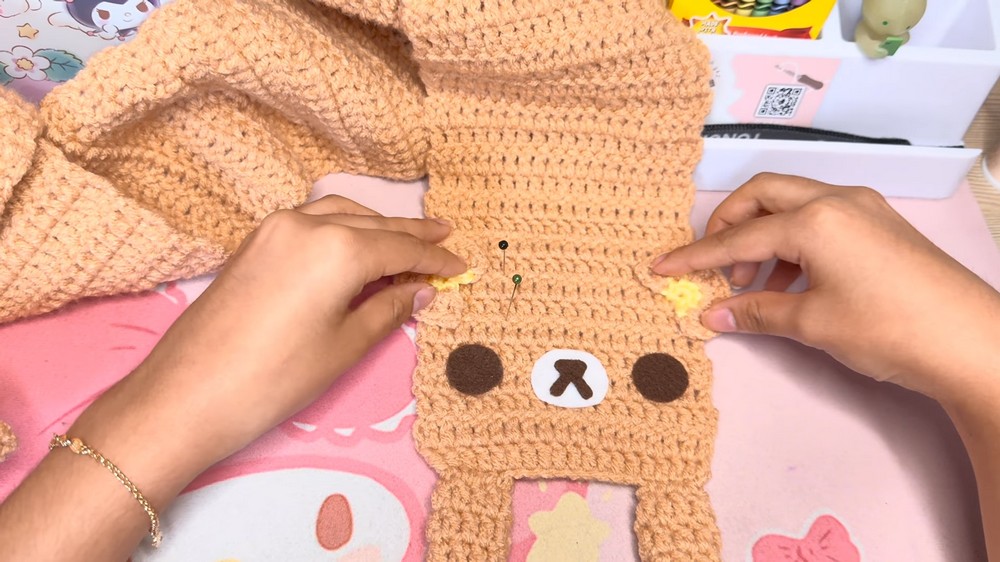
Position the flat edge of each ear along the sides of the scarf near the face. Place them approximately on the 6th and 7th rows from the bottom edge.
Carefully apply E6000 glue along the trimmed edge of each ear and press it directly onto the side edge of the scarf.
You can sew the ears on instead if you prefer.
Allow the glue to cure fully for 24–72 hours before wearing the scarf.
Wear the Rilakkuma Scarf
When the finished scarf is ready to wear, fold it in half and place it around your neck. Pull the bottom ends containing the torso and legs through the folded loop.
Adjust the scarf so the customized face rests clearly on top. The folded design allows the character details to sit together naturally while the long crocheted body wraps around the neck.
The result is a playful wearable piece built from a straightforward double-crochet rectangle, with the character coming to life through the placement of the smaller crocheted and felt details.



One Comment