Crochet a Stylish Scarf – Easy Granny Stripe Pattern
A scarf like this is easy to keep reaching for when you want something warm without a heavy feel, and the simple granny-style texture makes it just as lovely to wear as it is to gift.
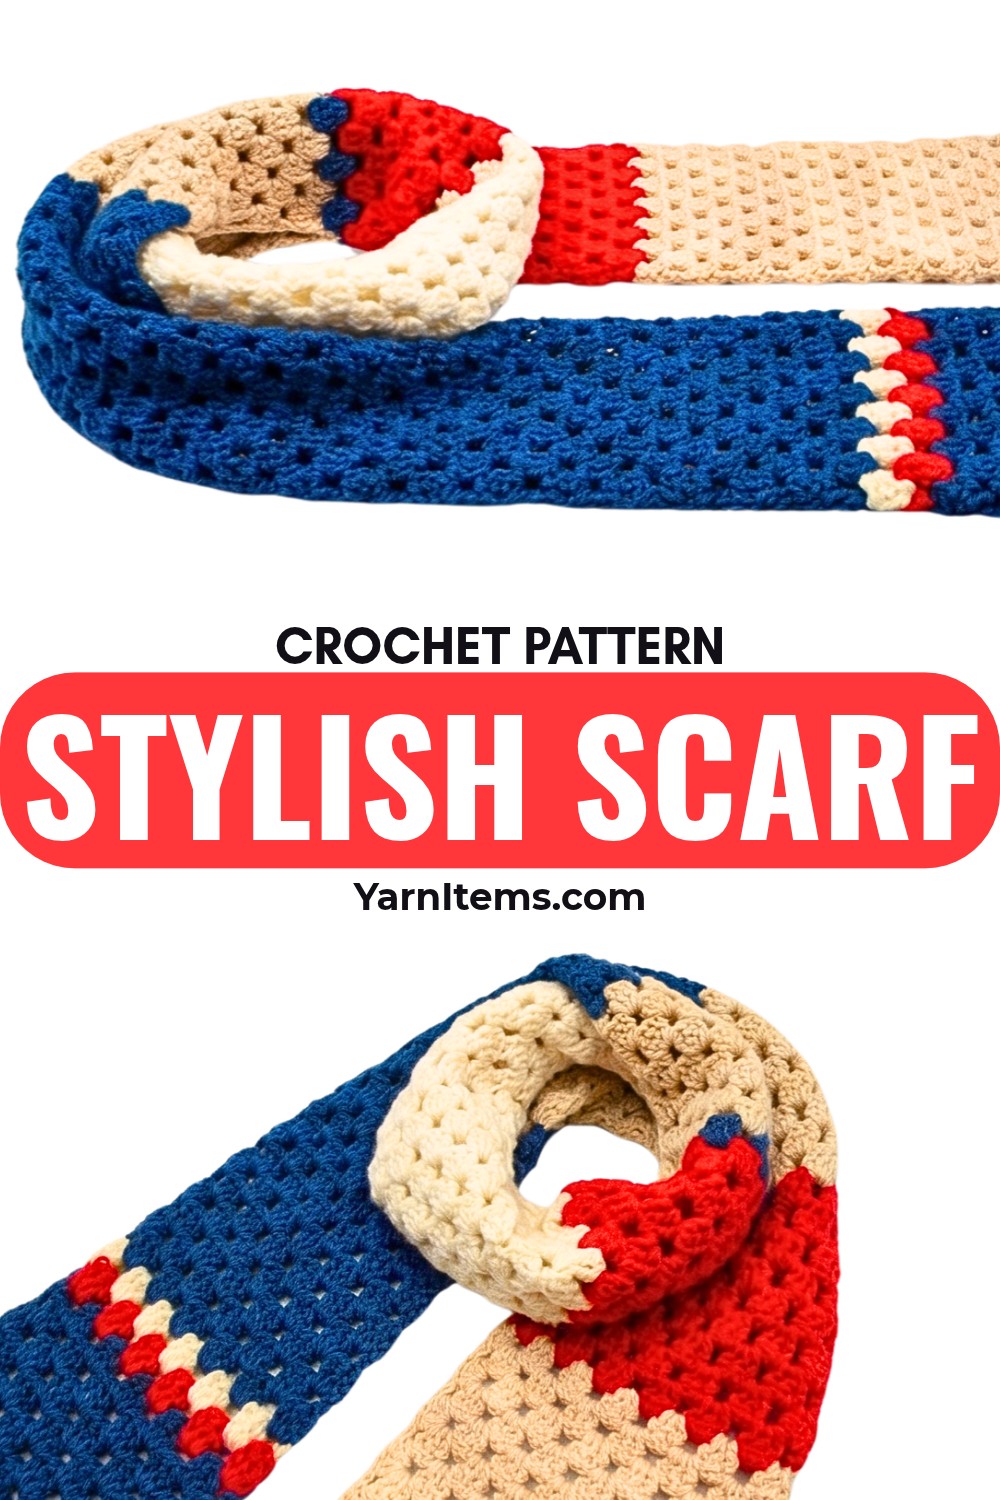
A good everyday scarf doesn’t need a complicated stitch pattern to look special. This one combines small crochet granny-style clusters with open spaces, giving the fabric a soft texture and enough drape to wrap comfortably around your neck or shoulders.
The construction is especially beginner-friendly because the width is established with a short foundation chain, while the length comes from repeating just two main rows. Once you understand where the chain spaces sit, the crochet pattern becomes easy to follow and customize with different colors.
Credit Nala Crochet
Materials & Tools Needed
- Yarn: 100% acrylic yarn, 100 g, standard medium weight.
- Crochet Hook: 5.0 mm (H-8). The slightly larger hook helps give the scarf a softer drape.
- Tapestry Needle: For weaving in yarn ends.
- Scissors
- Stitch Marker: Optional, especially helpful when identifying the turning chain.
Finished Size & Customization
The sample begins with 25 chains and creates a scarf approximately 21 stitches wide. The length is determined by how many times you repeat the main rows.
You can easily customize it by:
- Adding more rows for a longer scarf.
- Changing the foundation chain if you want a wider or narrower scarf, while keeping the stitch repeat consistent.
- Changing colors every few rows for stripes.
- Adding fringe or tassels to the two ends if you prefer a more traditional scarf finish.
Pattern Abbreviations & Terminology
- ch: Chain
- sc: Single crochet
- hdc: Half double crochet
- dc: Double crochet
- ch-sp: Chain space
- sl st: Slip stitch
- st(s): Stitch(es)

Step-by-Step Crochet Instructions
Foundation Chain
Foundation: Make a slip knot, then chain 25. Count the V-shaped chains rather than the loop on your hook, and place a stitch marker around the 4th chain from the hook so it is easy to identify when you begin the first row.
Build the Solid Base
Row 1: Ch 3, then work 1 dc in the 5th chain from the hook and 1 dc in each remaining chain across. Stitch count: 20 dc + turning chain = 21 sts.
This first row gives the scarf a firm foundation. Keep your chain tension relaxed so the bottom edge does not pull tighter than the rest of the scarf.
Create the Granny-Style Texture
Row 2: Ch 3 and turn, work 1 dc in each of the next 2 sts, *ch 1, skip 1 st, 3 dc in the next 3 sts; repeat from * across, ending with ch 1, skip 1 st, and 1 dc in the top of the turning chain. Stitch count: 21 sts, with ch-1 spaces between the dc groups.
The important part of this row is the ch-1 space. These spaces are what you will use in the next row, so make them easy to see rather than pulling them too tightly.
Work Into the Open Spaces
Row 3: Ch 3 and turn, work 2 dc into the first ch-1 space, *ch 1, 3 dc into the next ch-1 space; repeat from * across, then ch 1 and 1 dc into the 3rd chain of the turning ch-3 from the previous row. Stitch count: 21 sts.
The first group has only 2 dc because the turning chain already acts as part of that group. After that, each visible ch-1 space receives a group of 3 dc.
Teaching Tip: If Row 3 looks uneven, don’t immediately undo the whole row. First check whether every 3-dc group is sitting inside a ch-1 space. Missing one space is the most likely reason the pattern starts looking distorted.
Repeat the Main Pattern
Rows 4 onward: Repeat Row 2 and Row 3 in order, changing colors whenever desired, until the scarf reaches your preferred length.
Repeating these two rows is what creates the alternating granny-style texture. Row 2 establishes the spaces, and Row 3 fills those spaces with the next set of clusters.

Changing Colors
Color Change: At the final step of the last stitch of Row 3, pull through with the new color, secure the old and new yarn tails, and continue with Row 2 in the new color; repeat the color changes at your preferred intervals until the scarf reaches the desired length.
For clean stripes, changing colors at the same point each time keeps the edges more consistent.
Teaching Tip: If you are changing colors frequently, leave enough yarn at each color change to weave in securely later. Avoid tying bulky knots directly against the scarf edge, as they can become noticeable when the scarf is worn.
Finish the First End
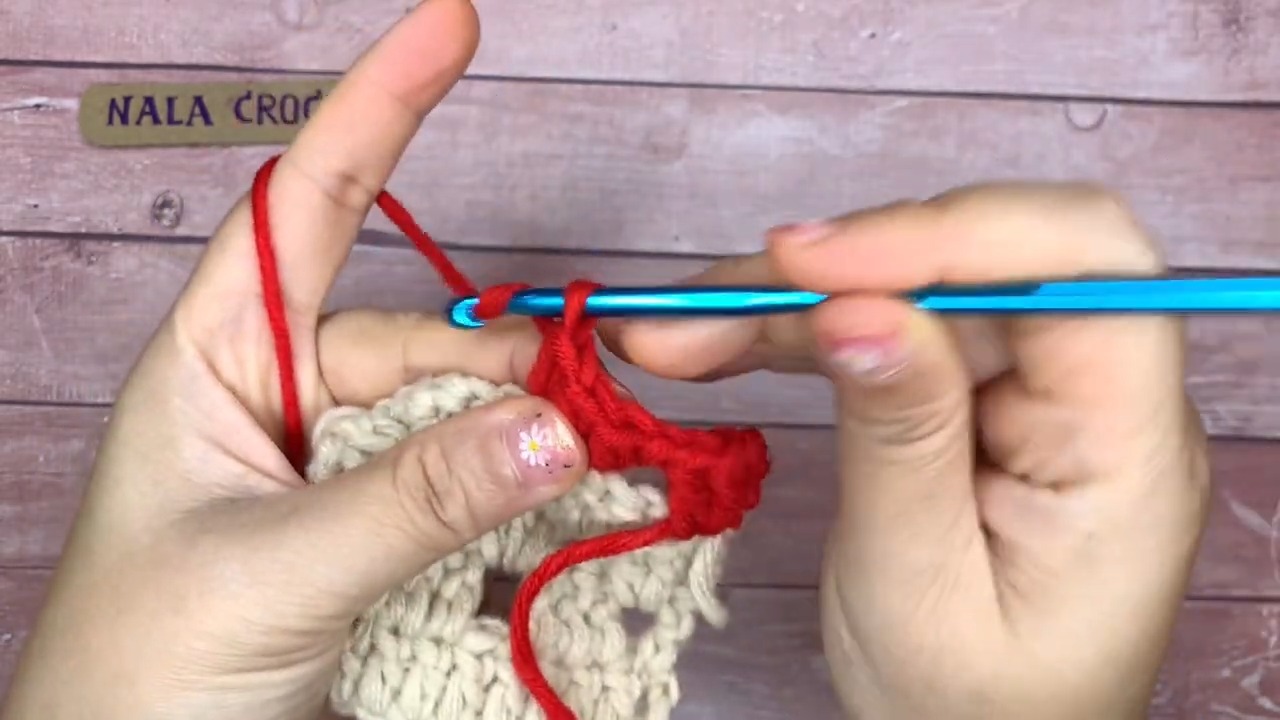
Penultimate Edge Row: Join your chosen border color, ch 3 and turn, then work 1 dc in every stitch and 1 dc in every ch-1 space across. Stitch count: 21 dc.
This solid row fills the open granny spaces and gives the end a cleaner transition before the final edging.
Shape the Edge
Final Edging Row: Ch 1 and turn, work 1 sc in the first st, 1 hdc in the second st, 1 dc in each of the next 17 sts, 1 hdc in the 20th st, and 1 sc in the final 21st st; fasten off. Stitch count: 21 sts.
The gradual sc–hdc–dc–hdc–sc sequence softens the edge rather than leaving a completely square finish.
Finish the Opposite End
Opposite Edge Row: Join yarn to the starting foundation-chain edge, ch 1, work 1 sc in the first st, 1 hdc in the second st, 1 dc in each of the next 17 sts, 1 hdc in the 20th st, and 1 sc in the final 21st st; fasten off. Stitch count: 21 sts.
Teaching Tip: Work this edge in the same order as the first finished end. Matching the stitch sequence on both sides helps the scarf look balanced when it is laid flat.
Finishing
Weave in all yarn ends with a tapestry needle. For the cleanest result, work the needle through the solid double-crochet sections instead of passing through the open chain spaces.
If the scarf edges look slightly uneven, a light blocking can help straighten them and make the granny clusters easier to see. Avoid excessive stretching, especially if your yarn has a lot of drape.
You can also add fringe or tassels to both ends once all the yarn tails have been secured.

Final Thoughts
This scarf gets most of its character from a very simple rhythm: one row creates the spaces, and the next row builds the granny-style clusters into them. Once that relationship becomes familiar, the rest is mostly repetition.
Keep the foundation chain relaxed, watch the ch-1 spaces carefully, and let the color changes become part of the design. The result is a lightweight, textured scarf that can be made longer, shorter, or in as many color combinations as you like.