Crochet Kiwi Coaster – Add a Juicy Touch to Your Table
This vibrant kiwi-inspired coaster is both eye-catching and functional, making it a perfect addition to your kitchen or dining table.

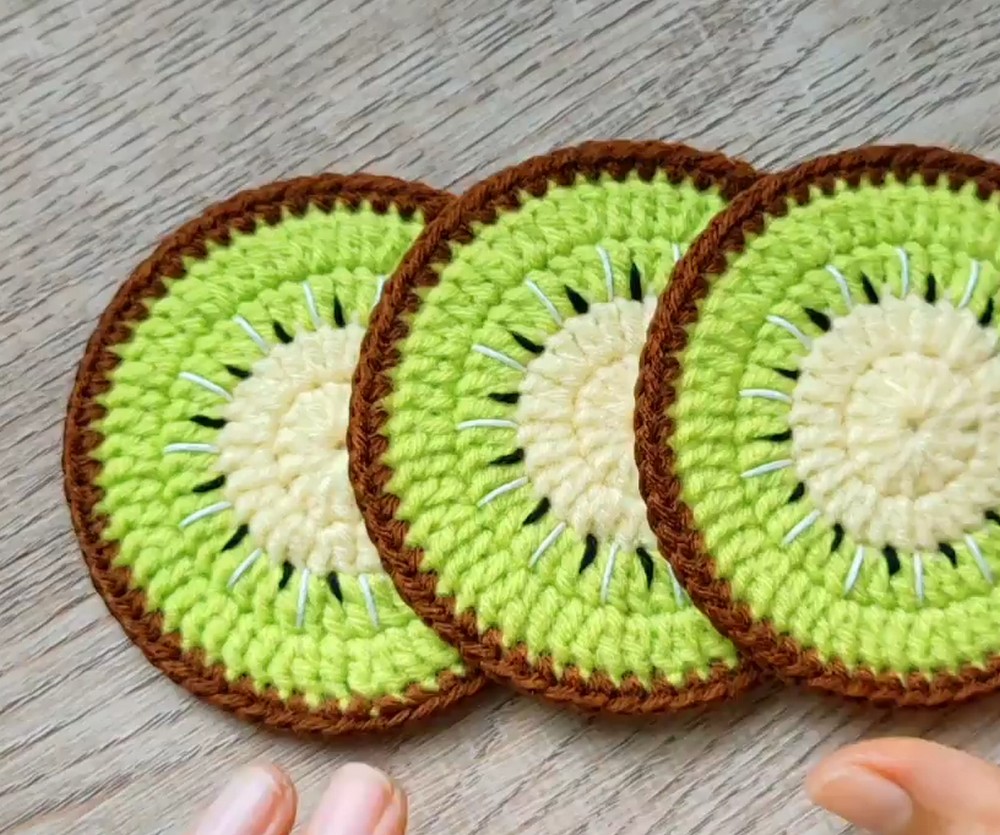
This Crochet Kiwi Coaster is bright, cheerful, and perfect for adding a splash of fun to your table! Its circular design mimics a sliced kiwi, making it a unique and playful home accessory. Crochet Coaster is excellent for your dining table, coffee cups, or as a gift for a friend; this Kiwi Coaster is sure to bring smiles all around.
Crochet Kiwi Coaster Guide for Beginners
Crochet kiwi coaster is a perfect idea for those who want to try their hand at something simple yet unique. Using basic stitches and a lively kiwi-inspired color palette makes creating this crochet coaster both enjoyable and rewarding. It’s a fun way to practice crochet skills while creating something useful and beautiful for your home.
Credit Chapa crochet & craft
Key Features:
- Worked in the round to create a flat, circular base mimicking the shape of a kiwi slice.
- Features color changes to replicate the kiwi’s layers—seeds, flesh, and rind.
- Basic and beginner-friendly stitches (e.g., single crochet, half-double crochet) combined with seamless color transitions.
- Perfect as a quick and fun stash-buster pattern for small amounts of green, white, brown, and black yarn.
How It Comes Together:
The Kiwi Coaster starts with a magic ring to set the foundation for neat, circular rounds. The inner section, representing the kiwi’s seeds, is crocheted in dark yarn (often black) with evenly spaced increases to create a small, detailed center. From there, you’ll move into the white “core ring,” representing the lighter flesh around the seeds, worked in one or two contrasting rounds.

The main body of the kiwi—a rich green—is crocheted using several rounds of smooth, even stitches. As you add rings of green, careful increases ensure the coaster stays flat. The final touch is the outer rind, worked in brown or tan yarn using a single round, framing the “fruit” and giving the impression of a real kiwi slice.

This design uses simple color changes to add visual interest. Adjusting tension for clean, crisp color transitions and ensuring a visually well-aligned center require a bit of focus but are beginner-friendly challenges.
Finishing your Kiwi Coaster:
The pattern finishes with a neat and polished edge, ensuring the coaster keeps its shape even after use. Consider blocking your coaster if needed to achieve a flawless, flat shape. Once complete, you’ll have a fun and practical creation that’s sure to spark compliments.

Video Tutorial
Materials:
- Green yarn (kiwi flesh)
- Light green yarn (kiwi flesh ring)
- White yarn (kiwi seeds)
- Brown yarn (kiwi skin)
- Crochet hook (recommended size 4mm)
- Scissors
- Yarn needle
Detailed Pattern:
- Inner Circle (Kiwi Flesh):
- Use green yarn to create a magic circle.
- Round 1: Chain 1, 6 SC into the magic circle, pull tight. (6 SC)
- Round 2: 2 SC in each stitch around. (12 SC)
- Round 3: SC in the first stitch, 2 SC in the next, repeat around. (18 SC)
- Round 4: SC in the next 2 stitches, 2 SC in the next, repeat around. (24 SC)
- Continue in this pattern, increasing evenly until the coaster reaches the desired size.
- Kiwi Flesh Ring:
- Switch to light green yarn.
- Slip stitch to join and SC in each stitch around once.
- Seeds:
- Use white yarn.
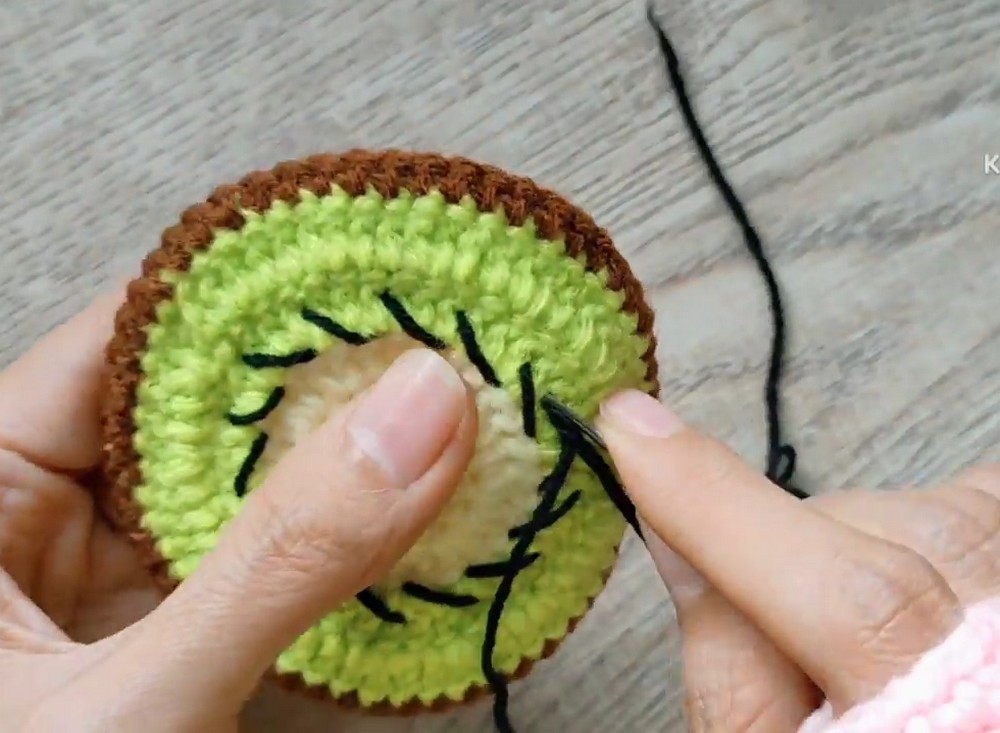
- Embroider small V-shaped seeds sporadically across the green circle.
- Kiwi Skin:
- Switch to brown yarn.
- Slip stitch to join, SC in each stitch around for one round to finish.
Troubleshooting and Suggestions:
- Troubleshooting color changes: When transitioning between colors, carry the yarn on the backside neatly or crochet over the carried yarn for a cleaner look. Avoid cutting too often to minimize weaving ends.
- Keeping the coaster flat: Be mindful of your stitch count. Missing increases can make the coaster bowl-shaped, while excessive increases can cause rippling.
- Yarn tension: Maintain an even tension, especially while working the final ring or when using multiple strands of yarn.
Creative Modifications:
- Experiment with different color combinations! Bright lime green can give the coaster a tropical vibe, or use variegated yarn for a unique twist.
- Add embroidered details, such as extra “seeds” or a border of small picots around the edge for a decorative touch.
- Make a whole fruit set! Combine this kiwi design with other fruity coasters, such as watermelon, orange, or lemon slices