Crochet Strawberry Bandana Pattern for Summer Headwear
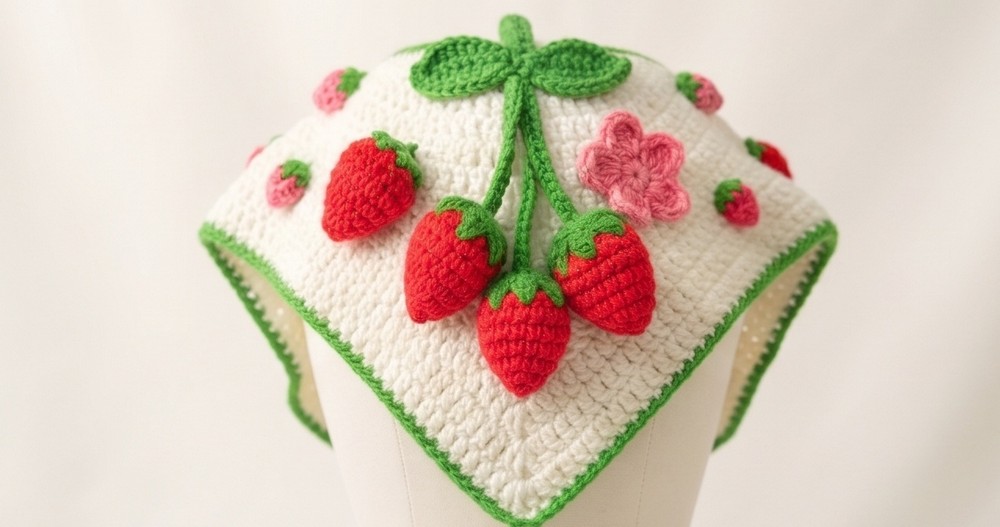
Sweet strawberry motifs bring a playful finish to this triangular crochet bandana, complete with a scalloped edge and long ties for a comfortable fit.
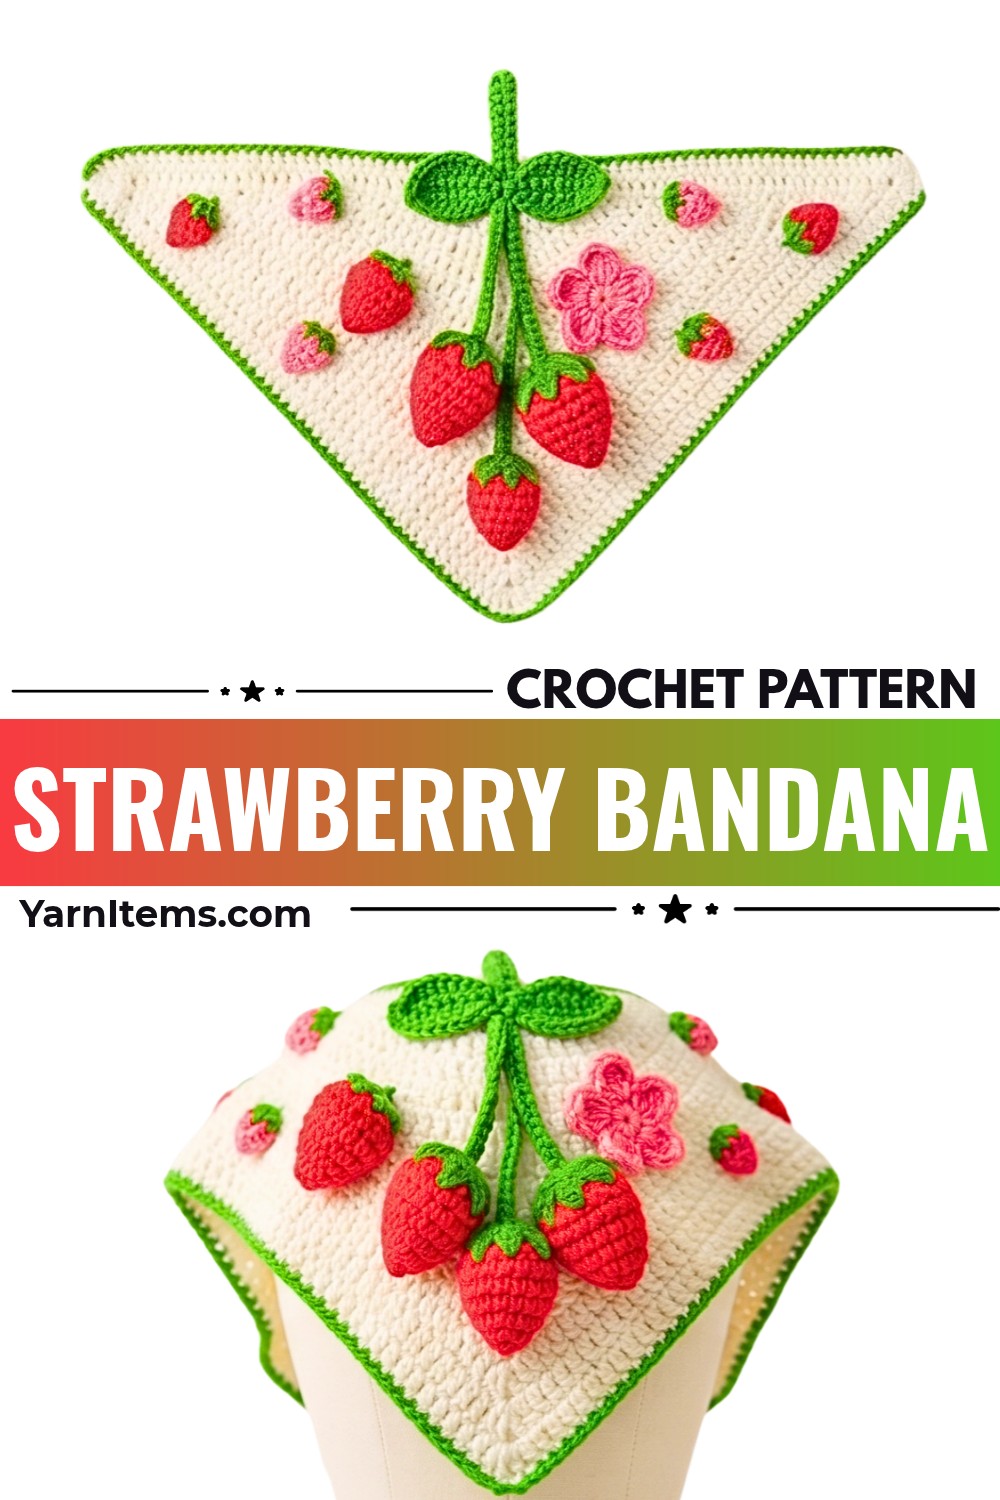
Playful red strawberries give this crochet bandana a cheerful look, while the triangular shape makes it a lovely accessory for warm-weather outfits. A simple double-crochet base forms the shape, and repeating berry motifs add colorful detail as the bandana grows.
This crochet pattern covers the foundation, edge increases, strawberry clusters, decorative shell edging, and long tie straps. You will use three yarn colors and two hook sizes to create the crochet bandana, with simple options to adjust its width and tie length.
Credit INDI DIY
Materials & Tools Needed
- Yarn: Three colors:
- Main color for the bandana body.
- Red for the strawberries.
- Green for the stems or calyx.
- Crochet Hooks:
- 3.5 mm crochet hook for the main bandana body and border.
- 4.0 mm crochet hook for the ties.
- Notions: Yarn needle or tapestry needle and scissors.
Finished Size & Customization Ideas
Finished Size
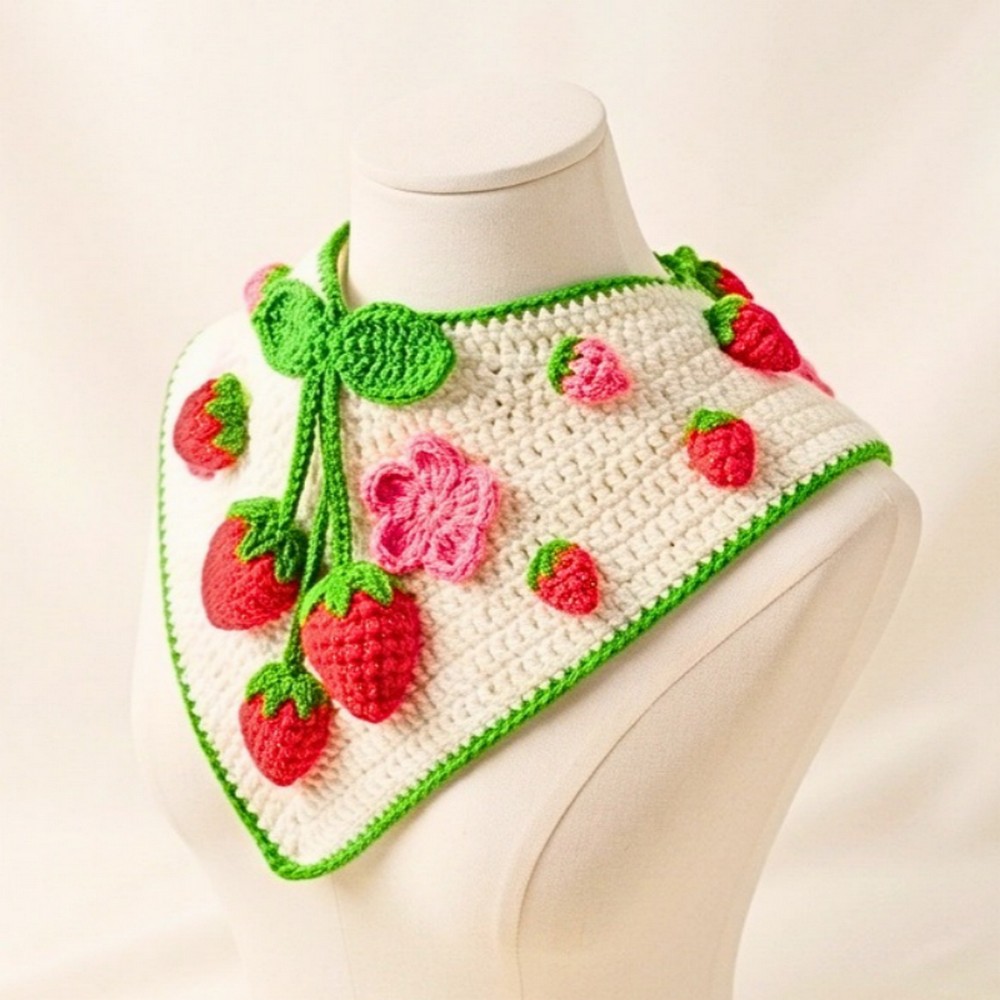
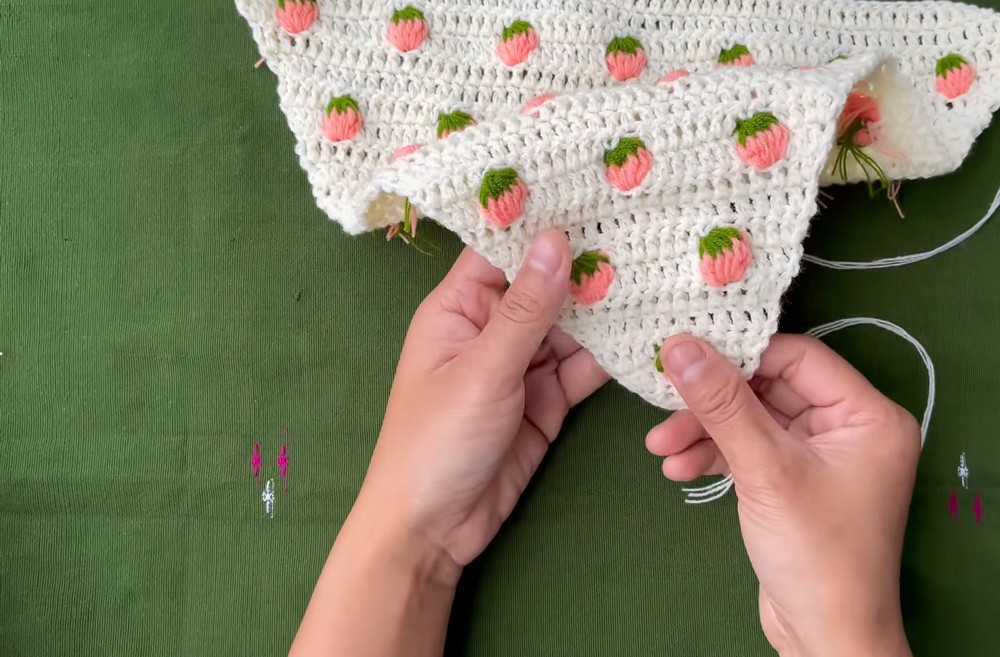
The pattern creates a standard adult or teen triangular bandana. Its design features strawberry motifs that repeat and increase in number as the triangular body grows. A decorative shell border finishes the edges, while long tie straps help secure the bandana.
Adjust the Bandana Width
You can make the bandana wider or narrower by changing the number of plain double crochet spacer rows between the strawberry rows.
- Add plain double crochet rows for more space between the strawberry motifs and a wider bandana.
- Remove some spacer rows for a more compact design.
Adjust the Tie Length
The pattern uses 51 chains for each tie. You can chain more or fewer stitches depending on your preferred fit and the length you want.
Crochet Abbreviations & Terminology
- Ch: Chain
- St / Sts: Stitch / stitches
- Sl st: Slip stitch
- Dc: Double crochet
- Sc: Single crochet
- Inc: Increase – work 2 double crochets into the same stitch.
- MR: Magic ring
- Cluster / Bobble: Work 6 double crochets into one designated stitch, then draw the working loop through the double crochet group to close them together and form a raised strawberry shape.
Step-by-Step Crochet Instructions
Part 1: Crochet the Bandana Foundation
Yarn Color: Main color
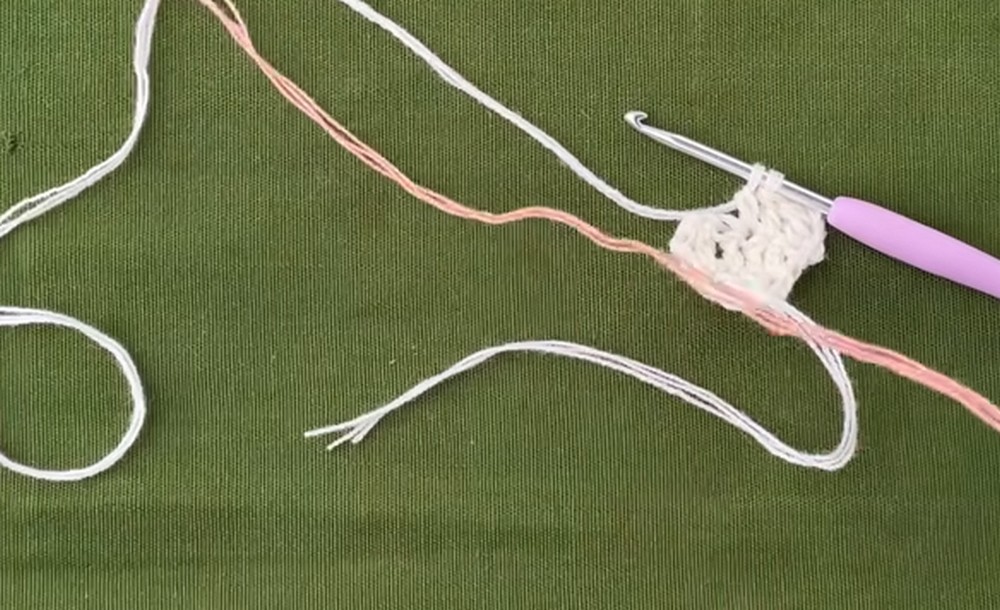
Begin at the center top of the triangular bandana with a magic ring. The first rows establish the base, while increases at both ends gradually widen the triangle.
Row 1:
- Make a magic ring using your main color yarn.
- Ch 3. This chain counts as 1 double crochet.
- Work 4 more dc into the magic ring.
- Pull the yarn tail tightly to close the ring.
Total: 5 double crochets.
Understanding the Increase Rule:
At the beginning of every new row:
- Ch 3 and turn your work.
- Work 2 dc into the first stitch to make an increase.
- Work the required stitches across the row.
- Work 2 dc into the last stitch to make the final increase.
Keep these increases at both row ends as the triangular bandana grows.
Row 2:
- Ch 3 and turn.
- Work 2 dc into the first stitch.
- Work 2 dc into each of the next 2 stitches.
- Work 2 dc into the final stitch.
Part 2: Add the Strawberry Motifs
Yarn Colors: Main color and red
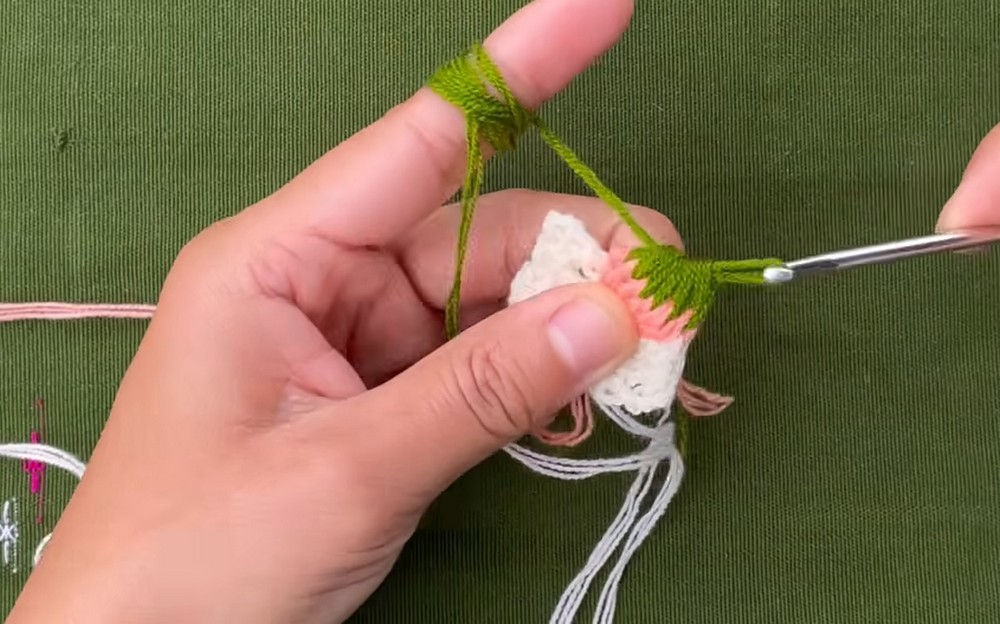
As the triangular body becomes wider, introduce the strawberry motifs between the background double crochet stitches. The main color forms the fabric around each berry, while red yarn creates the raised strawberry clusters.
Strawberry Placement and Color Changes
- Continue working the background stitches in the main color.
- When you reach a designated strawberry stitch, drop the main color.
- Pick up the red yarn to make the strawberry cluster.
- After completing the cluster, return to the main color and continue working the background stitches.
- Repeat this process at the designated strawberry positions across the row.
How to Make a Strawberry Cluster
At each designated strawberry stitch:
- Insert your hook into the selected stitch.
- Work 6 double crochets into that same stitch.
- Draw the working loop through the double crochet group as instructed to bring the stitches together.
- Pull through all the loops and secure the cluster with a slip stitch.
This creates a raised, puffed berry that stands out against the flatter double crochet background.
Increase the Strawberry Motifs Across the Bandana
Continue alternating between:
- Plain double crochet rows with increases at both edges.
- Strawberry motif rows with background double crochets and red clusters.
Space the strawberry motifs approximately 7 double crochets apart as the rows grow. Continue scaling the arrangement outward until you complete a row containing 7 strawberries in total.
Finish the Triangular Body
After completing the row with 7 strawberries, work 3 consecutive rows of plain double crochet.
Continue making the increases at the beginning and end of every row to maintain the triangular shape.
Part 3: Add the Border and Decorative Shell Edging
Yarn Color: Main color
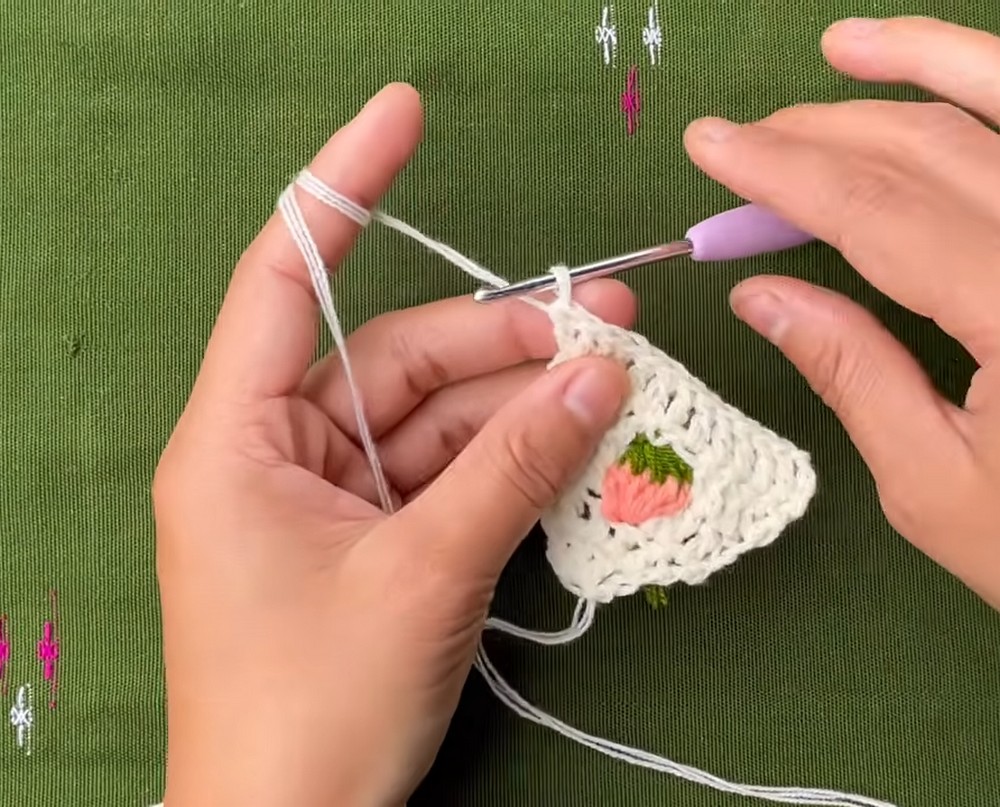
Once the triangular body is complete, add a foundation border around the raw edges. The shell edging is then worked over this foundation to give the bandana a decorative scalloped finish.
Single Crochet Foundation Border
- Ch 1 after completing the triangular body.
- Work single crochet stitches evenly along all raw edges of the bandana.
- Continue around the edges to create a clean foundation for the decorative border.
Keep the single crochet stitches evenly spaced so the edge does not become too tight or wavy.
Crochet the Scallop or Shell Border
Follow this repeating sequence along the angled edges:
- Ch 1.
- Work 1 sc into the first stitch.
- Skip 1 stitch.
- Work 5 dc into the next stitch to form a shell.
- Skip 1 chain or stitch.
- Work 1 sc into the next stitch.
- Repeat the sequence of skip 1, 5 dc in the next stitch, skip 1, sc in the next stitch down the angled edges.
Continue until the decorative shell border covers the intended edges of the bandana.
Part 4: Crochet the Tie Straps
Crochet Hook: 4.0 mm
The two tie straps are worked separately from the top corners. Each strap begins with a chain and is reinforced with single crochet stitches worked back along the chain.
First Tie
- Change to the 4.0 mm crochet hook.
- Attach the yarn to one top corner of the bandana.
- Ch 51.
- Work 1 sc back down each chain toward the bandana.
- Secure the completed tie to the corner stitch with a slip stitch.
Second Tie
- Attach the yarn to the opposite top corner.
- Ch 51.
- Work 1 sc back down each chain toward the base.
- Secure the tie to the corner stitch with a slip stitch.
Both straps should have matching lengths so the bandana can be tied evenly.
Finishing the Strawberry Bandana
- Fasten off all remaining yarn tails.
- Thread each loose end through a tapestry needle.
- Weave the ends securely into the wrong side of the crochet fabric.
- Trim any excess yarn close to the fabric without cutting the secured stitches.
Your handmade strawberry bandana is ready to wear. The colorful berry motifs, triangular shape, shell edging, and long ties create a sweet accessory that can be styled with different outfits.