How to Crochet Zigzag Beanie Hat – Beginner-Friendly Tutorial
Bold texture instantly transforms an ordinary beanie into a standout handmade crochet piece. This zigzag beanie combines a stretchy brim with an eye-catching stitch pattern that creates beautiful movement across the fabric.
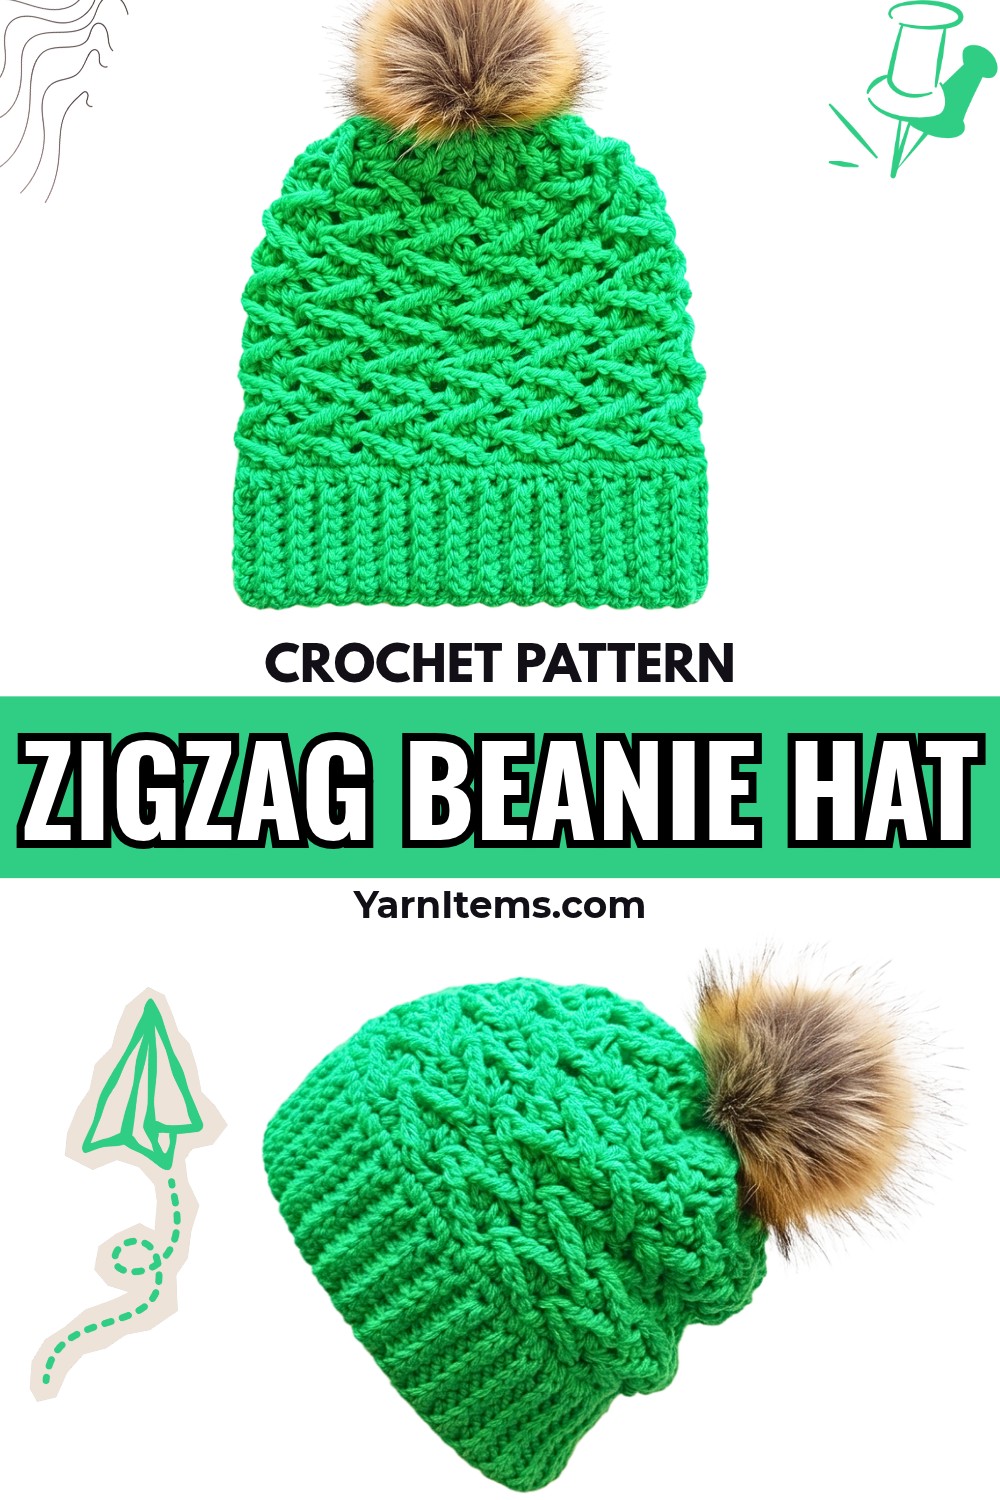
Designed to fit a variety of sizes with simple adjustments, it offers both comfort and modern style. The repeating crochet stitch sequence is enjoyable to work and produces a polished finish you’ll be proud to wear.
A few basic supplies are all you need to create this cozy crochet item with impressive results. The pattern includes helpful customization ideas, practical sizing guidance, and neat finishing techniques to suit children or adults.
You can personalize the beanie with your favorite colors, stripes, or a playful pom-pom for extra character. Once complete, you’ll have a warm, durable crochet piece that’s perfect for everyday wear or thoughtful handmade gifting.
Credit zhavin crochet
How To Crochet A Zigzag Beanie Hat
Skill Level: Advanced Beginner to Intermediate
Approximate Time: 4–6 hours (varies by skill level)
Materials & Tools Needed
- Yarn: Worsted weight yarn in the color(s) of your choice.
- Hooks:
- 5 mm crochet hook for the brim
- 5.5 mm crochet hook for the body
- Scissors
- Tapestry needle for finishing and sewing
- Pom-pom (optional)
Finished Size
- Child Size: The base tutorial creates a child-sized beanie (approx. 18-20″ brim circumference, 7-8″ height).
Customizations
- Brim Circumference: Add/reduce rows for different head sizes:
- Infant: 14-16″
- Toddler: 16-18″
- Adult: 21-24″
- Hat Height: Adjust rows/rounds for desired length:
- Infant: 5-6″
- Child: 7-8″
- Adult: 8-9″
- Yarn/Hook Changes: Use thinner/thicker yarn or smaller/larger hooks for size adjustments.
- Add-ons: Include pom-poms, earflaps, stripes, or appliques for a unique look.
Pattern Abbreviations & Terminology
- Ch: Chain
- Sc: Single Crochet
- Dc: Double Crochet
- Tr: Triple Crochet
- Sl st: Slip Stitch
- BLO Sc: Back Loop Only Single Crochet
- Dec Sc: Decrease Single Crochet
- Dec Dc: Decrease Double Crochet
Step-by-Step Detailed Crochet Instructions
1. Brim (Using a 5 mm hook)
- Row 1:
- Make a slip knot.
- Ch 10.
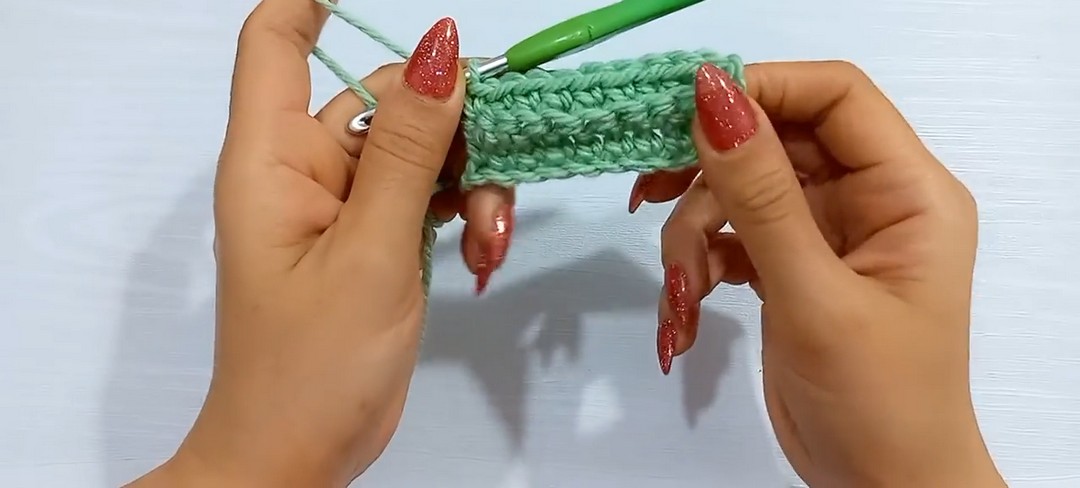
- Skip the first chain and make 1 Sc into the second chain from the hook, and each of the remaining chains.
- You should now have 9 Sc for Row 1.
- Row 2:
- Ch 1, turn your work.
- Make 1 Sc under both loops of the first stitch.
- Into the next seven stitches, make 1 BLO Sc (back loop only single crochet).
- Into the last stitch, make 1 Sc under both loops.
- Repeat Row 2 until the length of the rectangle matches the desired circumference of the hat. Ensure that the number of rows is a multiple of 4.
- Joining:
- Fold the band in half with right sides facing.
- Ch 1 and use Sl st to join the two edges together, working through the loops of corresponding stitches on both edges of the band.
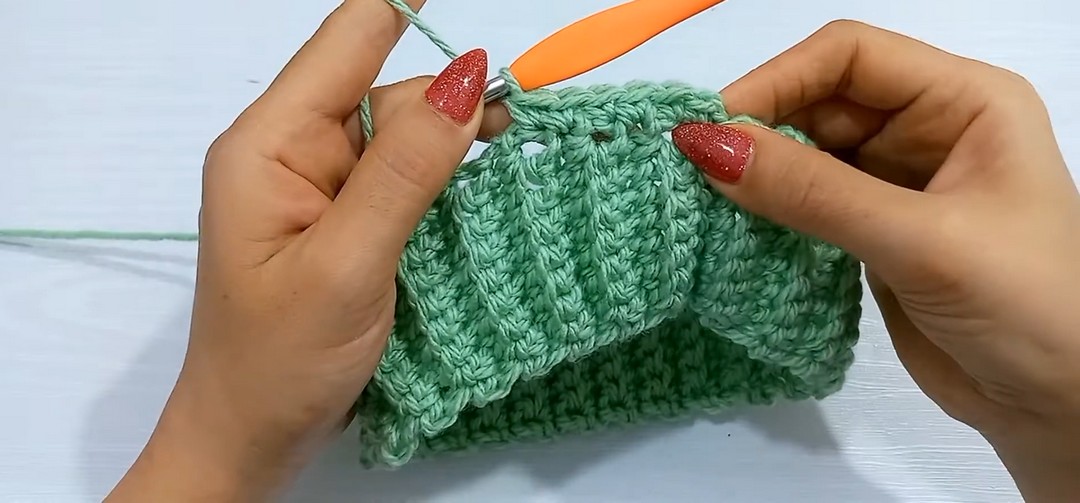
2. Body of the Hat (Using a 5.5 mm hook)
- Round 1:
- Turn the brim to the right side.
- Start at the seam edge and make 1 Sc into the joining space.
- Continue making 1 Sc at the top of each row from the brim (52 Sc total).
- Sl st into the first Sc to complete the round.
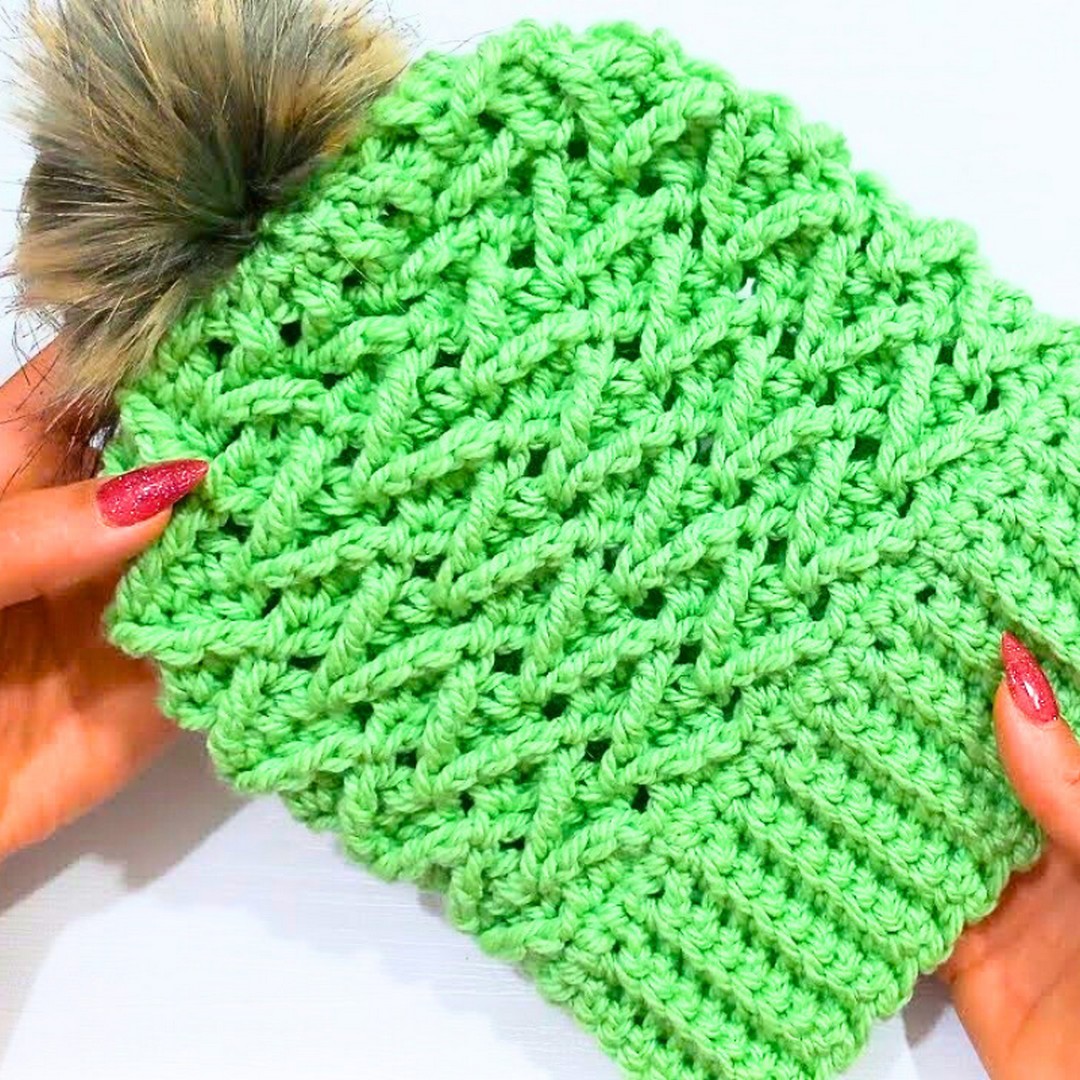
- Round 2 (Zigzag Pattern Begins):
- Ch 1 and skip the first Sc.
- Make 1 Dc into each of the next three stitches.
- Yarn over twice and make 1 Tr into the skipped stitch from front to back.
- Skip the next stitch and repeat:
- 1 Dc into each of the next three stitches.
- 1 Tr into the skipped stitch.
- Continue this sequence to create the zigzag pattern.
- Sl st into the first Dc to complete the round.
- Round 3:
- Ch 1. Skip the first stitch and the next two stitches.
- Yarn over twice and make 1 Tr into the top of the next Tr from Round 2.
- Fold the Tr forward and make 1 Dc into each of the three skipped stitches from behind.
- Repeat: Skip three stitches, make 1 Tr into the next Tr, and fold forward to make 1 Dc into each of the skipped stitches.
- Sl st into the first Tr to complete the round.
- Repeat Round 2 and Round 3 multiple times until the desired hat height is reached. For the tutorial, Round 2 and Round 3 were repeated two more times, followed by one repeat of Round 2.
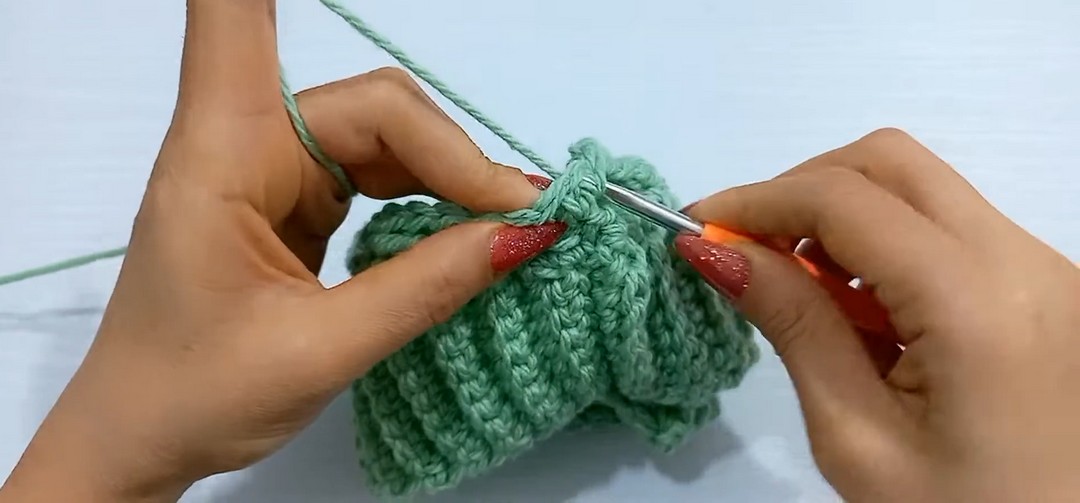
3. Decreasing for the Top
- Decrease Round 1:
- Ch 1.
- Skip the first Tr and make 1 Dc into the next stitch.
- Make 1 Dec Dc over the next two stitches.
- Go back to the skipped Tr and make 1 Tr at the top of it.
- Repeat this sequence (Dc, Dec Dc, Tr) until the end of the round.
- Sl st into the first Dc to close.
- Decrease Round 2:
- Ch 1. Skip the first two stitches.
- Make 1 Dc at the top of the next Tr.
- Make 1 Dec Dc into the two skipped stitches behind the Dc from front loops.
- Repeat this sequence until the end.
- Sl st into the first Dc to close.
- Decrease Round 3:
- Ch 1. Make 1 Dec Sc over every two stitches.
- Sl st into the first Dec Sc to close the round.
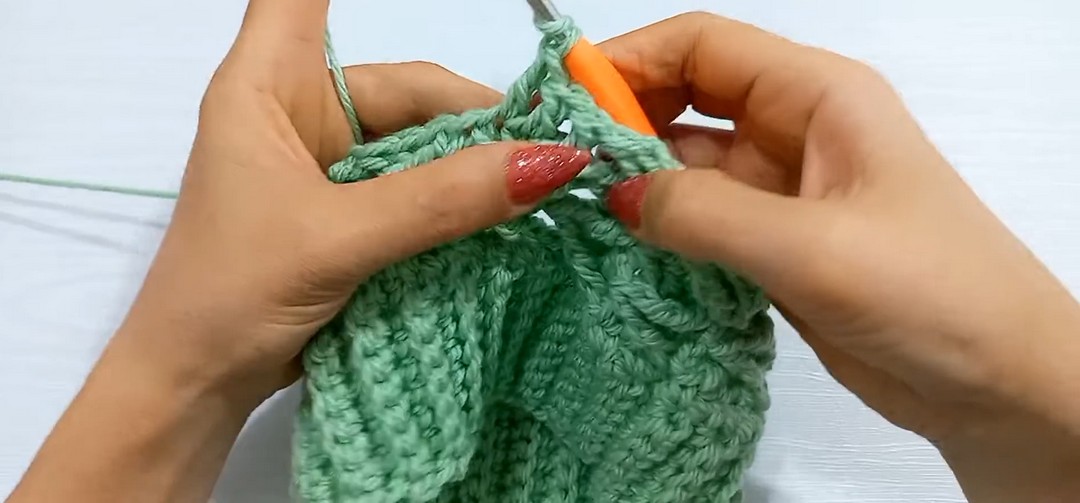
Final Assembly
- Cut the yarn, leaving a long tail.
- Use a tapestry needle to thread the yarn through the final stitches and pull tightly to close the hole at the top of the hat.
- Attach a pom-pom at the top (optional).
Smart Storage Tips Every Crocheter Should Know
- Roll your hats gently to avoid creasing.
- Keep finished hats in a breathable cloth bag for long-term storage.
Share Your Finished Pattern Like a Crochet Influencer
- Photograph your beanie in good lighting and add creative props (e.g., yarn or hooks).
- Share your photos on Instagram or Pinterest using trending crochet hashtags like #CrochetLove or #ZigzagBeanie.