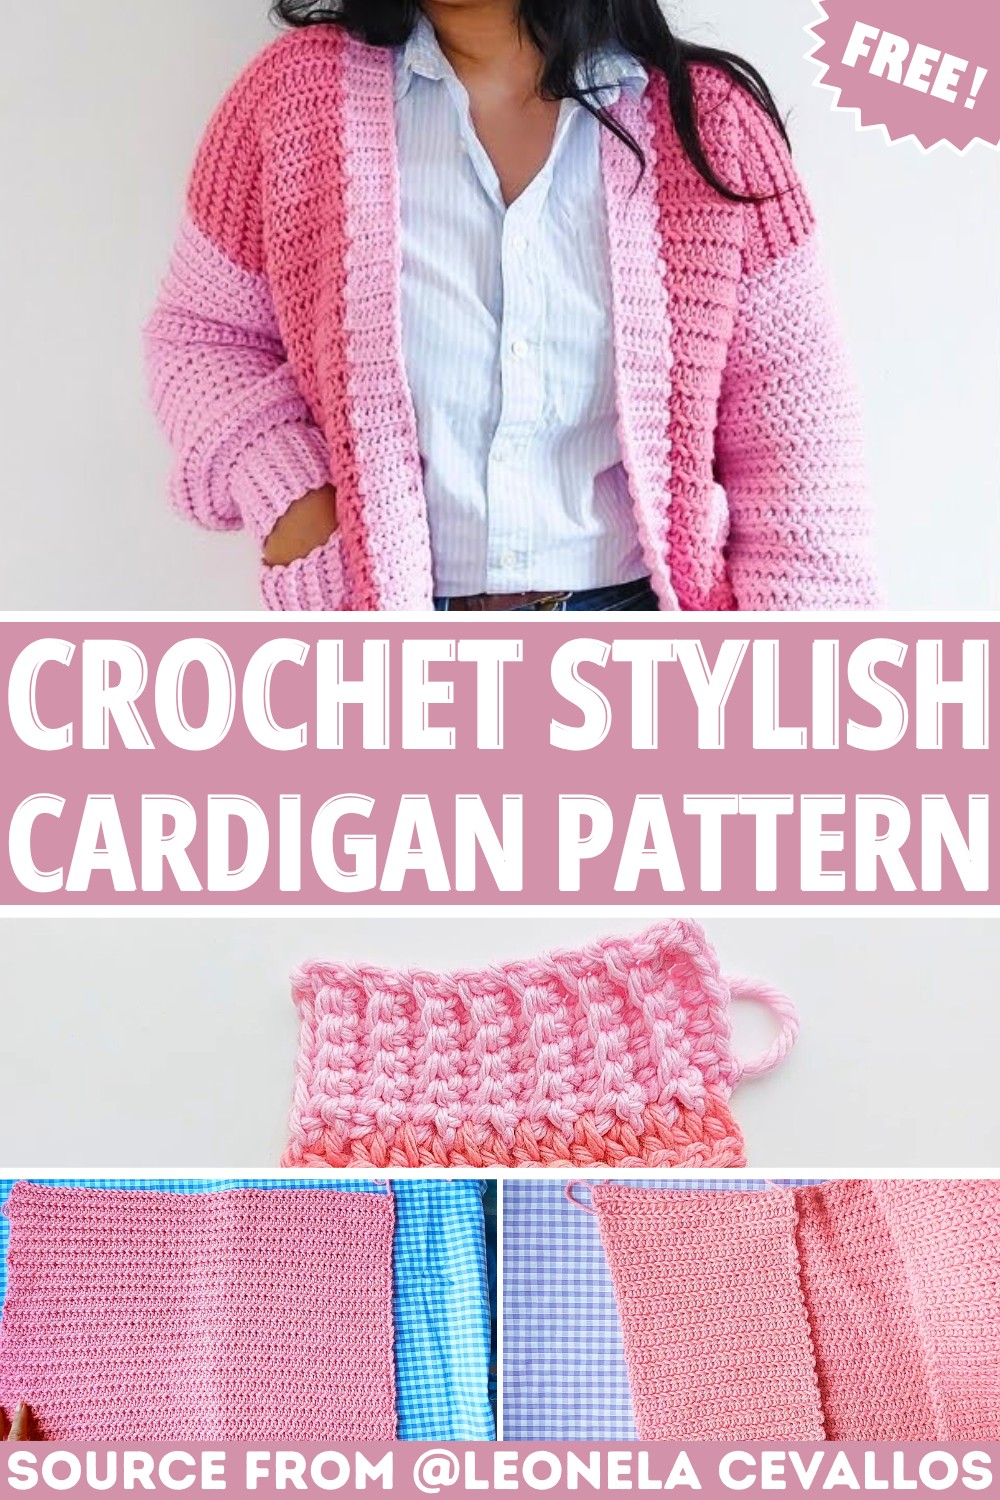
Easy Chunky Crochet Cardigan with Knit-Look Stitch
A handmade cardigan has a way of feeling a little more special than something picked up from a store.
You get to choose the yarn, adjust the fit, change the colors, and add details that make the finished piece feel like your own. This crochet cardigan combines a simple construction with textured rows of half double crochet and slip stitches worked through the back loop only. The result is a soft, flexible fabric with a subtle knit-like appearance.
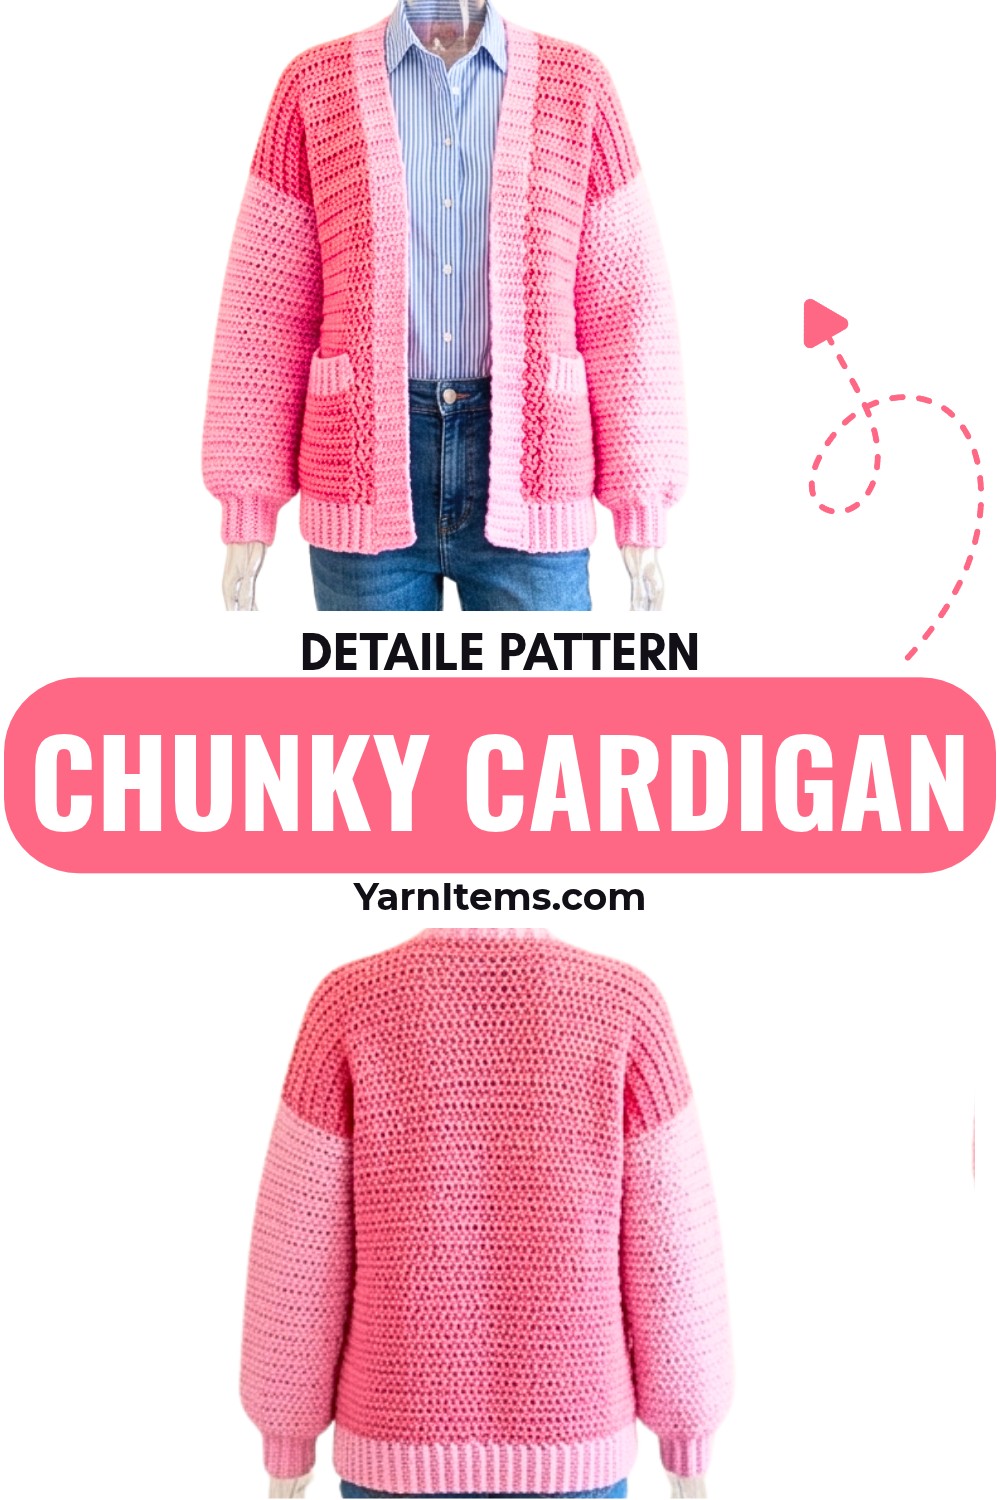
The cardigan is made from separate front and back panels, followed by sleeves, a collar, bottom ribbing, and optional pockets. Because the main pieces are built in rows, you can also adjust the length and sizing as you work. If you’ve been wanting to crochet something wearable rather than another small practice pattern, this is a great one to try.
Credit Leonela Cevallos
What You’ll Need
- Chunky yarn: Mega Wool by Rico (55% wool, 45% acrylic) is one option. You can also substitute a suitable acrylic or cotton yarn.
- 6 mm crochet hook: for the ribbing
- 7 mm crochet hook: for the main body and sleeves
- Stitch markers
- Tapestry or yarn needle
- Scissors
You can also use two colors if you want the ribbing and accents to stand out from the main body.
Before You Begin
There are two things worth paying attention to before you start.
Check your gauge
Because this is a wearable garment, your tension can affect the final measurements quite a bit.
Make a small sample using your chosen yarn and hook and compare it with the dimensions of the tutorial. If your stitches are significantly tighter or looser, your finished cardigan may come out smaller or larger than expected.
Keep your slip stitches loose
This is especially important for this design.
The textured rows use slip stitches through the back loop only. If you make those stitches too tight, the fabric can become stiff and may pull inward.
Let the hook move comfortably through each stitch rather than forcing the yarn tight after every slip stitch.
The Texture Behind the Cardigan
The main fabric alternates between:
- Hdc: half double crochet
- Sl st: slip stitch through the back loop only
This combination gives the cardigan its textured appearance while keeping the construction relatively straightforward.
You’ll also use single crochet through the back loop only for the ribbing.
Abbreviations
- ch: chain
- hdc: half double crochet
- sl st: slip stitch
- blp/BLO: back loop only
- sc: single crochet
- RS: right side
- WS: wrong side
Step by Step Instruction
Crochet the Front Panels
The cardigan begins with two separate front panels.
For a medium-size example, chain 25.
You can adjust the starting chain count when making another size.
Row 1
Skip the first chain.
Work a half double crochet beginning in the second chain and continue across the row.
Row 2
Chain 1 and turn.
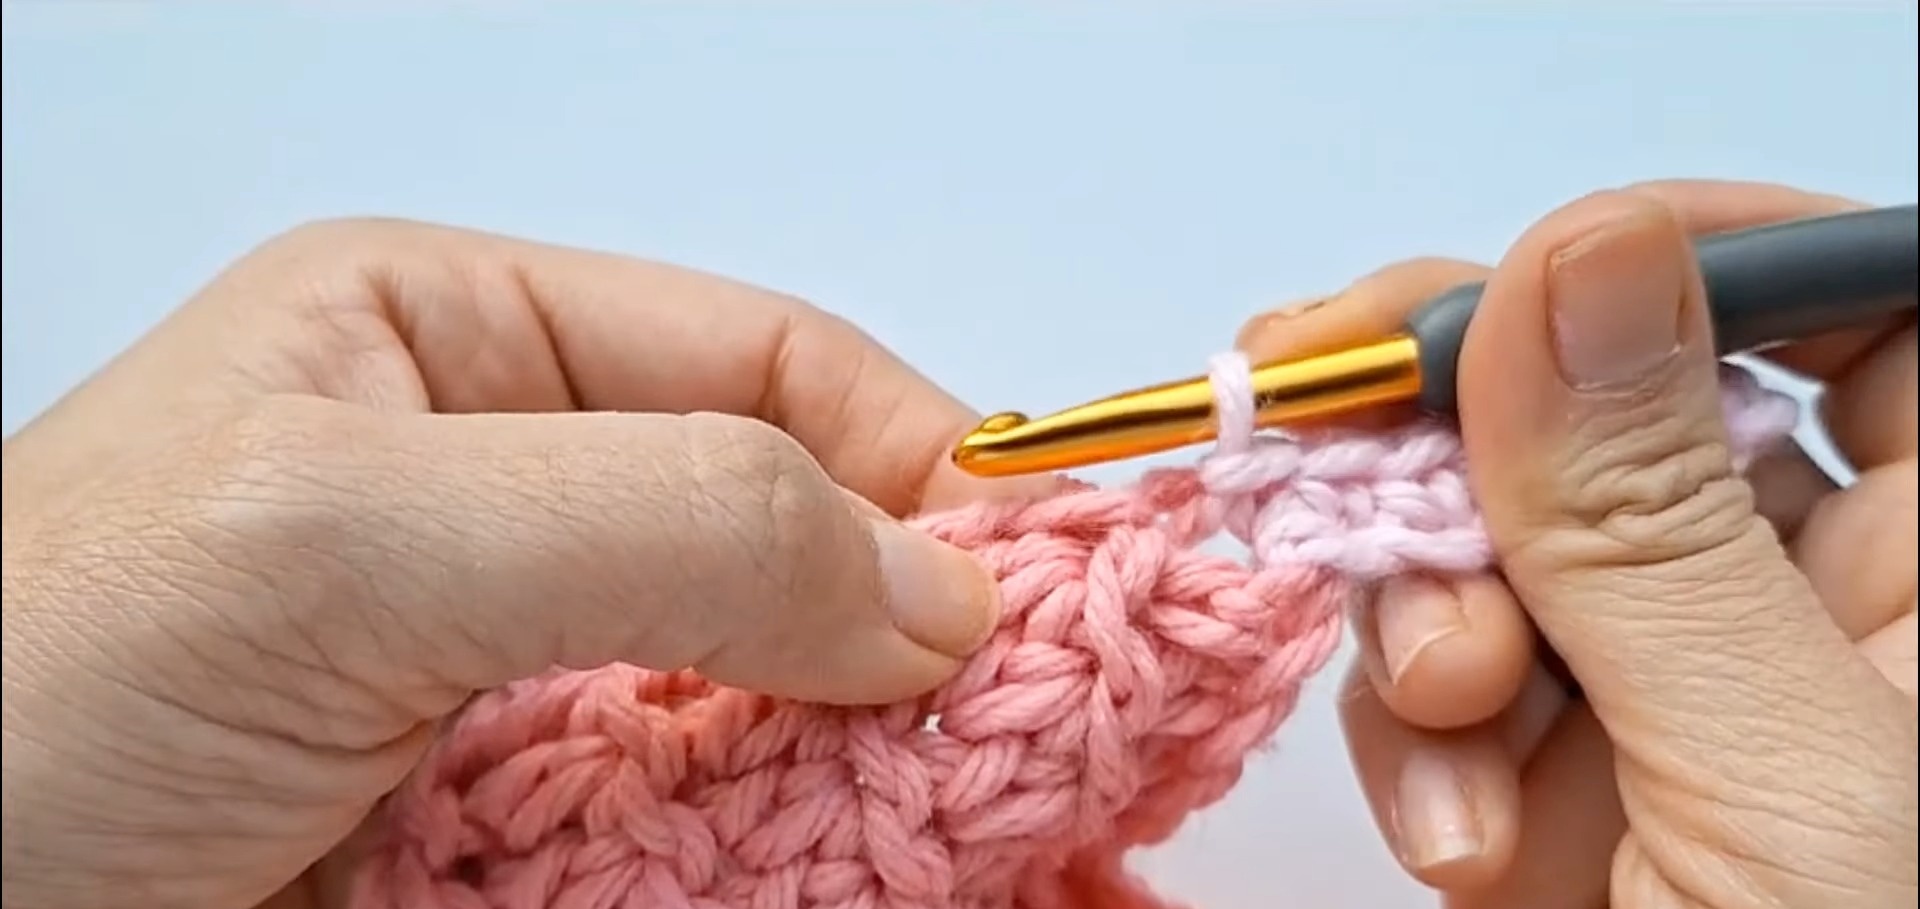
Work slip stitches through the back loop only across the row.
Keep these stitches loose so the fabric doesn’t become too tight.
Continue the Texture
Continue alternating the half-double-crochet and back-loop slip-stitch rows according to the pattern.
For the medium-size example, the panel is worked to 52 rows.
Once the first front panel is complete, make a second panel using the same process.
A useful way to check your panels
Before moving on, place both front panels beside each other.
They should have the same width and height.
Checking them now is much easier than discovering a difference after the cardigan has already been assembled.
Make the Back Panel
The back panel is worked in the same textured style as the front panels.
For the medium size, chain 59 to begin.
Work the same basic row sequence used for the front panels and continue until you reach 52 rows.
Because the back panel is wider than either individual front panel, lay the pieces out together before assembly to make sure their proportions look right.
This simple check can save you from having to undo seams later.
Crochet the Sleeves
The sleeves are made in two parts:
ribbed cuff → sleeve body
You’ll make two identical sleeves.
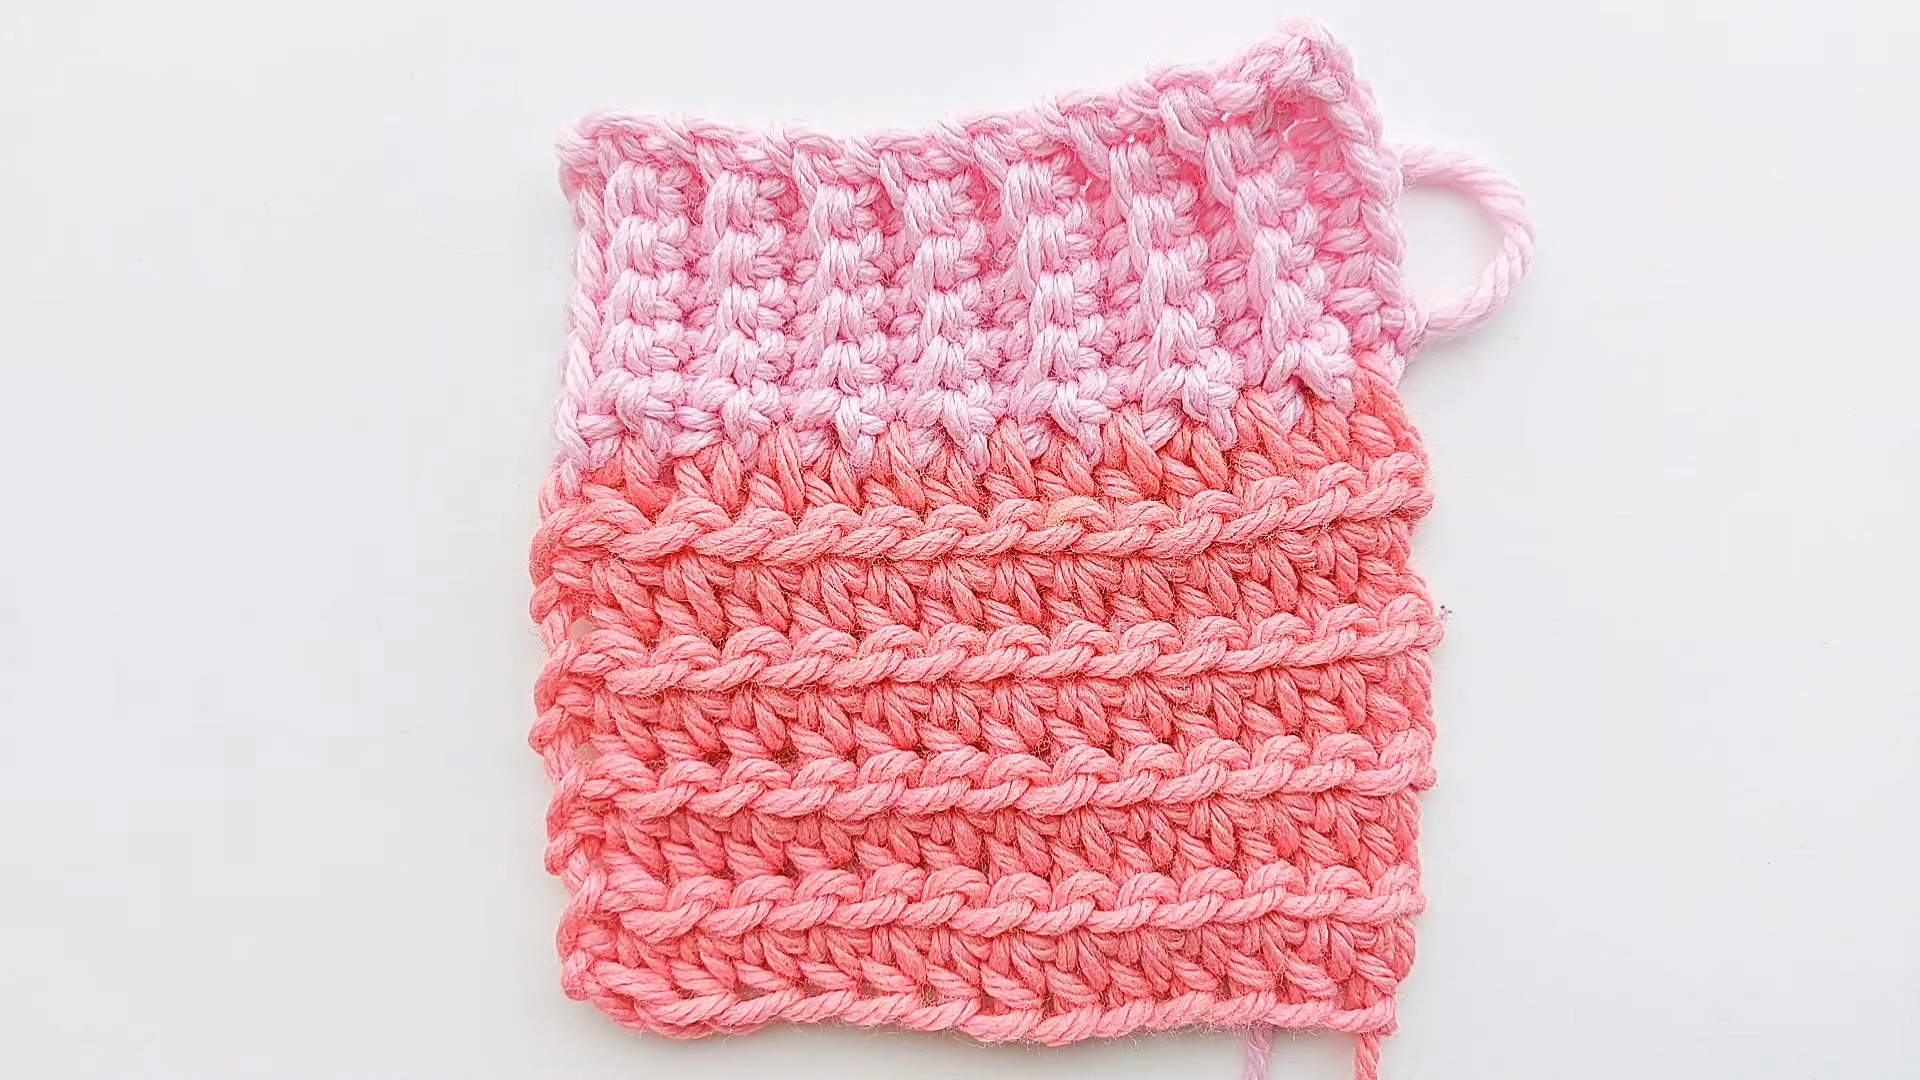
Start With the Cuff
Use the secondary color if you’re working with two colors.
Chain 9.
Row 1
Starting in the second chain, work single crochet across.
You should have 8 sc.
Chain 1 and turn.
Rows 2–24
Work single crochet through the back loop only, except for the final single crochet, which is worked through both loops.
For the medium-size example, repeat this process for 24 rows.
Once the cuff reaches the desired length, join the two ends with slip stitches to form a cuff.
Turn the cuff so that the right side is facing outward.
Build the Sleeve Body
Switch to the 7 mm hook and attach the main-color yarn around the edge of the cuff.
Work 22 hdc evenly around the cuff.
Now the sleeve body can be built upward.
Round 1
Work the beginning and ending hdc2tog decreases as indicated by the pattern to help shape the sleeve.
Join the round with a slip stitch and mark the beginning of the round.
Continue the Texture
The sleeve body alternates between:
Round 2: slip stitches through the back loop only
Round 3: half double crochet across
Continue alternating these rounds until the sleeve reaches the required length for your size.
Make one sleeve, then repeat the same process for the second.
Join the Cardigan
Now comes the satisfying part: turning the separate pieces into an actual cardigan.
Join the Shoulders
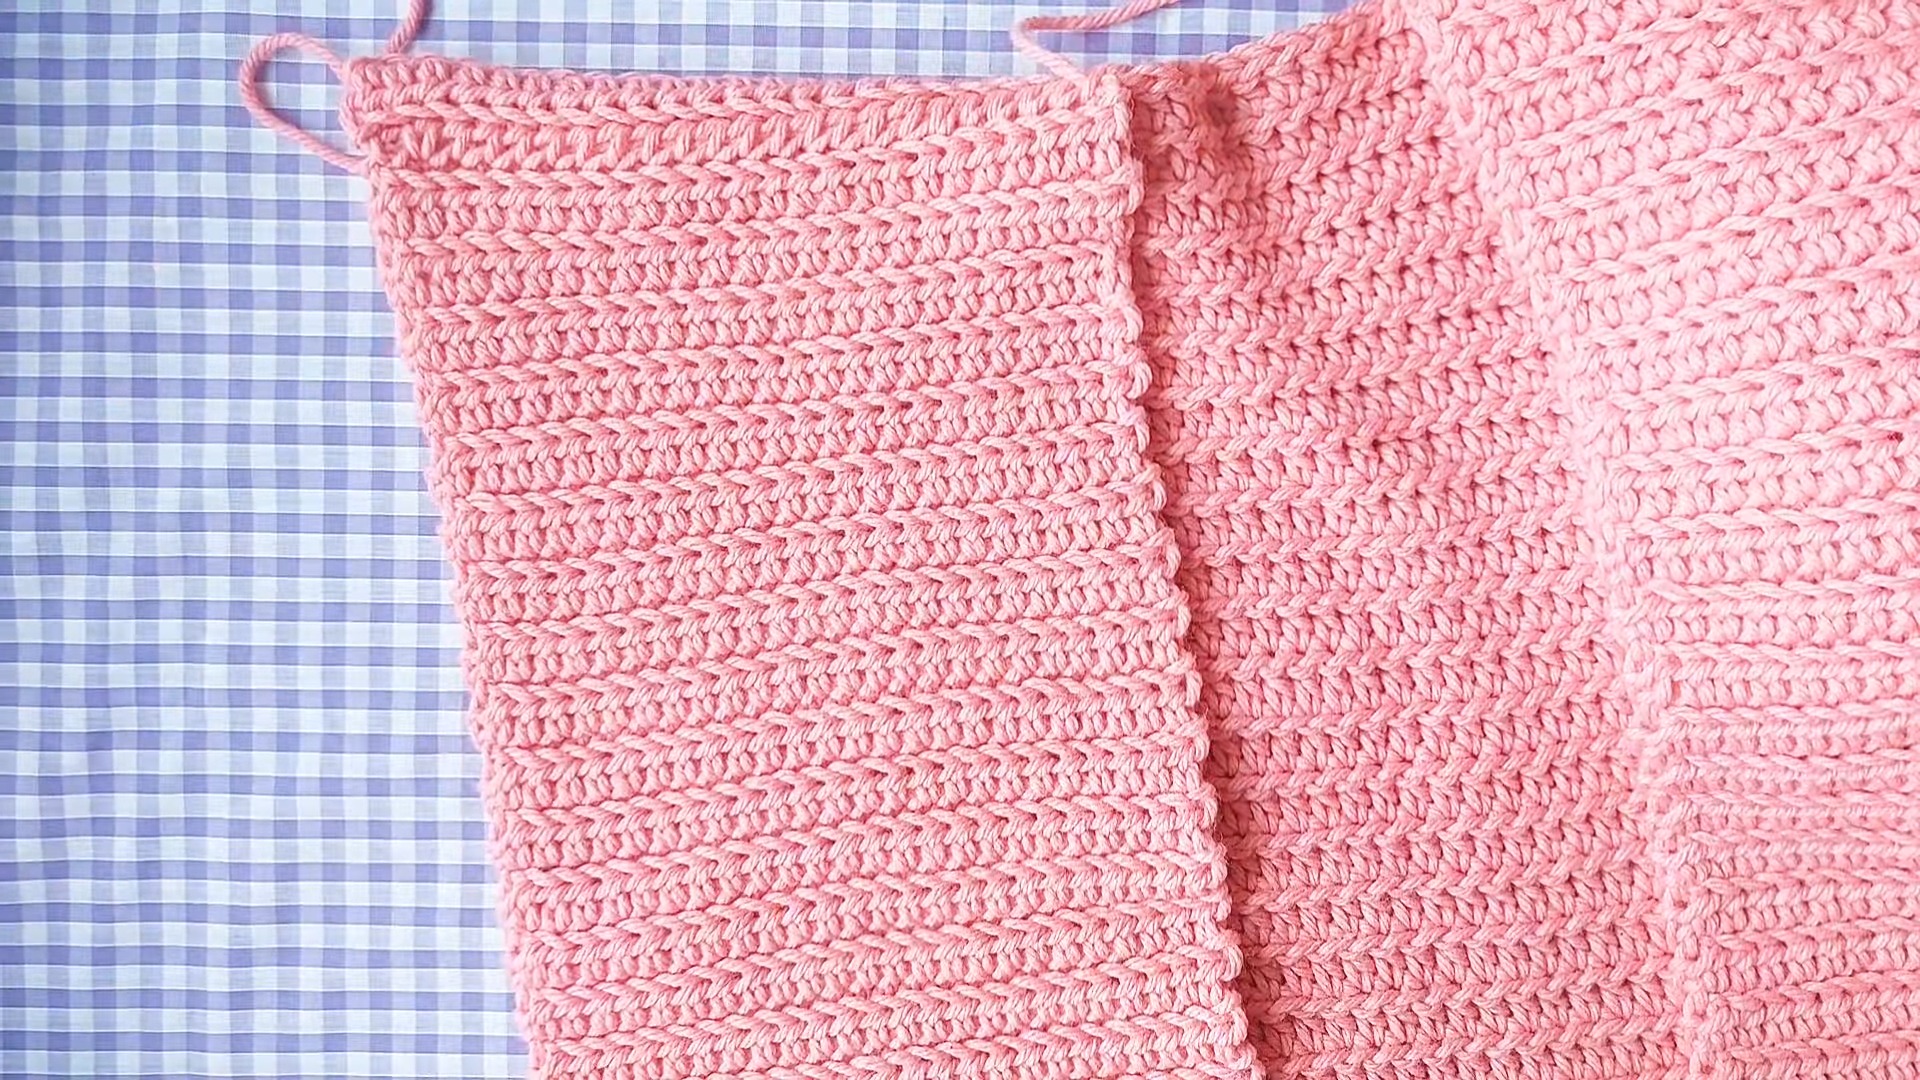
Place the front panels over the back panel with the right sides facing.
Line up the edges carefully.
Using your yarn needle, whip stitch along the shoulder seams.
Take a moment to check that both sides are aligned before completing the seam.
Sew the Side Seams
Measure enough yarn for your seam—approximately three times the length of the seam is a useful starting point.
Sew upward from the bottom edge.
Leave the required opening for the sleeves.
For the medium example, approximately 20 cm is left unstitched for the arm opening.
Repeat on the other side.
Attach the Sleeves
Turn each sleeve so that the right side is facing outward.
Line the sleeve seam up with the cardigan’s armhole.
Use a whip stitch to attach the sleeve securely around the opening.
Take your time with this part. A neat sleeve attachment makes a noticeable difference to the finished garment.
Once both sleeves are attached, the basic shape of the cardigan should now be recognizable.
Add the Collar
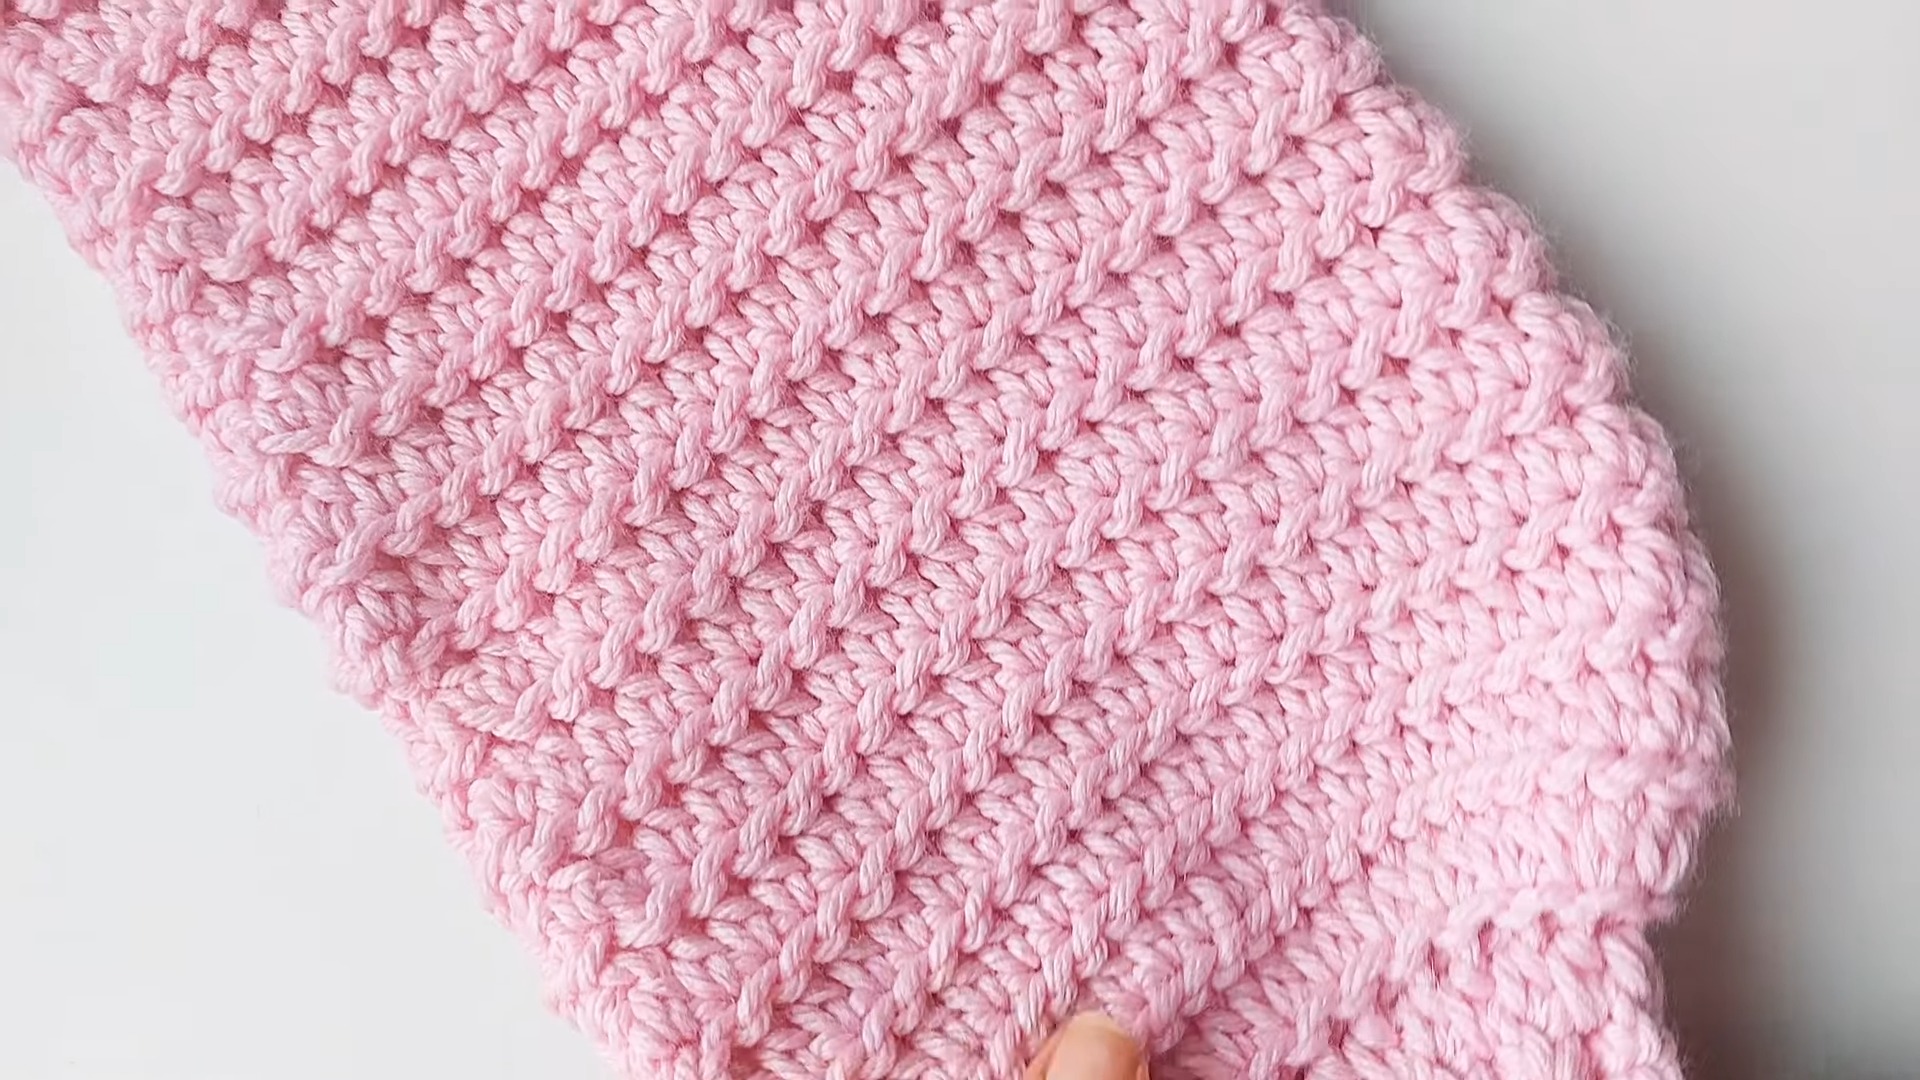
The collar uses the same ribbing idea as the cuffs.
Attach the secondary yarn to the bottom corner of one front panel.
Chain 8.
Work single crochet into the second chain and continue across, giving you 7 sc.
Chain 1 and turn.
Now work the ribbing along the neckline:
- Row 1: sc across, attaching the row to the cardigan with slip stitches
- Row 2: sc through the back loop only
Continue this sequence along the neckline until the collar reaches the desired length.
The ribbed texture gives the neckline a cleaner, more finished appearance.
Finish the Bottom Edge
Use the same basic ribbing technique around the bottom of the cardigan.
Work the ribbed border along the lower edge, following the same construction used for the collar.
This creates a more finished transition between the main body and the bottom edge.
Add the Pockets
The pockets are optional, but they’re a practical detail that can make the cardigan much more useful for everyday wear.
Make the Pocket Ribbing
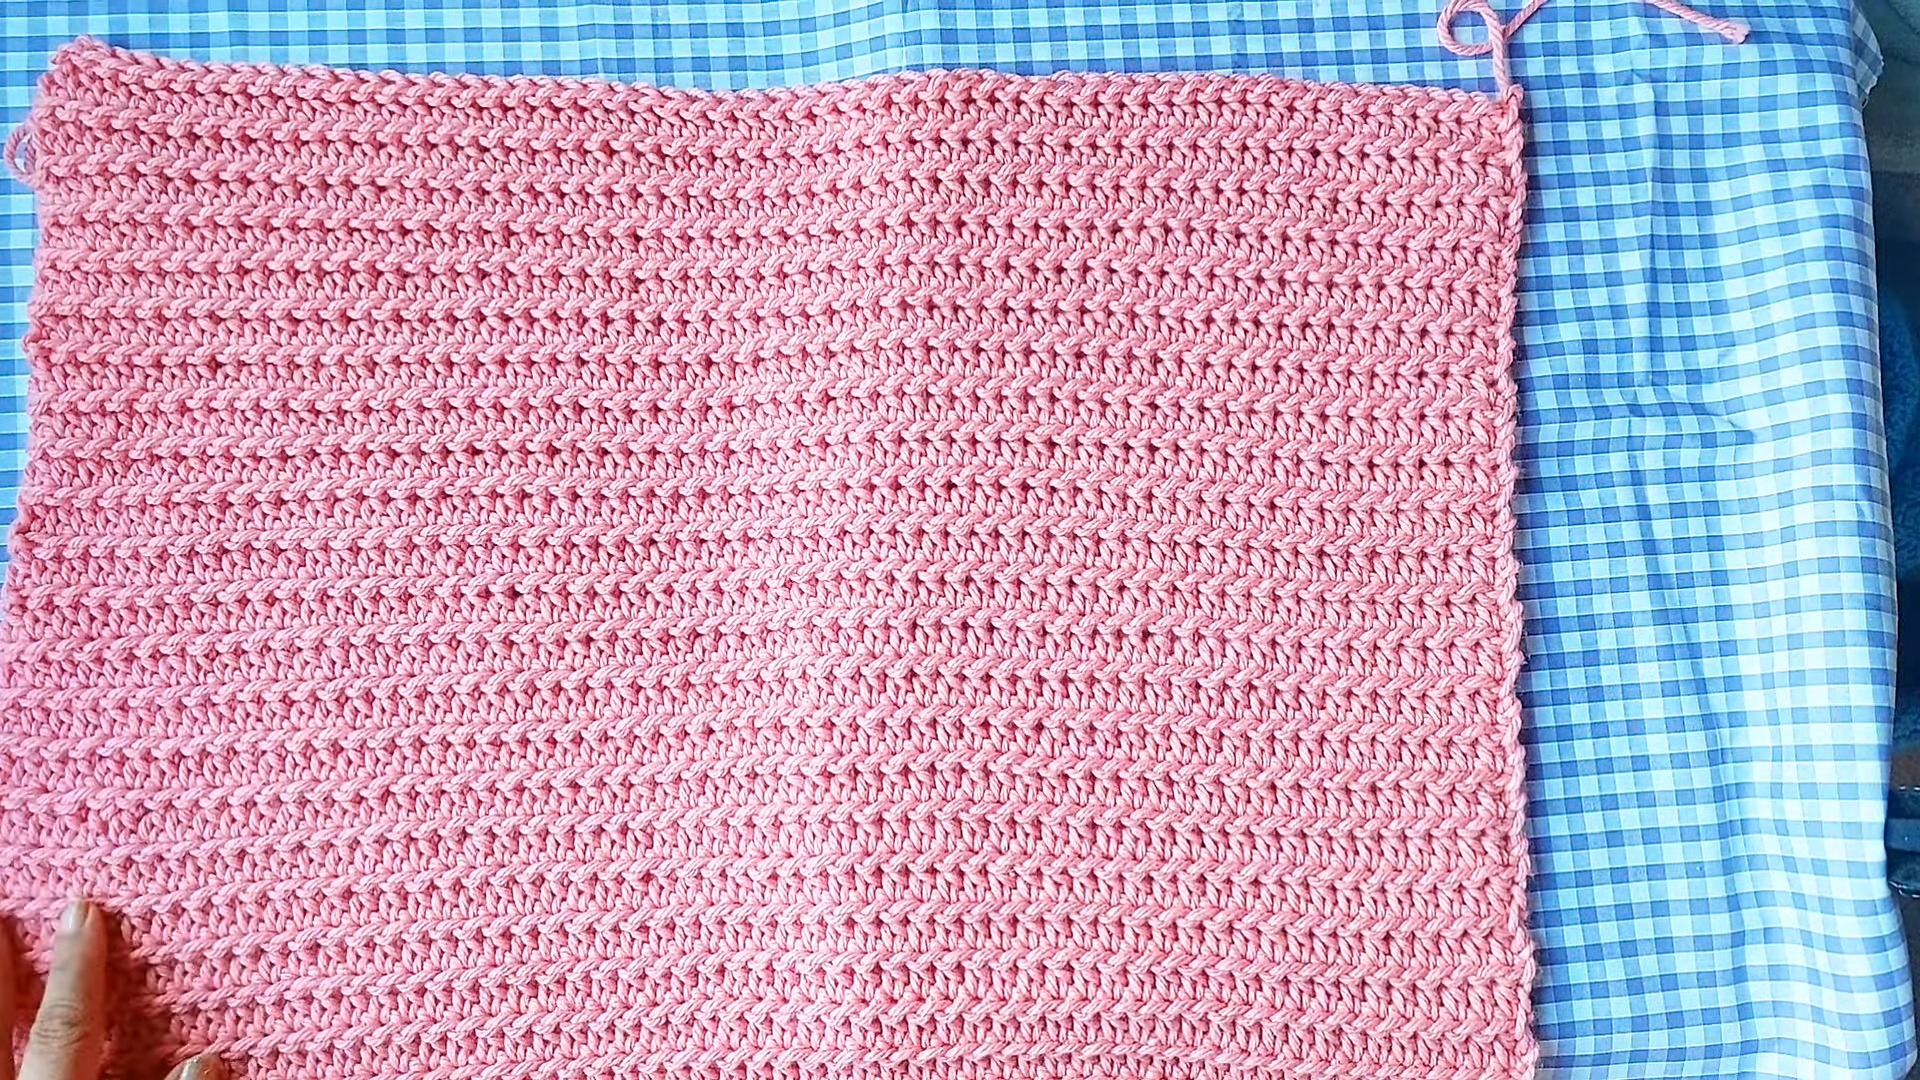
Using the ribbing yarn, chain 7.
Work single crochet through the back loop only for 15 rows.
Build the Pocket
Attach the main-color yarn to the edge of the ribbing.
Distribute 13 hdc across the edge.
Continue alternating between:
- hdc rows
- slip-stitch rows
Work a total of 9 rows for the pocket body.
Make a second pocket using the same process.
Attach the Pockets
Decide where you’d like the pockets to sit before sewing them down.
Place them symmetrically on the front panels and use a yarn needle with whip stitches to attach them securely.
This is also an easy place to personalize the cardigan. You can move the pockets slightly higher or lower depending on how you want the finished cardigan to look and feel when worn.
Making the Cardigan Your Own
The basic construction gives you plenty of room to make changes.
Change the length
Add or remove rows from the body if you prefer a cropped cardigan or a longer fit.
Adjust the size
Change the starting chain counts and row repetitions according to the measurements you need.
Change the colors
Use one color throughout for a simple look, or use a contrasting color for the cuffs, collar, bottom ribbing, and other accents.
Change the pockets
Pockets can be placed according to your preference. You can also leave them off completely for a cleaner silhouette.
A Few Things to Check Before You Finish
Before weaving in all your ends, put the cardigan on or compare it with a garment that fits you well.
Check:
- Is the body the length you want?
- Do the sleeves reach comfortably?
- Does the neckline sit correctly?
- Are the two front panels even?
- Are the pockets positioned comfortably?
- Does the ribbing have enough flexibility?
Making these checks before the final finishing work gives you a chance to make small adjustments while they’re still easy to handle.
Your Finished Crochet Cardigan
Once all the seams are secure and the loose ends are woven in, your cardigan is ready to wear.
The combination of textured stitches, chunky yarn, ribbed edges, and optional pockets gives you a piece that’s comfortable enough for everyday wear while still having plenty of handmade character.
And because the construction is based on separate panels and repeatable stitch patterns, you don’t have to stop with one cardigan. Once you’re comfortable with the basic process, experiment with the length, colors, sleeve size, or pocket placement to create a version that feels yours completely.
The goal isn’t simply to finish a cardigan.
It’s to understand enough of the construction that the next cardigan you make can be designed around you.