Crochet Baby Cardigan Pattern – Single Stitch 12-18 Months
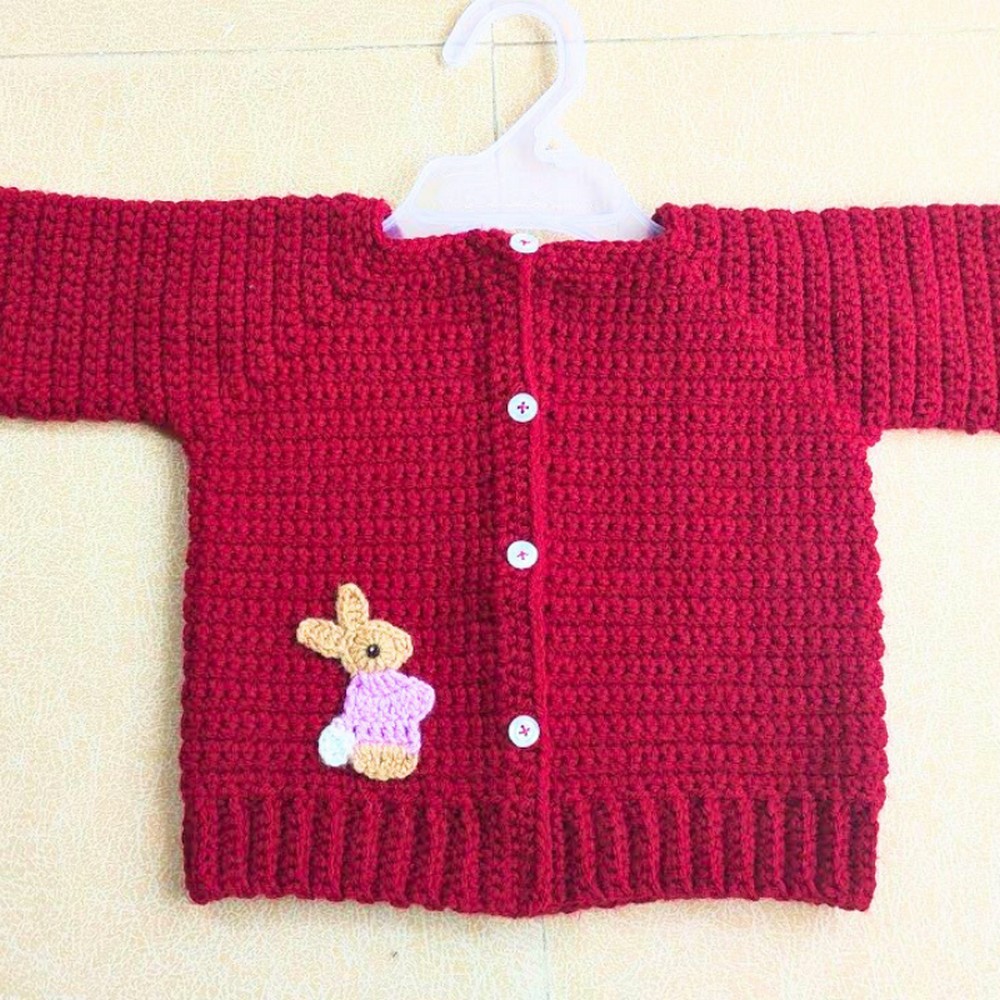
Make a cozy single-stitch baby crochet cardigan for 12–18 months with a simple top-down construction. Learn how to keep the raglan corners aligned, separate the sleeves neatly, and finish the cardigan with easy ribbing and button bands.

This single-stitch baby crochet cardigan is a sweet handmade layer for babies 12 to 18 months. The simple single crochet texture gives it a neat, comfortable look, while the top-down construction lets you build the yoke, body, and sleeves in a clear sequence without sewing separate body panels together.
The part that deserves the most attention is the four raglan corners. These marked points control how the yoke grows, so keeping them aligned makes the later armhole separation much easier. Once the yoke is established, the rest of the cardigan uses straightforward single crochet, followed by ribbed edges, a finished neckline, and button bands.
Credit Mom’s Crochet & Craft
Materials & Tools Needed
- Yarn: Approximately 200 g of Aran, worsted, or slightly thick yarn. The video uses Ganga Alisha yarn.
- Crochet Hook: 4.0 mm crochet hook.
- Stitch Markers: Essential for marking the four raglan corner spaces and keeping the increases aligned.
- Tapestry Needle: For weaving in ends and sewing on buttons.
- Buttons: Small baby buttons suitable for the cardigan.
Finished Size & Customization
This pattern is designed for approximately 12–18 months.
The sample measurements are:
- Neckline foundation chain: Approximately 12 inches
- Yoke depth/chest width: Approximately 10 inches before armhole separation
- Body length: Approximately 7.5 inches from the underarm to the bottom ribbing
To adjust the fit, you can change the yarn and hook combination or alter the number of yoke and body rows. If you make the yoke longer, check the width and armhole depth before separating the sleeves so the cardigan remains balanced.
Pattern Abbreviations
- ch: chain
- sc: single crochet
- hdc: half double crochet
- sl st: slip stitch
- BLO: back loop only
- sc2tog: single crochet 2 stitches together
- ch-1 sp: chain-1 space
- st(s): stitch(es)
Pattern Notes: Mark the Four Raglan Corners
The four corner points are what shape this top-down cardigan. In Row 1, place a stitch marker in each ch-1 corner space. In Row 2, each corner becomes a group of 3 sc, so move the marker to the middle stitch of that group.
From Row 3 onward, the increase is worked into that marked middle stitch. Keeping all four markers visible makes the repeated yoke increases much easier to follow and helps prevent one section from growing differently from the others.
How to Crochet a Single Stitch Baby Cardigan
Top-Down Raglan Yoke
Foundation Chain: Chain 51.
Row 1 – Setup Row: Skip the first chain and work 1 sc in the second chain from the hook. Work 1 sc in each of the next 7 chains for the Right Front, ch 1 and place a stitch marker in this space, work 1 sc in each of the next 9 chains for the First Shoulder, ch 1 and place a marker, work 1 sc in each of the next 16 chains for the Back, ch 1 and place a marker, work 1 sc in each of the next 9 chains for the Second Shoulder, ch 1 and place a marker, then work 1 sc in each of the remaining 8 chains for the Left Front. You should have 50 sc and 4 marked ch-1 corner spaces.
Row 2: Ch 1 and turn. Work 1 sc in each of the first 8 sc stitches until you reach the first marked ch-1 space, then work 3 sc in the marked space and place the marker in the middle sc of this group. Continue working 1 sc in each stitch to the next corner and work 3 sc in that ch-1 space, again marking the middle sc. Repeat the same increase at all four corners, then work 1 sc in each remaining stitch to the end of the row.
Row 3: Ch 1 and turn. Work 1 sc in each stitch until you reach a 3-sc corner group. Work 1 sc into the first sc of the group, then work 3 sc into the middle sc and place the marker in the middle stitch of the new group. Continue across the straight section and repeat this increase at each corner.
Rows 4-14: Repeat Row 3 for a total of 14 yoke rows.
Each row adds 2 stitches at each of the four raglan corners, increasing the cardigan by 8 stitches per row.
Yoke Check Before Separating the Sleeves
Lay the yoke flat before beginning Row 15. Check that the four marked corner points are still easy to identify and that the two front sections, back section, and sleeve sections are growing evenly.
This is the best point to correct a missed or misplaced corner increase. Once the sleeves are separated, an uneven yoke is much harder to correct neatly.
Armhole Separation
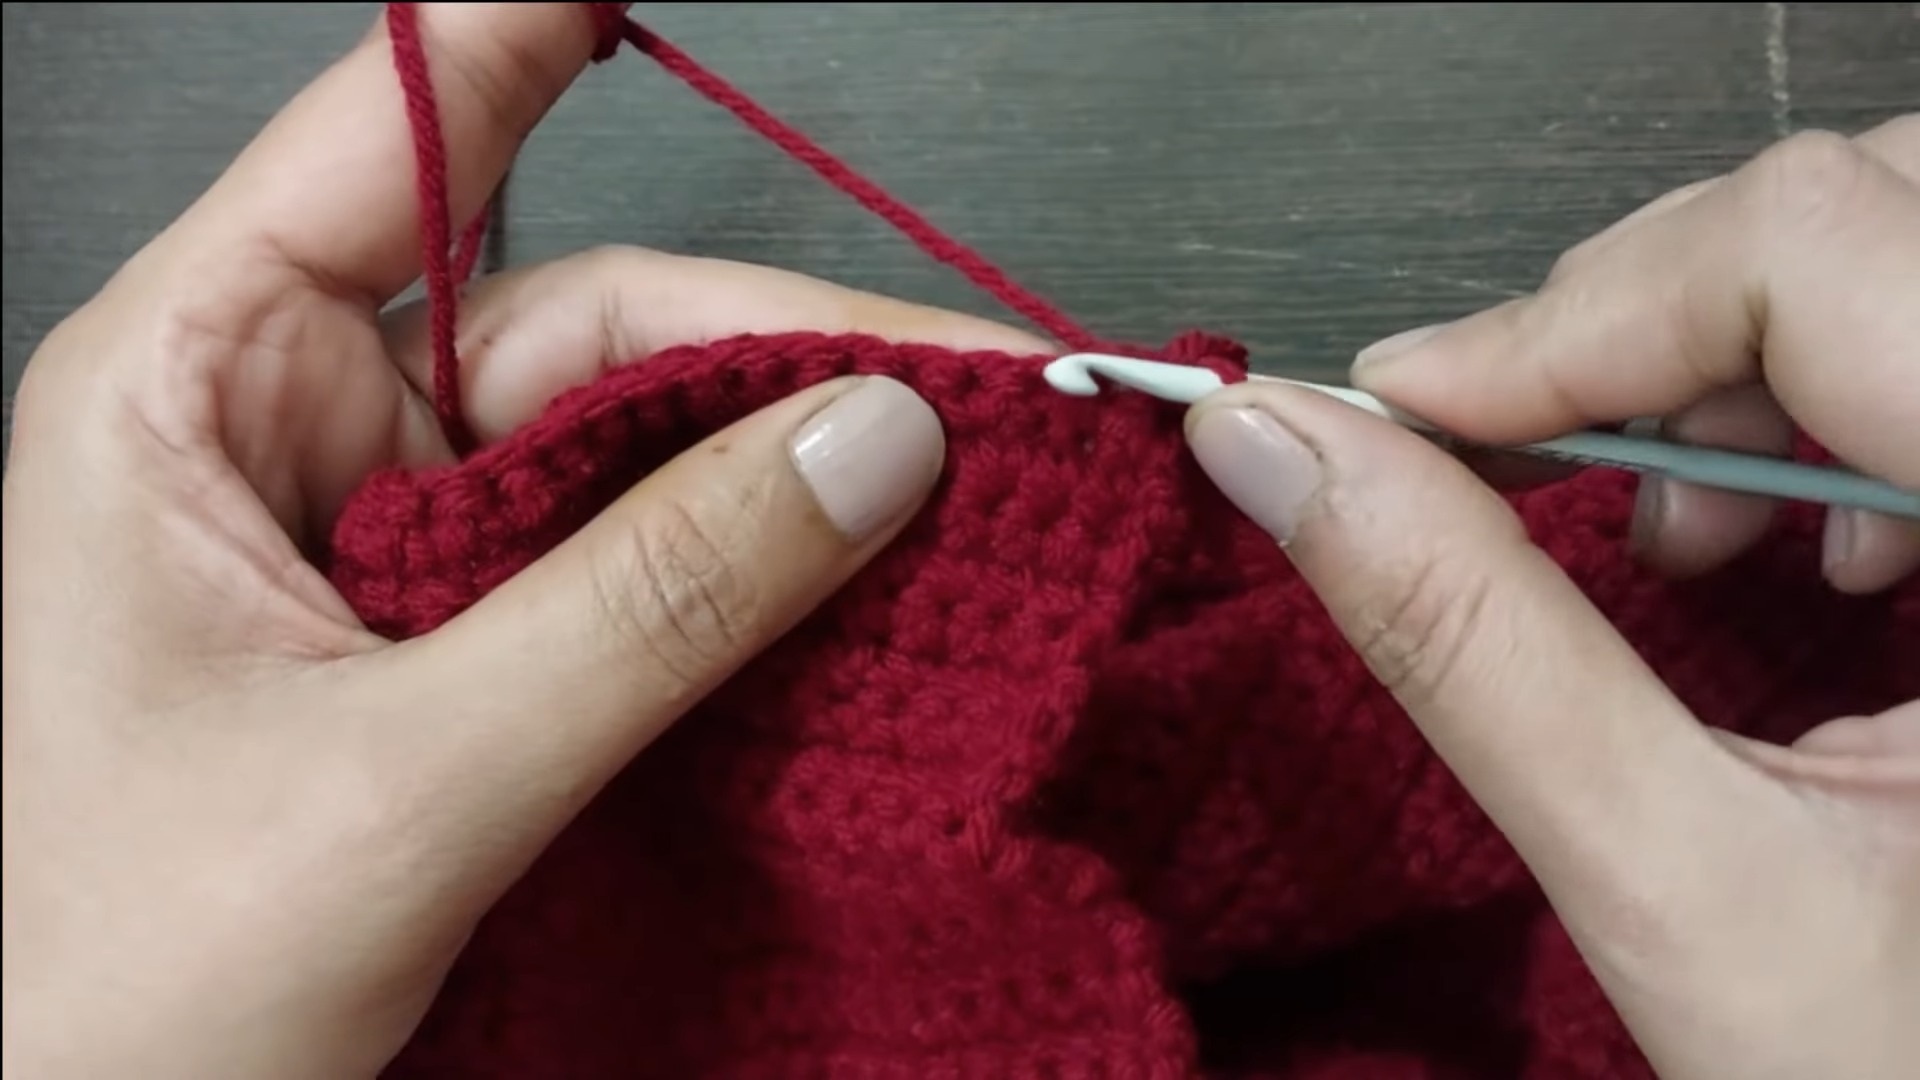
Row 15: Ch 1 and turn. Work 1 sc across the Right Front until you reach the middle stitch of the first corner. Work 1 sc into that middle stitch, then skip all sleeve stitches between the first and second corners.
Work 1 sc directly into the middle stitch of the second corner to form the first armhole.
Continue with 1 sc across the Back section until you reach the middle stitch of the third corner. Work 1 sc into that middle stitch, skip all sleeve stitches between the third and fourth corners, then work 1 sc into the middle stitch of the fourth corner to form the second armhole.
Finish by working 1 sc across the remaining Left Front stitches.
Important: Do not work across the sleeve stitches during this row. Those stitches are being left open so they can be used later when the sleeves are crocheted
Cardigan Body
Rows 16–24/25: Ch 1 and turn. Work 1 sc in every stitch across. Repeat these single crochet rows until the body measures approximately 7.5 inches from the underarm, or continue until you reach your desired length.
For a longer cardigan, add more rows before starting the bottom ribbing. Measuring the piece as you work is more useful than relying only on row number because crochet tension can change the finished measurements.
Bottom Hem Ribbing
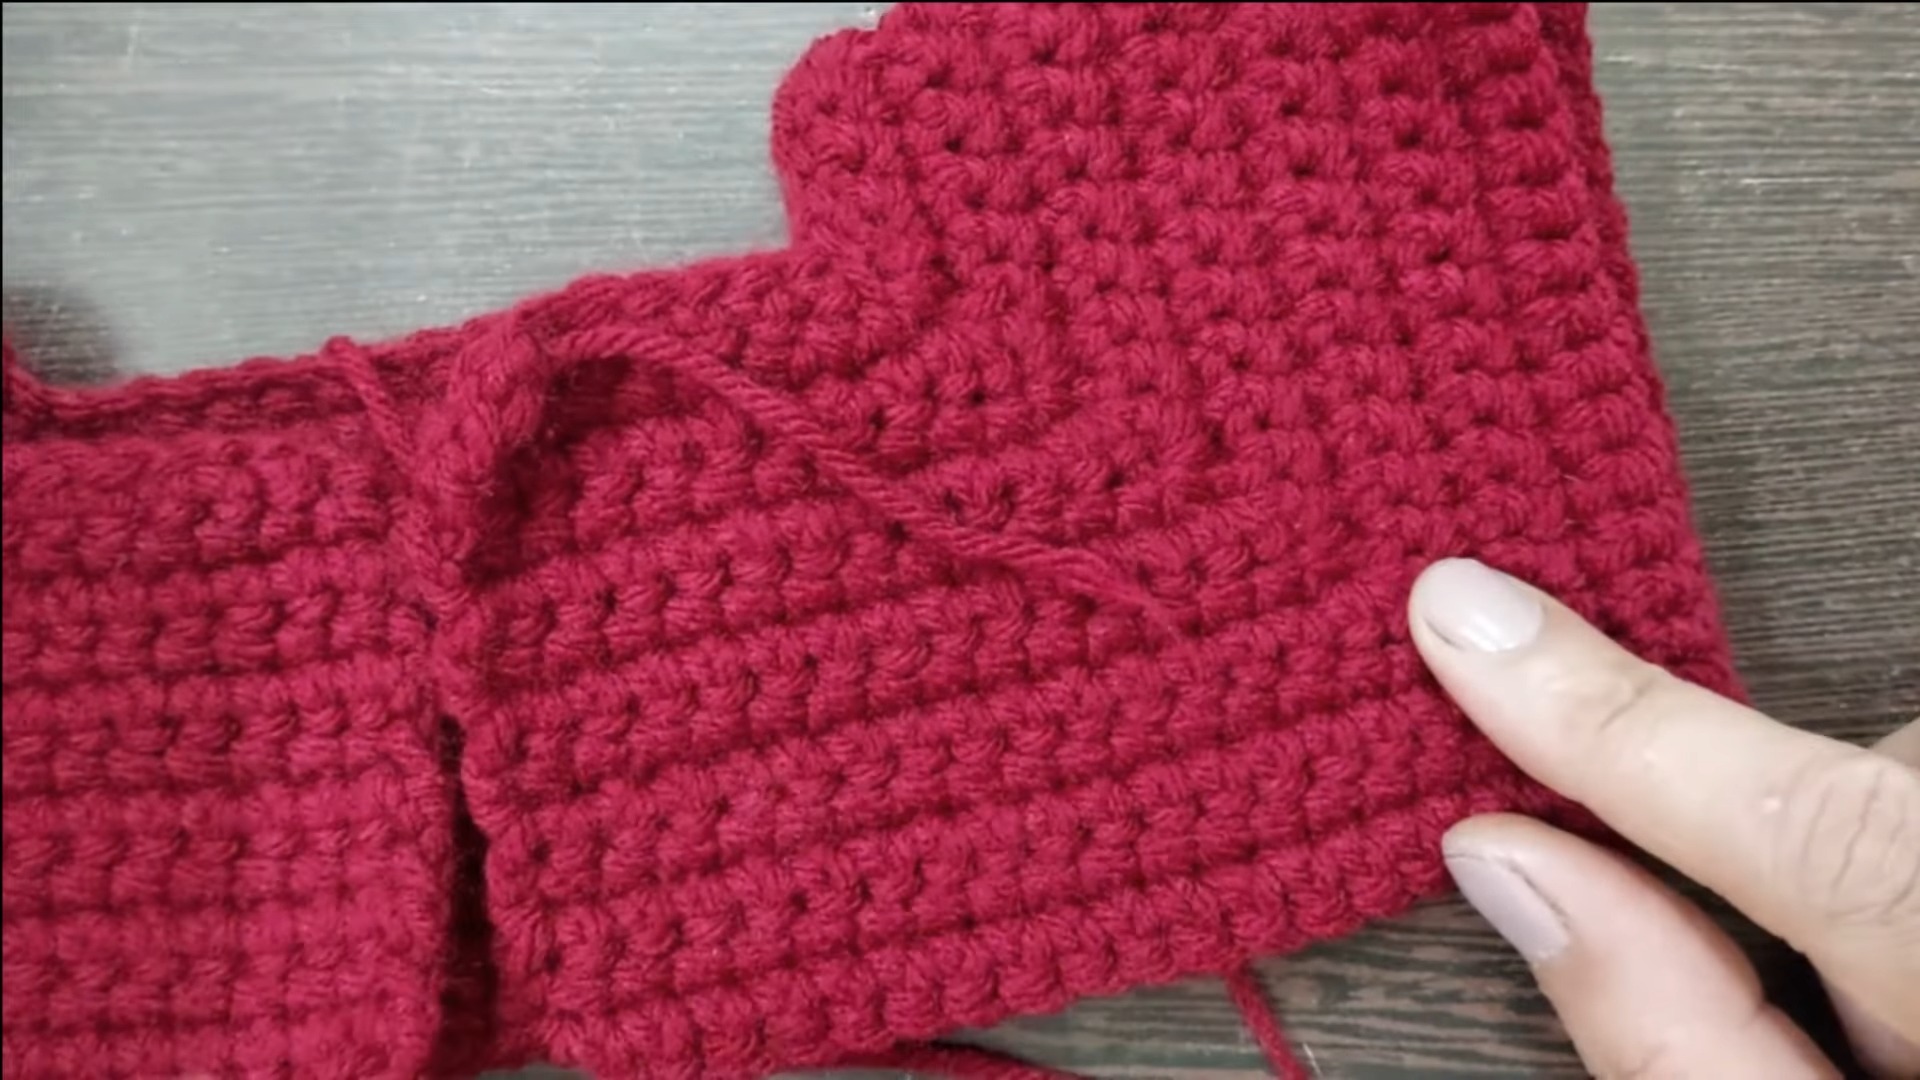
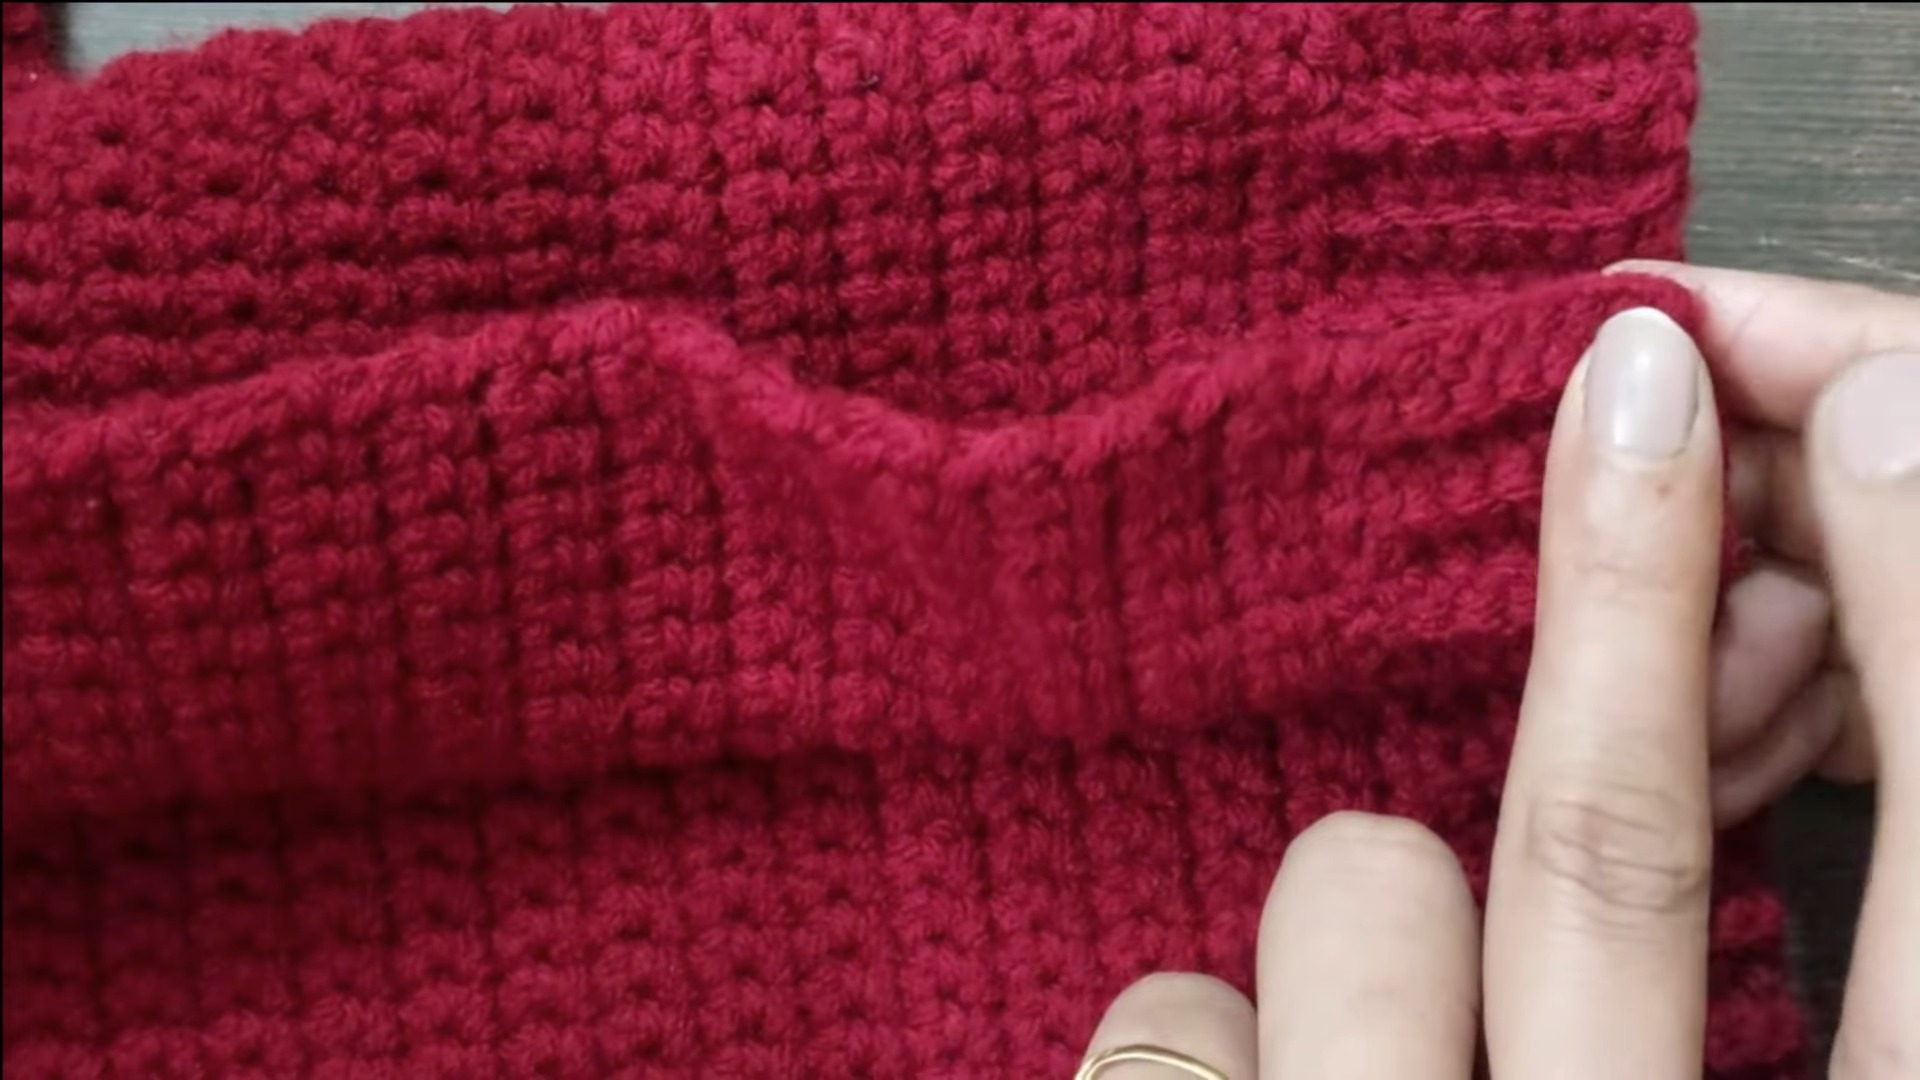
At the end of the final body row, ch 8.
Skip the first chain, work 1 sc in the second chain from the hook, and work 1 sc in each of the next 6 chains for 7 sc.
Slip stitch into the next 2 stitches along the cardigan body edge and turn.
Skip the 2 slip stitches and work 1 sc in the BLO of each of the 7 ribbing stitches.
Ch 1, turn, and work 1 sc in BLO across all 7 stitches.
Slip stitch into the next 2 stitches along the body edge and turn.
Repeat the BLO ribbing rows and the 2-slip-stitch attachments across the entire bottom edge. Fasten off when the ribbing reaches the starting point.
Sleeves
Work both sleeves using the same instructions.
Round 1: Join the yarn at the underarm base. Ch 1 and work 1 sc in each stitch around the armhole opening, approximately 34 stitches. At the end of the round, work sc2tog over the last 2 stitches to help close the small underarm gap. This leaves approximately 33 stitches. Slip stitch to the first sc to join.
Rounds 2- 24: Ch 1 and turn. Work 1 sc in each stitch around, then slip stitch to the first stitch to join. Repeat the turned single crochet rounds for 24 total sleeve rounds.
Round 25 – Wrist Reduction: Ch 1 and turn. Work 1 sc in each of the next 9 stitches, skip 1 stitch, and repeat this sequence around the sleeve to gently taper the wrist. Slip stitch to join.
Round 26: Ch 1 and turn. Work 1 sc in each stitch around, then slip stitch to join.
Sleeve Cuff Ribbing
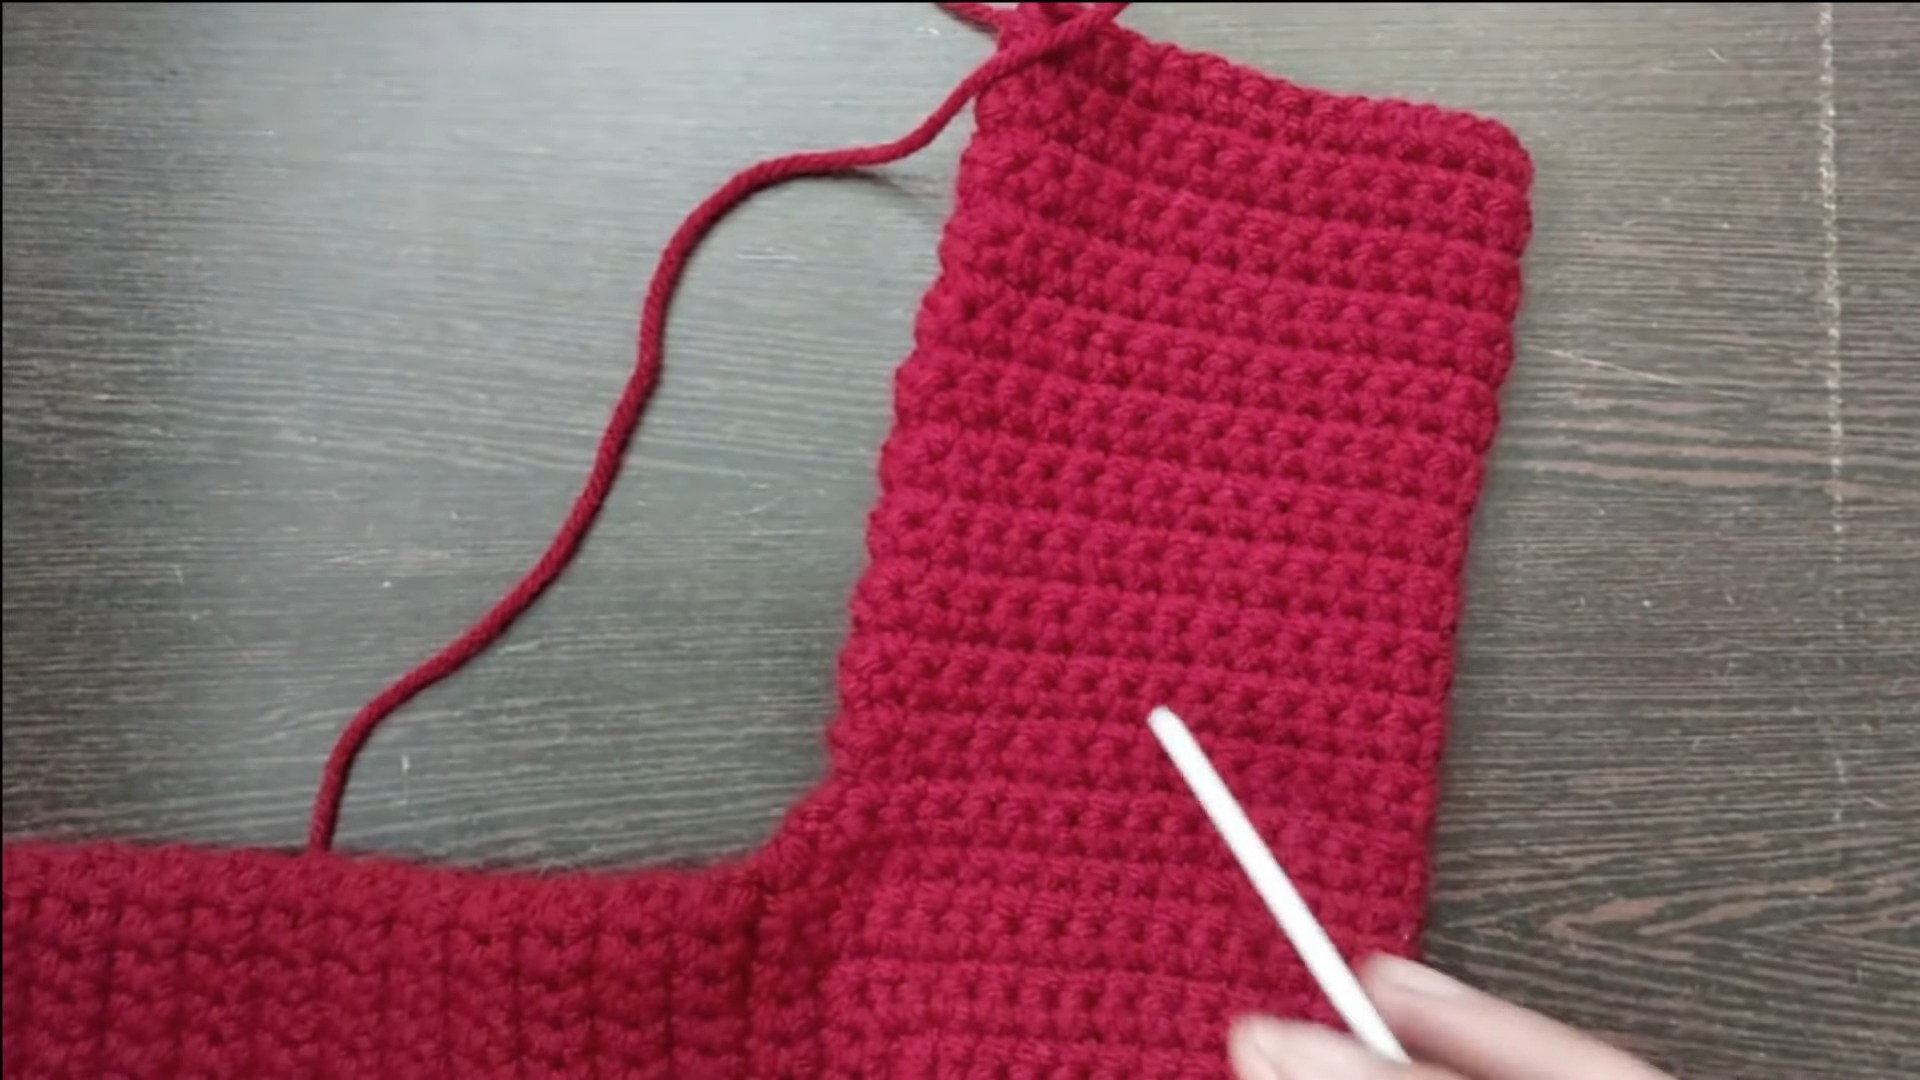
From the cuff edge, ch 8. Skip the first chain and work 1 sc in each of the remaining 7 chains.
Slip stitch into the next 2 stitches on the cuff edge and turn.
Work 1 sc in BLO of each of the 7 ribbing stitches.
Ch 1, turn, and work 1 sc in BLO across all 7 stitches. Slip stitch into the next 2 stitches on the cuff edge and turn.
Repeat this ribbing around the entire cuff.
When you reach the beginning, align the first and last ribbing rows and slip stitch through both layers across all 7 stitches to close the cuff. Fasten off.
Neckline Finishing
Join the yarn at the top corner of the neckline.
Work 1 sc evenly around the entire neck opening to create a smooth, finished edge.
Keep the stitches evenly spaced as you work around the neckline. This helps prevent the edge from becoming too tight or developing unwanted waves.
Front Button Bands
First Side
Join the yarn along one inner front edge.
Work 1 sc evenly along the opening from the bottom to the top.
Second Side
Ch 1 and turn.
Work 1 hdc in each stitch down the outer edge to create a clean and slightly sturdier button band.
The natural spaces created along the edging can be used as buttonholes for small baby buttons.
Finishing
Use a tapestry needle to weave all loose yarn ends securely into the back of the stitches.
Sew the baby buttons onto the opposite button band, positioning each one so it lines up with the available buttonhole spaces.
Before securing the buttons permanently, close the cardigan and check that the front edges meet evenly and that the buttons sit comfortably along the band.
Final Fit Check
Before considering the cardigan finished, lay it flat and check the neckline, body width, sleeve length, underarm joins, and bottom ribbing.
The two sleeves should be similar in length, the front edges should sit evenly, and the ribbing should pull in slightly without making the cardigan difficult to close. Making this quick check before the final finishing step gives you a chance to correct small differences while they are still easy to fix.