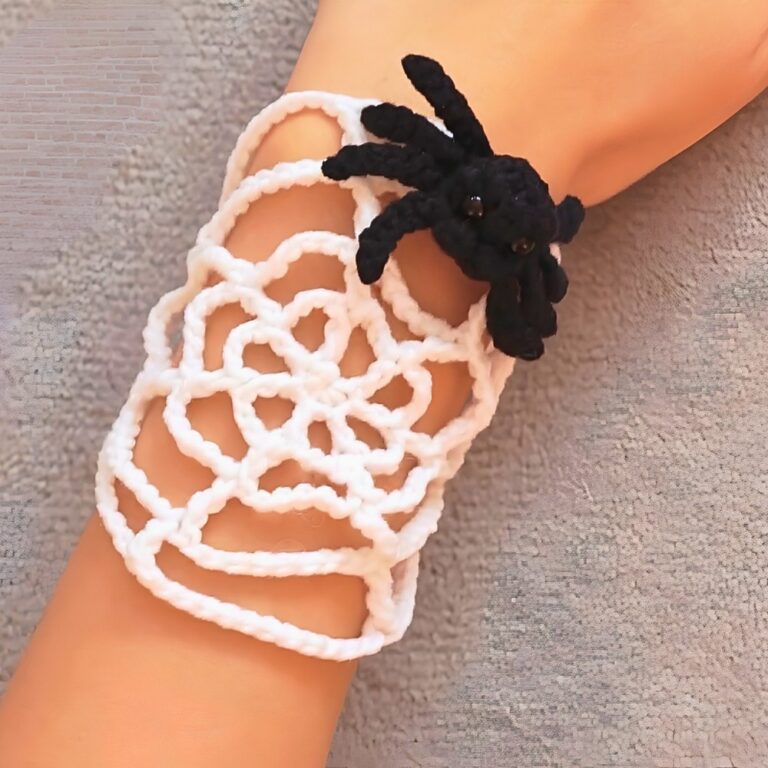
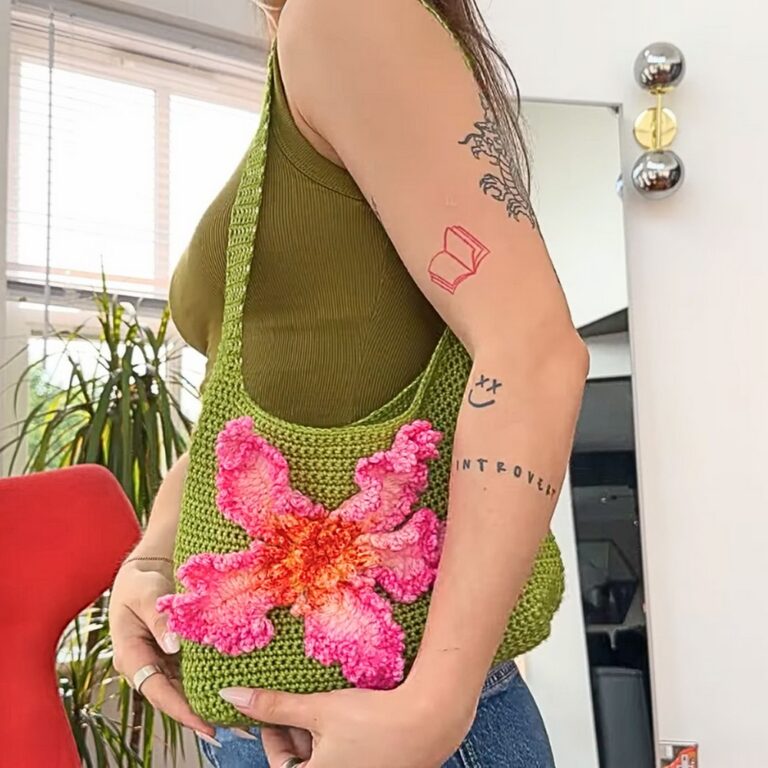
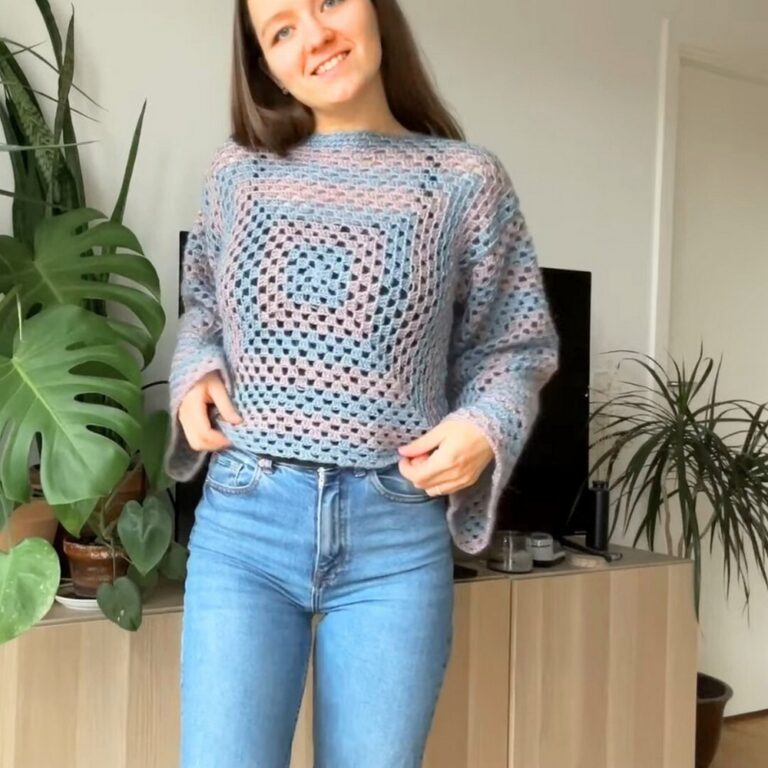
Crochet Short Sleeve Shrug Tutorial Layer for Spring
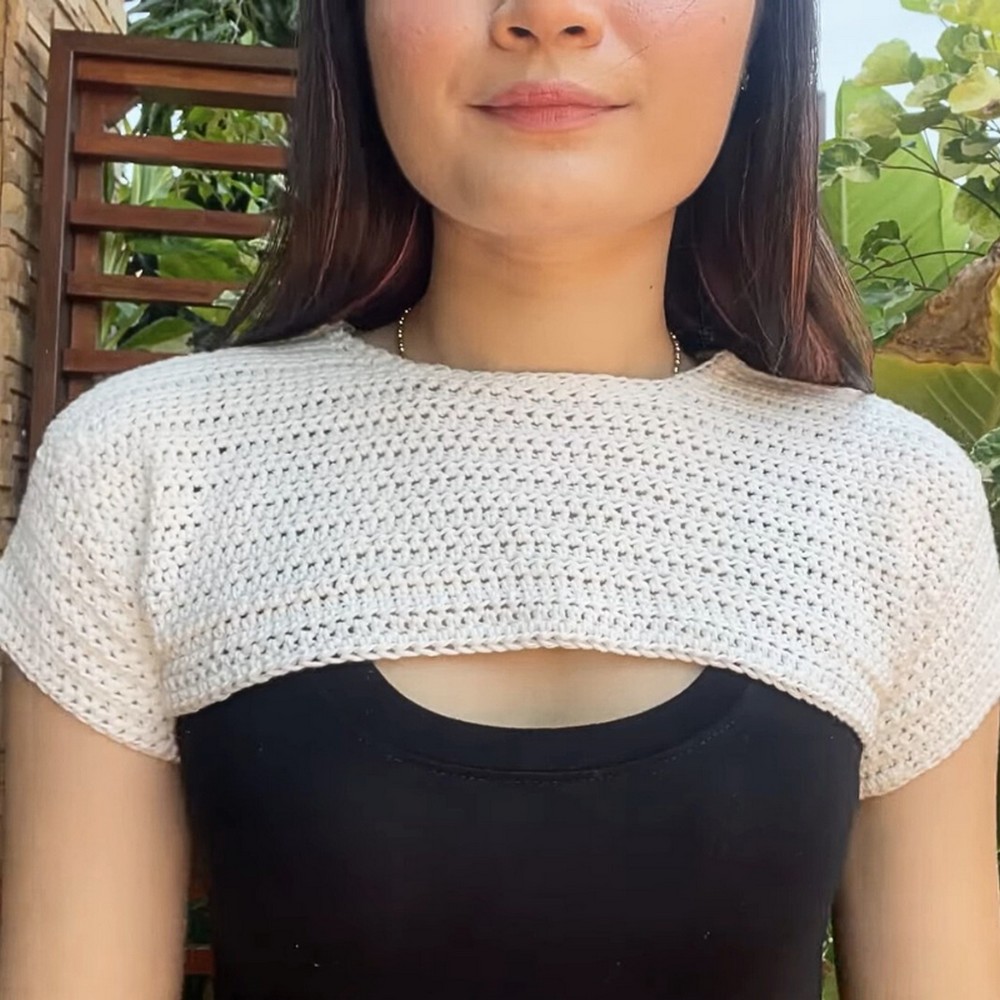
A simple shrug can completely change the way an outfit feels, and this crochet short-sleeve design proves just how versatile a small layer can be.
Made for spring and cooler days, it adds a soft touch of warmth without making your outfit feel heavy or bulky. The made-to-measure construction lets you shape the fit around your body, whether you prefer something comfortably crochet snug or slightly relaxed.
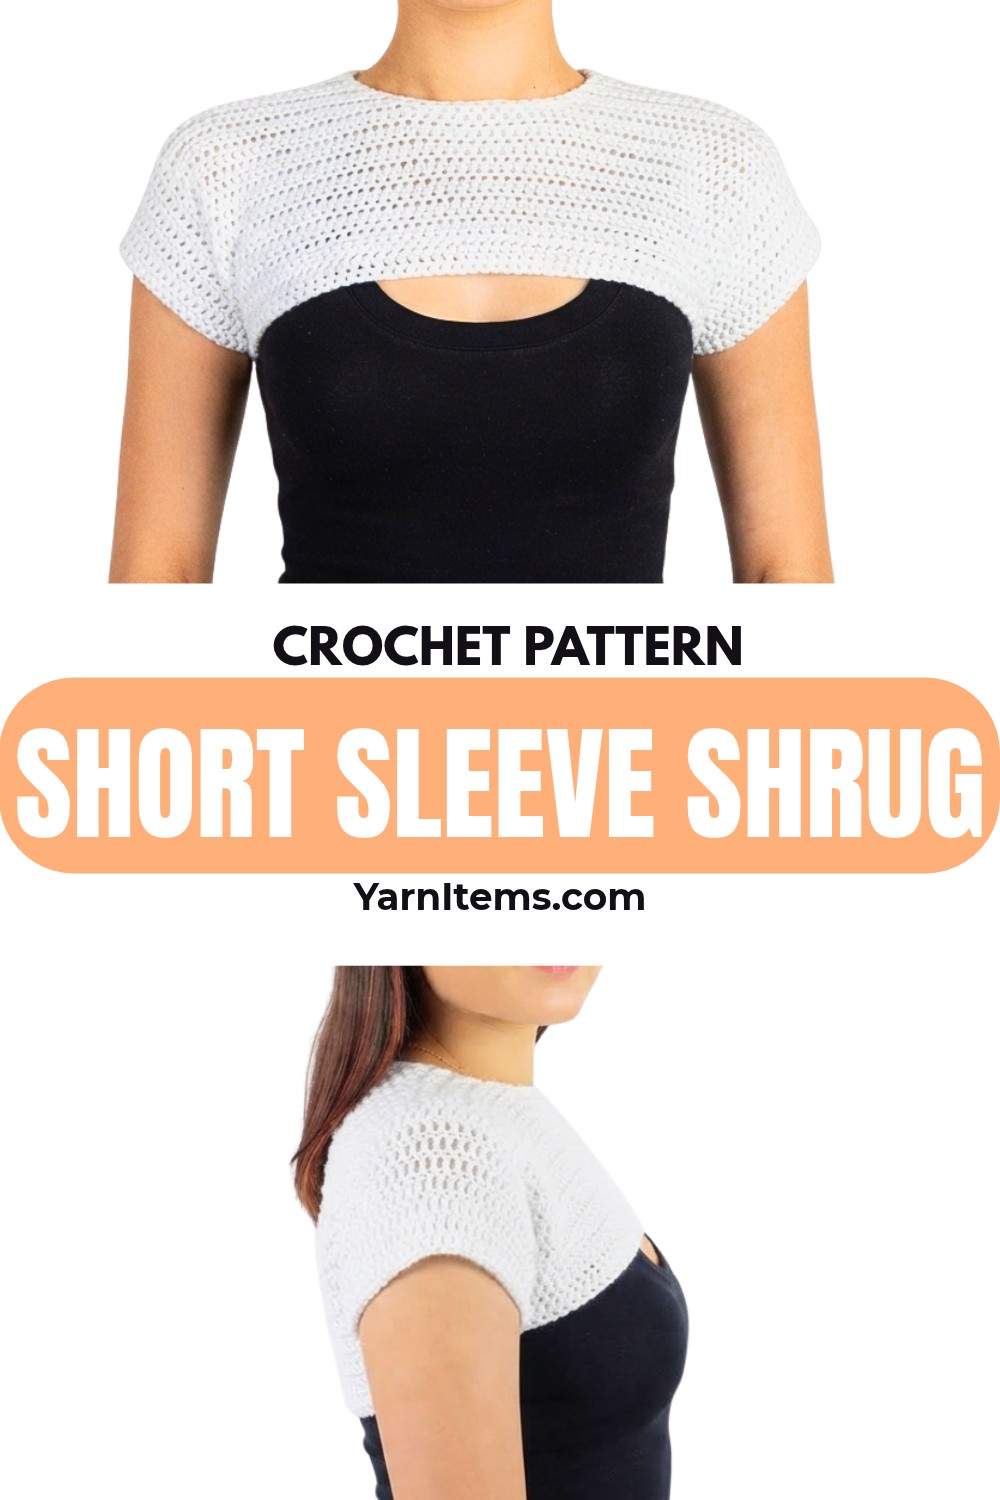
What makes this crochet shrug especially appealing is how easily it fits into everyday dressing. Wear it over a casual top, pair it with a dress for a polished evening look, or keep it nearby when the temperature drops. With basic stitches such as half-double crochet and an adjustable fit, this wearable piece is approachable for beginners while still giving you plenty of room to create a style that feels uniquely yours.
Credit Granny Gaia
Materials & Tools Needed
- Yarn
- Sport weight cotton yarn (Category #2).
- In the tutorial, Gaia uses this yarn; you may use any yarn as long as you adjust your hook size accordingly.
- Hook
- 4 mm crochet hook (used in the tutorial).
- Use a hook size that corresponds to your chosen yarn if you substitute.
- Notions & Tools
- Tape measure (for made-to-measure sizing).
- Yarn/tapestry needle (for weaving in ends).
- Scissors.
- Stitch markers (strongly recommended for:
- First stitch of rows/rounds.
- Neckline center and edges.
- Corners for sleeves and body extension.)
Finished Size & Customization Ideas
This is made-to-measure, so final measurements vary.
Example measurements from the tutorial:
- Shrug width (underarm-to-underarm)
- Gaia’s measurement: 15 inches.
- She made a starting chain of 60 chains, which stretched slightly to reach 15″ (plus 2 turning chains).
- Panel height (underarm to base of neck)
- Gaia’s front panel height before shoulder shaping: 14 rows of hdc, measuring about 4.25″.
- Neck width
- Gaia’s neck width: 5 inches, then minus 2 inches → 3″ neck opening.
- For her gauge, 3″ = 12 stitches.
- Shoulder length
- From the first decrease row to shoulder top: 6 rows, measuring about 2 inches.
- Sleeve length
- Each sleeve: 10 rounds of hdc, measuring about 3 inches.
- Body extension (hem length)
- Gaia added 3 extra rows at the bottom.
- Before extension: ~5.75–6″
- After extension: ~7″ body length.
Pattern Abbreviations & Terminology (US Terms)
- ch: chain
- hdc: half double crochet
- sl st: slip stitch
- st(s): stitch(es)
- YO: yarn over
- dec: decrease (as demonstrated in the neckline/shoulder shaping)
- “row”: worked flat, back-and-forth.
- “round”: worked in the round, joined with a slip stitch.
Tips Before You Start
- Starting chain tension:
- Make the starting chain slightly loose, because it stretches less than the hdc fabric.
- Measuring the starting chain:
- When measuring, gently stretch the chain to approximate how it will fit when worn (snug but not tight).
- Use stitch markers:
- Mark the first stitch of each row or round.
- Mark the center neck stitch and both sides of the neck opening.
- Use markers to secure loops when you pause to try the garment on.
- Try-on checkpoints:
- After joining shoulders (neck opening).
- After making armhole chains.
- After the first sleeve round, and during sleeve decreases.
- After neckline border, to ensure it’s not too tight.
- Neckline border tension:
- If hdc stitches along the neck are too tight, the neck hole will shrink. Work loosely or skip this step if your neckline is snug.
Step-by-Step Detailed Crochet Instructions
A. Front/Back Base Panel (Rectangle)
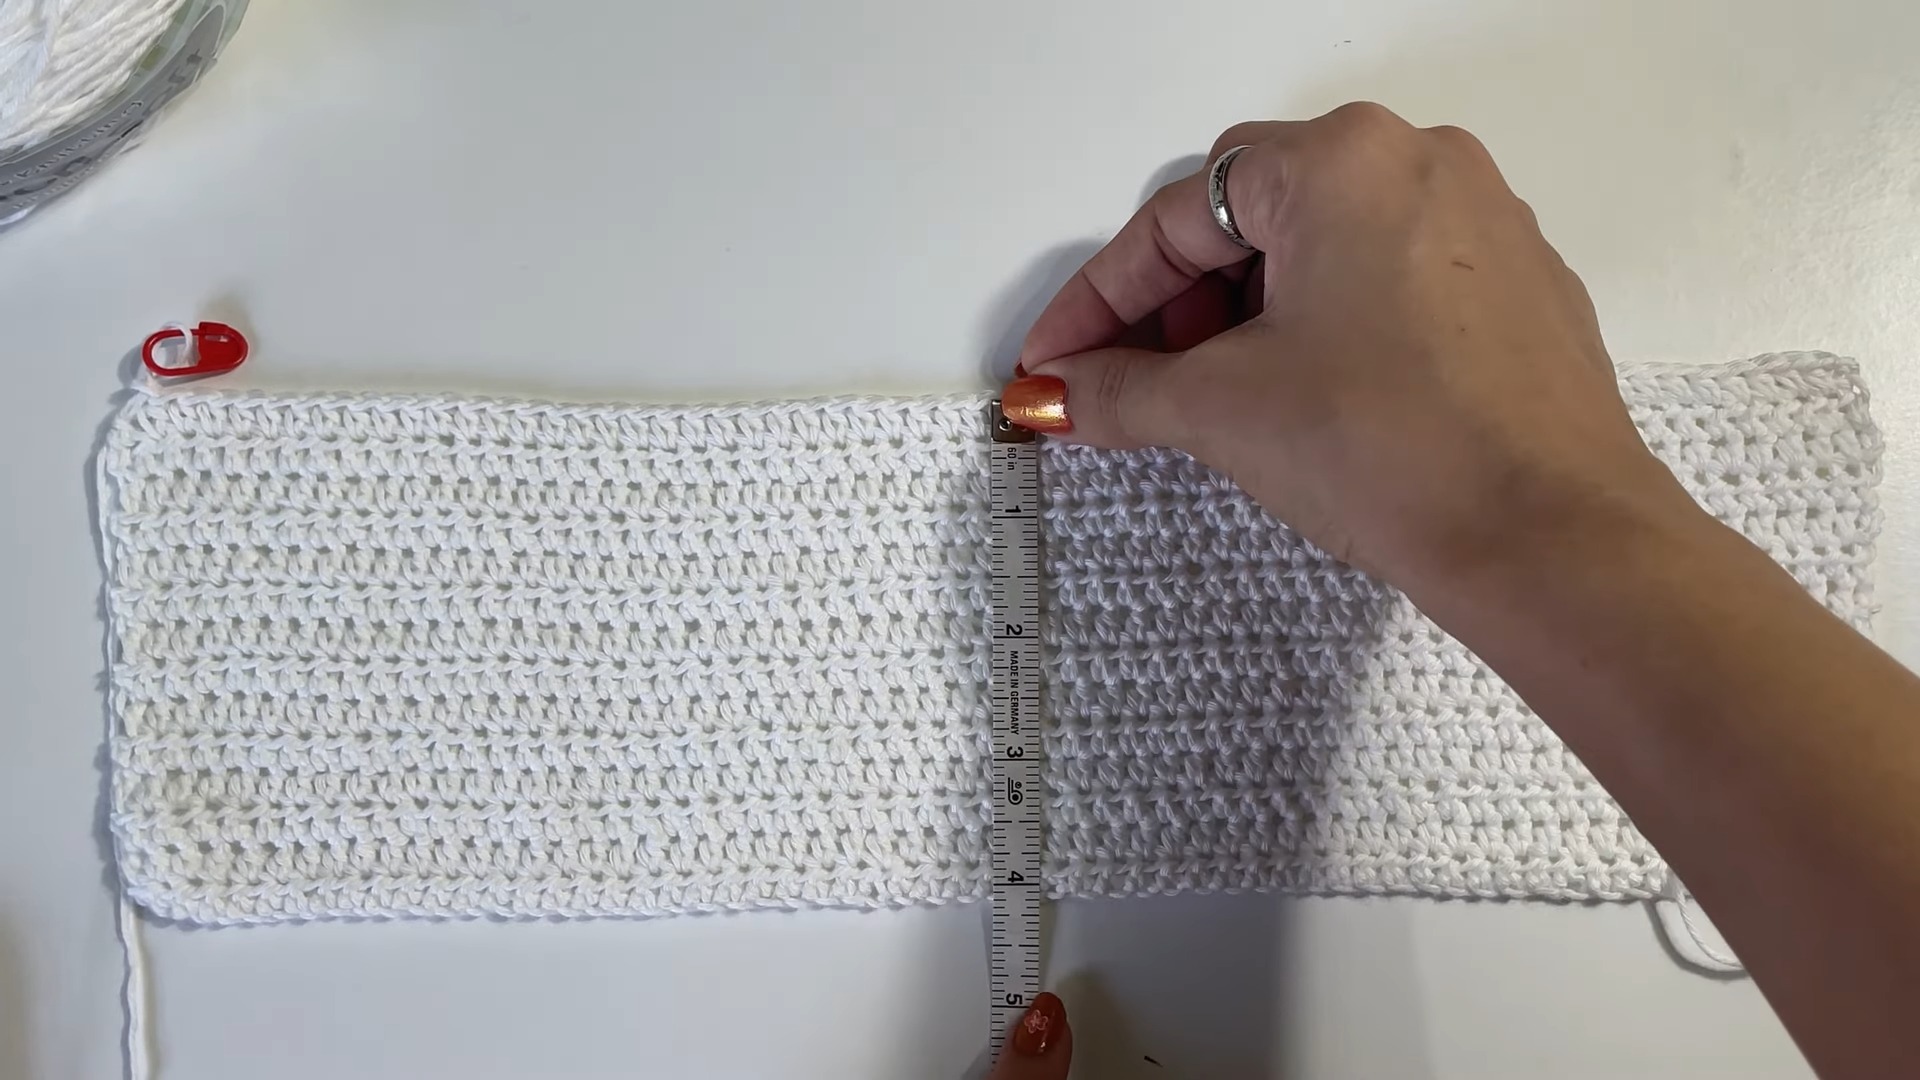
Step A1 – Measure shrug width
- Using the tape measure, measure from one underarm to the other underarm across your front.
- Gaia’s example: 15 inches.
Step A2 – Make starting chain
- Make a slip knot on your hook.
- Chain until the chain measures your shrug width:
- Example: Gaia chained 60 for 15″.
- Gently stretch the chain to check it reaches your width snugly.
- Add 2 more chains for the turning chain.
- Total in Gaia’s example: 62 chains.
Step A3 – Row 1 (foundation row)
- Locate the 3rd chain from the hook (skipping the first 2 turning chains).
- Work 1 hdc into that 3rd chain.
- Optionally, place a stitch marker in this first hdc to mark the last stitch of the row.
- Work 1 hdc in each remaining chain across the row.
- At the end of Row 1, ch 2, turn.
- Stitch count for Gaia’s example Row 1:
- 60 starting chains (minus 2 turning) → 59 hdc in Row 1.
Step A4 – Rows 2–14 (or until base of neck)
- Row 2:
- YO, insert hook into the first stitch of the row.
- Work 1 hdc.
- Mark this first stitch with a stitch marker if needed.
- Work 1 hdc in each stitch across.
- At the end, ch 2, turn.
- Repeat Row 2 until the panel reaches from underarm to base of your neck.
- Gaia made 14 rows total at this stage, measuring about 4.25″.
- Example stitch count:
- Each row has 59 hdc (following Gaia’s chain 60 example).
Neckline Opening & Shoulder Shaping (Panel 1)
Step B1 – Measure neck width and calculate opening
- Measure your neck width from one side of the neck to the other.
- Gaia’s measurement: 5 inches.
- Subtract 2 inches from your neck width:
- 5″ − 2″ = 3″ neck opening.
- Convert that width into stitch count:
- Take any row and measure how many stitches fit into the calculated opening.
- Gaia’s gauge: 3″ = 12 stitches.
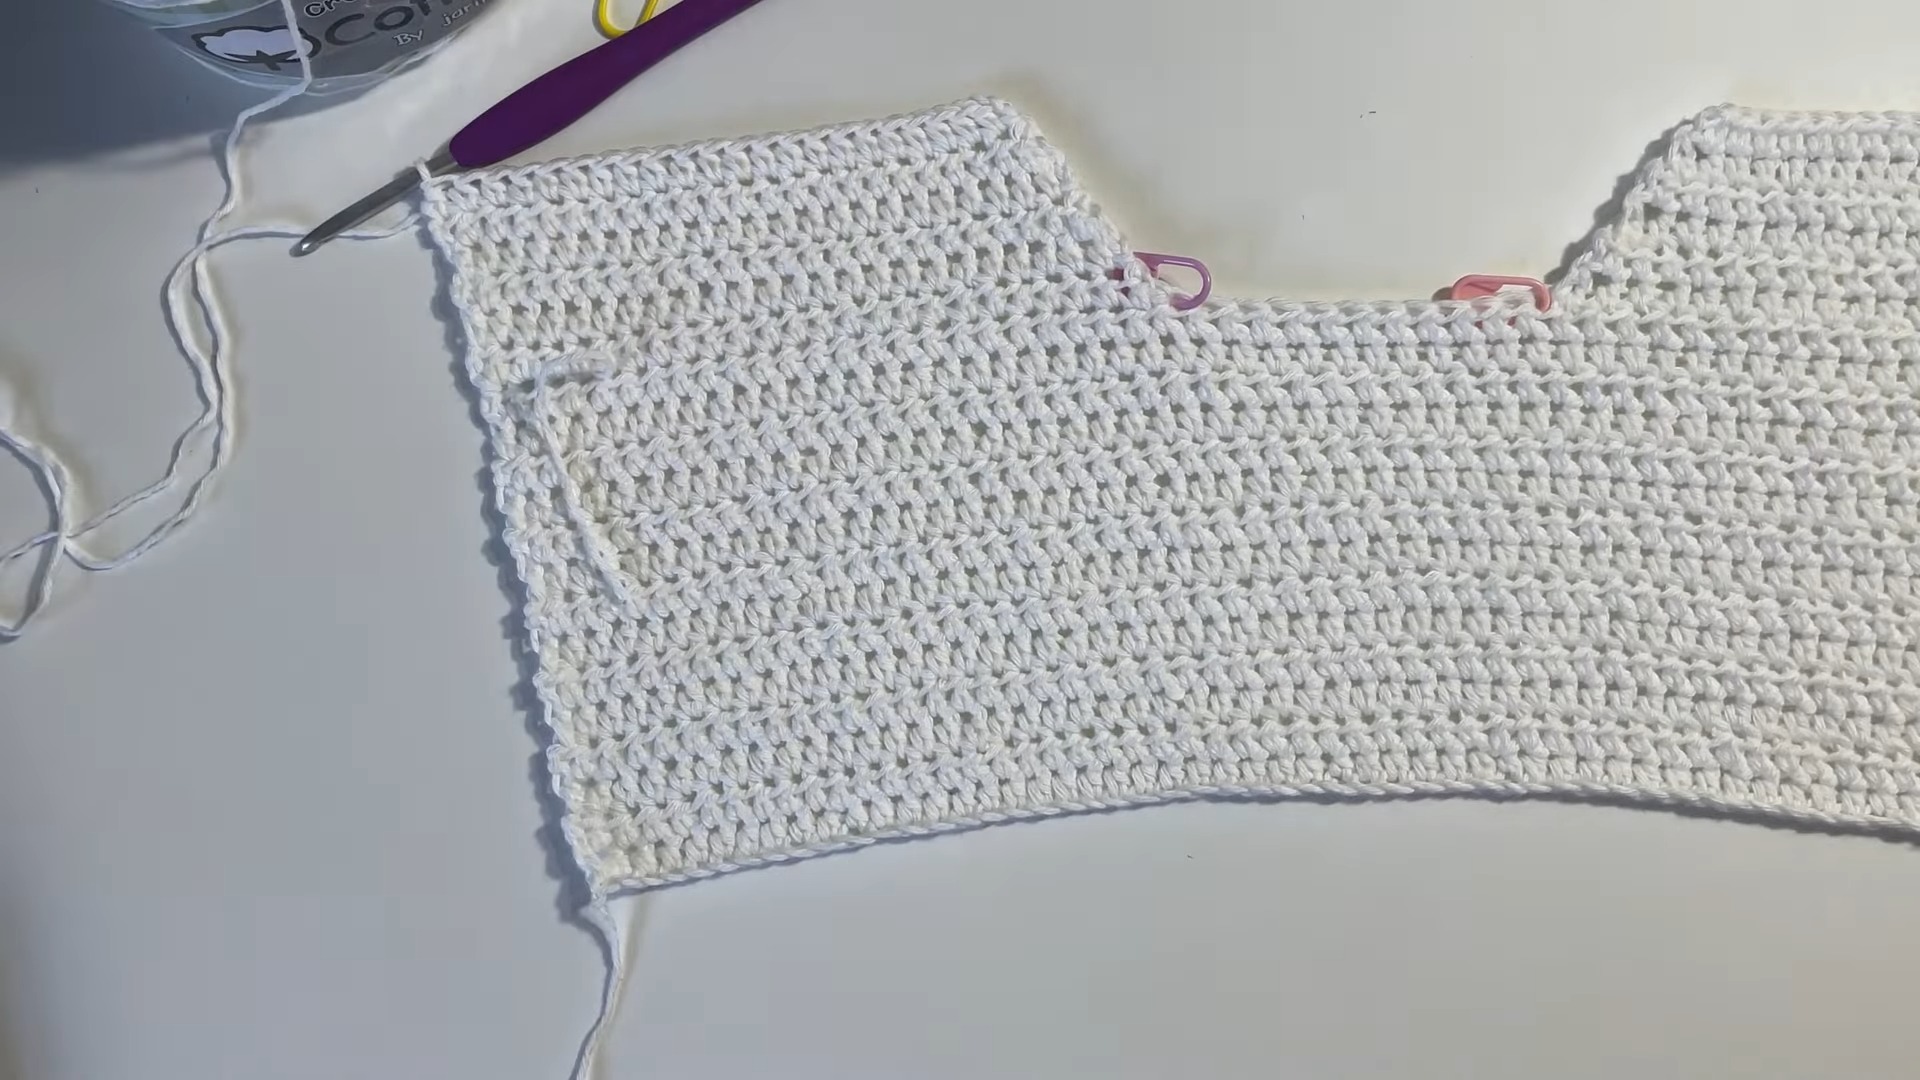
Step B2 – Find and mark panel midpoint
- Fold the panel in half lengthwise to estimate the middle.
- Place a stitch marker at this midpoint stitch.
- Count stitches from one edge to the center marker:
- Gaia:
- 30 stitches from left edge to center marker.
- 29 stitches from right edge to center marker (slight asymmetry acceptable).
- Gaia:
Step B3 – Mark neck opening stitches
- Using the calculated stitch count for the neck opening (e.g., 12 stitches for 3″), place two stitch markers to bracket those stitches:
- Count 12 stitches centered around the midpoint marker.
- Place a marker at the start and end of those 12 stitches.
- In Gaia’s example:
- From left edge to left neck marker: 24 stitches, measuring about 6″.
- From right edge to right neck marker: 24 stitches, also about 6″.
- Between the two markers: 12 stitches (~3″).
These 12 stitches form the neck opening space. The shoulder panels will be worked on either side of this opening.
First Shoulder Panel (Side 1)
You’ll work flat from one edge toward the neck markers, with decreases at the neck side only.
Step C1 – Row 1 of shoulder (first decrease row)
- With the panel oriented so the neck markers are at the center top, ch 2, turn.
- Work 1 hdc in each stitch from the outer edge toward the neck marker until 2 stitches remain before the marker.
- Make a decrease over the last two stitches (toward the neck):
- YO, insert hook into next stitch, YO, pull up a loop.
- YO, pull through first two loops on hook → 2 loops remain.
- Insert hook into the last stitch (the one with the stitch marker).
- YO, pull up a loop → 3 loops on hook.
- YO, pull through all 3 loops → 1 dec made.
- At the end of the row, ch 2, turn.
Step C2 – Row 2 of shoulder (no decrease)
- YO, insert hook into the first stitch of the row.
- Work 1 hdc in each stitch across; do not decrease at the outer edge.
- The side opposite the neck remains straight.
- At the end, ch 2, turn.
Step C3 – Row 3 of shoulder (decrease at neck)
- Work 1 hdc in each stitch from the outer edge until 2 stitches remain before the neck marker side.
- Repeat the decrease as in Row 1 (over the last 2 stitches at the neck edge).
- At the end, ch 2, turn.
Step C4 – Continue shoulder rows
- Repeat the sequence:
- One row with a decrease at the neck edge (Rows 1, 3, 5, etc.).
- One row straight with no decrease (Rows 2, 4, 6, etc.).
- Keep working until the shoulder extension reaches the top of your shoulder when lined up from base-of-neck.
- Gaia’s example: 6 rows from the first decrease row, measuring about 2″.
Step C5 – End first shoulder panel
- Once satisfied with length:
- ch 1, cut yarn.
- Pull to tighten.
- First shoulder panel is complete on one side.
Second Shoulder Panel (Side 2) on Panel 1
You’ll mirror the process on the other side of the neck opening.
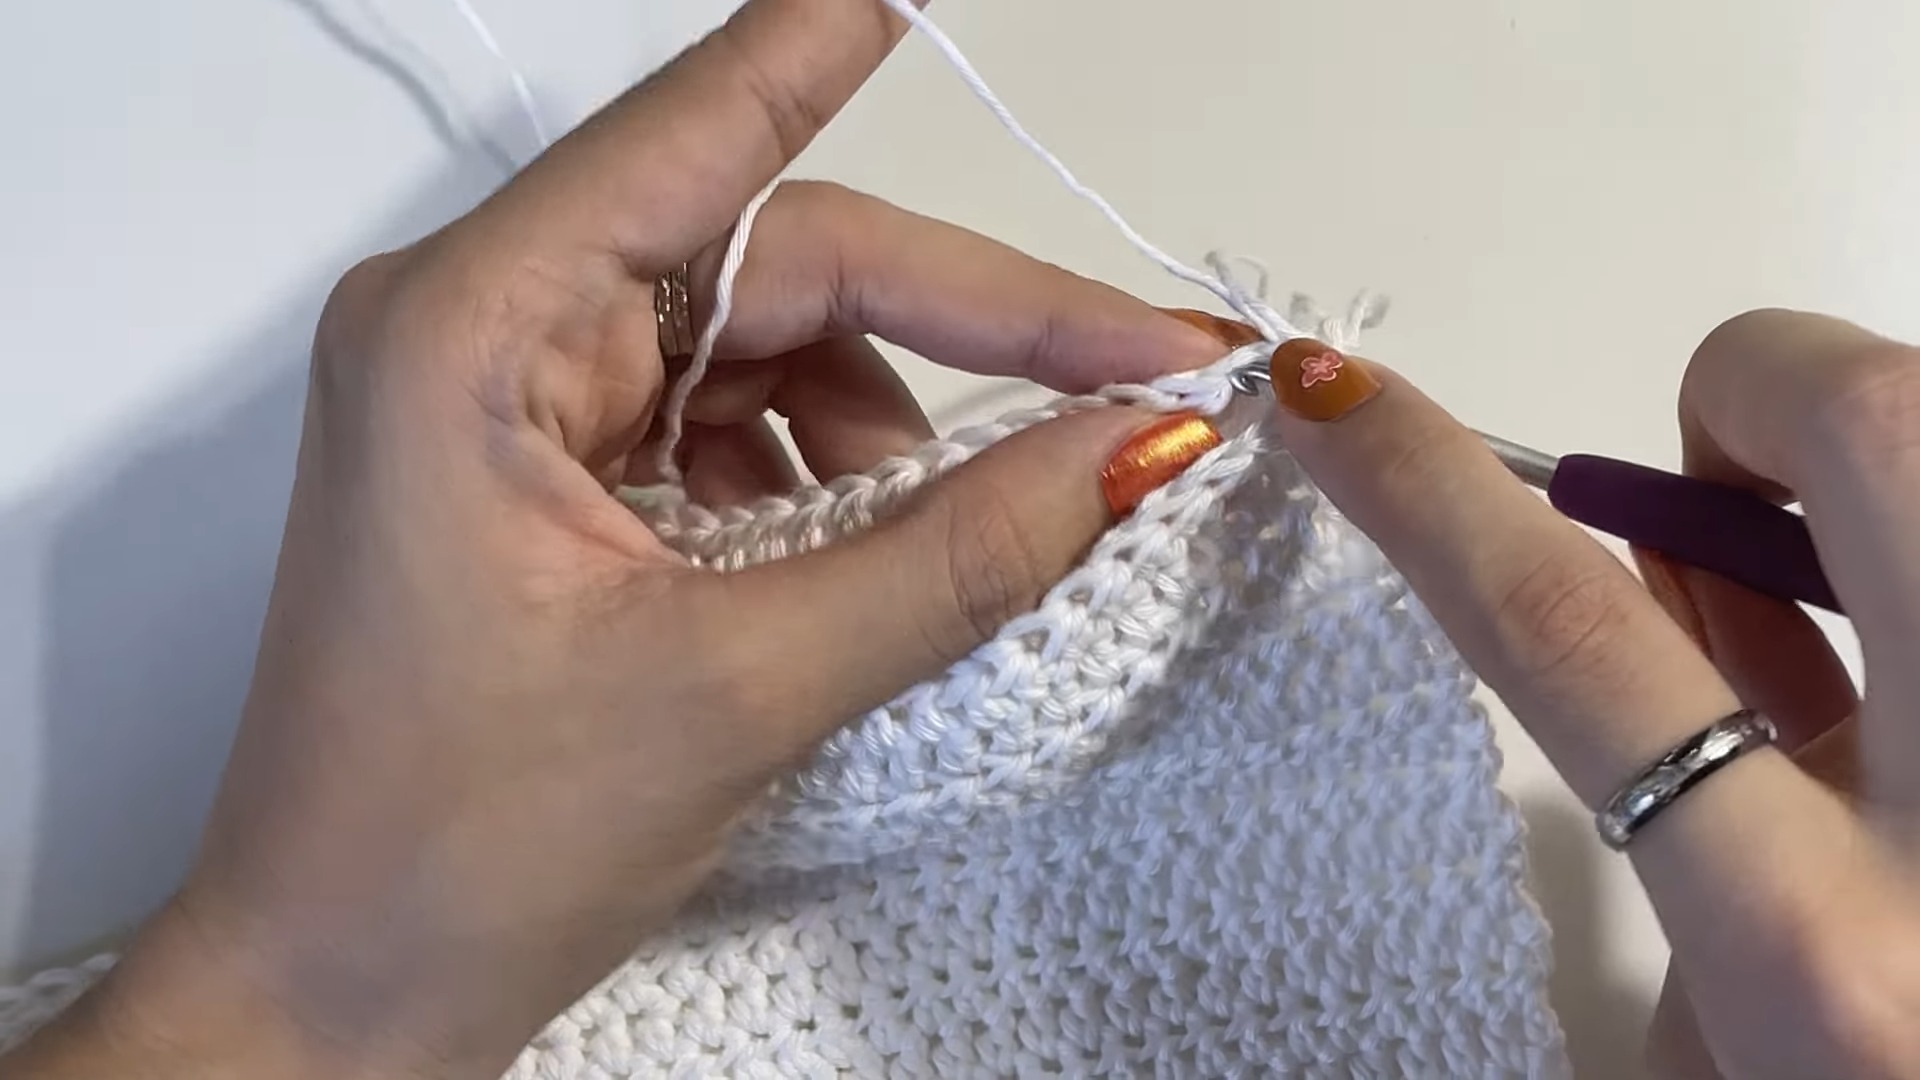
Step D1 – Join yarn on opposite side
- Insert hook into the first stitch at the outer edge on the other side.
- Grab yarn, hook it on, and pull through.
- Tie a knot to secure the yarn.
- Insert hook back into that same stitch.
- YO, pull up a loop, ch 2.
- Place 1 hdc into that same stitch where the yarn was joined.
Step D2 – Work shoulder rows as for Side 1
- Work as on the first shoulder panel:
- Row 1: hdc across until 2 stitches remain at neck edge, then decrease over those 2.
- Row 2: hdc across with no decrease.
- Continue alternating as before until the shoulder reaches your shoulder top.
- Match the row count and decreases to the first shoulder panel.
Step D3 – Finish second shoulder panel on panel 1
- When the second shoulder panel matches the first:
- ch 1, cut yarn, pull to tighten.
Step D4 – Make second identical panel (Panel 2)
- Repeat all steps A–D to create Panel 2, identical to Panel 1.
- Important:
- On Panel 2, when you finish the shoulder shaping, do not cut the yarn on one shoulder side.
- Leave it attached – you will use it to seam the shoulder parts together.
Final Assembly
E. Join Shoulder Seams (Front & Back Panels)
You will connect each front shoulder to its corresponding back shoulder using slip stitches.
E1 – First shoulder seam (using attached yarn from Panel 2)
- With yarn still attached to one shoulder edge of Panel 2, ch 1.
- Hold the two panels together with wrong sides facing out (right sides together inside, seams visible to you).
- Align the shoulder edges.
- Insert hook through the first stitch of the front shoulder and through the first stitch of the back shoulder.
- YO, pull through all loops on hook → sl st.
- Repeat for each pair of stitches along the shoulder seam:
- Insert hook into next stitch of front panel.
- Insert hook into next stitch of back panel.
- YO, pull through both stitches and the loop on the hook → sl st.
- Continue until you reach the end of the shoulder seam.
- At the end:
- YO, ch 1, cut yarn, pull to tighten.
E2 – Second shoulder seam
- Turn your work so the remaining unjoined shoulder edges are accessible.
- Add yarn at the outer shoulder edge:
- Insert hook into the first stitch of both panels at that shoulder.
- Grab yarn, hook it on, pull through.
- Tie a knot to secure.
- Insert hook back into those same stitches.
- YO, pull up a loop, ch 1.
- Insert hook again through those same stitches and make a sl st (this is your first seam stitch).
- Continue:
- Insert hook into next stitch of front panel.
- Insert hook into next stitch of back panel.
- YO, pull through all loops → sl st.
- Work across until the shoulder seam is fully joined.
- When you reach the end of the seam:
- Do not cut the yarn yet.
- Insert a stitch marker into the active loop to prevent unraveling.
E3 – Try on and check neck opening
- With the second seam loop secured by a marker, put the shrug on:
- Slip your head through the neck opening.
- Confirm:
- Neck hole is not too small.
- Shoulders sit comfortably.
If the hole is too tight, you may need to undo the neckline seam or adjust tension before adding any neck border.
Neckline Border (Optional)
Only do this if the neck opening has comfortable ease.
F1 – Prepare and position for working on right side
- Turn the garment right side out (seams on the inside).
- Pull the attached yarn loop (with the stitch marker) through the neck hole if needed so it’s on the right side.
- Remove the stitch marker and place your hook back into the loop.
F2 – Round 1 of neckline border
- Ch 2.
- Treat each hdc row end around the neck as a place to insert a stitch:
- This includes the seam row – treat it as a normal hdc row.
- Starting at the seam:
- YO, insert hook into the row-end space of the seam row.
- Work 1 hdc.
- Mark this first stitch of the round if desired.
- Continue placing 1 hdc into each hdc row end around the neckline:
- Identify row ends in sequence: Row 1, Row 2, Row 3, etc., around the neck curvature.
- On corners and at the neck opening edges, still place 1 hdc per row end.
- When you reach the seam on the other side, treat it as:
- Insert 1 hdc into the seam row,
- Then another hdc into the same row if needed to keep spacing consistent (Gaia describes placing another one in the same seam row before continuing).
- Resume 1 hdc per row end.
- At corners where row ends meet stitch edges (e.g., neck opening corners):
- Remove any stitch markers in the way.
- Place 1 hdc in the corner stitch.
- Then continue placing 1 hdc per row end along the next section.
- Continue around until you return to the first hdc of the round.
- Join the round:
- Insert hook into the first hdc of the round.
- Make a sl st.
- Place a stitch marker in the loop and try on the shrug again to ensure the neckline is not too tight.
- If too tight:
- You likely worked too tightly. You can undo this round and redo it with looser tension, or skip the border entirely.
- If too tight:
F3 – Finish neckline border
- If the fit is good after try-on:
- Remove the marker, insert hook in the loop.
- Ch 1, cut yarn, pull to tighten.
Neckline border is complete.
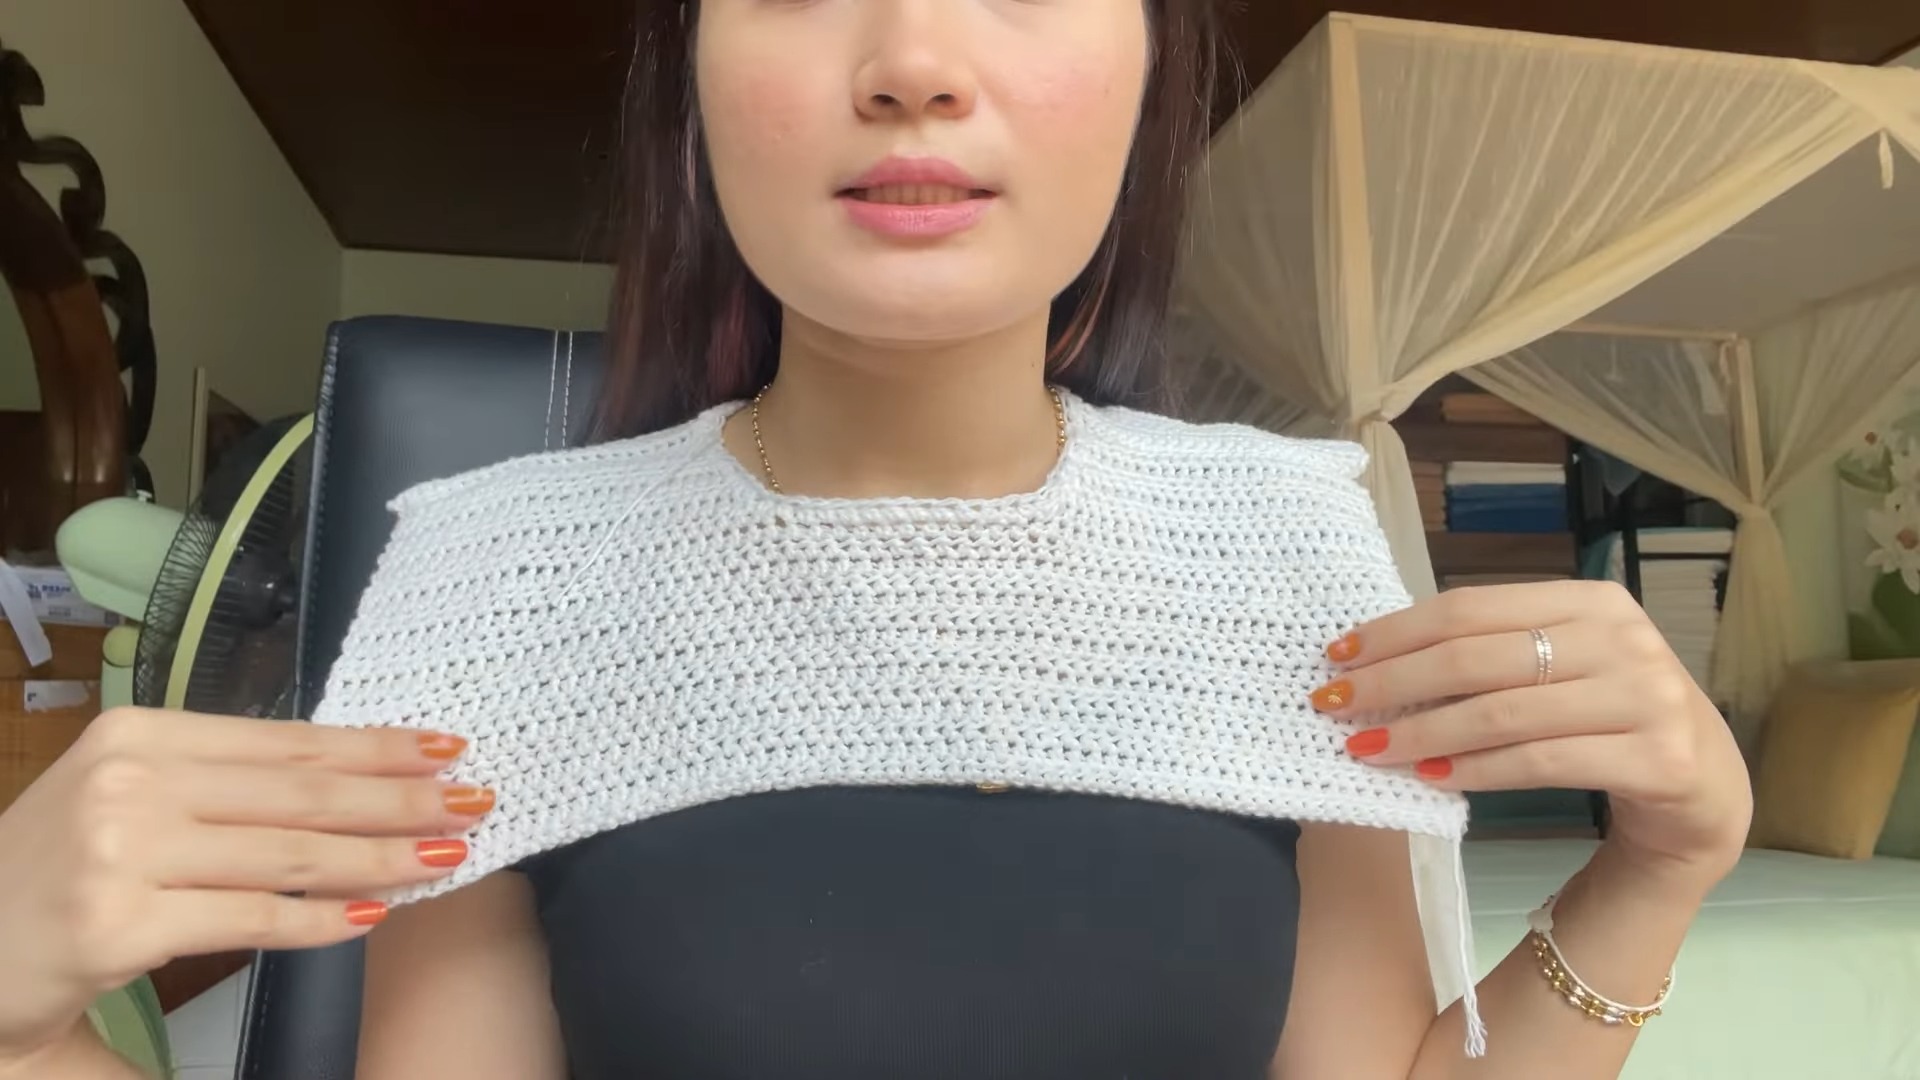
Sleeves & Armhole Construction
G1 – Join yarn at underarm corner (first sleeve)
- Work on the right side (seams on inside).
- Choose one underarm corner stitch (at the base of where front and back panels meet).
- Insert hook into that corner stitch.
- Grab yarn, hook it on, and pull through.
- Tie a knot to secure the yarn.
- Insert hook back into the same space.
- YO, pull up a loop, then YO and pull through to make the first chain.
G2 – Make underarm chain
- Chain a starting estimate for the underarm bridge:
- Gaia starts with ch 10.
- Place a stitch marker in the current loop (end of chain) to avoid unraveling.
- Try the shrug on:
- Make sure the shoulder seam sits at the top of your shoulder.
- Stretch the chain from one underarm corner to the opposite corner.
- Check that:
- It is not too tight under the arm.
- It is not too loose or saggy.
- Adjust if needed:
- If too tight: add more chains.
- If too loose: remove some chains.
For Gaia, 10 chains is “just perfect”.
G3 – Join chain to opposite corner
- Ensure the chain is not twisted.
- Insert hook into the opposite underarm corner stitch.
- YO and pull through the corner stitch and the current loop on hook → sl st to connect chain to other corner.
You now have a closed armhole, ready to work the sleeve in the round.
Sleeve – Round-by-Round Instructions (first sleeve)
H1 – Round 1 of sleeve
- From the joined chain, ch 2.
- Begin placing 1 hdc in each hdc row end around the armhole:
- First row end at the body: YO, insert hook into the first hdc row end, make 1 hdc.
- Mark this first stitch of the round.
- Continue working 1 hdc into each row end around the armhole, including:
- Over the seam row (treat it as a row end; place 1 hdc into the seam, then continue).
- When you reach where the underarm chain begins:
- After the last hdc row end, begin working into the chain.
- For each chain:
- Insert hook into the chain, YO, pull up a loop, YO, pull through all loops → 1 hdc per chain.
- Work along all chains (e.g. 10 hdc into 10 chains).
- Continue until you reach the first hdc of the round.
- Join the round:
- Insert hook into the first hdc of the round.
- Work a sl st to close Round 1.
- Try on the shrug to check sleeve circumference.
H2 – Round 2 of sleeve (optional “decrease” round)
If you want the sleeve to be tighter, work a decrease round. Gaia does this by skipping the first stitch of the round.
- From the sl st join, ch 2, turn your work.
- “Decrease” method used:
- YO, skip the very first stitch of the round.
- Insert hook into the next stitch, work 1 hdc.
- Continue working 1 hdc in each stitch around until you return to the beginning.
- Join the round with a sl st into the first hdc of the round.
This round has one less stitch, making the sleeve slightly tighter.
H3 – Round 3 of sleeve (normal round)
- Ch 2, turn your work.
- Work 1 hdc in each stitch around (do not skip any stitches).
- Join with a sl st to the first hdc.
H4 – Continuing sleeve rounds and alternating decreases
Gaia’s sleeve pattern:
- Round 1: normal hdc round.
- Round 2: decrease round (skipping first stitch).
- Round 3: normal.
- Round 4: decrease.
- Round 5: normal.
- Round 6: decrease.
- Rounds 7–10: normal hdc rounds (no more decreases).
Total: 10 rounds.
General instructions:
- Keep trying the shrug on:
- If you want more tightness, add more decrease rounds (skip 1 stitch at start).
- If you want a looser sleeve, work more normal rounds without decreases.
- Stop when sleeve length is as desired:
- Gaia stops at 10 rounds (~3″).
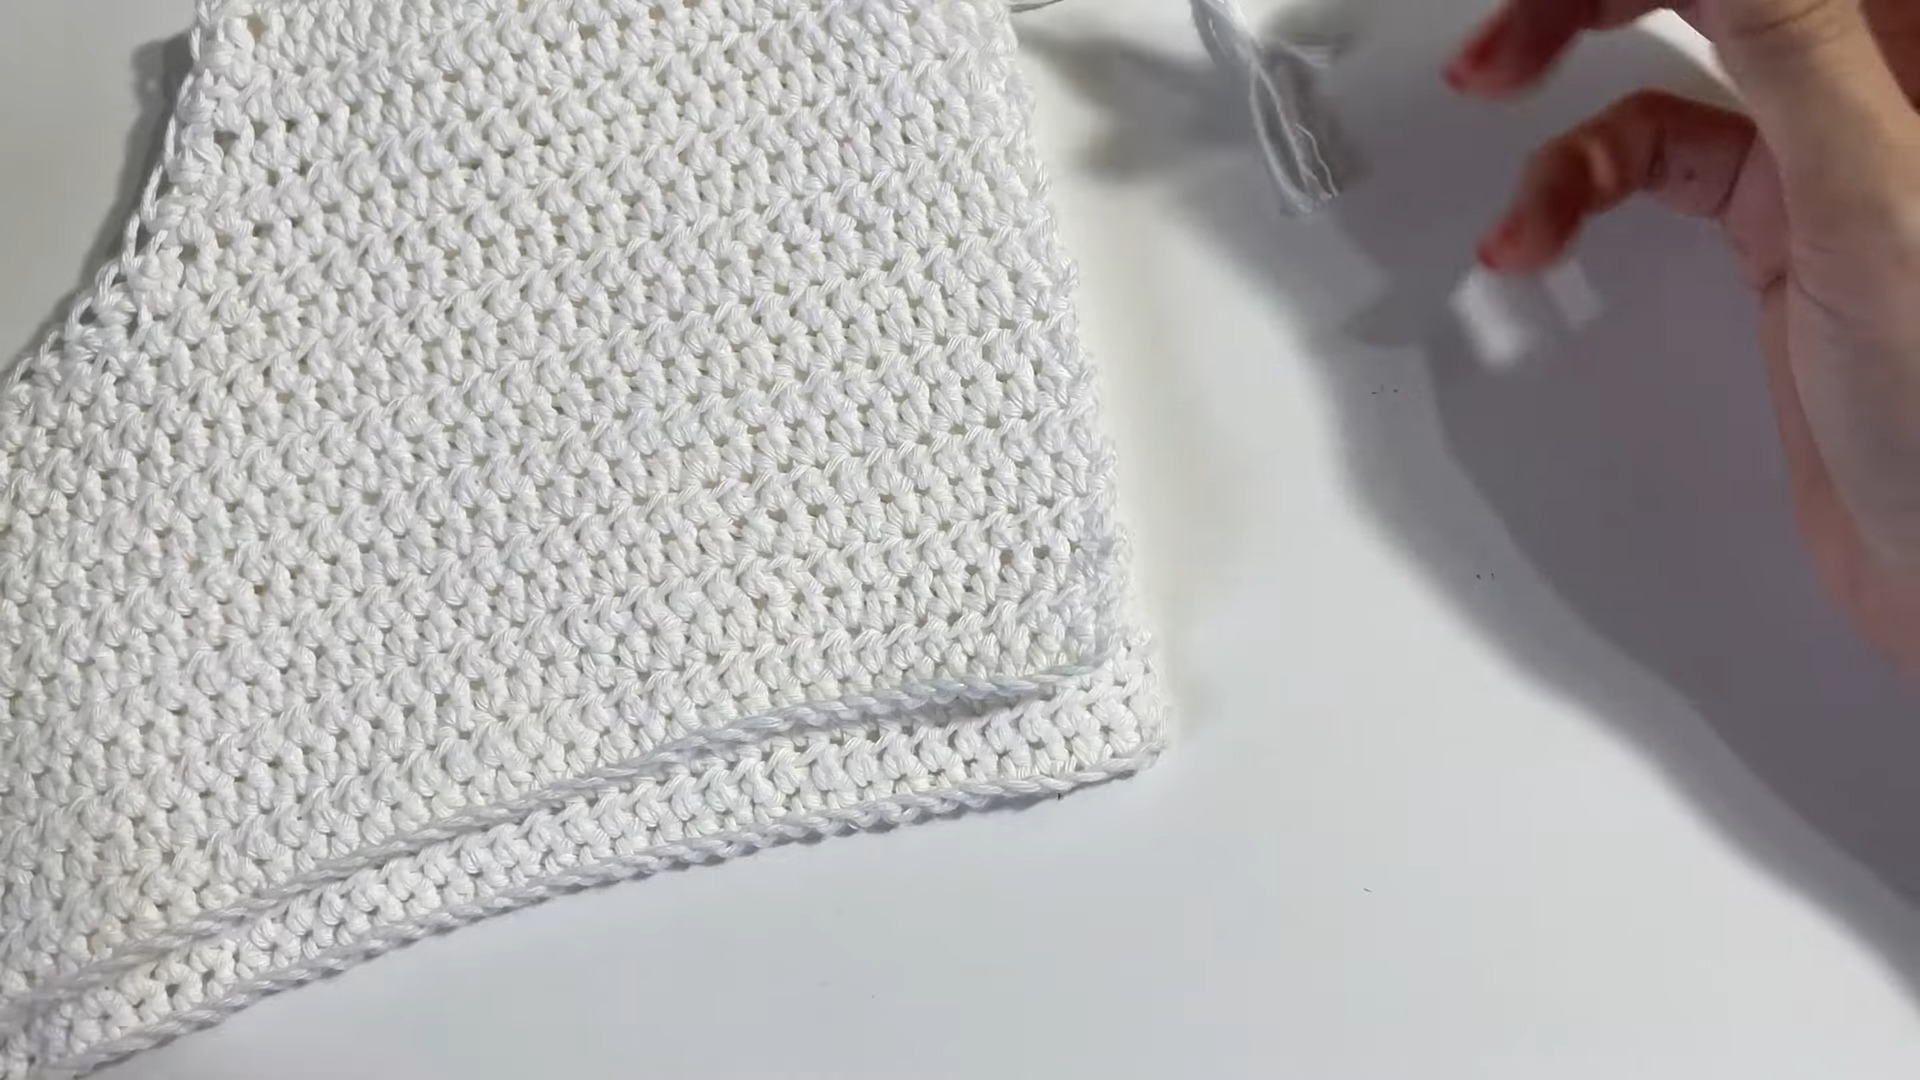
H5 – Finish first sleeve
- After completing the final round (e.g. Round 10), sl st into the first stitch.
- Ch 1, cut yarn, pull to tighten.
- First sleeve is complete.
Second Sleeve
Repeat the same process on the other armhole to ensure both sleeves are identical.
Step I1 – Create second armhole chain
- Join yarn at a corner underarm stitch.
- Chain the same number of chains you used for the first sleeve (e.g. 10 chains).
- Check fit, then join chain to the opposite corner with a sl st.
Step I2 – Sleeve rounds
- Work Round 1: hdc in each row end + hdc in each chain; join with sl st.
- Work Round 2–10 mirroring the first sleeve:
- Same number of decrease rounds.
- Same number of total rounds.
Step I3 – Finish second sleeve
- After final round, sl st to first stitch.
- Ch 1, cut yarn, pull to tighten.
Now both sleeves match.
J. Optional Body Length Extension
If you want the body of the shrug longer, add rows along the bottom edge.
J1 – Join yarn at bottom edge
- Working on the right side, choose a bottom corner stitch.
- Insert hook into that stitch.
- Grab yarn, hook it on, pull through.
- Tie a knot to secure.
- Insert hook back into that same stitch.
- YO, pull up a loop, ch 2.
J2 – Round 1 of bottom extension
- After ch 2, YO, insert hook into the next chain/stitch along the bottom edge.
- Work 1 hdc.
- Mark this first hdc of the round.
- Continue:
- Place 1 hdc into every chain or stitch around the bottom edge.
- Work uniformly even through corner areas (Gaia simply continues placing 1 hdc per chain/stitch through the corners).
- At the end of the round, sl st into the first hdc.
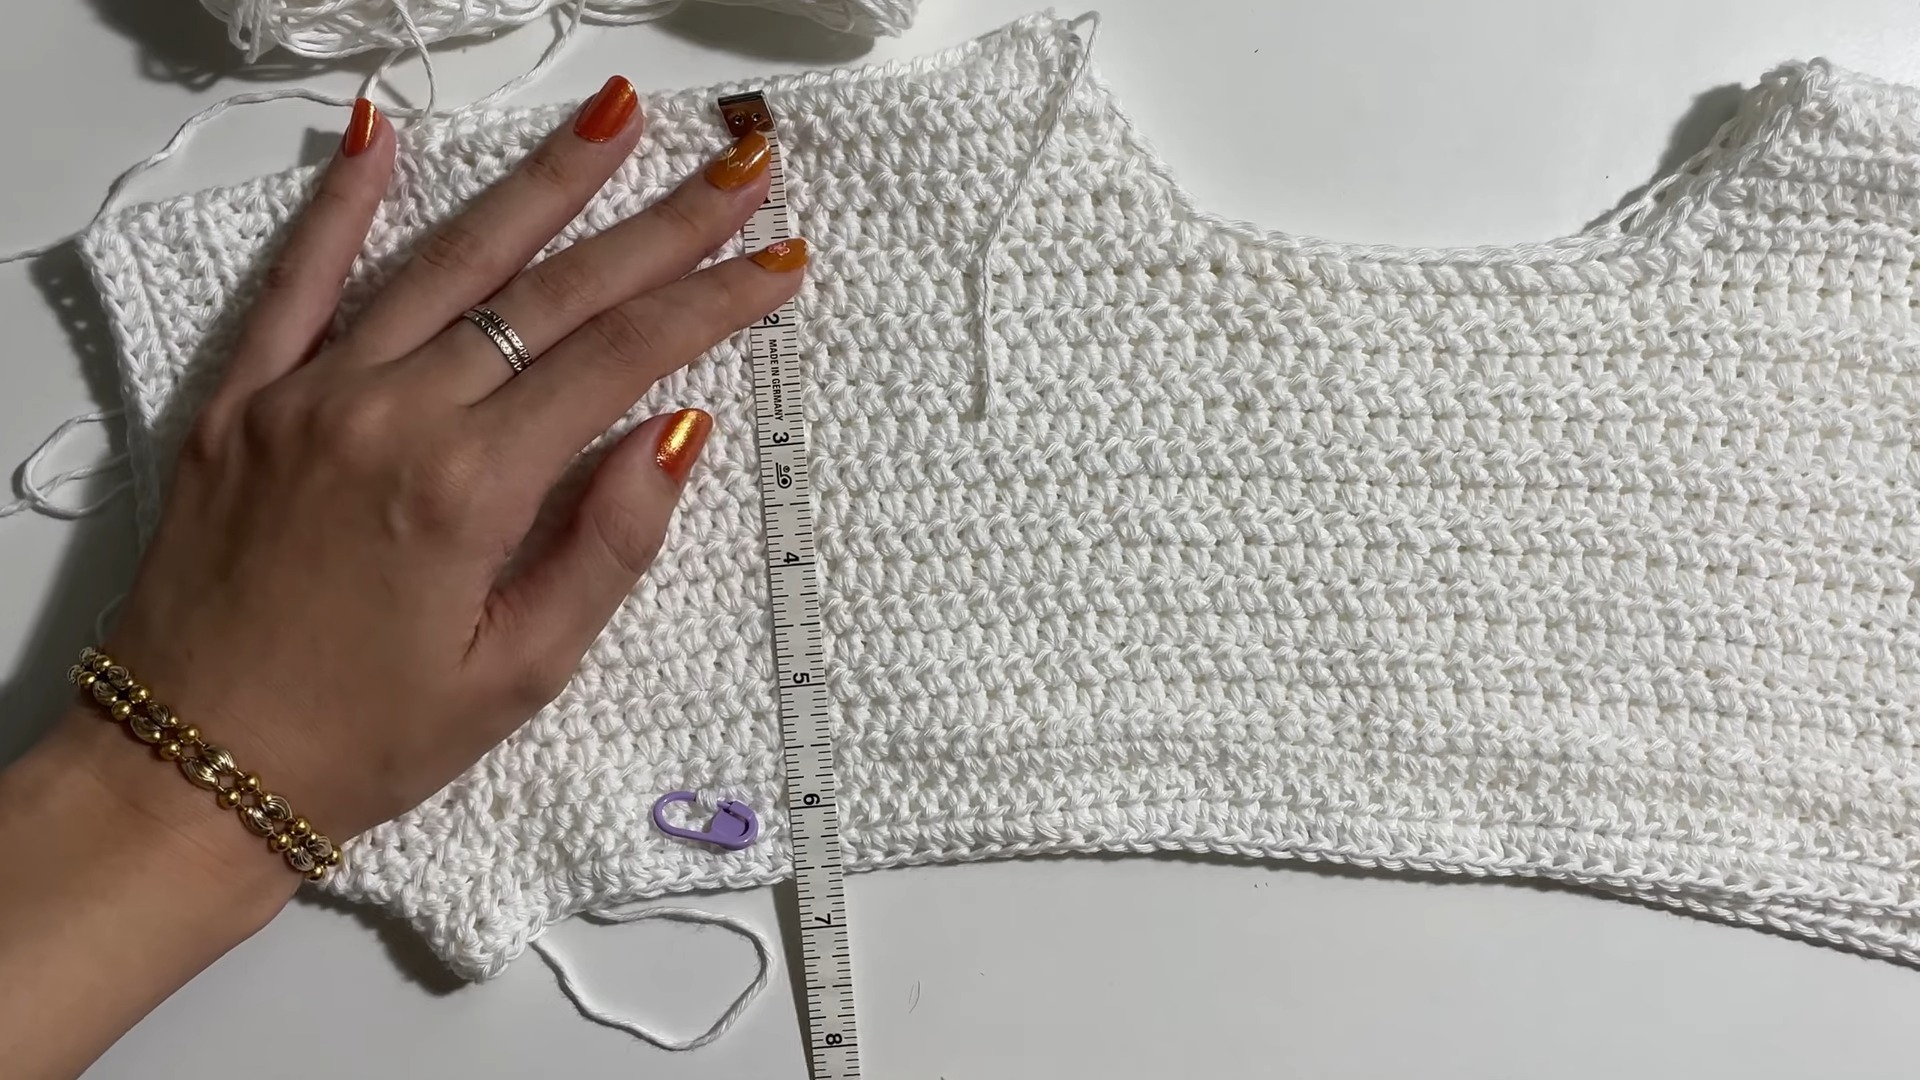
J3 – Additional rows
- For more length:
- Ch 2, turn, and work 1 hdc in each stitch around.
- At the end, sl st to first stitch.
- Repeat until you reach desired length.
- Gaia added 3 rows at the bottom.
J4 – Finish bottom extension
- After the final row:
- Sl st into first stitch.
- Ch 1, cut yarn, pull to tighten.
Finishing Techniques
- Weaving in ends:
- Use a yarn/tapestry needle.
- Weave each tail into the surrounding stitches, going back and forth to secure.
- Trim excess after weaving.
- Final try-on:
- Put on the shrug and check:
- Shoulder seams lie flat.
- Neck opening is comfortable.
- Sleeves are snug or loose as preferred.
- Body length matches your preference.
- Put on the shrug and check:
Conclusion
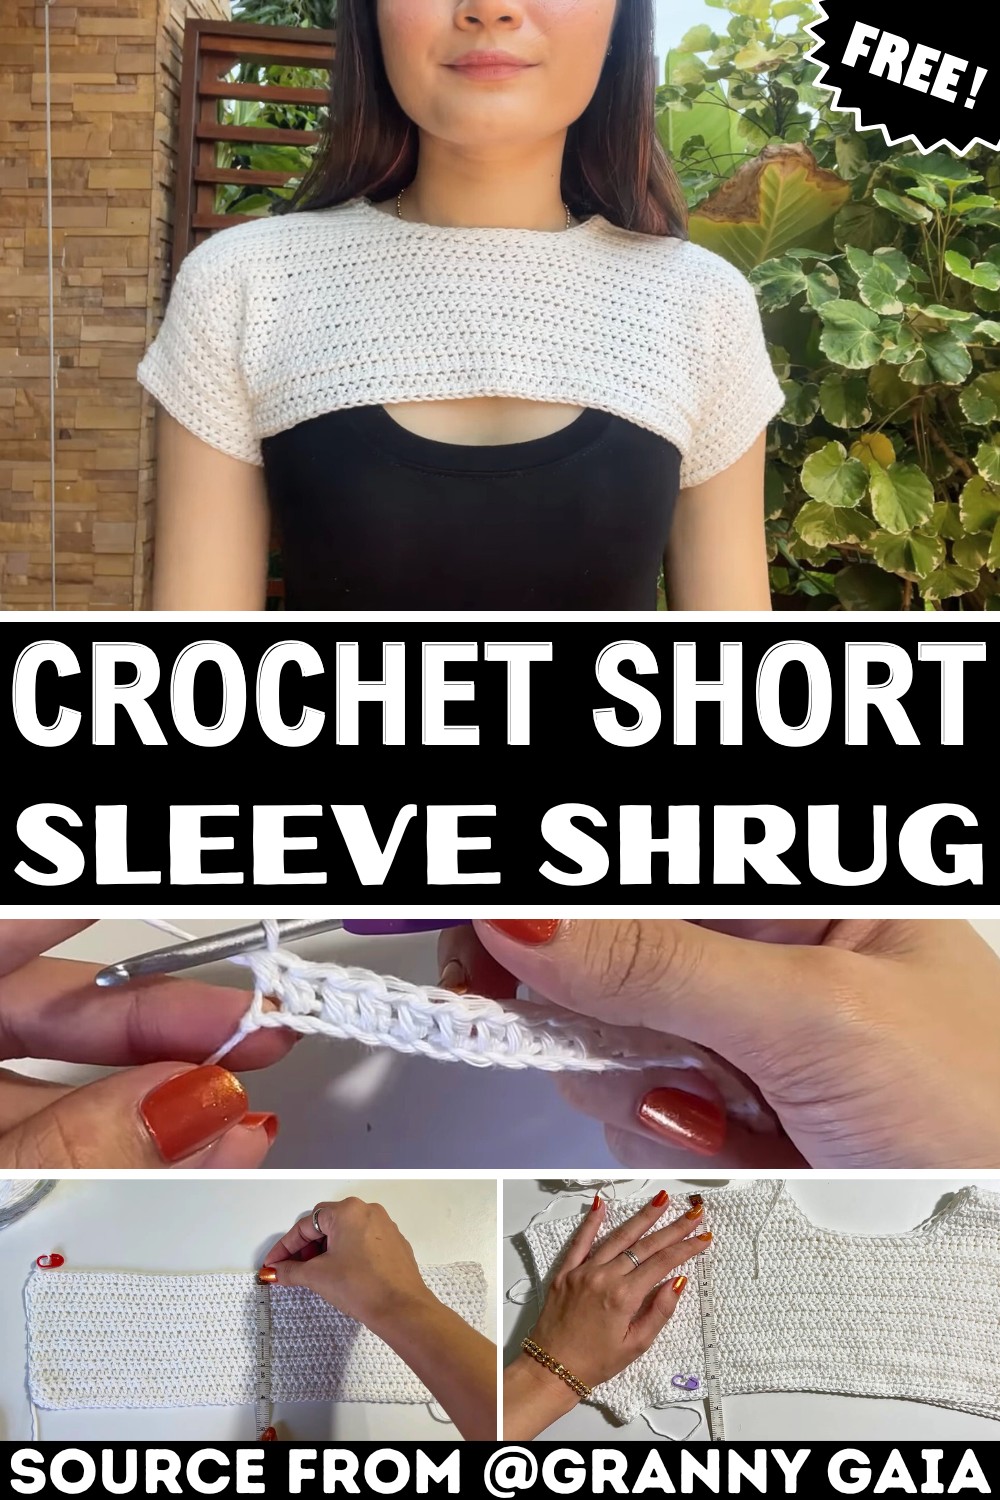
Following the steps above reproduces the exact short sleeve shrug shown in Gaia’s tutorial, including:
- Chain 60 for 15″ width (example).
- 14 rows to base of neck.
- Neck opening calculated as neck width minus 2″, converted to stitches (3″ → 12 sts in the tutorial).
- Shoulder shaping with decreases only at the neck side.
- Seam joining with slip stitches.
- Optional single-round neckline border.
- Armhole chain of 10 and sleeve worked in 10 rounds with alternating decrease and normal rounds.
- Optional 3 extra rows at the bottom for added length.