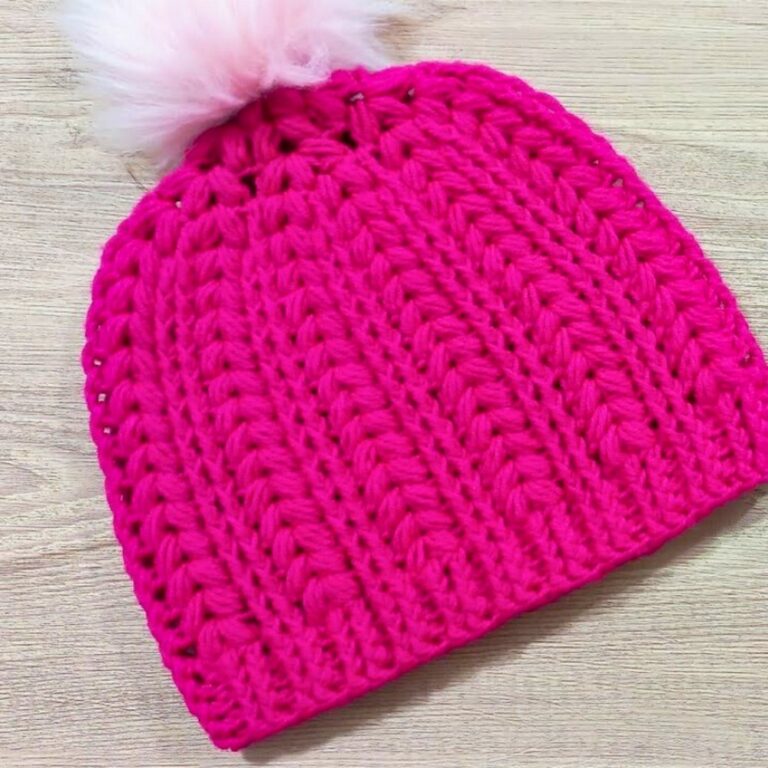
Timeless Crochet Shorts with Nautical Stripes
With a custom fit, lightweight feel, and endless design possibilities, these crochet shorts are a must-have handmade piece for lounging, summer outings, or beach days.

Crochet shorts are a stylish and cozy addition to any wardrobe. These handmade shorts can be customized with your favorite colors and patterns, making them truly unique. Perfect for sunny days, lounging around the house, or a casual outing, crochet shorts blend comfort with creative fashion. They’re soft, breathable, and chic—a lovely way to showcase your love for handmade clothing.
Stylish and Comfortable Crochet Shorts Pattern
Making crochet shorts is simple, yet full of exciting possibilities. You can play with different colors, patterns, or textures to create a pair that matches your taste. These shorts are breathable, soft, and designed for all-day comfort. If you want bold designs or subtle shades, they’re easy to style and look fantastic with casual sneakers or sandals.
Credit Cri crochet
Key Features and Construction Steps:
- Custom Fit Waistband: Start with a foundation chain tailored to your waist, then create a sturdy waistband using single crochet (sc) or half-double crochet (hdc) stitches.
- Simple Body Construction: Use double crochet (dc) rounds to build the main body of the shorts to your preferred length.
- Shaped Leg Openings: Divide the stitches evenly for the front and back and work each leg separately for a perfect fit.
- Finishing Touches: Add decorative details like scalloped edges, trim, pockets, or a drawstring for a unique look.
- Optional Adaptations: Customize the design with colorful stripes, ombré transitions, or an elastic waistband for extra comfort.
How These Shorts Come Together:
The pattern begins by creating a foundation chain that matches your waist circumference. You’ll want the chain to fit loosely, allowing for the natural stretch of crochet fabric. After joining your chain into a loop, the waistband is built by working in rounds of single crochet (sc) or half-double crochet (hdc), resulting in a thick, flexible band that comfortably hugs your waist. For added durability, you can even fold the waistband over, stitch it down, and thread an elastic band inside.
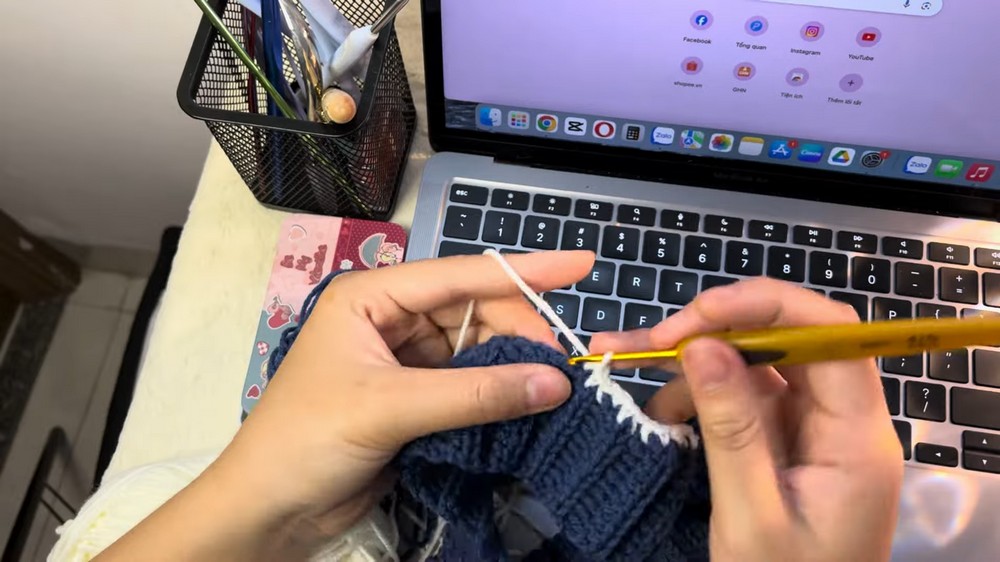
The main body of the shorts is worked in carefree rounds of double crochet (dc), making it a simple and relaxing section to complete. The length can be easily customized, whether you want cheeky short shorts, mid-thigh length, or even full-length bloomers. This part is straightforward but leaves plenty of room for personalization with color changes or textured stitches if desired.
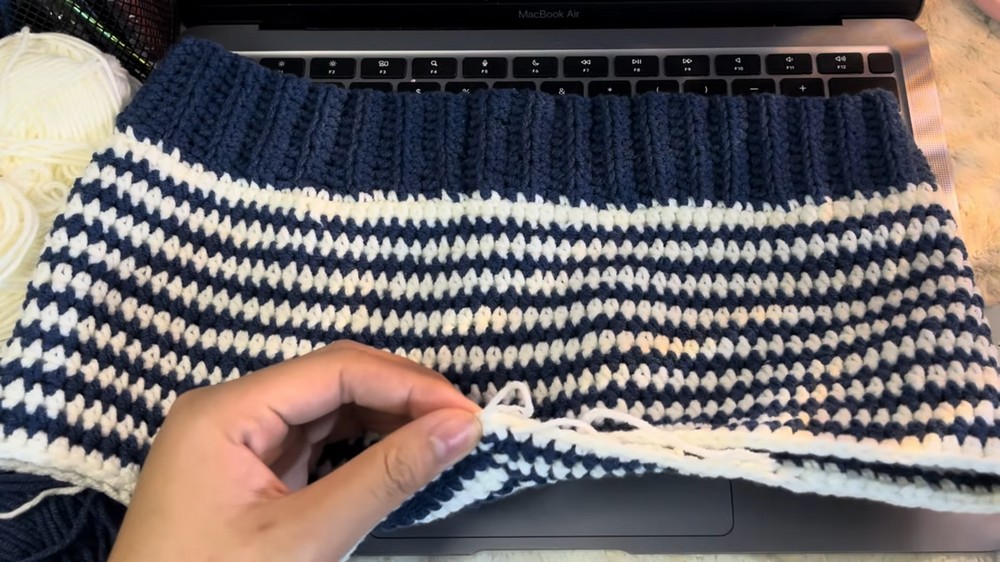
To form the leg openings, you’ll divide the stitches evenly into front and back sections, then work each leg individually in rounds of double crochet. For a clean silhouette, you can taper the stitches toward the hem, but the design also works beautifully with a loose, flowy drape. There’s even room for playful details: scalloped edging, lace trim, or slip-stitch accents can take the shorts to a whole new level.
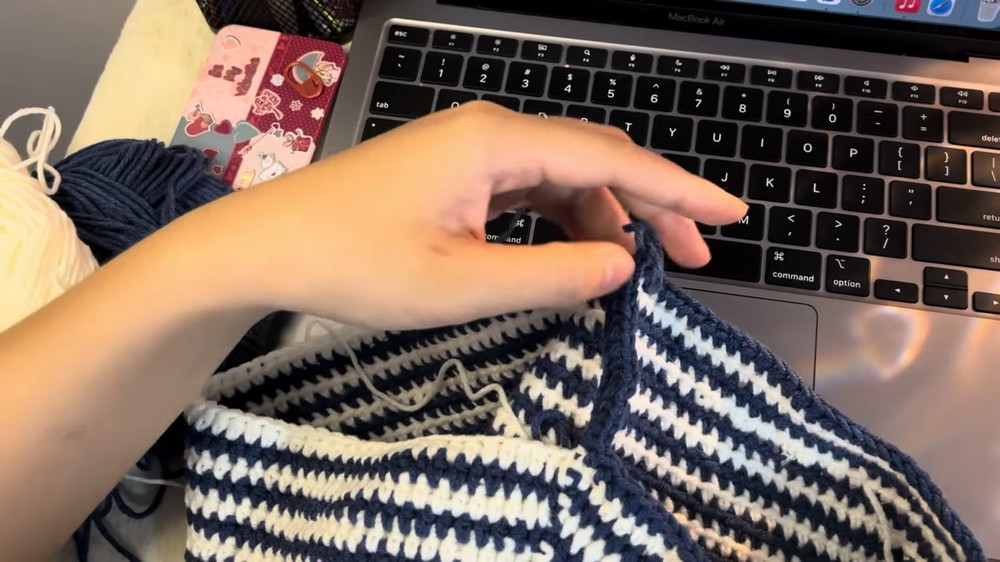
Once the legs are complete, it’s all about the finishing touches! Weave in the ends, lightly block the fabric to set your stitches, and try them on. This is the point where you can decide on any last-minute adjustments, like adding extra rounds to the waistband or hem. To top things off, consider optional embellishments like a crochet chain drawstring, tiny decorative pockets, or a fun stripe detail to make the shorts uniquely yours.

Video Tutorial
Step-by-Step Pattern
Materials
To crochet your shorts, you will need:
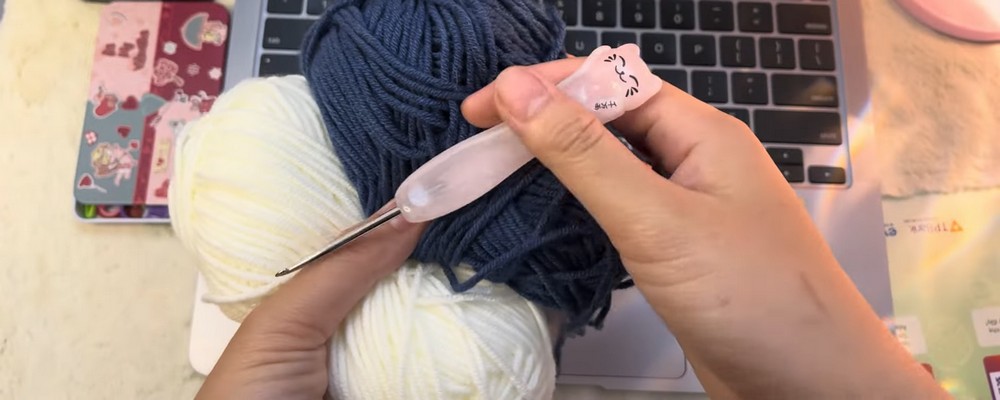
- Yarn: A medium-weight yarn (commonly referred to as worsted weight or category 4). Cotton or cotton-blend yarn is recommended for breathability and comfort.
Example: Lion Brand 24/7 Cotton or Paintbox Cotton. - Crochet Hook: Size 4.5mm (G/7) or 5mm (H/8). Adjust hook size as needed for gauge.
- Measuring Tape: To check your gauge and measure your shorts for a customized fit.
- Scissors: For trimming the yarn.
- Darning Needle: To weave in ends neatly.
- Elastic Band (Optional): For adding stretch to the waistband.
Pattern Instructions
Step 1: Create the Foundation Chain
- Begin by measuring your waist circumference using a tape measure.
- Chain the number of stitches needed to match this measurement (exact stitch count will vary based on gauge). Ensure the chain fits loosely around your waist, as crochet can stretch slightly.
- Slip stitch into the first chain to join and form a loop.
Step 2: Build the Waistband
- Use single crochet (sc) or half-double crochet (hdc) to create a sturdy waistband. Work in rounds until the waistband is approximately 1–2 inches tall.
Optional: Add an elastic band after completing the waistband by folding the edge, stitching over it, and inserting the elastic inside.
Step 3: Construct the Body
- Work double crochet (dc) stitches around for the main body of the shorts. Continue in rounds until the desired length is reached (e.g., mid-thigh, shorts, or longer).
- For shaping the leg openings:
- When you reach the required length, divide your stitches evenly into two sections (front and back).
- Work each leg separately using rows or rounds.
Step 4: Create the Legs
- For each leg, work double crochet in rounds until the desired length is reached. You can begin tapering stitches toward the hem for a snug fit.
- Add any decorative touches, such as scalloped edges, lace trim, or slip-stitch accents.

Step 5: Finishing Touches
- Weave in all loose ends using a darning needle.
- Block the shorts if necessary (lightly wet and shape the piece to set the stitches).
- Try on the shorts! If adjustments are needed, use either extra rounds on the waistband or leg edges to improve fit or appearance.
Optional Customization Ideas
- Drawstring Waist: Crochet a long chain, weave it through the waistband, and tie it in a bow.
- Decorative Pockets: Crochet small rectangles and stitch them onto the front.
- Colorwork: Add stripes, ombré transitions, or even embroidery after completing the shorts.
Troubleshooting and Suggestions:
Common Issues & Tips:
- Uneven Waistband: If your waistband feels too tight or too loose, consider adjusting your foundation chain or adding an elastic band for stability.
- Shaping the Legs: For a snug fit, taper the last few rounds of each leg by decreasing every 3–4 stitches.
- Stitch Consistency: To create a clean look, keep an eye on your tension, and use stitch markers to track the start of each round.
Creative Customizations:
- Play with Color: Try creating stripes, color blocks, or ombré effects for a bold visual statement.
- Add Pockets: Crochet small rectangles and sew them onto the front or sides for functionality and style.
- Decorative Edging: Add a scalloped trim, picot edge, or shell stitch finish to the hem or waistband for added charm.
- Versatile Fit: Use a thinner yarn for a delicate, lightweight look, or opt for a bulkier yarn for cozy lounge shorts.