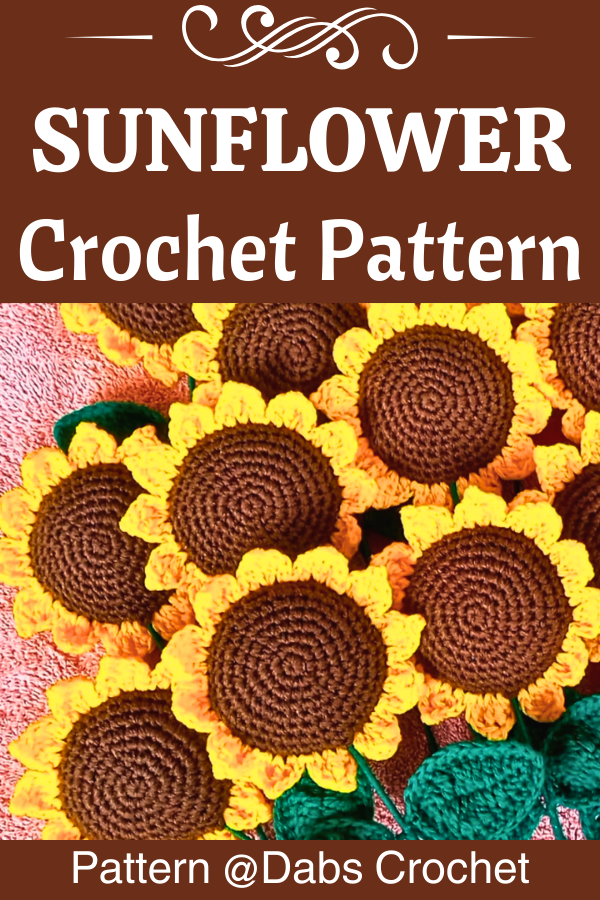
Free Crochet Sunflower Pattern with Wired Leaves
Need a cheerful flower that keeps its shape beyond the season? This crochet sunflower pairs layered petals with poseable wired leaves for a bright, vase-ready bloom.
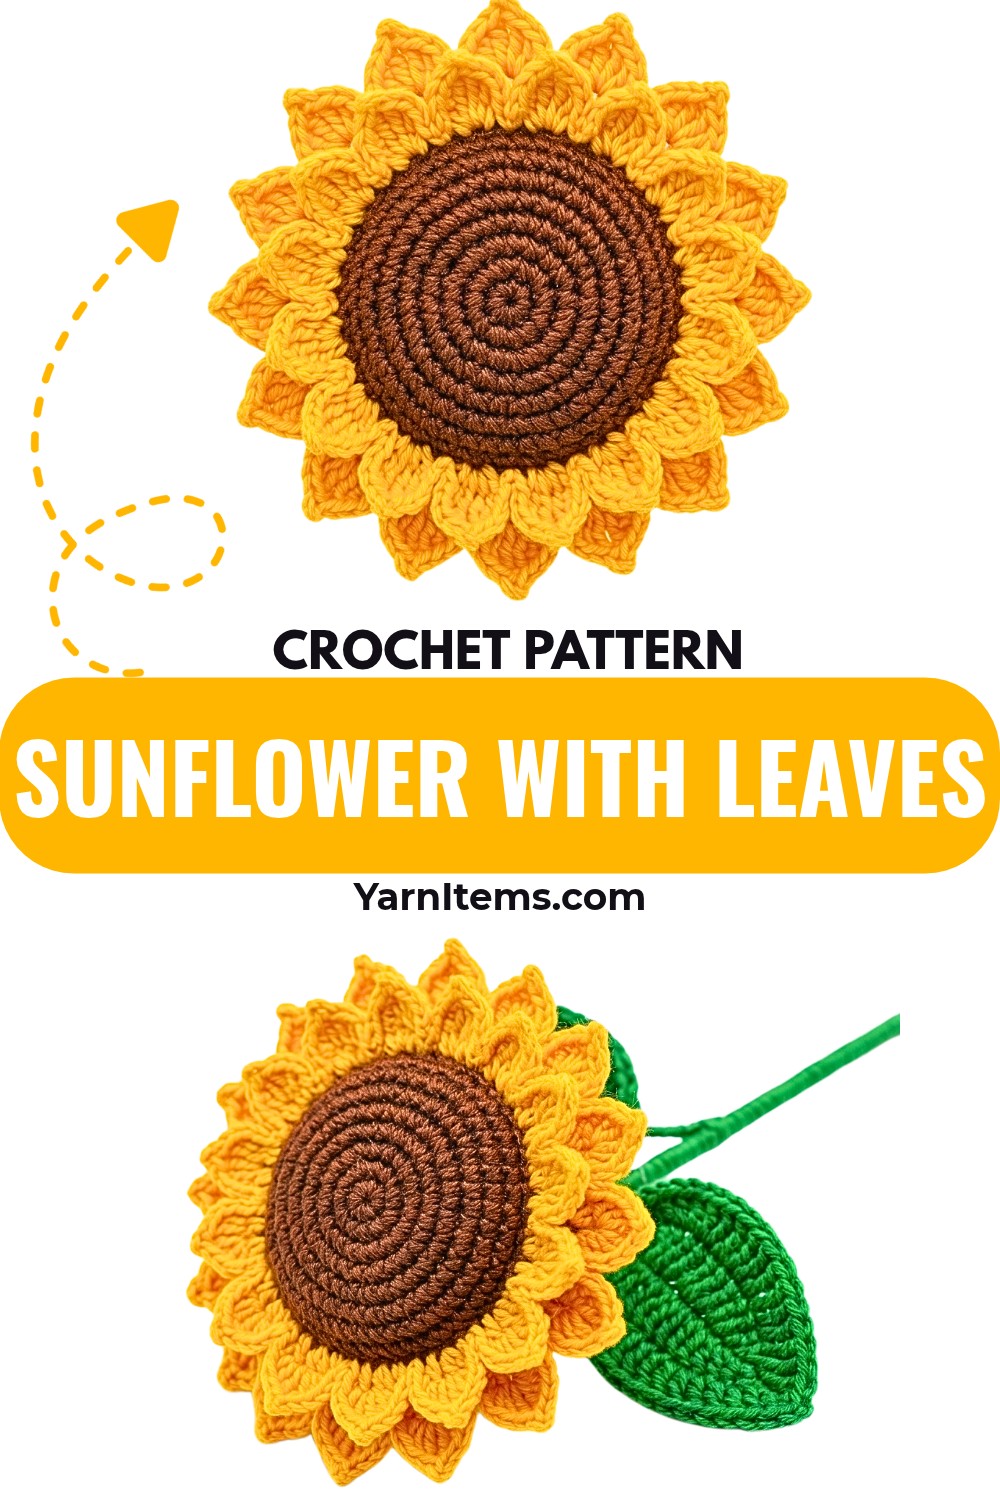
Bright yellow petals, a plump brown center, and a green crocheted back give this crochet sunflower its familiar look while keeping the flower fully handmade. Its wired leaves add another useful detail, letting you shape the finished bloom instead of leaving every leaf in one fixed position.
Making the crochet flower involves building two matching circles, joining them while forming the petals, adding the stuffed center, and then creating two wired leaves. Once those pieces are ready, the stem is wrapped with yarn, and the flower head is secured on top, with clear stitch counts and placement details to guide each stage.
Credit Dabs Crochet
Finished Size & Color Ideas
Using a 3.5mm hook and medium-weight acrylic yarn, the finished sunflower head measures approximately 4 to 5 inches across.
The supplied color combination uses bright yellow for the petals, brown for the center, and green for the back, leaves, and stem. For a different arrangement, swap the bright yellow for deep orange or pale yellow, make several flowers with different stem lengths, or bundle 3 to 5 sunflowers together with a ribbon for a bouquet.
Materials & Tools
- Indophil Acrylic Yarn: Green for the flower back, leaves, and stem; Brown for the flower center; Bright Yellow for the petals.
- Crochet Hook: 3.5mm, or a hook size that creates tight stitches for your yarn.
- Floral Wire: Thin wire for poseable leaves and thicker, sturdy wire for the main stem.
- Fiber Fill Stuffing: A small handful for the flower center.
- Stick Glue / Hot Glue: For securing yarn to the stem.
- Scissors
- Yarn Needle: For weaving in ends.
- Lighter: For carefully sealing frayed yarn or wire edges; adult supervision is required.
Abbreviations
- ch: chain
- sc: single crochet
- hdc: half double crochet
- dc: double crochet
- tr: treble crochet (also called triple crochet)
- sl st: slip stitch
- st(s): stitch(es)
- inc: increase – place 2 single crochets in the same stitch
- picot: chain 2, then slip stitch back into the first chain to create a pointed tip
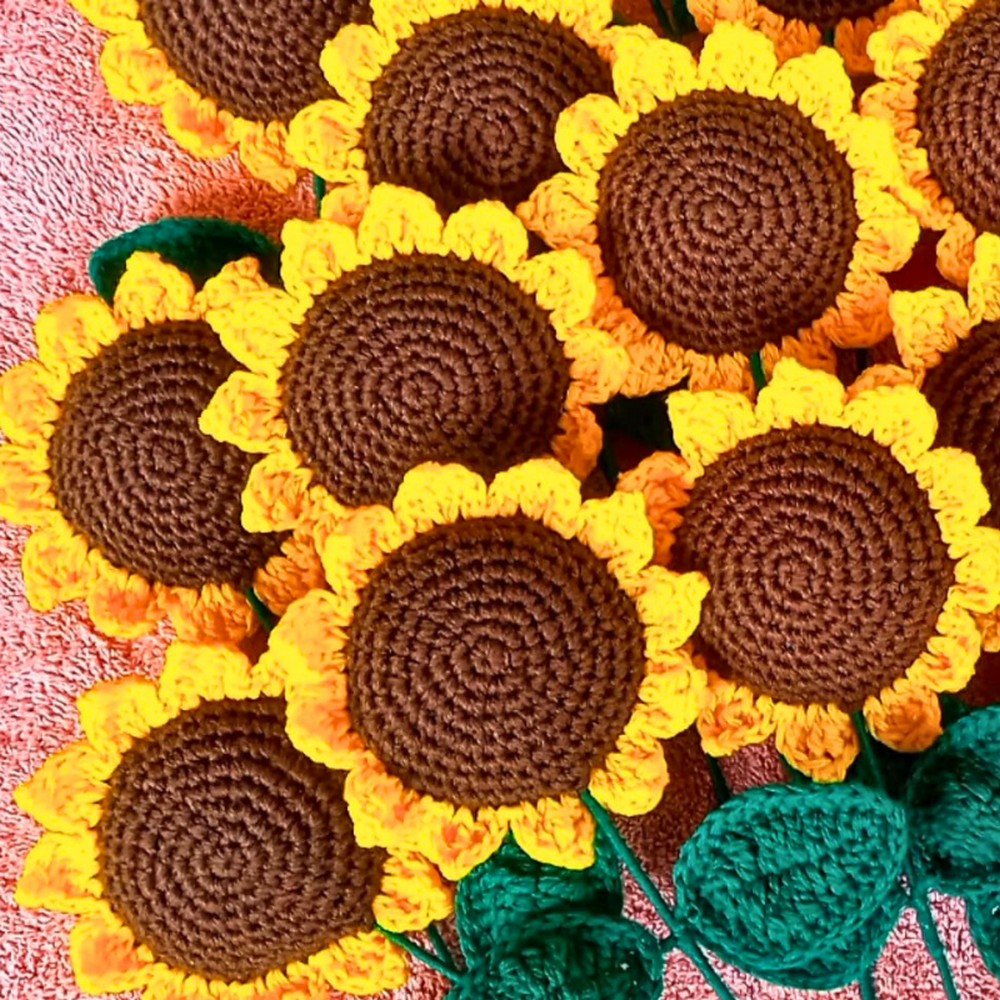
Step-by-Step Crochet Sunflower Pattern
Flower Back
Teaching Guide: Building the Green Base
The green back grows from 6 stitches to 48 through evenly spaced increases. That steady expansion creates the broad circular foundation needed for the flower head, so keep an eye on the stitch count at the end of each round rather than judging the size by appearance alone.
Round 1: Create a magic ring, ch 1 (counts as first sc), work 5 more sc into the magic ring, pull tight to close, and sl st to join. (6 sts)
Round 2: Ch 1, work 1 inc (2 sc) into every st around, then sl st to join. (12 sts)
Round 3: Ch 1, *1 sc in next st, 1 inc in next st; repeat from * all the way around, then sl st to join. (18 sts)
Round 4: Ch 1, *1 inc in next st, 1 sc in each of next 2 sts; repeat from * all the way around, then sl st to join. (24 sts)
Round 5: Ch 1, *1 inc in next st, 1 sc in each of next 3 sts; repeat from * all the way around, then sl st to join. (30 sts)
Round 6: Ch 1, *1 inc in next st, 1 sc in each of next 4 sts; repeat from * all the way around, then sl st to join. (36 sts)
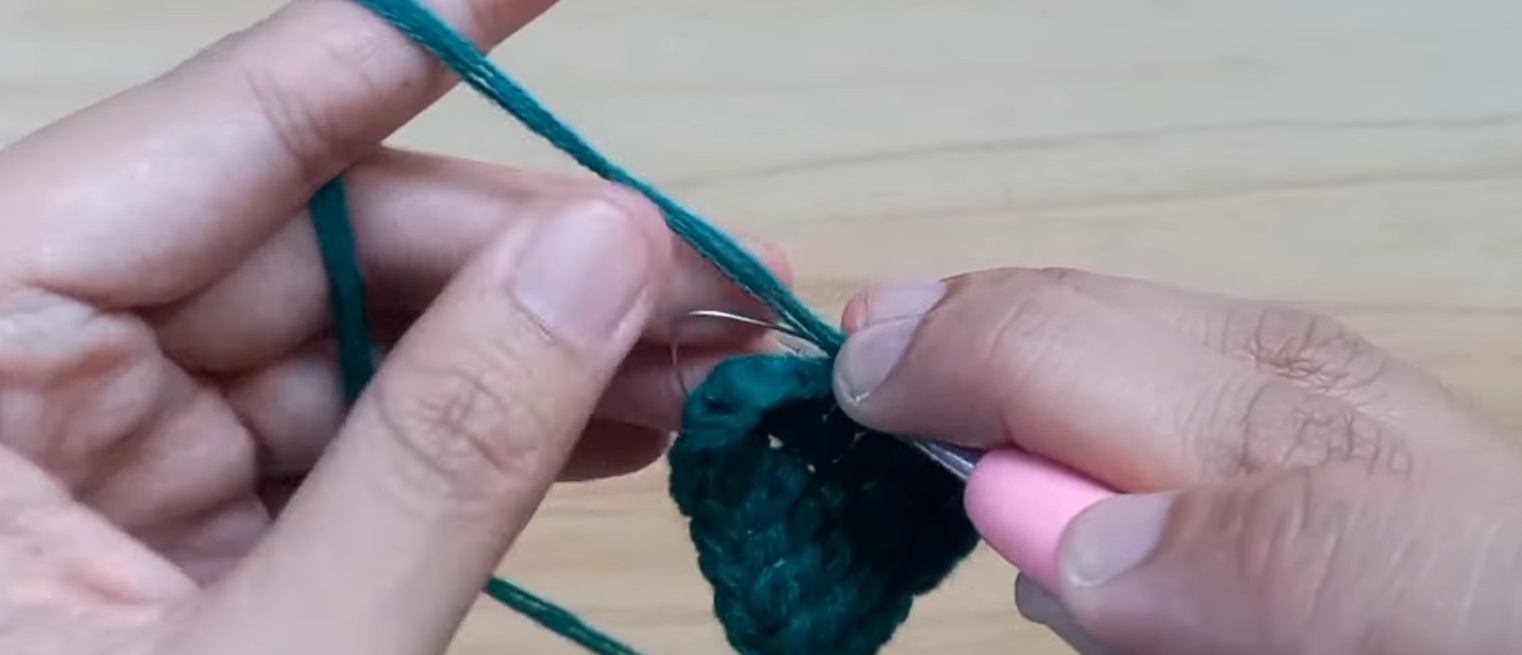
Round 7: Ch 1, *1 inc in next st, 1 sc in each of next 5 sts; repeat from * all the way around, then sl st to join. (42 sts)
Round 8: Ch 1, *1 inc in next st, 1 sc in each of next 6 sts; repeat from * all the way around, then sl st to join. (48 sts)
Fasten off and weave in the tail.
Check the Shape
At the end of Round 8, you should have a flat green circle with 48 stitches. Keeping this base flat is useful because it will later sit behind the brown center and provide the foundation for the petals.
Brown Flower Center
Teaching Guide: Match the Two Circles
The brown center uses exactly the same expansion as the green back, so matching both pieces at 48 stitches makes the later joining process easier. Keeping the edges aligned is especially important once the yellow petals begin joining both layers.
Rounds 1-8: Repeat the same instructions as the Green Flower Back using Brown yarn, ending with a flat brown circle measuring 48 stitches around.
Do not fasten off. Leave your hook in the brown loop to prepare for joining.

Join the Layers and Form the Petals
Teaching Guide: Work Through Both Layers
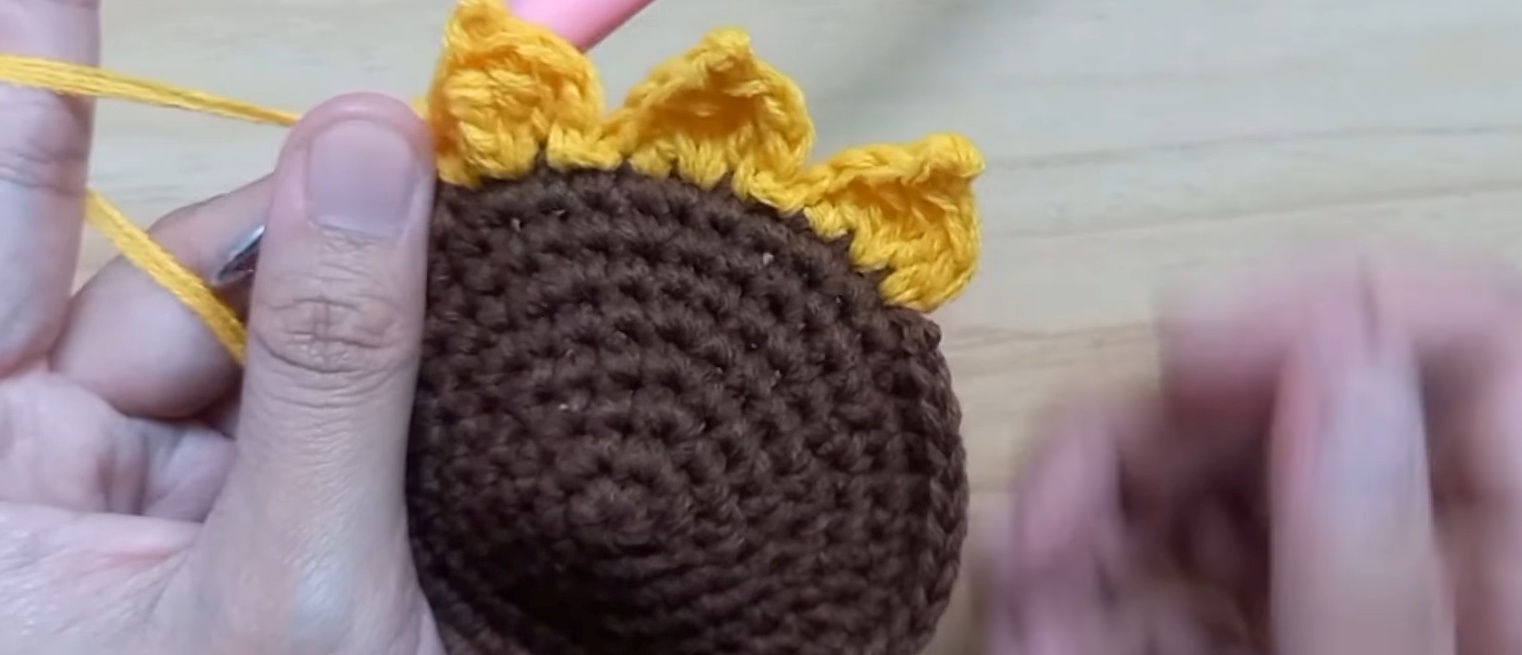
Place the Brown circle directly on top of the Green circle with the edges matched. The yellow yarn will now join the two layers while creating each petal. Each petal uses 4 stitches, so the 48-stitch edge produces 12 petals in total.
When you reach the later petals, stop after crocheting 9 or 10 petals and open the gap between the brown and green circles. Add fiber fill until the center is plump, then continue the remaining petals to close the flower.
Petal Step 1: Ch 1, work 1 dc into the same space, pushing the hook through both the brown and green layers.
Petal Step 2: In the very next stitch, work 2 tr, ch 2, then sl st into the first chain to form a pointed picot tip, and work 1 more tr into that same stitch.
Petal Step 3: In the next stitch, work 1 dc followed by 1 sc in the same space.
Petal Step 4: Sl st into the next stitch.
Repeat Petal Steps 1 through 4 exactly 11 more times.
Stuff Before Closing
After 9 or 10 petals, pause before the opening becomes too small. Add a small handful of fiber fill and shape the center so it looks plump rather than flat. Continue with the remaining petals only after the center has the fullness you want.
Fasten off and weave in the ends once all 12 petals have been completed.
Leaves
Teaching Guide: Shape Each Leaf Around the Wire
Each leaf begins as a 14-chain foundation and develops its pointed shape through different stitch heights. The floral wire is added afterward and trapped under the border stitches, which is what allows the finished leaf to be bent and posed.
Make 2 leaves in Green.
Foundation: Ch 14.
Side 1: Starting in the 2nd ch from the hook, work 1 sc, 1 hdc, 1 dc, 1 tr in each of the next 4 chains, 1 dc in each of the next 2 chains, 1 hdc in each of the next 2 chains, 1 sc in the next chain, and 2 sc in the very last chain to help turn the corner.
Side 2: Turn your work to crochet up the opposite side of the foundation chain. Work 1 sc, 1 hdc in next 2, 1 dc in next 2, 1 tr in next 4, 1 dc, 1 hdc, 1 sc. Sl st into the top of the very first sc to join.
Add the Leaf Wire
Cut a piece of thin floral wire about 7 inches long and lay it flat along the outer edge of the leaf.
Ch 1, then sc evenly all the way around the perimeter while crocheting over the wire so the wire becomes trapped inside the stitches. Sl st to join.
Fasten off, leaving a long 5-inch green yarn tail. Twist the two wire ends together at the base of the leaf.
Shape Check
Before moving to assembly, gently bend each leaf to check that the wire is securely enclosed. The leaf should remain flexible enough to pose without pulling away from its crocheted edge.
Assemble the Sunflower
Wrap the Main Stem
Teaching Guide: Keep the Stem Even
The thick wire becomes the flower’s support, while the green yarn hides the wire and gives the stem a finished appearance. Start at the top and keep the wraps close together so the wire does not show through.
Take the thick wire, at least 9 inches long, and apply a small dab of glue to its top tip. Carefully attach the end of the green yarn to the glue, then wrap the yarn tightly and evenly around the wire while moving downward.
Attach the Leaves
After wrapping a few inches down the stem, pause and position the wire base of the first leaf against the stem.
Continue wrapping the green yarn tightly over the leaf’s wire base to secure it. Wrap farther down the stem, then repeat the same process with the second leaf.
Finish the Stem
Continue wrapping the green yarn all the way to the bottom of the wire. Secure the final end with another small dab of glue and trim the excess yarn.
Attach the Flower Head
Apply glue to the very top tip of the wrapped green stem. Gently but firmly push it into the back-center of the green side of the sunflower head.
Hold the flower head in place for a few moments until the glue completely sets.
Final Shape Check
Take a moment to look at the completed flower from the front and side. The yellow petals should frame the plump brown center, while both green leaves can be bent into a natural position using their hidden wires. If the stem needs adjusting for a vase or bouquet, its length can be varied on future flowers by cutting the thick wire to different lengths.
For a fuller display, make 3 to 5 sunflowers and tie them together with ribbon, or combine different stem lengths so the flowers sit at varied heights in a vase.