Easy & Simple Crochet Ghost Pattern for Halloween Décor
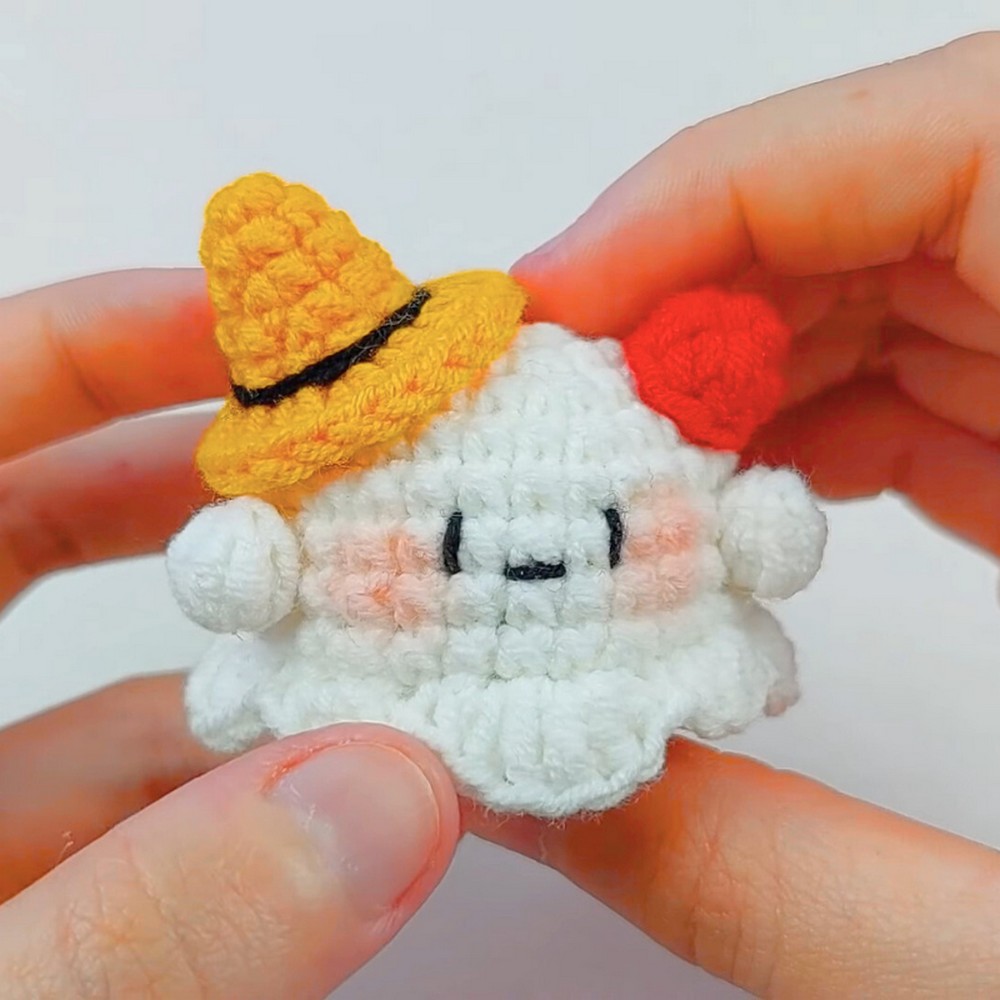
A little yarn and a few simple stitches are enough to bring this crochet ghost to life. Instead of a typical Halloween decoration, this pattern creates a soft, handmade ghost with a rounded shape and playful look that instantly adds seasonal charm to your space.
It’s a fun crochet piece for shelves, tables, or cozy corners where you want a small spooky accent. Keep reading to see how this cute ghost takes shape step by step.
Crochet Ghost Pattern for Halloween
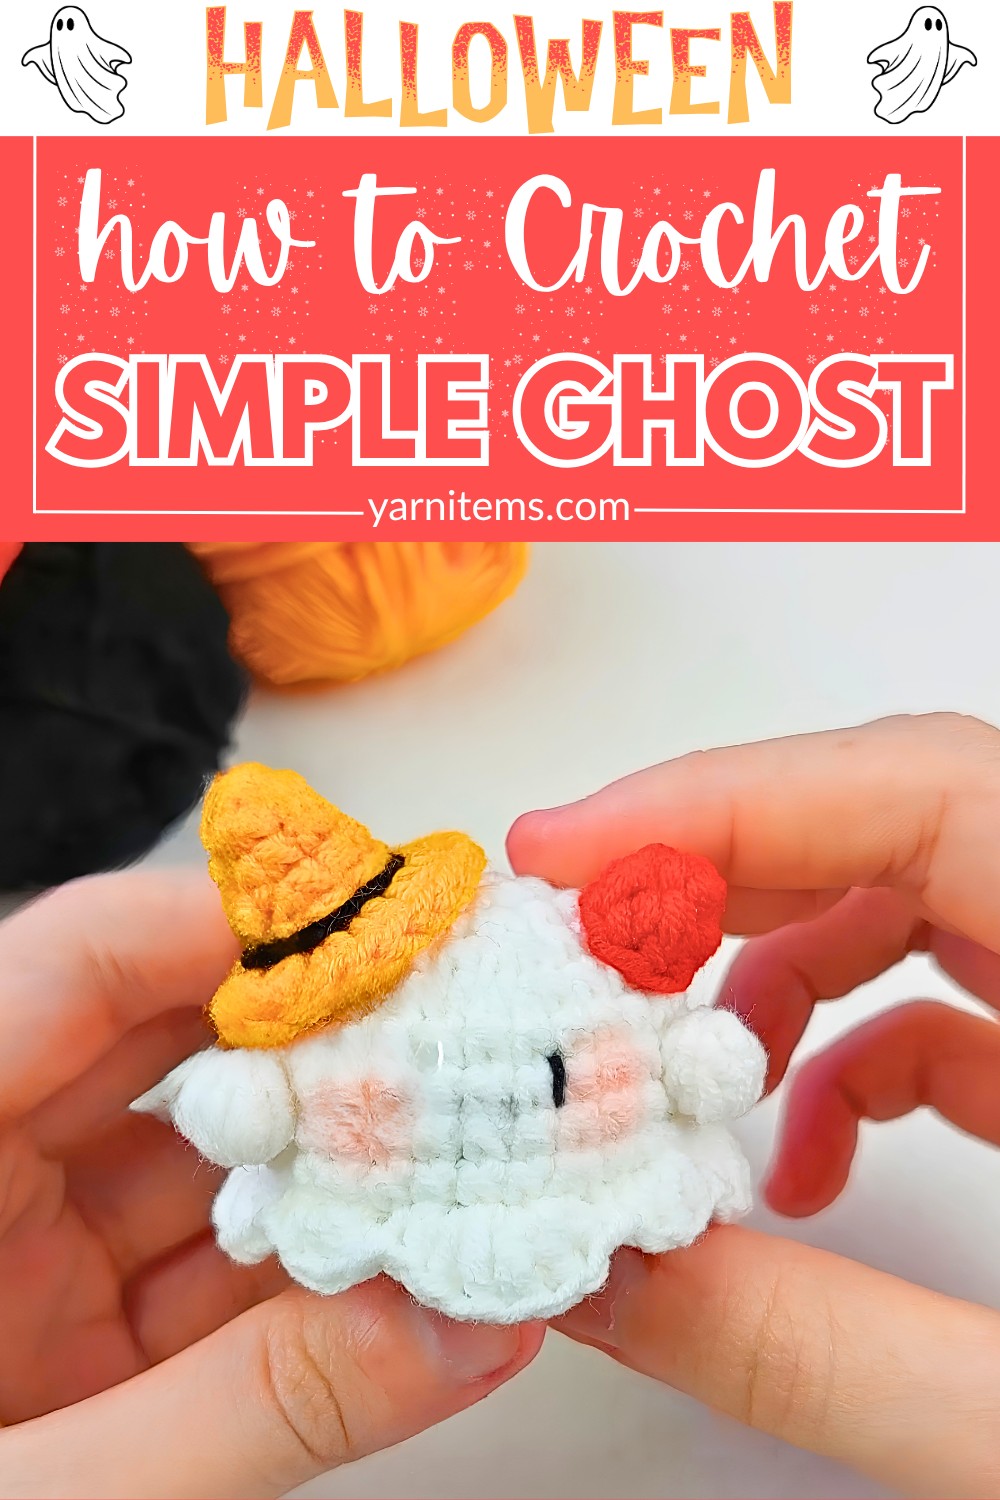
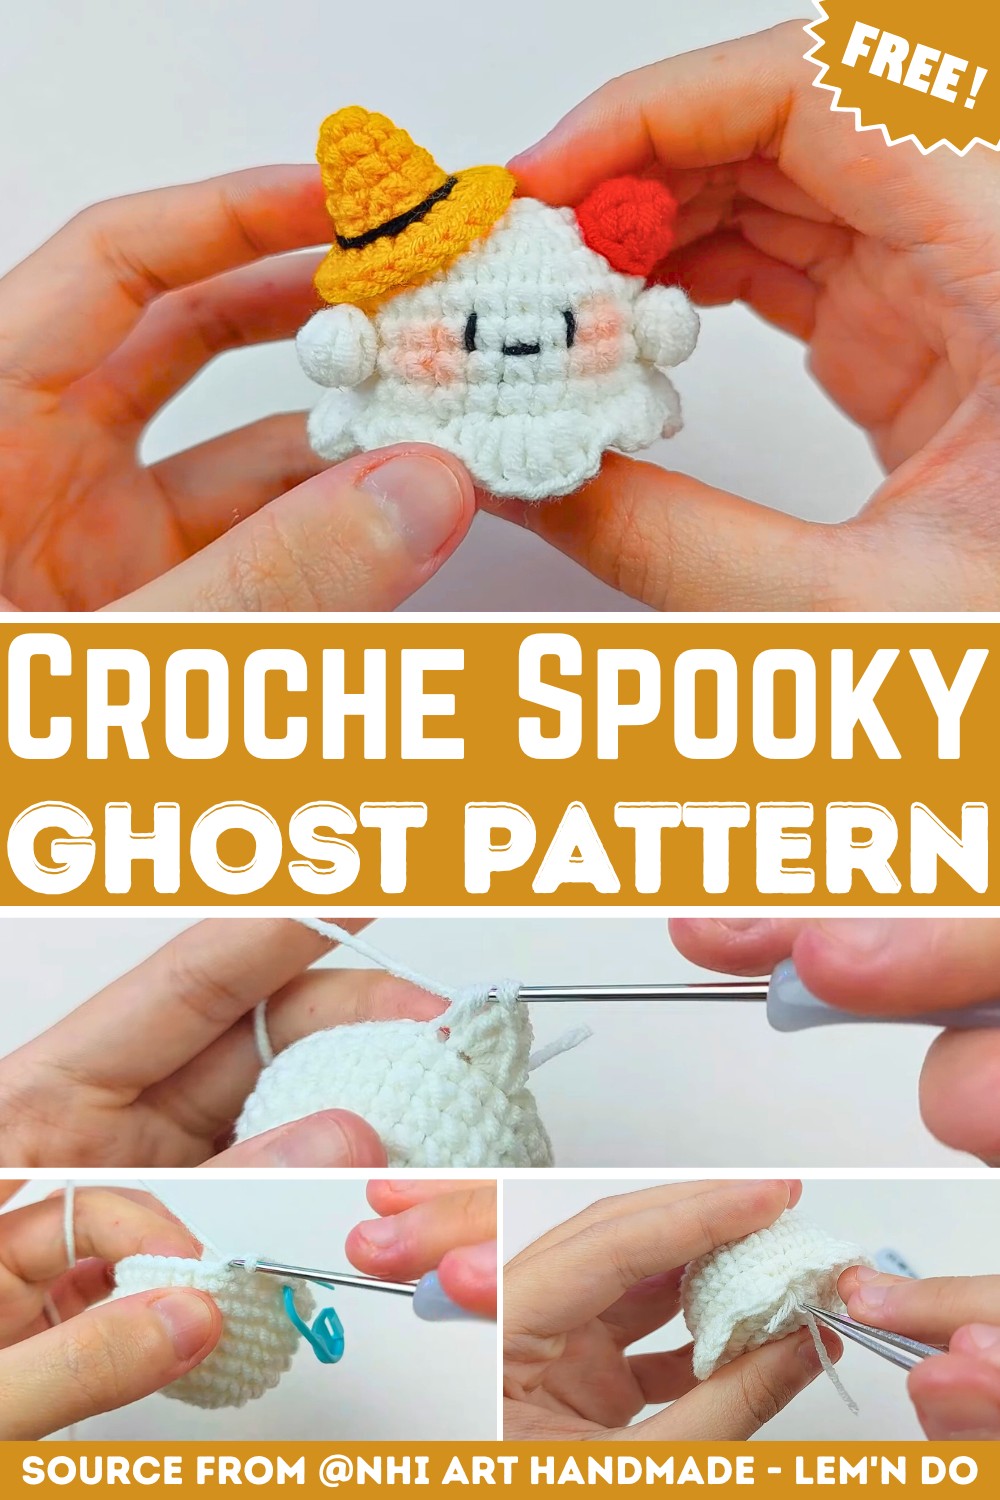
Designed with a beginner-friendly approach, this crochet ghost pattern guides you through creating the body, adding the details, and finishing the final look with ease. The tutorial breaks the process into simple sections, making it enjoyable even if you are new to crochet. Follow along to discover how a few basic techniques transform yarn into a charming Halloween decoration.
Credit Nhi Art Handmade – Lem’n Do
Materials & Tools Needed
- Yarn:
- Baby yarn (4-ply or lightweight cotton/acrylic yarn) in White, Yellow, Red, and a small piece of Black for the hat details and face embroidery.
- Crochet Hook: 2.0 mm.
- Other Tools:
- Stitch markers.
- Embroidery/tapestry needle.
- Scissors.
- Pins.
- Polyester fiberfill stuffing.
- Optional: Pink blush and a soft brush for adding cheek color.
Finished Size & Customization Ideas
- Size:
Using a 2.0 mm crochet hook and baby yarn, your ghost will be approximately 7–10 cm (3–4 inches) tall, depending on your tension and the fiberfill used. - Customization Ideas:
- Add personality with different face expressions using embroidery.
- Customize the witch hat by choosing different colors or adding beads, stars, or stripes.
- Turn it into a keychain, ornament, or mobile decor by attaching a loop at the top.
Pattern Abbreviations & Terminology
MR: Magic Ring
ch: Chain
sl st: Slip stitch
sc: Single crochet
inc: Increase (2 single crochet stitches in the same stitch)
dec: Decrease (Invisible decrease preferred)
T: Half double crochet (hdc)
F: Double crochet (dc)
TV: 2 half double crochets in the same stitch
FV: 2 double crochets in the same stitch
BLO: Back Loops Only
FLO: Front Loops Only
St(s): Stitch(es)
Step-by-Step Crochet Instructions
1. Main Ghost Body (White Yarn)
Work in continuous rounds unless otherwise specified. Use a stitch marker to track the first stitch in each round.
- Round 1: MR, 8 sc. [8 sts]
- Round 2: (1 sc, 1 inc) * 4. [12 sts]
- Round 3: (1 sc, 1 inc) * 6. [18 sts]
- Round 4: (2 sc, 1 inc) * 6. [24 sts]
- Round 5: (3 sc, 1 inc) * 6. [30 sts]
- Rounds 6–8: sc in each stitch around (3 rounds total). [30 sts]
- Round 9: (4 sc, 1 inc) * 6. [36 sts]
- Round 10 (BLO): (4 sc, 1 dec) * 6. [30 sts]
(The unworked front loops from this round will be used later for the hem/ruffle.) - Round 11: (3 sc, 1 dec) * 6. [24 sts]
- Round 12: (2 sc, 1 dec) * 6. [18 sts]
- Round 13: (1 sc, 1 dec) * 6. [12 sts]
Stuff the body firmly with fiberfill. - Round 14: 6 dec. [6 sts]
Fasten off. Use the yarn tail to sew through the remaining 6 front loops, pull tight to close the hole, and weave in the end.
2. Hem of Shirt / Ruffle (White Yarn)
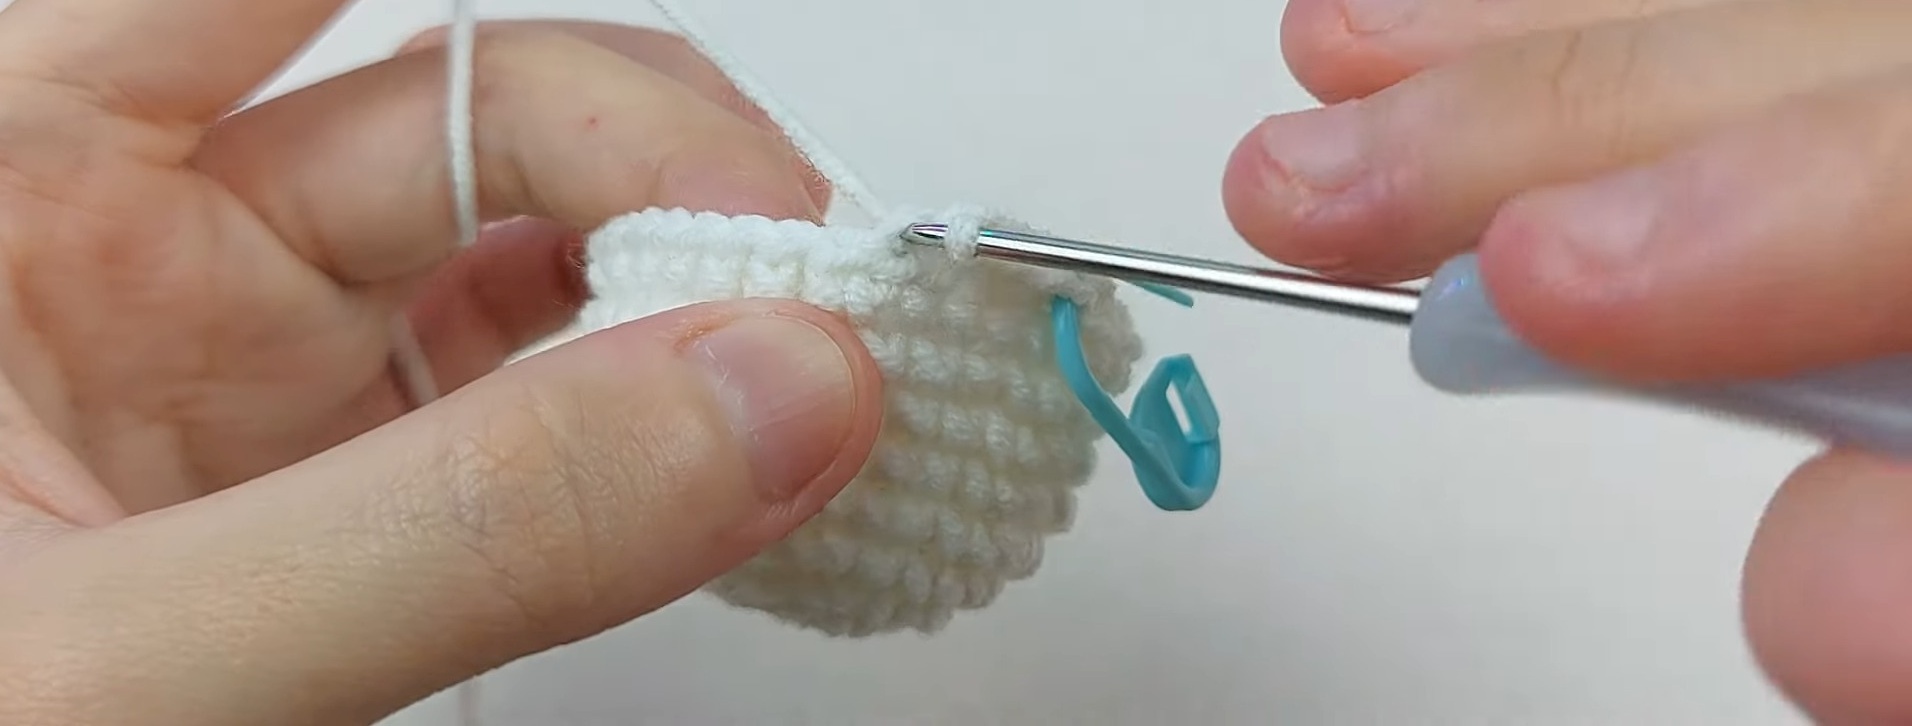
Find the unused front loops left from Round 10. Attach white yarn to the first front loop to start the ruffle.
Pattern:
Repeat the sequence 4 times around:
- sl st, skip 1 st, (1 T, 2 F in the same st),
- (2 F, 1 T in the same st), skip 1 st,
- sl st, skip 1 st, (1 T, 1 F, 1 T in the same st), skip 1 st.
Fasten off and weave in ends inside the body.
3. Witch Hat (Yellow Yarn)
Work in continuous rounds:
- Round 1: MR, 4 sc. [4 sts]
- Round 2: (1 sc, 1 inc) * 2. [6 sts]
- Round 3: (2 sc, 1 inc) * 2. [8 sts]
- Round 4: (3 sc, 1 inc) * 2. [10 sts]
- Round 5: (4 sc, 1 inc) * 2. [12 sts]
- Round 6 (FLO): ch 2, 12 TV (2 hdc in each FLO around). [24 sts]
Fasten off and weave in ends.
Hat Detail: Take a strand of black yarn. Using your embroidery/tapestry needle, embroider a horizontal line just above the hat brim (around Round 5) to form the hatband.
4. Tiny Devil Horns (Red Yarn – Make 2)
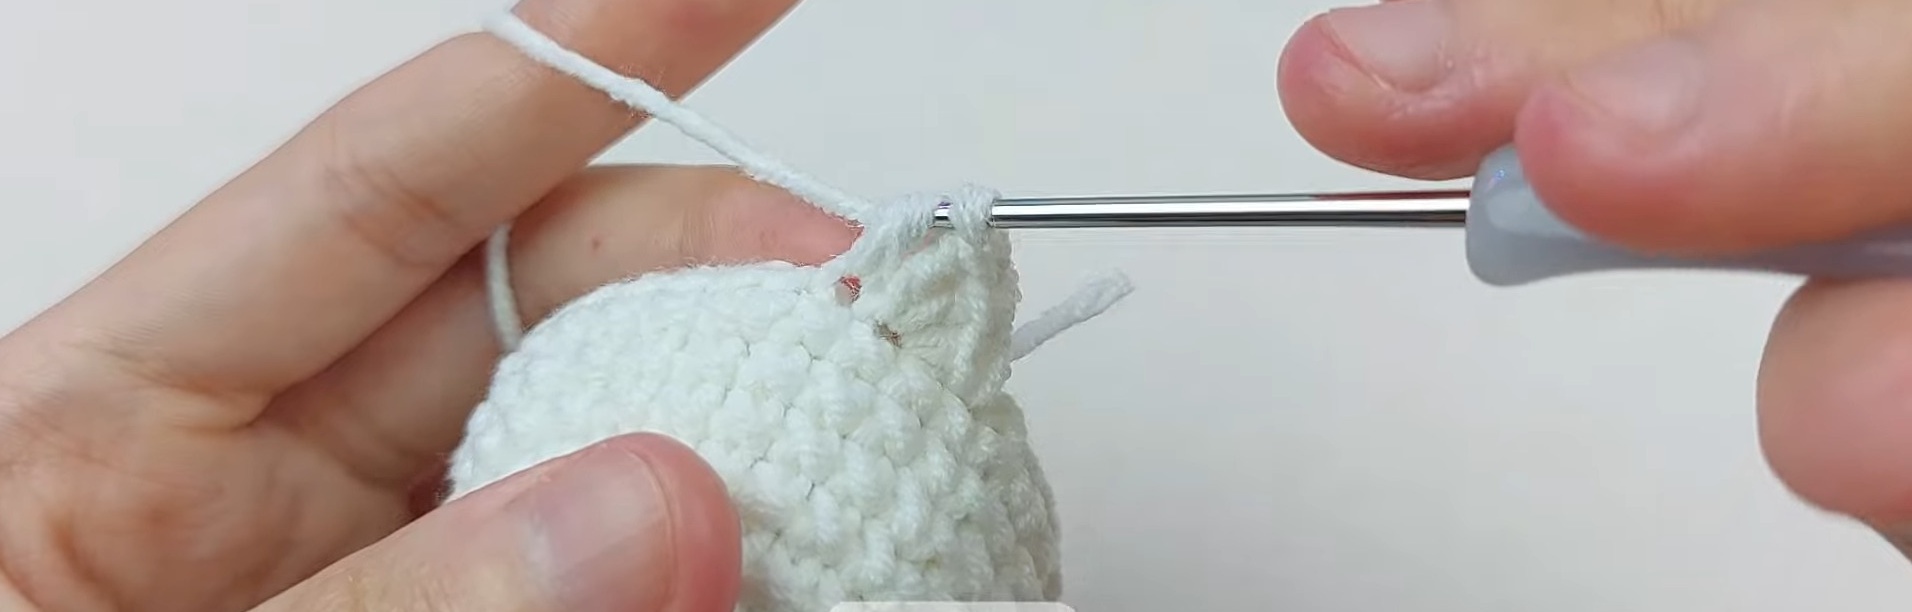
- Round 1: MR, 4 sc. [4 sts]
- Round 2: ch 2, (1 T, 1 TV) * 2. [6 sts]
Fasten off, leaving a tail to sew the horns onto the ghost.
5. Hands (White Yarn – Make 2)
Work all the stitches into one magic ring (MR):
- MR, ch 3, 1 Bobble Stitch using 4 double crochets (4-F Bobble), ch 3, 1 sl st.
Pull the ring closed, fasten off, and leave a tail for sewing the hands onto the body.
Assembly & Customization Ideas
- Embroidery Details:
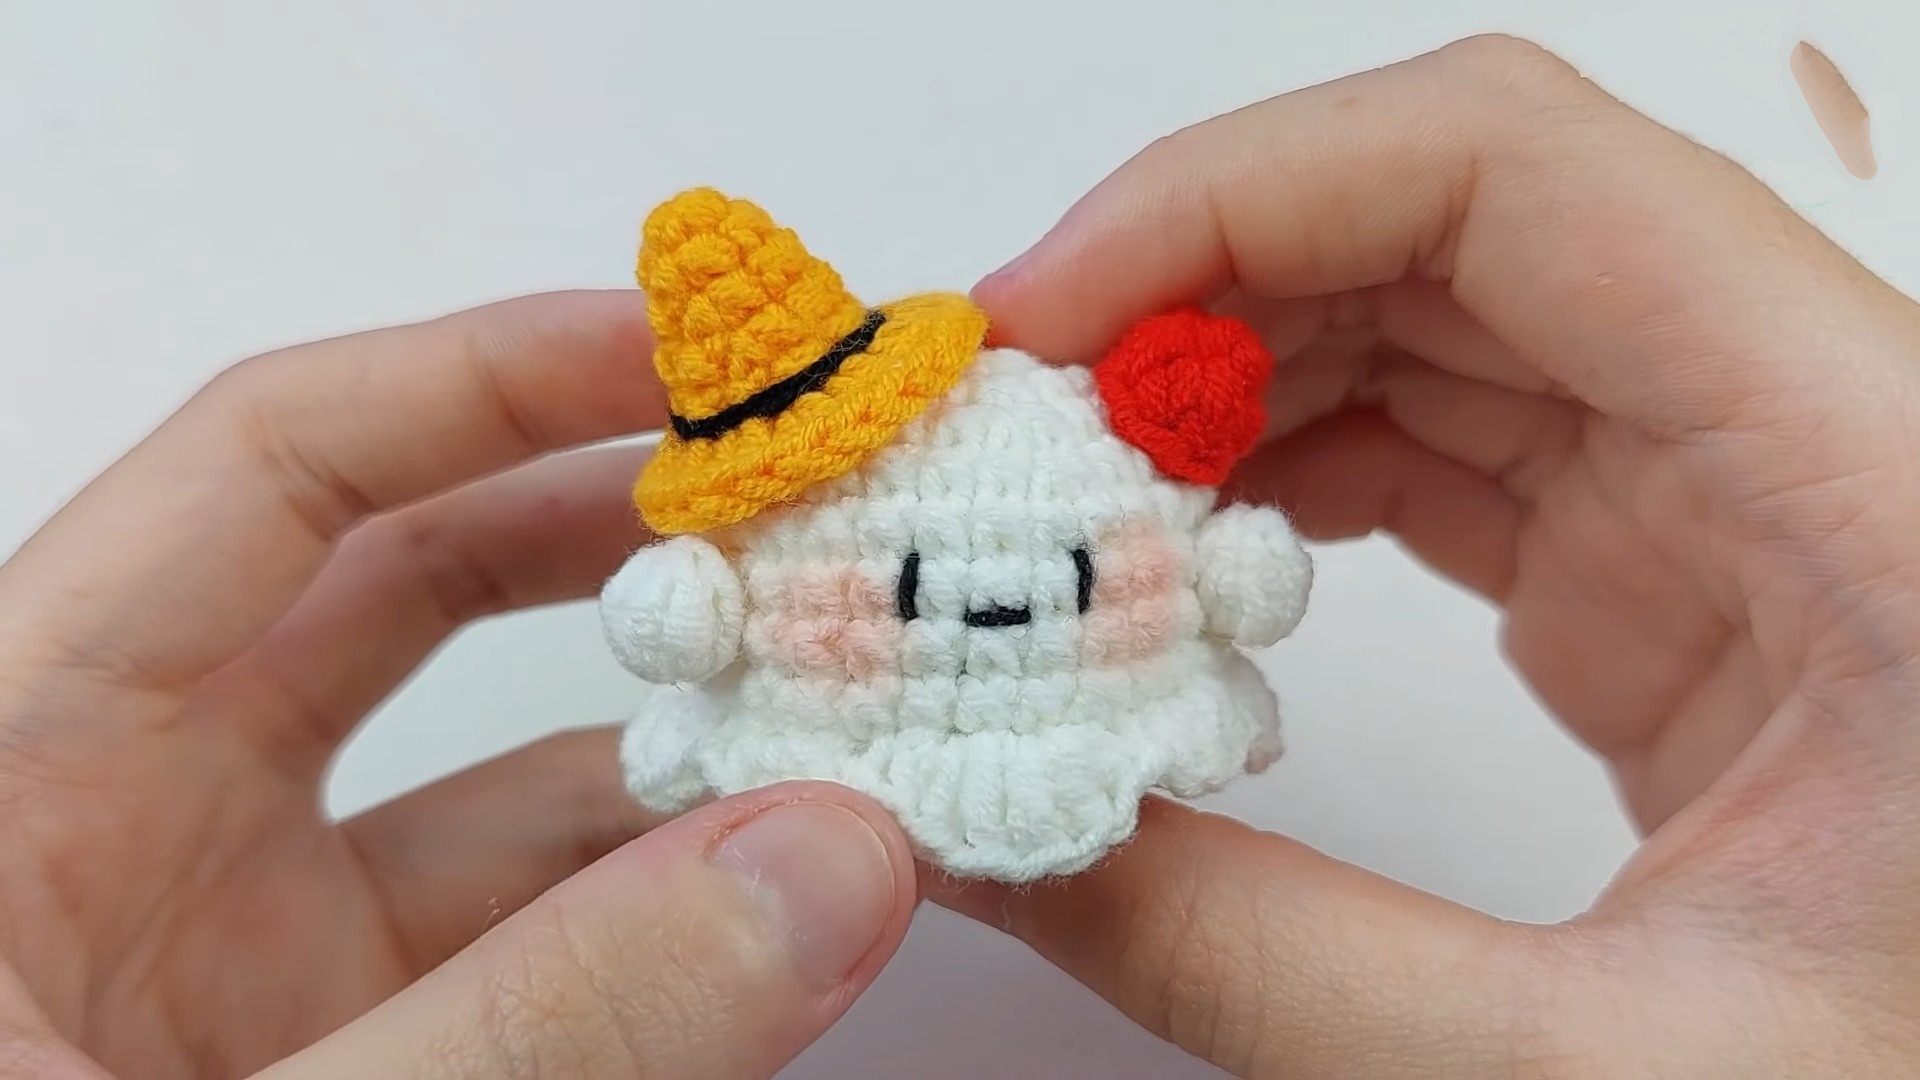
- Using black yarn, embroider two simple vertical lines for eyes on the face (around Rounds 6–7), with 3–4 stitches between them.
- Add a tiny horizontal curve below the eyes to create a smiling mouth.
- Adding Blush:
- Use pink cosmetic blush or chalk pastel and gently brush some color beneath the eyes to give the ghost cute pink cheeks.
- Attaching the Pieces:
- Hat: Pin and sew (or glue) the yellow witch hat to the top center of the body.
- Horns: Sew the red horns behind the hat on either side.
- Hands: Sew the hands to the sides of the body around Rounds 8–9.
- Optional Hanging Loop:
- To turn your ghost into a keychain or hanging ornament, attach a metal ring or loop through the top of the hat before securing the hat to the body.