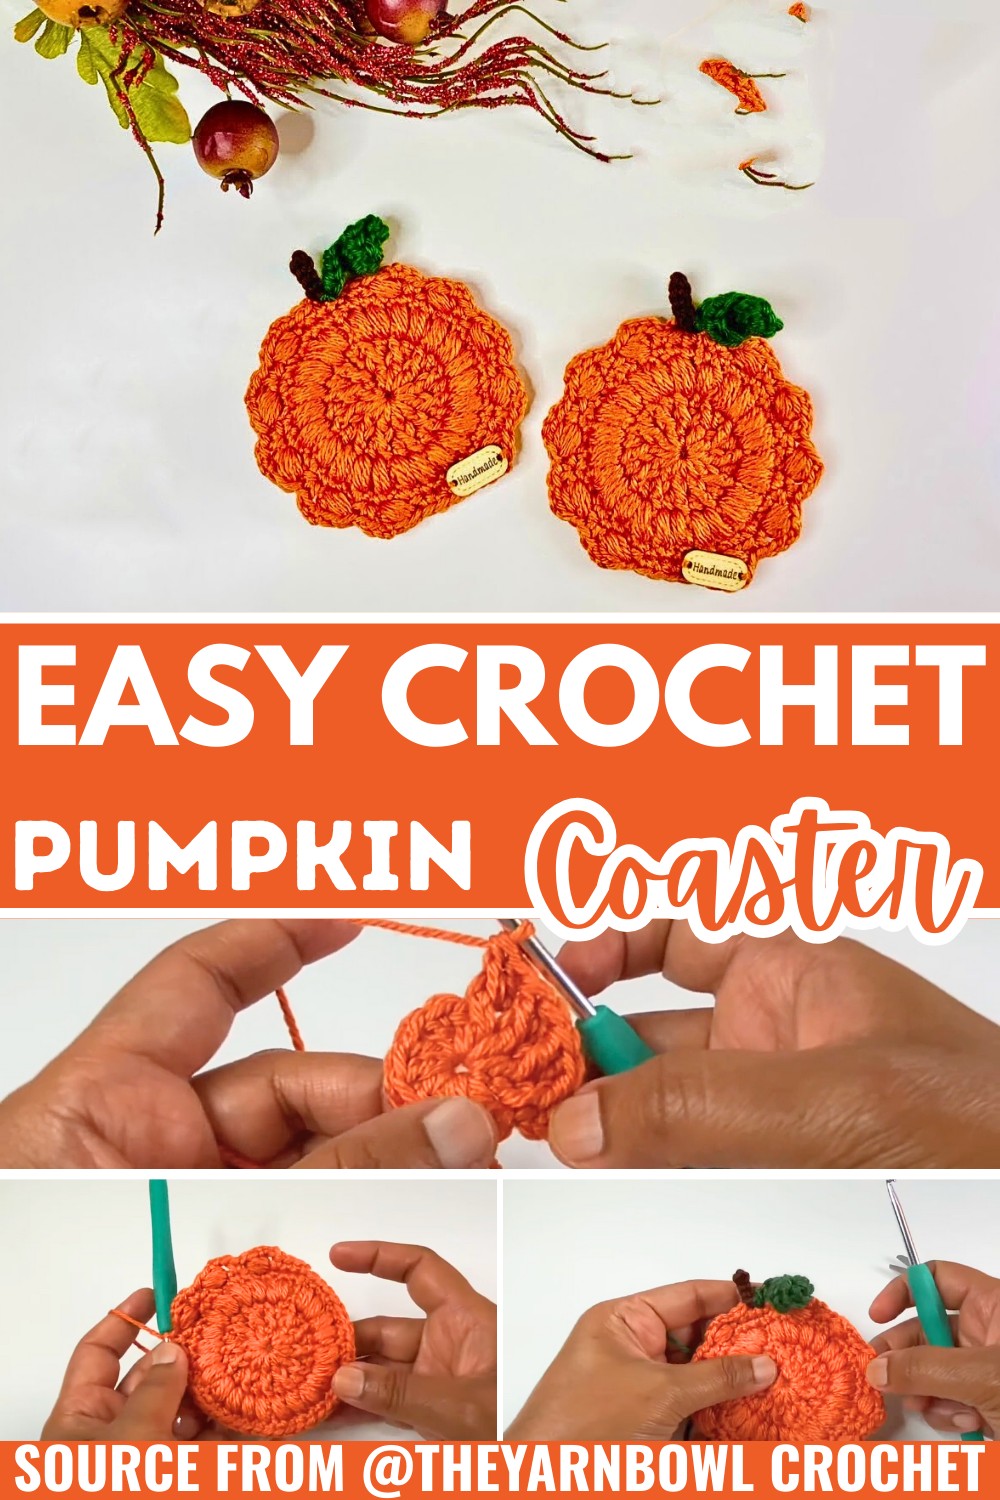
This delightful pumpkin coaster is a quick, festive project that adds the perfect fall touch to your home, ideal for tablescapes, cozy décor, or gifting.

Looking for a creative way to bring the cozy autumn vibe into your home? This pumpkin-shaped crochet coaster is not only adorable but also functional. Perfect for setting under mugs, cups, or small bowls, these coasters add a little fall-inspired charm to your table. With their vibrant texture and lovely details, they’re a great way to brighten up your decor during the harvest season.
Crochet Pumpkin Coaster Pattern
This pattern uses simple yet textured stitches that make the pumpkin look realistic and appealing. You’ll create the pumpkin base, a small stem, and even a curly leaf, giving it a complete and beautiful look. Beginners will enjoy this easy-to-follow design, while those with experience can whip up several in no time. With just some yarn, a crochet hook, and a spare evening, you can make thoughtful fall-themed accents or create handmade gifts for loved ones.
Credit TheYarnBowl Crochet
Key Features of the Pattern:
- Worked in the round, starting with a magic ring for a smooth and seamless pumpkin base.
- Combines a variety of stitches, including front post double crochet, puff stitches, and single crochet for a delightfully textured surface.
- Features charming details like ribbing to mimic pumpkin grooves, a delicate curly leaf, and a sturdy stem.
- Offers endless opportunities for customization, from yarn colors to embellishments.
- Quick to create, making it ideal for gifts, fall decorations, or as part of a festive table setting.
Overview of the Crochet Pumpkin Coaster Construction
The foundation of this pumpkin coaster is its round, textured base. The pattern begins with a magic ring—a go-to technique for creating a neat center in crocheted circles—and is built up over several rounds. Each round introduces subtle enhancements, such as front-post double crochets in Round 2, which give the coaster depth and dimension. By Round 3, puff stitches are added, creating a fun, bouncy texture that mimics the ridged surface of a real pumpkin. The transition to single crochets in Round 4 smooths the texture and sets the stage for the clever ribbing effect in the next step.

Round 5 transforms the coaster from a simple circle into a recognizable pumpkin shape. By incorporating chain spaces, puff stitches, and strategic single crochet placement, you create the look of pumpkin ribs while maintaining symmetry. This structural detail is what truly elevates the design, giving the coaster a distinctive, festive appearance. The round is closed off with a neat row of single crochet stitches, and the orange yarn is fastened off, completing the pumpkin body.

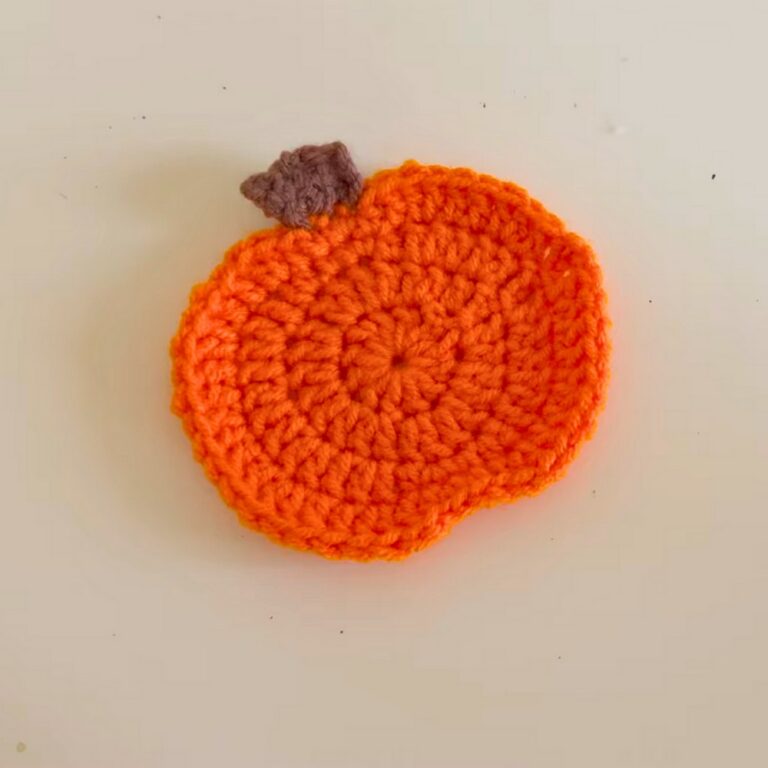
To bring the design to life, the coaster is topped with a charming stem and leaf. The stem is built with brown yarn and simple chain stitches, while the leaf uses green yarn and a series of half double crochets to achieve a natural curling effect. Both elements are worked directly onto the pumpkin’s base, so there’s no tedious sewing involved. These small yet impactful features give the finished product loads of personality, making it a standout piece for the season.

The final step is weaving in any loose ends for a clean look. For an extra touch of expertise, you can sew on a little wooden tag or even embroider additional embellishments. The result is a coaster that’s as delightful to create as it is to use.

Video Tutorial
Step-by-Step Pattern
Materials
To crochet this pumpkin coaster, you’ll need:
- Yarn: Worsted-weight (4-ply) yarn in orange (for the pumpkin), brown (for the stem), and green (for the leaf).
- Hook Size: 4.5 mm crochet hook.
- Tapestry/Weaving Needle: For sewing and finishing touches.
- Scissors: To cut the yarn.
- Optional: Handmade wood tags for customization.
Pattern Instructions
Step 1: Start with the Pumpkin Base
Round 1
- With orange yarn, create a Magic Ring.
- Chain 3 (counts as the first dc) and make 11 more dc into the ring. (12 dc total)
- Tighten the center of the Magic Ring and join with a sl st in the top of the beginning ch-3.
Round 2
- Chain 3 (counts as the first dc).
- Work 1 front post dc into the same stitch, then 1 regular dc into the next stitch.
- Repeat from * to * around. Join with a sl st to the top of the beginning ch-3.
Round 3
- Chain 1. Begin this round with a puff stitch (see Stitch Guide for instructions).
- Work 1 puff stitch, chain 1 in every stitch around the coaster. (24 puff stitches and 24 chain spaces total)
- Sl st to the top of the first puff stitch, ensuring you join on the puff, not the chain space.
Round 4
- Chain 1 and sc into the same stitch.
- Work 1 sc into each stitch around. (48 sc total)
- Sl st to the first sc to close the round.
Round 5
- Chain 1, and work 1 sc in the same stitch. Work 1 sc in the next 2 stitches as well.
- Chain 3. Skip 2 stitches and create a puff stitch in the next stitch. Chain 1.
- Skip 2 stitches and sc into the next stitch.
- Repeat the sequence of chain 3, puff stitch, chain 1, and sc into every third stitch 5 times to form a pumpkin “ribbing” effect.
- Once ribbing is complete, sc into the next 4 stitches (this creates the base of your pumpkin).
- Repeat the chain 3 + puff stitch sequence on the opposite side of the coaster until both sides are symmetrical.
- Sl st into the first sc to close Round 5. Fasten off the orange yarn and weave in the ends.
Step 2: The Pumpkin Stem
- With brown yarn, join in the center sc of the pumpkin’s base.
- Chain 5.
- Sl st into the second chain from the hook. Work 1 sc in each of the next 3 chains as you return to the base.
- Sl st into the same stitch where you joined the brown yarn to secure the stem. Fasten off and weave in the ends.
Step 3: The Leaf
- With green yarn, join in the same stitch as the stem.
- Chain 10.
- Work 2 hdc in the third chain from the hook, then 3 hdc into the next chain.
- Continue alternating between 2 hdc and 3 hdc on each chain across. This helps the leaf curl naturally for a whimsical effect.
- Sl st into the base and fasten off.
Step 4: Add Finishing Touches
- Weave in all remaining ends and trim any excess yarn.
- Optional: Sew a decorative wood tag onto the coaster for a handmade touch.
Troubleshooting and Suggestions
Common Issues:
- Loose Puff Stitches: Ensure even tension when making puff stitches to avoid a floppy or uneven texture. Pull up the loop just enough to make the puff stitches consistent in size.
- Crooked Chain Loops in Ribbing: Be careful to count your skipped stitches accurately in Round 5 to maintain the symmetry of the pumpkin ribs.
- Flat Leaf Shape Issues: If your leaf isn’t curling, double-check that you’re alternating between 2 hdc and 3 hdc in the chains.
Creative Modifications:
- Use different shades of orange, rust, or even teal for a trendy look, or make cream-colored “ghost pumpkins” for Halloween!
- Skip the leaf and make the stem longer to replicate a more realistic pumpkin design.
- Add embroidery, such as stitching your initials or simple vines around the pumpkin’s base.
- Turn this charming pumpkin into an applique for pillows, tote bags, or even a cozy scarf.