Textured Toddler Crochet Beanie Pattern Free
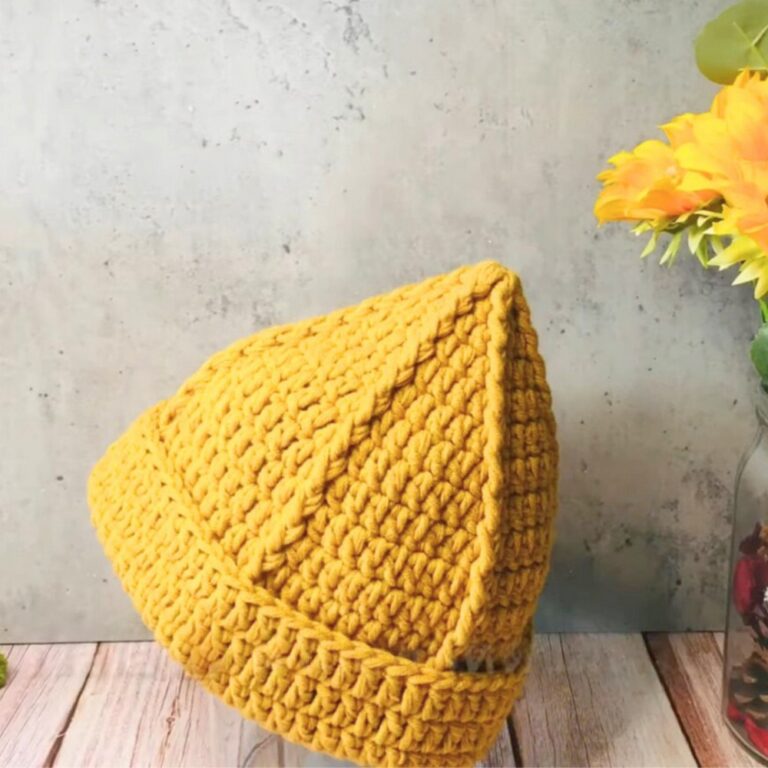
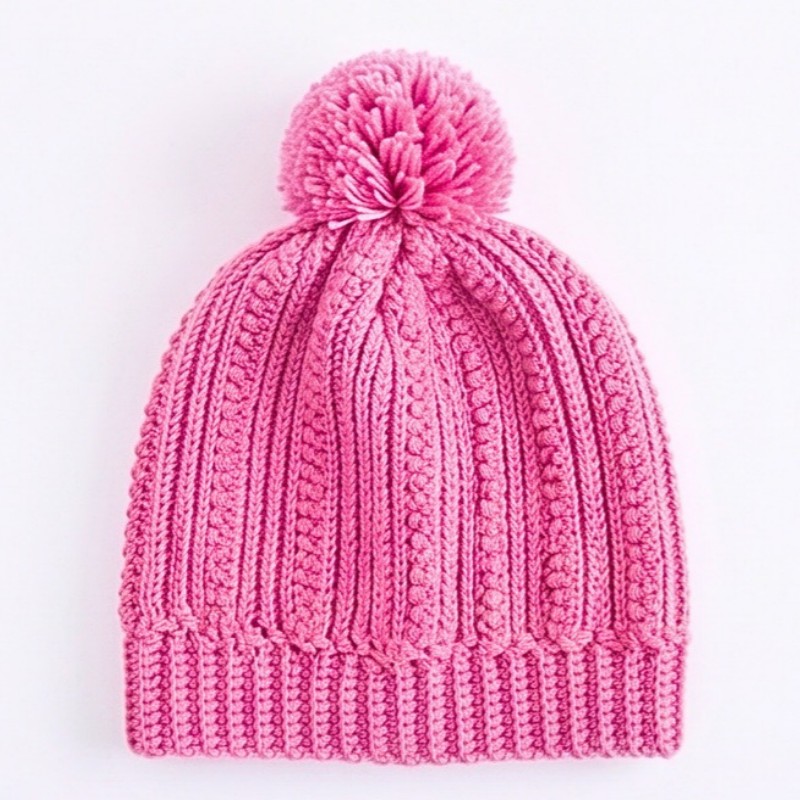
Here, textured crochet stitches meet star-stitch stripes to create a cozy toddler beanie, with a gathered crown, ribbed brim, and pom-pom finish.
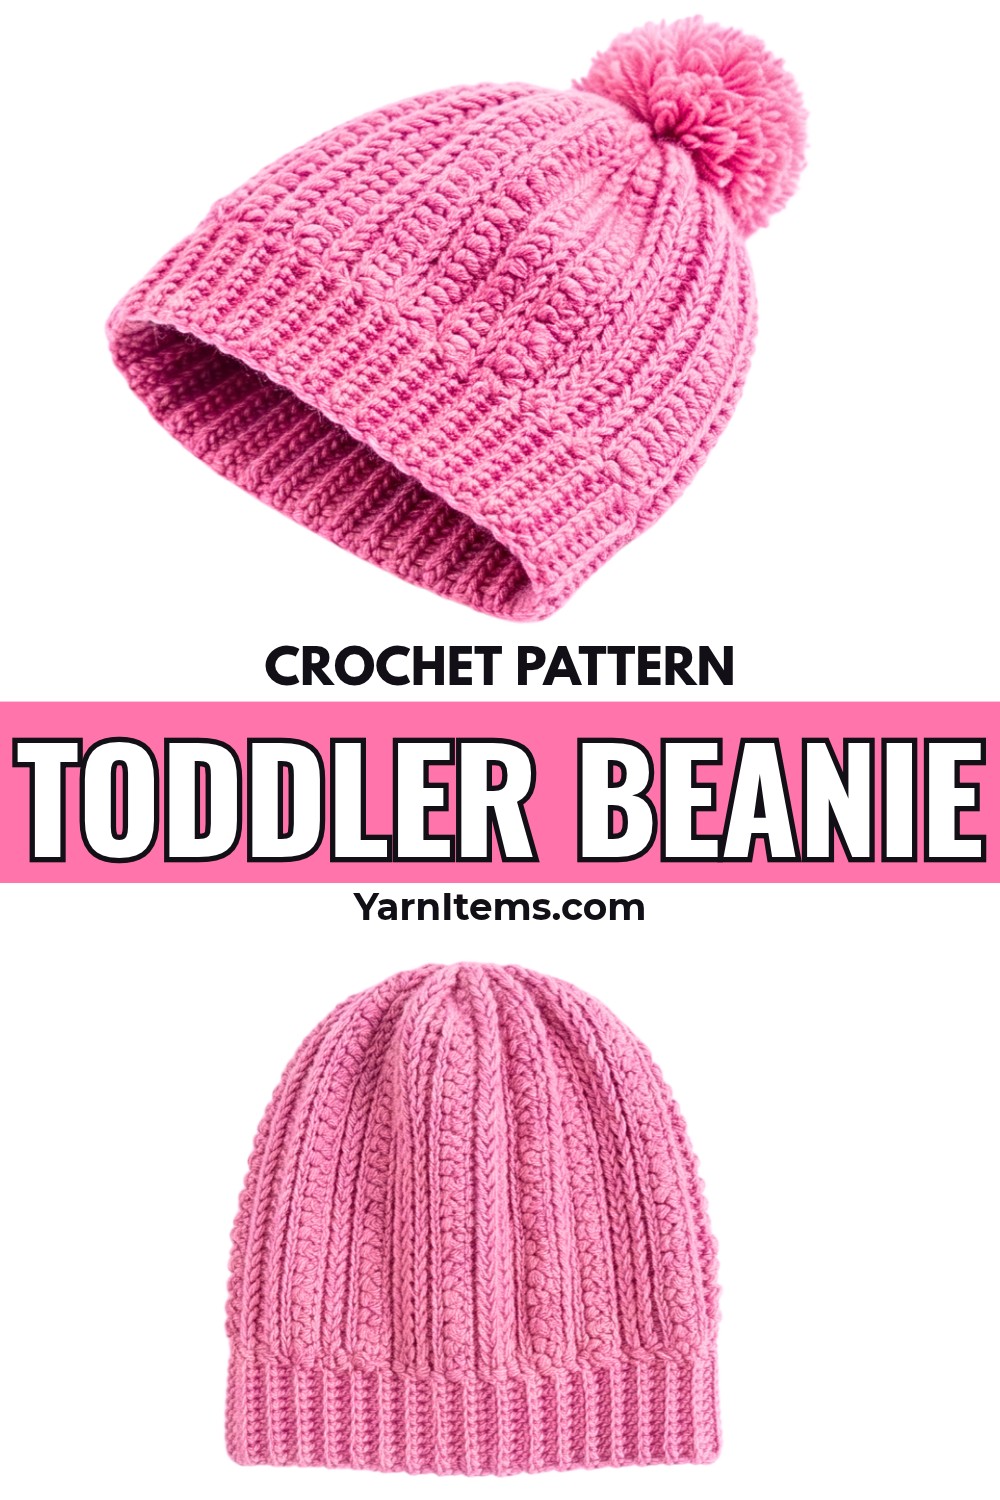
A handmade beanie that combines soft Merino wool with stretchy, textured fabric can make it easier to keep little heads warm. This crochet hat uses alternating stitch patterns to add visual interest without complicated color changes.
This crochet tutorial explains how to work the textured panel, form star-stitch bands, seam the hat, and shape its crown and brim. Follow the measurements and finishing guidance to make a toddler-sized beanie with an optional pom-pom or crochet bunny-ear variation.
Credit RonysHandmade
Materials & Tools
-
Yarn: Approximately 50-60 g of fine Merino wool in sport or DK weight.
-
Crochet hook: 3.5 mm, or the size needed to achieve the specified measurements.
-
Tapestry needle: For seaming the panel, gathering the crown, and weaving in ends.
-
Scissors: For cutting yarn.
-
Measuring tape: For checking panel dimensions and fit.
-
Pom-pom: Handmade yarn or faux-fur pom-pom for the crown.
Finished Size & Customization
The pattern is designed for a toddler of approximately 2 years old.
-
Unstretched circumference: Approximately 44-46 cm (17.5-18 inches).
-
Panel height before crown gathering: Approximately 20.5 cm (8 inches).
To adjust the fit, add or remove complete pattern repeats, each consisting of four textured rib rows and two star-stitch rows. Measure the panel before seaming; a finished circumference 1–2 inches smaller than the intended head measurement may provide negative ease, depending on yarn elasticity and stitch tension.
For a taller or shorter beanie, adjust the foundation chain length while maintaining an odd starting chain where appropriate for the stitch repeat. For a bunny version, replace the central pom-pom with two crocheted oval ears sewn symmetrically onto the upper sides, with an optional small white pom-pom at the back.
Pattern Abbreviations & Terminology
US crochet terms are used throughout this pattern.
-
Ch: Chain
-
St(s): Stitch(es)
-
Sl st: Slip stitch
-
Sc: Single crochet
-
Hdc: Half double crochet
-
BLO: Back loop only
-
RS: Right side
-
WS: Wrong side
Step-by-Step Toddler Beanie Crochet Pattern
The beanie begins as a flat rectangular panel, alternating textured ribbing with star-stitch bands. Once the panel reaches the required size, join its short edges, gather the crown, and crochet the ribbed brim directly onto the lower edge.
Step 1: Make the Foundation Chain and First Row
Begin with a foundation chain measuring approximately 8 inches (20.5 cm). This measurement determines the height of the rectangular panel before the crown is gathered.
-
Chain 53 loosely.
-
Turn the chain slightly to expose the back bumps, also called the mid-rib.
-
Insert the hook into the second back bump from the hook.
-
Work one single crochet into each back bump across the chain.
-
Turn your work.
Stitch count: 52 single crochet stitches.
Teaching tip: Working into the back bumps creates a neat foundation edge that is easier to align with the final row when seaming the hat.
Step 2: Create the Textured Ribbing (Row 2)
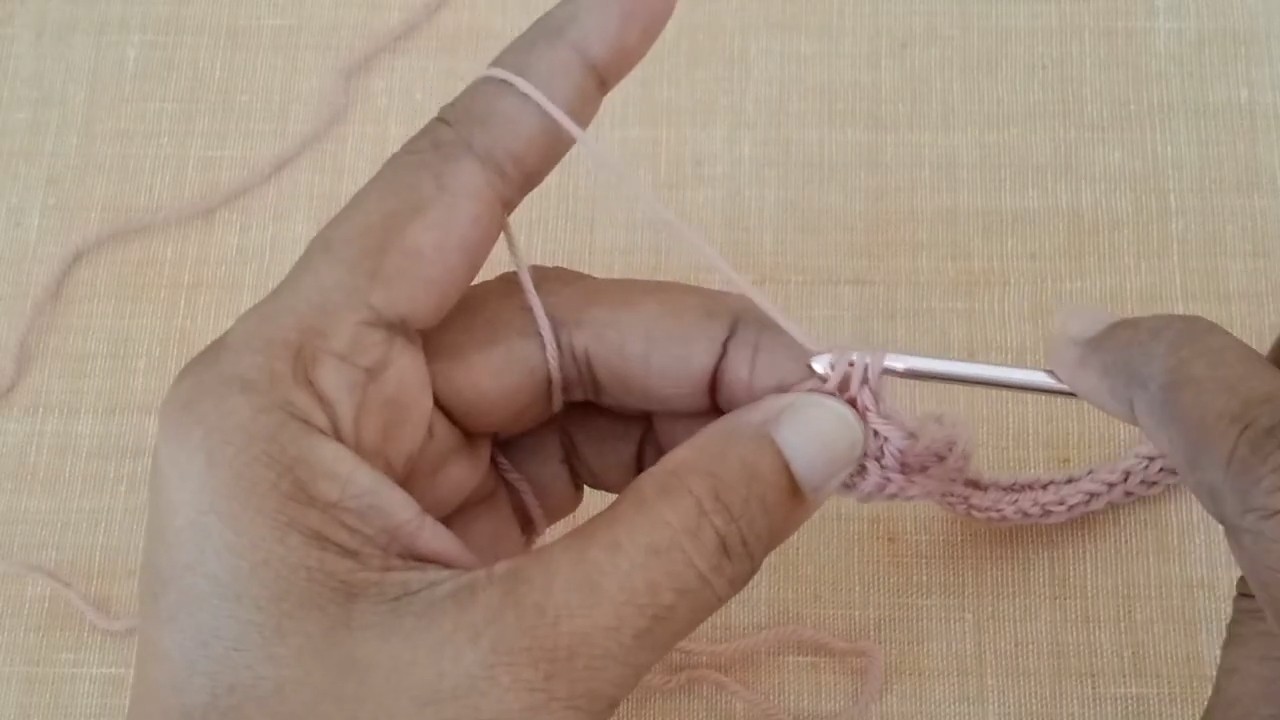
This modified stitch creates raised texture by working through the vertical strand of the previous stitch and the outer loop of the next base stitch. The turning chain provides an edge guide rather than an additional stitch.
-
Chain 2 and turn. Do not count these chains as stitches.
-
Skip the first stitch and work one half double crochet into the second stitch.
-
Insert the hook into the front-most vertical strand of the half double crochet just made.
-
Insert the hook into the back loop of the next base stitch.
-
Yarn over and pull up a loop, giving you three loops on the hook.
-
Yarn over and pull through all three loops.
-
Continue this textured stitch across the row until one stitch remains.
-
For the final stitch, insert the hook into the vertical strand of the previous stitch, then under both loops of the last base stitch. Yarn over, pull up a loop, and pull through all three loops.
-
Turn.
Stitch count: 52 stitches.
Teaching tip: Keep the textured stitches consistent in height. The last stitch uses both loops of the final base stitch, which helps maintain a cleaner edge for seaming.
Step 3: Repeat the Textured Ribbing (Rows 3-5)
These rows build the first complete textured band. Once the modified stitch feels familiar, the repeated movement becomes easier to maintain.
Row 3
-
Chain 2 and turn.
-
Skip the first stitch and work one half double crochet into the second stitch.
-
Continue the modified textured stitch across, working into the specified outer loop of each next base stitch.
-
Work one standard half double crochet into the top of the previous row’s turning chain at the end.
-
Turn.
Rows 4-5: Repeat Row 3 twice more.
Result check: You should now have four textured rib rows in total, counting Row 2. The panel should show a raised ribbed surface with reasonably straight side edges.
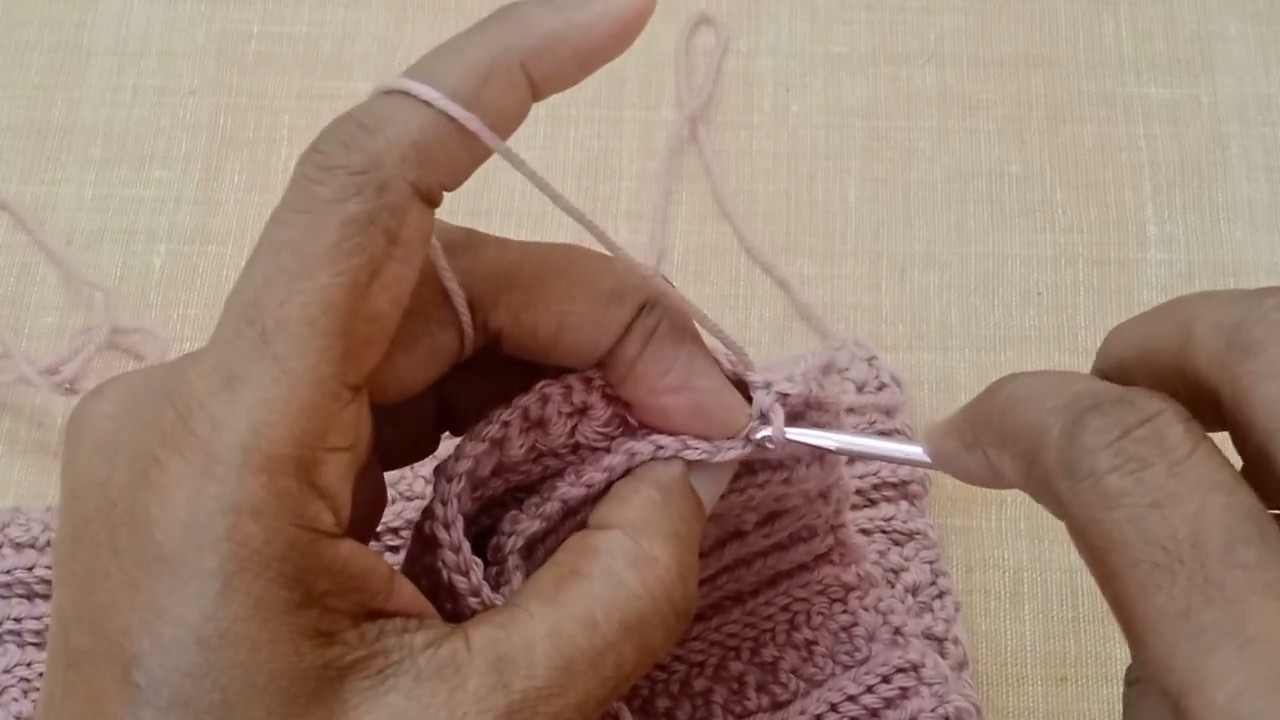
Step 4: Work the First Star-Stitch Row (Row 6)
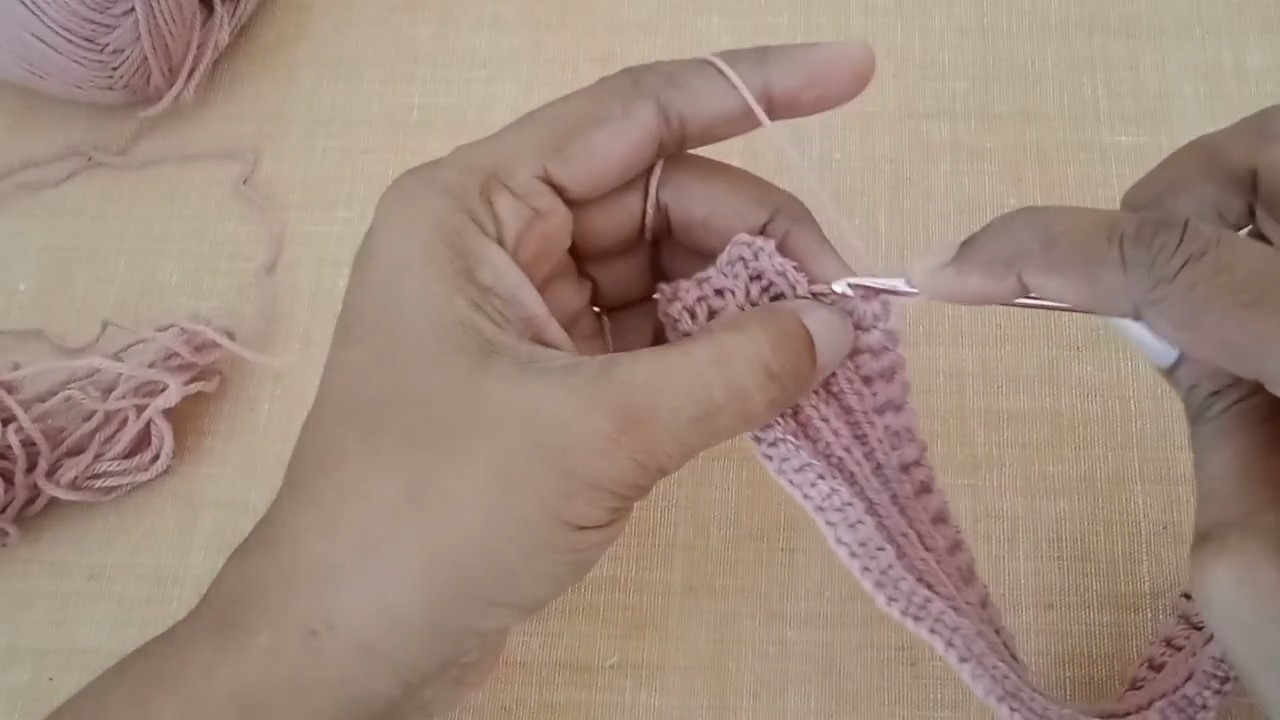
The star stitch creates the decorative band that contrasts with the ribbing. Each star is formed by pulling up loops from several nearby points and closing them together.
Start the first star
-
Chain 3 and turn.
-
Insert the hook into the second chain from the hook and pull up a loop.
-
Insert the hook into the third chain from the hook and pull up another loop.
-
Insert the hook into the outer loops of each of the next three base stitches, pulling up one loop from each stitch.
-
You should have six loops on the hook.
-
Yarn over and pull through all six loops together.
-
Chain 1 to lock the stitch and form its central eye.
Form the remaining stars
For each subsequent star:
-
Insert the hook into the eye of the star just completed and pull up a loop.
-
Insert the hook into the last vertical spike of that star and pull up a loop.
-
Insert the hook into the base stitch where the previous star’s last leg was worked and pull up a loop.
-
Pull up one loop in each of the next two base stitches.
-
With six loops on the hook, yarn over and pull through all six.
-
Chain 1 to form the next eye.
-
Continue across to the final edge.
-
Work one half double crochet into the top of the ending turning chain, then turn.
Teaching tip: The six loops must be gathered and closed together to form each star. Pulling the yarn too tightly can make it difficult to insert the hook into the next star’s eye.
Step 5: Complete the Star-Stitch Return Row (Row 7)
The return row fills the star eyes with single crochet stitches and creates a stable surface for the next textured band.
-
Chain 1 and turn.
-
Work one single crochet into the first edge stitch.
-
Work two single crochet stitches directly into the eye of each star across the row.
-
Work one single crochet into the top of the final stitch or chain.
Stitch count: 52 stitches.
Result check: The row should fill the star-stitch band without leaving large gaps between the stars.
Step 6: Repeat the Textured and Star-Stitch Bands
The remainder of the hat body follows the same six-row cycle: four rows of textured ribbing followed by two rows of star stitch.
Repeat this sequence until you have completed 13 full star-stitch bands, with textured ribbing between them.
The supplied pattern identifies Rows 8–79 as the approximate repeat section. Use the completed measurements as your main guide, because yarn thickness, hook size, and individual tension can affect the final dimensions.
Target panel measurements:
-
Approximately 46 cm (18 inches) across.
-
Approximately 20.5 cm (8 inches) tall.
Teaching tip: Measure the flat panel before joining it. The foundation chain determines the panel’s height, while the repeated rows build its width. The width should match your intended toddler circumference, allowing for the desired stretch and negative ease.
Do not fasten off after completing the panel. The next stage uses the finished rectangle to form the hat body.
Step 7: Join the Side Seam
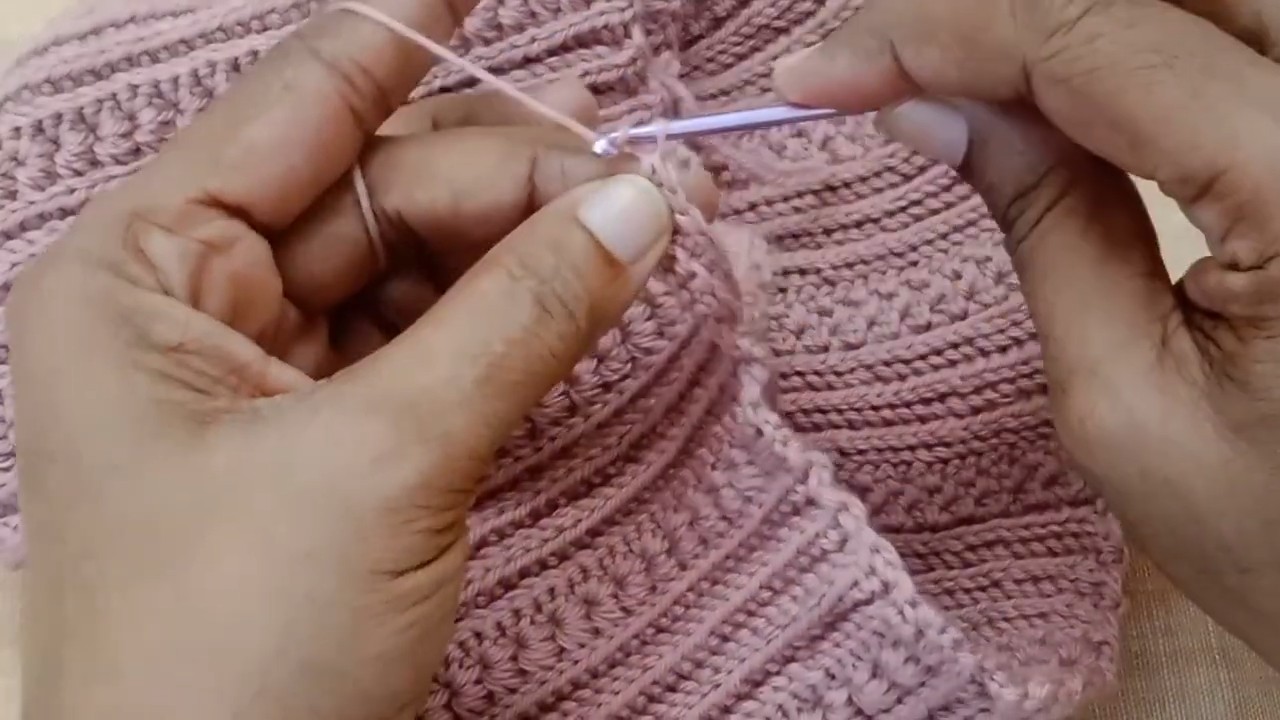
The rectangular panel now needs to be joined into a cylinder. Aligning the two short edges carefully helps the textured bands continue around the hat without a noticeable mismatch.
-
Fold the panel in half with the right sides facing each other and the wrong side facing outward.
-
Align the foundation edge with the final row, matching the star-stitch stripes and textured bands.
-
Chain 1.
-
Work a continuous slip stitch seam from the bottom edge to the top, catching one inner loop from the front edge and the corresponding loop from the back edge.
-
Fasten off, leaving a long tail of approximately 15–20 inches for gathering the crown.
-
Turn the cylinder right side out.
Result check: The panel should form a tube, with the decorative bands lining up as evenly as possible across the seam.
Step 8: Gather and Close the Crown
The open top of the cylinder becomes the crown of the beanie. A running stitch around the upper edge allows the opening to close into a small central point.
-
Thread the long yarn tail onto a blunt tapestry needle.
-
Weave the needle in and out through the openings along the top row, working evenly around the entire circumference.
-
Pull the tail gradually until the opening closes tightly.
-
Pass the needle back and forth through the gathered center several times from the inside to reinforce the closure.
-
Knot securely on the wrong side.
Teaching tip: Distribute the gathering evenly around the crown before pulling the yarn completely tight. This helps prevent bulky folds from forming on one side.
Step 9: Crochet the Perpendicular Ribbed Brim
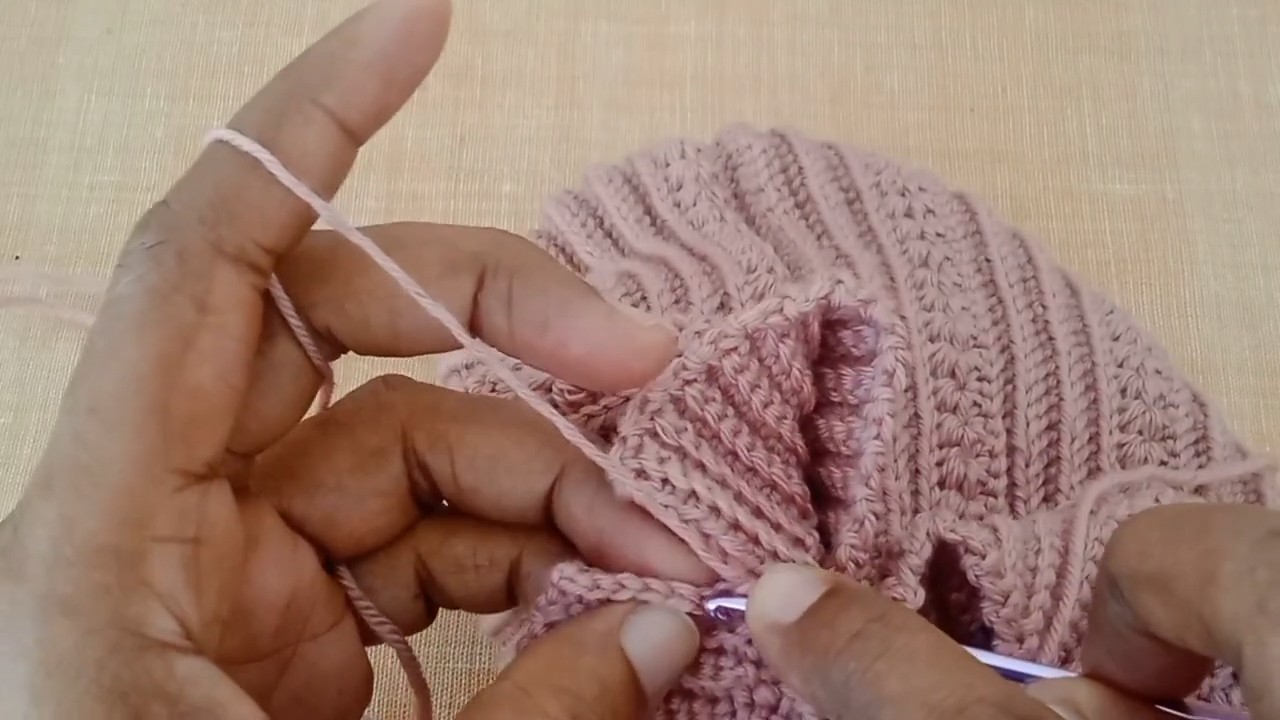
The brim is worked directly onto the lower edge of the beanie in short rows. Its vertical ribbing contrasts with the horizontal textured bands of the hat body and helps the lower edge sit neatly around the head.
Start the brim
-
Join yarn at the bottom seam.
-
Chain 10.
-
Starting in the second chain from the hook, work one single crochet into each chain, making nine stitches.
-
Slip stitch into the next two edge stitches along the beanie rim.
-
Turn.
Brim Row 2
-
Skip the two slip stitches.
-
Work one single crochet into the back loop only of each of the nine brim stitches.
-
Chain 1 and turn.
Brim Row 3
-
Work one single crochet into the back loop only across all nine stitches, moving back toward the hat edge.
-
Slip stitch into the next two edge stitches of the beanie body.
-
Turn.
Continue around the lower edge
Repeat Brim Rows 2 and 3 around the entire circumference of the beanie. The two slip stitches attach each short-row section to the next portion of the hat body.
Close the brim
When you have worked around the full lower edge, align the starting nine foundation stitches with the final nine stitches. Join both layers with slip stitches to form a neat seam. Fasten off and weave in the end.
Result check: The brim should have visible vertical ribs and fit evenly around the lower edge without pulling the hat body out of shape.
Step 10: Attach the Pom-Pom
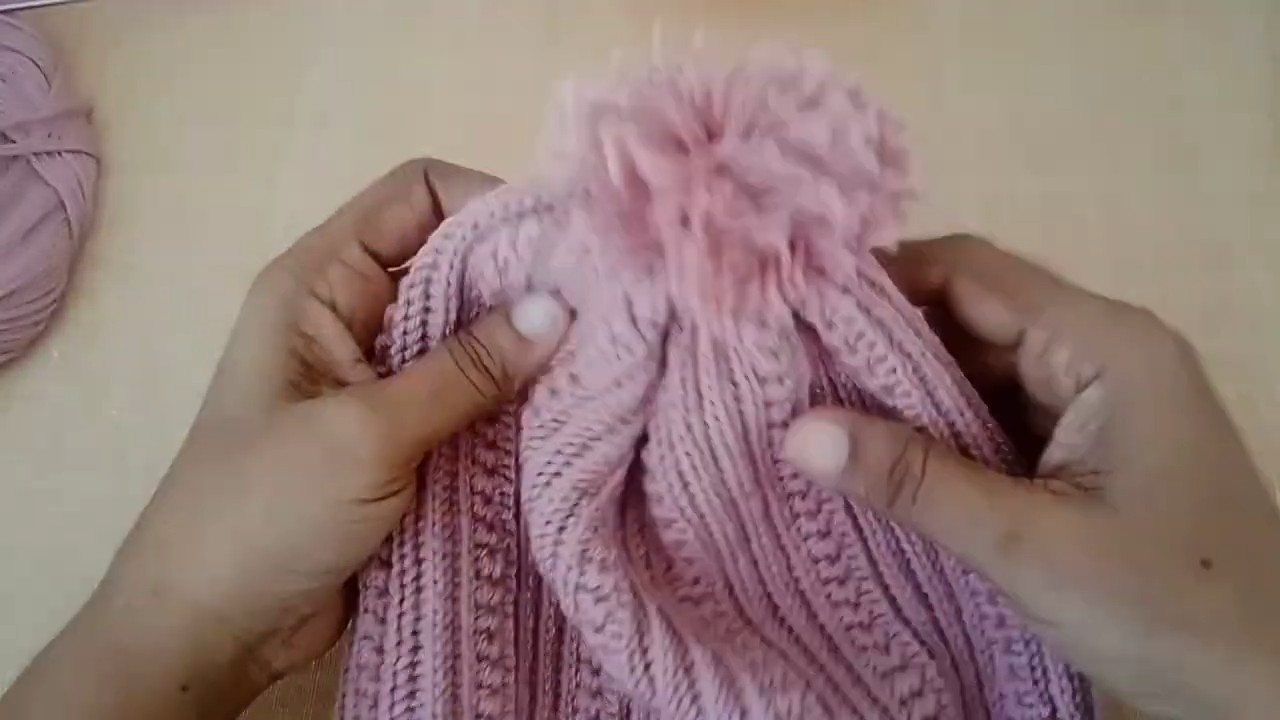
A pom-pom adds a finishing detail to the gathered crown. A yarn pom-pom can match the beanie, while a faux-fur option creates a contrasting texture.
-
Position the pom-pom over the gathered crown opening.
-
Use your crochet hook to pull its attachment strands through to the inside of the hat.
-
Tie the strands securely against the interior stitches with a firm double knot, or sew them through an interior button for extra stability.
-
Check that the pom-pom remains secure when gently handled.
Safety note: For toddler wear, ensure all attachments are firmly secured and regularly inspect them for loose parts. Avoid detachable decorations that could pose a choking hazard.
Finishing & Fit Check
Turn the beanie right side out and inspect the side seam, gathered crown, and brim join. Weave in any remaining yarn tails on the wrong side, keeping them hidden within matching stitches.
Try the beanie on only when appropriate and safe, checking that the brim sits comfortably and the crown provides enough depth without obstructing vision. If the panel feels too tight or loose, adjust the number of complete pattern repeats on a future version.
Bunny Beanie Variation
To turn this design into a bunny beanie, replace the central pom-pom with two separate crocheted oval ears.
-
Crochet two matching ears with enough structure to stand upright.
-
Sew them symmetrically onto the upper sides of the hat.
-
Add a small white pom-pom at the back lower edge if desired.
-
Secure every attachment firmly and check regularly for loose pieces.