Mohair-Style Crochet Beanie Pattern – Step-by-Step
Looking for a crochet beanie with a soft, fuzzy texture? This step-by-step tutorial guides you through ribbed stitches, tapered crown shaping, and folded brim finishing.
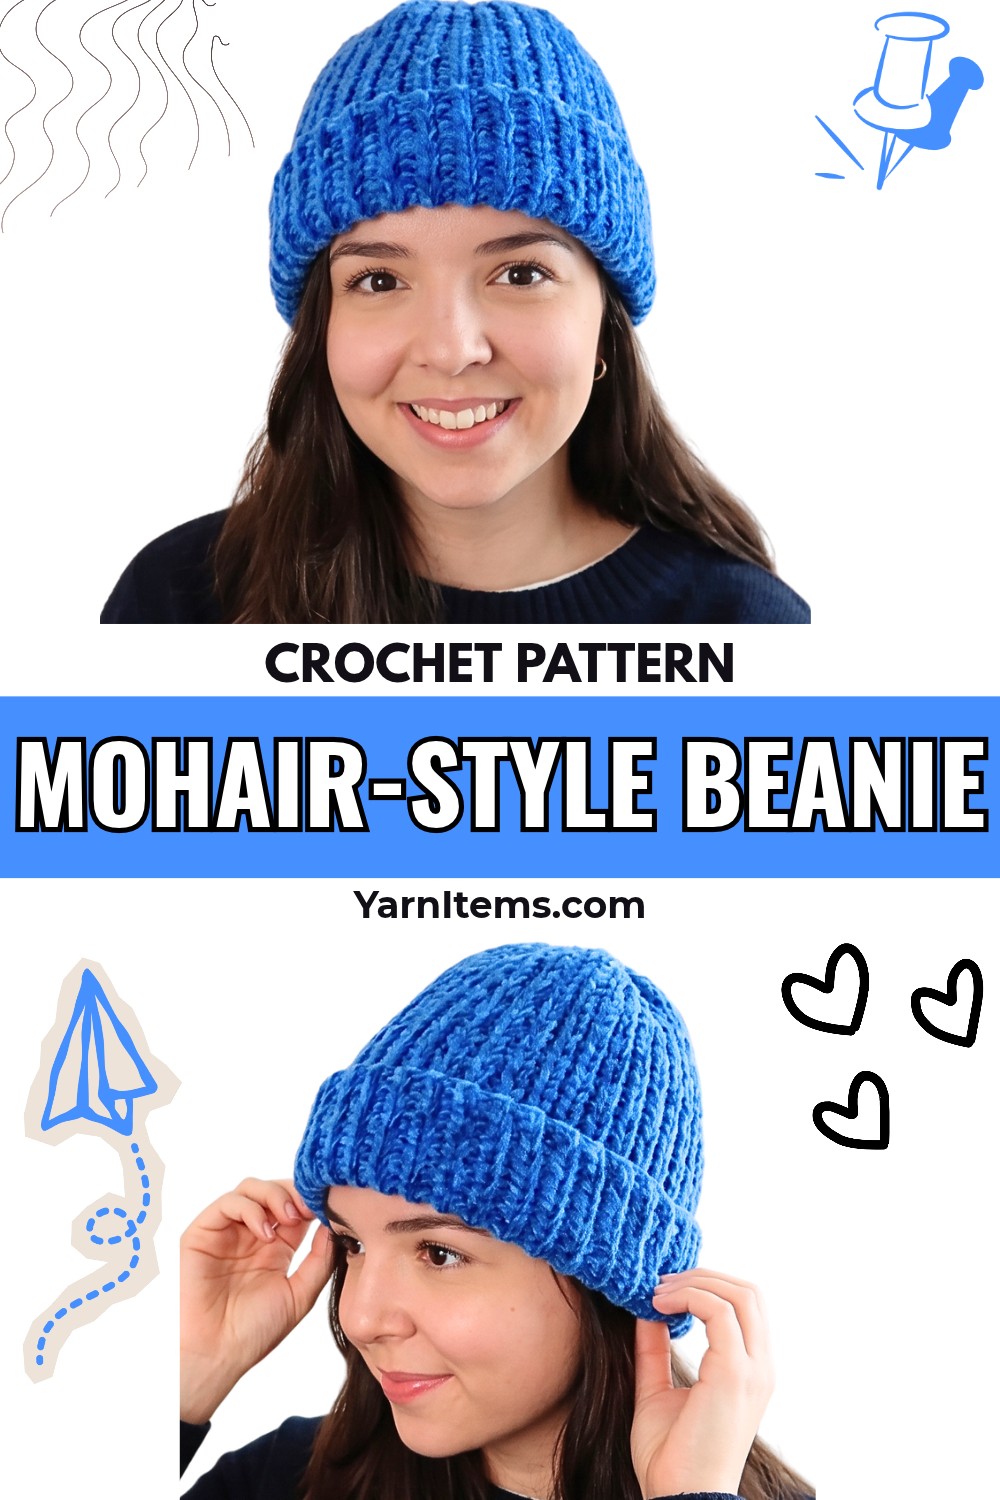
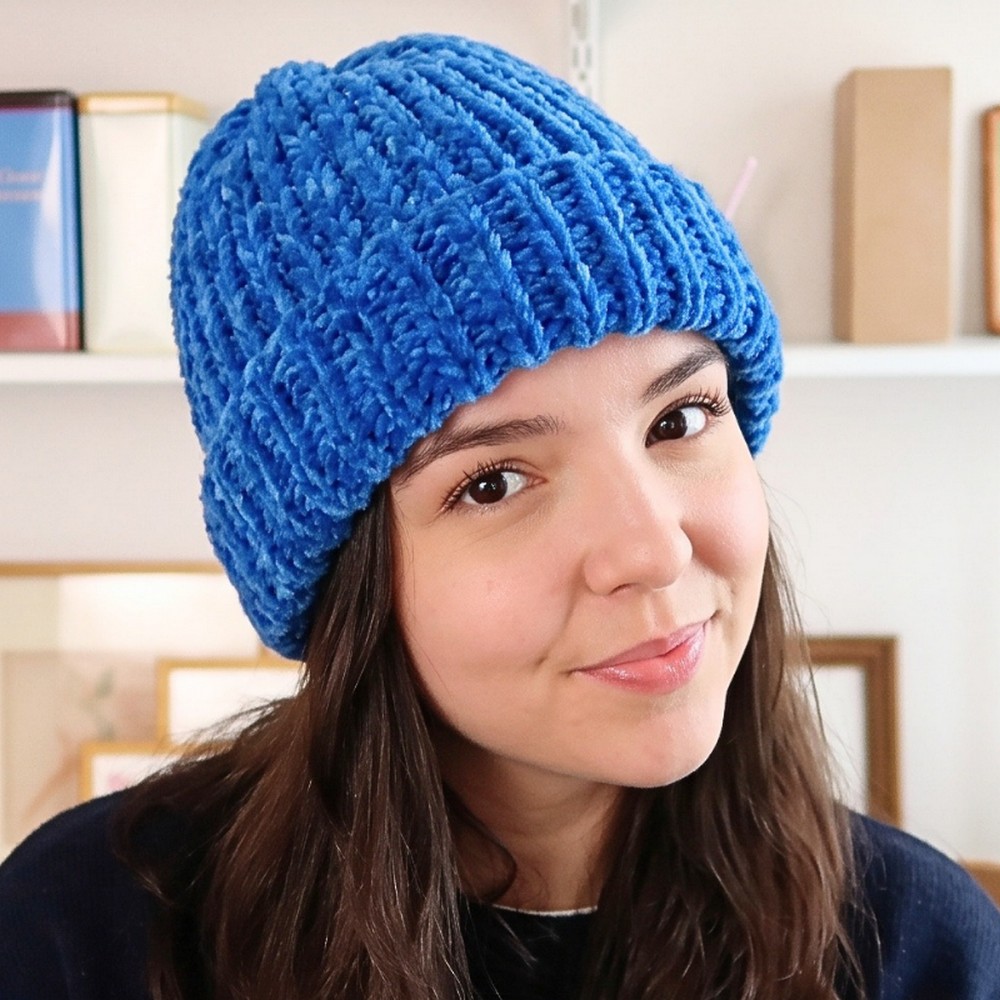
The finished crochet beanie features soft, fuzzy yarn, defined vertical ribs, and a folded brim for a classic, knit-look style. This crochet beanie combines cotton with fuzzy alpaca-silk yarn, creating lightweight texture and a rounded crown shaped through short rows.
Learn how crochet stitches, back-loop-only ribbing, and short-row shaping work together in this tutorial. Written instructions guide each stage, from foundation chain to seaming and closing the crown, with video guidance available in the supplied tutorial.
Credit eliznuts
Materials & Tools
-
Yarn A – Structure Yarn: Worsted-weight (Weight 4), 100% cotton yarn, such as Lion Brand 24/7 Cotton.
-
Yarn B – Fuzzy Yarn: Worsted-weight fuzzy alpaca-silk yarn, such as Drops Alpaca Silk. The original creator calls this mohair because of its fuzzy appearance. If using standard lace-weight mohair, hold two strands together to match the required thickness.
-
Crochet Hook: 4 mm hook. Using a smaller hook helps compress fuzzy fibers and create dense stitches.
-
Yarn Needle: For side seaming, closing the crown, and weaving in ends.
-
Scissors: For trimming yarn after finishing.
Finished Size and Fit
-
Bottom circumference: Approximately 19.5 inches (49–50 cm).
-
Height: Approximately 11 inches (28 cm), measured flat.
-
Construction: Worked flat in short rows, then seamed along the side and gathered closed at the crown.
-
Brim: Folded upward after finishing.
-
Fit adjustment: Add or remove complete pattern repeats to change circumference.
Cotton and alpaca-silk yarn create a lightweight option for indoor wear. Traditional wool can be substituted for extra warmth in colder weather, although yarn thickness and gauge may change.
Crochet Abbreviations
-
ch(s): Chain(s)
-
st(s): Stitch(es)
-
sl st: Slip stitch
-
sc: Single crochet
-
blo: Back loop only
-
Back bump: Horizontal loop along reverse side of foundation chain
-
Both strands: Hold Yarn A and Yarn B together and crochet through both as one working strand
Step-by-Step Crochet Beanie Pattern
Before You Begin: Hold Both Yarns Together
Keep cotton yarn and fuzzy yarn together throughout the pattern. Both strands must pass through every stitch, so cotton provides structure while fuzzy fibers create soft surface texture.
Maintain even tension. If one strand moves ahead of the other, pause and straighten the yarn before continuing. Use a 4 mm hook and avoid pulling the fuzzy strand too tightly, which can make stitches difficult to see and work into.
Helpful tip: Check every stitch to confirm the hook catches both yarn strands. This becomes especially important when working into back bumps and back loops.
Step 1: Make Foundation Chain
Start with a slip knot using both yarns held together. Place the loop on a 4 mm hook and tighten gently without crushing fuzzy fibers.
-
Chain 43 stitches, catching both strands in every chain.
-
Check chain length; it should measure approximately 11 inches (28 cm).
-
Make 1 additional turning chain, bringing the total to 44 chains.
-
Turn the chain over to expose horizontal back bumps along its reverse side.
Teaching tip: Working into back bumps creates a cleaner, more even edge for later seaming. If chain feels tight, loosen your tension before starting first row.
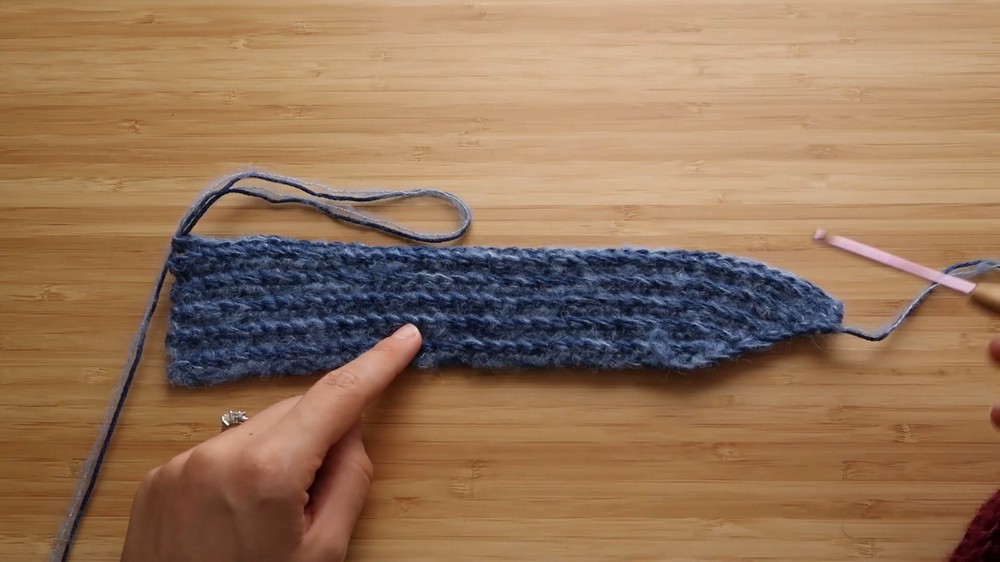
Step 2: Work First Short Row
First row establishes crown shaping. Instead of working across all 43 foundation chains, leave some chains unworked so one edge remains shorter than other.
-
Skip the first chain from the hook.
-
Work 34 single crochet stitches into back bumps of foundation chain.
-
Make 1 slip stitch into next chain bump.
-
Leave remaining chain bumps unworked.
Check your work: First row should cover only part of foundation chain. Unworked chains are intentional; they allow hat to taper toward crown rather than forming straight rectangular edges.
Step 3: Complete Return Row
Return rows build ribbed fabric while keeping short-row edge neat.
-
Turn work without making chain 1.
-
Pull loop on hook slightly larger to provide slack.
-
Insert hook through both loops of the slip stitch made at the end of the previous row.
-
Work 1 single crochet into that slip stitch.
-
Continue with single crochet through back loop only across remaining stitches toward bottom edge.
Why this matters: Working the first stitch through both loops anchors the short-row edge. Skipping chain 1 prevents unnecessary bulk at this point.
Step 4: Extend Short Rows Gradually
Each new forward row extends slightly farther along foundation chain. Return rows keep ribbed texture consistent.
Row 3
-
Chain 1 and turn.
-
Work 35 single crochet stitches through back loop only.
-
Make 36th single crochet into next unworked back bump of original foundation chain.
-
Slip stitch into the following chain bump.
Row 4
-
Turn work.
-
Loosen loop slightly.
-
Work 1 single crochet through both loops of slip stitch.
-
Continue single crochet through back loop only down the row.
Row 5
-
Chain 1 and turn.
-
Work 37 single crochet stitches through back loop only.
-
Work 38th single crochet into next unworked chain bump.
-
Slip stitch into following chain bump.
Row 6
-
Turn work.
-
Work 1 single crochet through both loops of slip stitch.
-
Continue single crochet through back loop only to end.
Teaching tip: Keep forward rows and return rows distinct. Forward rows extend shaping by adding stitches into unused foundation-chain bumps; return rows travel back across existing fabric.
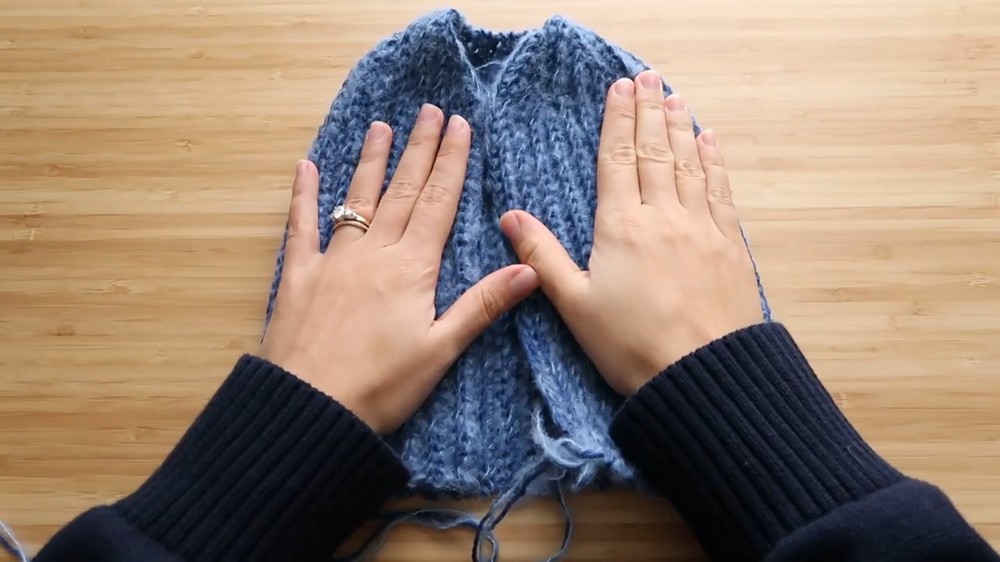
Step 5: Continue First Ten-Row Pattern
Follow remaining rows to complete first pattern section.
-
Row 7: Chain 1, turn, work 39 single crochet stitches through back loop only, then work 40th stitch into next unworked chain bump. Slip stitch into following chain bump.
-
Row 8: Turn, work 1 single crochet through both loops of slip stitch, then work single crochet through back loop only down row.
-
Row 9: Chain 1, turn, work 41 single crochet stitches through back loop only.
-
Row 10: Work 1 single crochet into final chain bump, then 1 slip stitch into last remaining chain bump. Turn and work return row, making 1 single crochet through both loops of slip stitch followed by single crochet through back loop only down row.
Check your work: Short-row edge should expand gradually while opposite edge forms continuous ribbing. Avoid pulling slip stitches too tightly because tight loops can make return rows difficult.
Step 6: Repeat Short-Row Pattern
Continue established short-row rhythm, using completed long edge as new base for next pattern block.
-
Repeat the pattern sequence, following original tutorial’s progression from 34 stitches toward 42 stitches.
-
Complete 7 full pattern repeats, or continue until bottom edge measures approximately 19.5 inches (49–50 cm) around intended head fit.
-
On final repeat, stop 2 rows early. Skipping final two rows positions working yarn at crown edge for closing top.
Fit tip: Measure bottom edge as fabric grows. Adding or removing complete repeats adjusts circumference while preserving ribbed texture.
Step 7: Prepare Yarn Tail
Once required length is reached, prepare enough yarn for side seam and crown closure.
-
Estimate tail length equal to twice hat height, plus extra yarn for security.
-
Cut yarn.
-
Chain 1 with loop remaining on hook.
-
Pull yarn tail completely through loop to fasten off.
-
Thread tail through yarn needle.
Keep tail long enough to travel along side seam and close crown without running short.
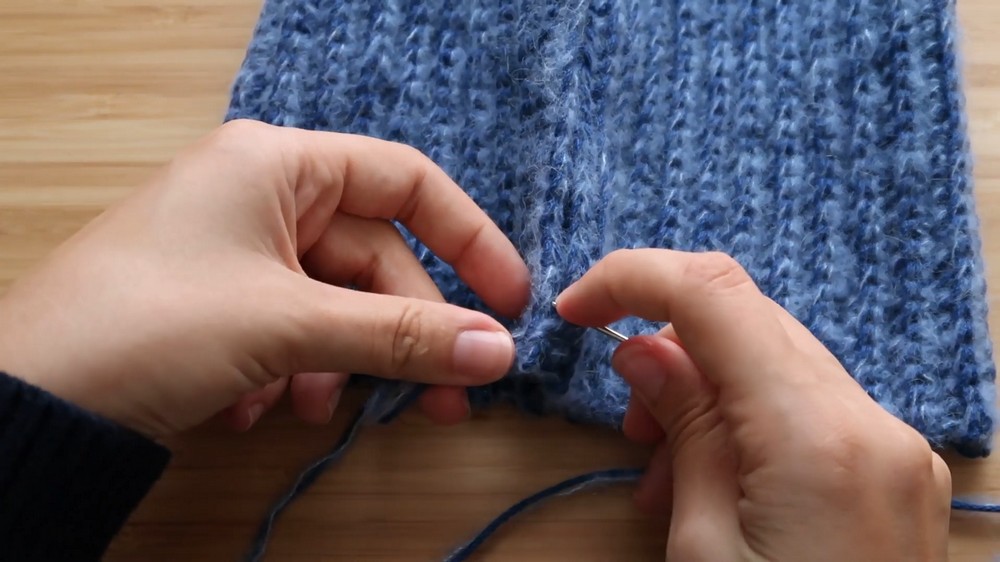
Step 8: Seam Side Edges
Join two vertical edges to form hat tube while keeping ribbed texture aligned.
-
Turn beanie with wrong side facing outward.
-
Bring first and last vertical edges together.
-
Locate outer V-shaped stitches along both edges.
-
Starting at bottom brim, insert needle through right loop of right-side V and left loop of left-side V.
-
Pull yarn through gently and continue mattress-style seaming upward to crown.
Teaching tip: Match corresponding edge stitches as you sew. Pull seam snug enough to close gap, but not so tightly that fabric puckers or loses stretch.
Step 9: Close Crown Opening
Short rows converge at top, leaving small opening that needs to be gathered closed.
-
Use remaining yarn tail and needle to weave in and out around perimeter of crown opening.
-
Catch fabric securely around opening rather than stitching only through surface fibers.
-
Pull yarn firmly to draw opening closed.
-
Secure closure with knot against starting tail; original tutorial recommends knotting three times for extra security.
Check your work: Crown should close fully without large hole. If small gap remains, pass needle across opening a few times from different directions before securing yarn.
Step 10: Finish Folded Brim
Finishing gives beanie its final shape and exposes soft, ribbed texture.
-
Weave in remaining yarn ends on wrong side, including any joining knots from replacement skeins.
-
Turn beanie right side out.
-
Fold bottom brim upward evenly around circumference.
-
Smooth ribbed fabric gently so vertical lines sit neatly.
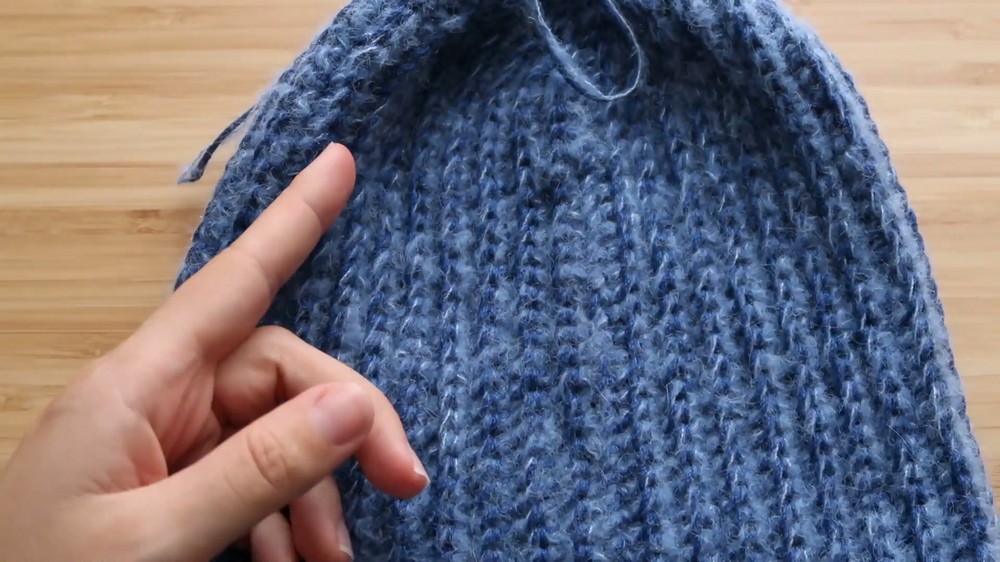
The finished beanie should have rounded crown, soft fuzzy surface, defined vertical ribbing, and folded brim. Cotton yarn provides structure while fuzzy alpaca-silk yarn adds its mohair-style appearance.
Customizing Fit and Warmth
-
Adjust circumference: Change number of complete pattern repeats to make beanie smaller or larger.
-
Choose warmer fiber: Substitute traditional wool for colder weather, allowing for possible differences in gauge.
-
Preserve fuzzy texture: Keep both yarn strands together and use consistent tension throughout.
-
Check brim depth: Fold brim evenly after finishing to achieve intended look.