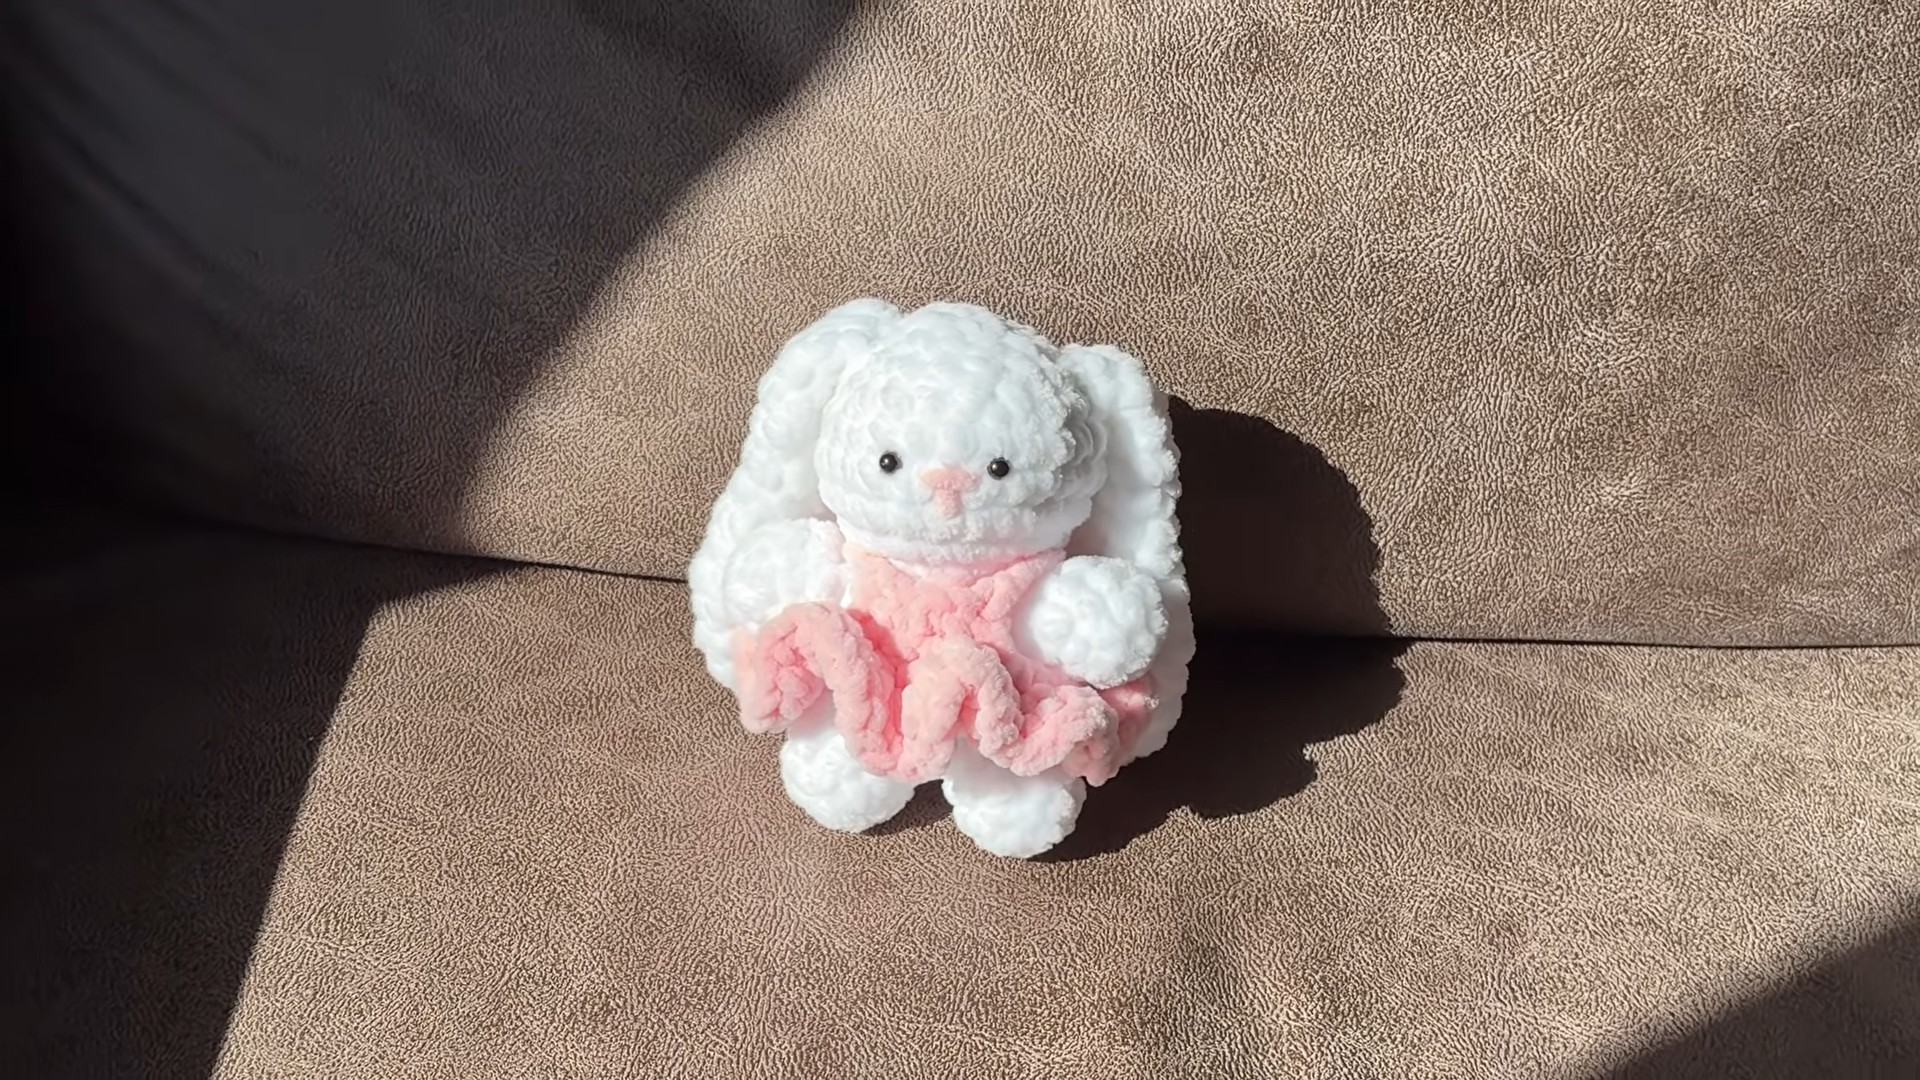
How to Crochet a Cute Plushie Bunny
A soft plush bunny comes together from simple crocheted pieces, with a careful leg join, gentle stuffing, and small facial details that give it a sweet, finished character.
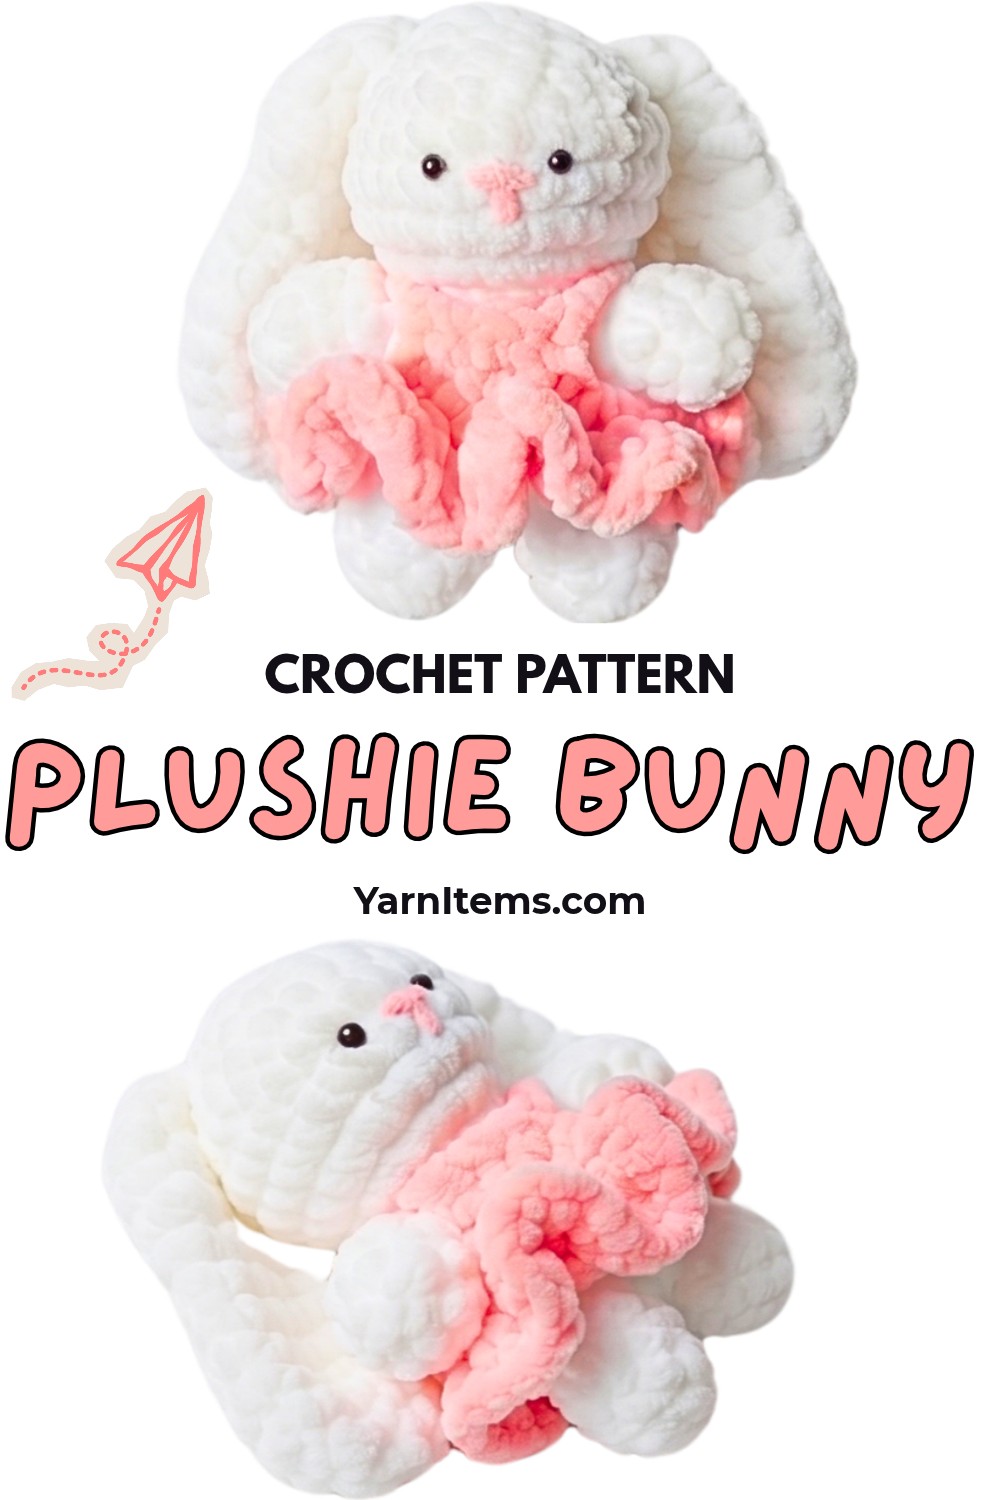
Plush yarn can make even a simple crocheted shape feel soft and expressive. For this bunny, the rounded body, floppy ears, and small embroidered features all start as separate pieces, so the finished shape depends on how carefully you join and position those crochet pieces.
One detail I would pay particular attention to is the point where the two legs become the body. That joining round establishes the bunny’s center, and the stitch marker you place there helps keep the following rounds oriented correctly. Once the body begins to decrease, stuffing also becomes part of the shaping process, so adding it gradually gives you more control over the final rounded form.
Credit dreampls
Materials & Tools Needed
- Plush yarn: Any preferred color
- Crochet hook: A size suitable for your yarn, commonly around 4–5.5 mm for plush yarn
- Polyester fiberfill: For stuffing the body, arms, legs, and head
- Safety eyes: Approximately 6–10 mm
- Yarn needle
- Scissors
- Stitch markers, optional but helpful for tracking rounds
Finished Size & Customization Ideas
The finished bunny size depends on the yarn and hook you use. With plush yarn, the bunny typically measures about 8–12 cm tall.
You can personalize the bunny by:
- Changing the yarn color
- Adding a bow, buttons, or mini scarf
- Using pastel shades
- Choosing seasonal colors
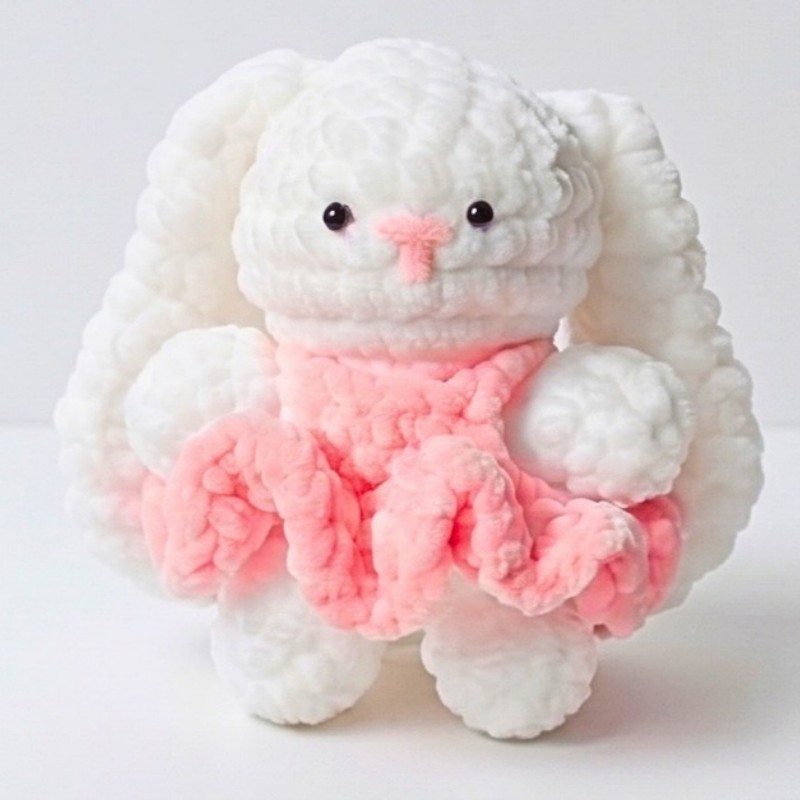
- Adding the optional dress
Changing yarn weight will also change the final size and proportions, so consider the hook size and finished shape together when substituting yarn.
Pattern Abbreviations & Terminology
US crochet terminology is used throughout.
- sc – Single Crochet
- st(s) – Stitch(es)
- inc – Increase; work 2 sc in the same stitch
- dec – Decrease; crochet 2 stitches together
- MR – Magic Ring
- sl st – Slip Stitch
- ch – Chain
- FO – Fasten Off
How to Crochet a Cute Plushie Bunny
Crochet the Arms
Make 2 arms.
Round 1: Start with a magic ring and make 7 sc into the MR. Pull the short tail to close the ring. Join with a sl st into the first sc. (7 sts)
Round 2: Make 7 sc, working 1 sc in each stitch. Use a stitch marker in the first stitch if needed.
Rounds 3-8: Continue working 7 sc in each round.
Finish: After the last round, ch 1, cut the yarn, and leave a short tail for sewing. Tighten the starting yarn tail and hide it inside the arm. Stuff lightly.
Repeat the same instructions for the second arm.
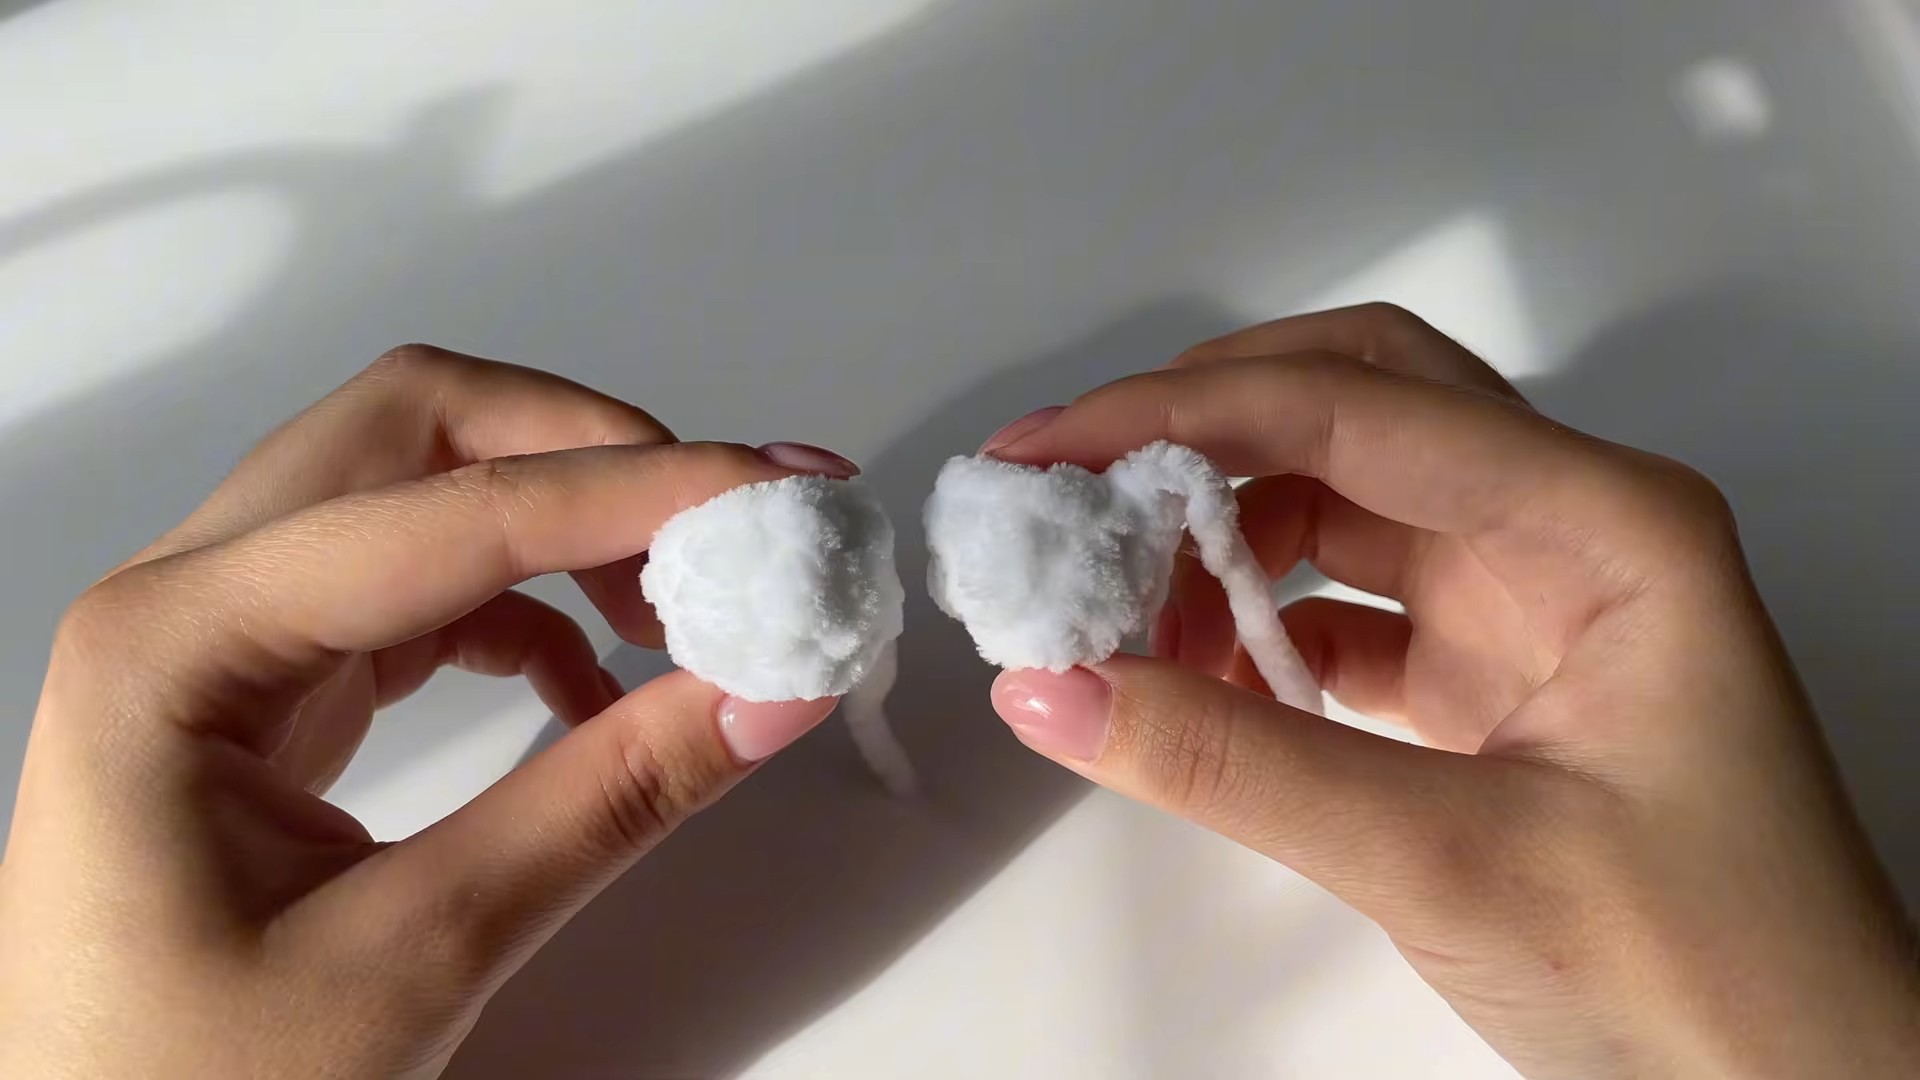
Keep the Arms Lightly Stuffed
The arms only need enough stuffing to give them some shape. Filling them too firmly can make them bulky where they meet the body and can make sewing them in place more difficult.
Make the Legs
Make 2 legs.
Round 1: Start with an MR and make 4 sc into the ring. Pull the short yarn tail to close the ring and join with a sl st. (4 sts)
Round 2: Increase in each stitch around. (8 sts)
Round 3: Work 8 sc around. (8 sts)
Round 4: Work 8 sc around. (8 sts)
For the first leg, fasten off after the final round and leave a small tail.
For the second leg, do not fasten off. Continue directly to the joining step.
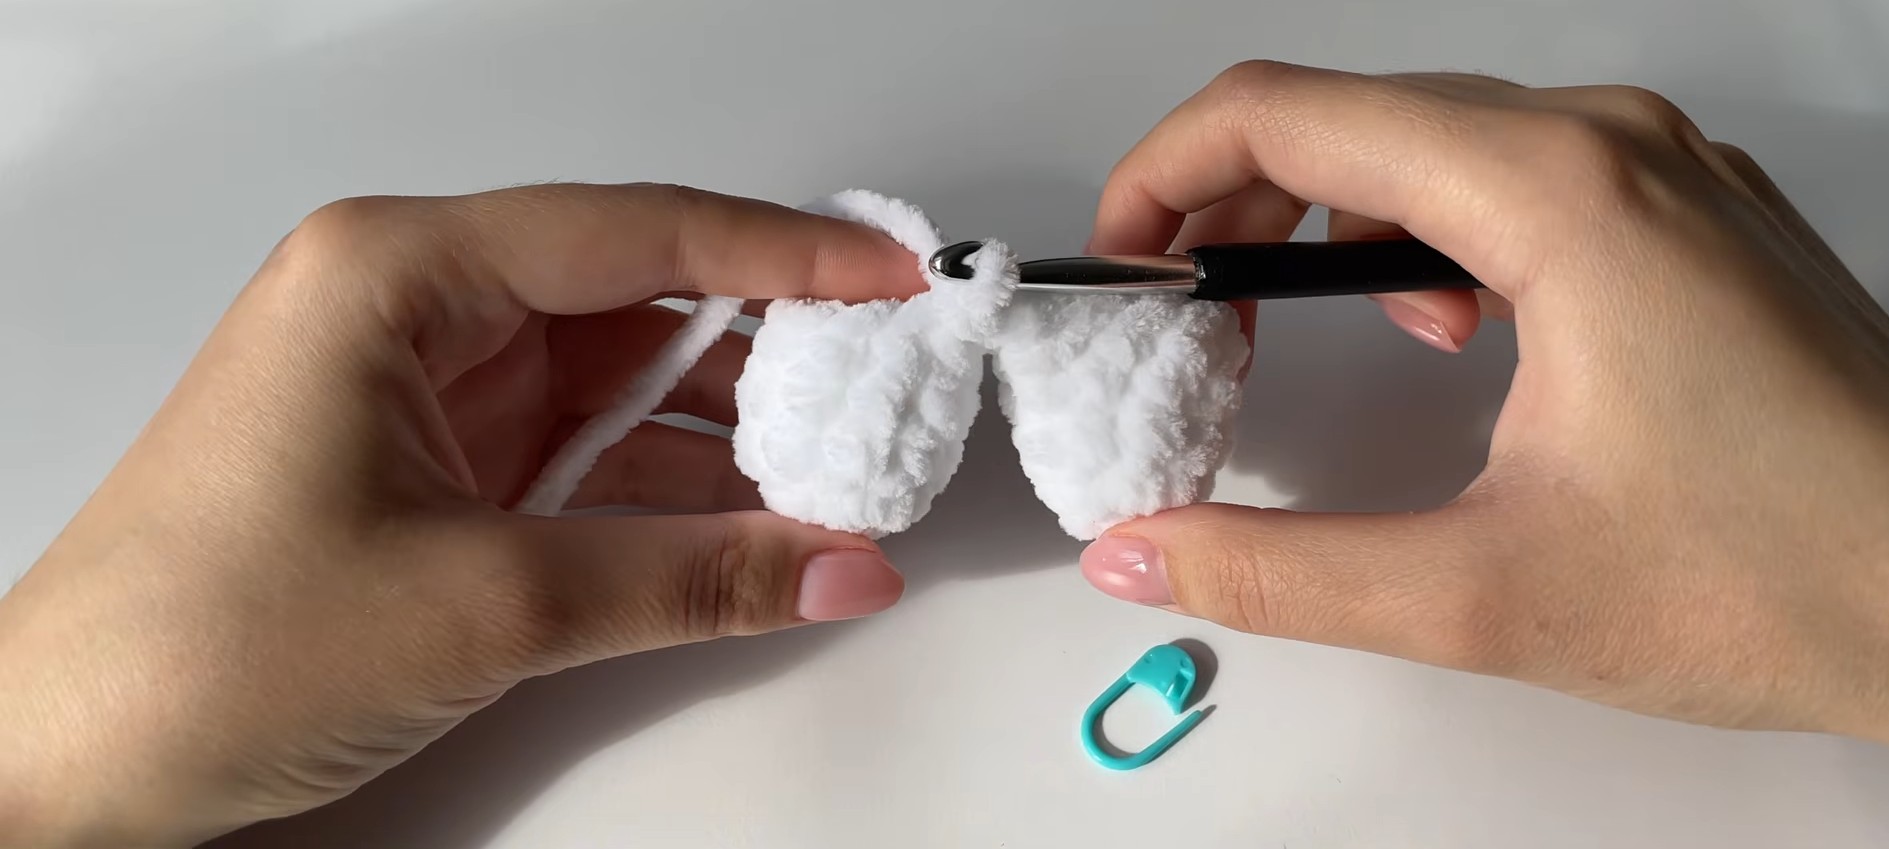
Join the Legs and Begin the Body
After completing the second leg, ch 1.
Insert the hook into a stitch of the first leg and make 1 sc. Place a stitch marker on this stitch to mark the beginning of the round.
Joining Round: Work 8 sc around the first leg, make 1 sc in the chain between the legs, work 8 sc around the second leg, then make 1 sc in the other chain between the legs. (18 sts)
Check the Join Before Continuing
Place the two legs flat and look at them from the front. They should point in the same direction, with the connecting chain sitting naturally between them.
This small check matters because the joining round becomes the foundation of the body. If the legs are twisted at this stage, the problem will continue through the following rounds.
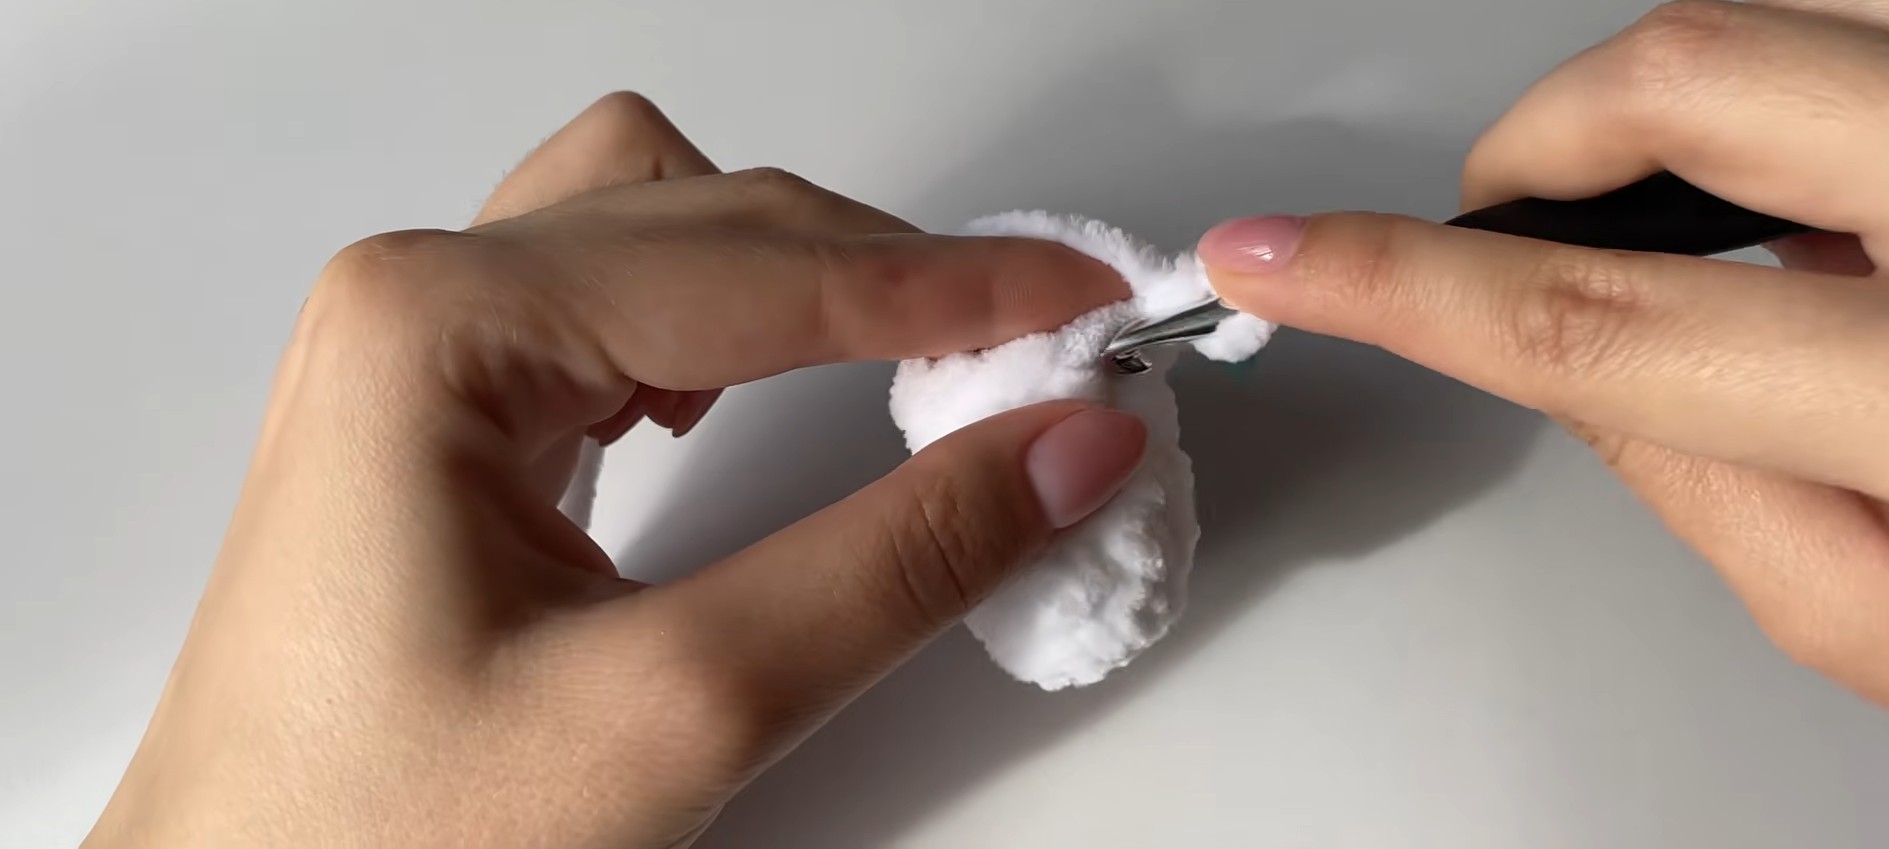
Crochet the Body
Continue working in the round.
Body Rounds: Work 18 sc in each round for a few rounds, as described in the tutorial.
Keep using the stitch marker to identify the beginning of the round. With plush yarn, the stitches can be difficult to distinguish, so counting and marking are particularly useful here.
Attach the Arms
Work 4 sc on the body.
Align one arm with the body. Insert the hook through a stitch of the arm and the body, then work 1 sc to attach them. Continue attaching across 7 stitches of the arm.
Work 8 sc around the body.
Attach the second arm across 7 stitches using the same method.
Complete the round with 4 sc. (32 sts)
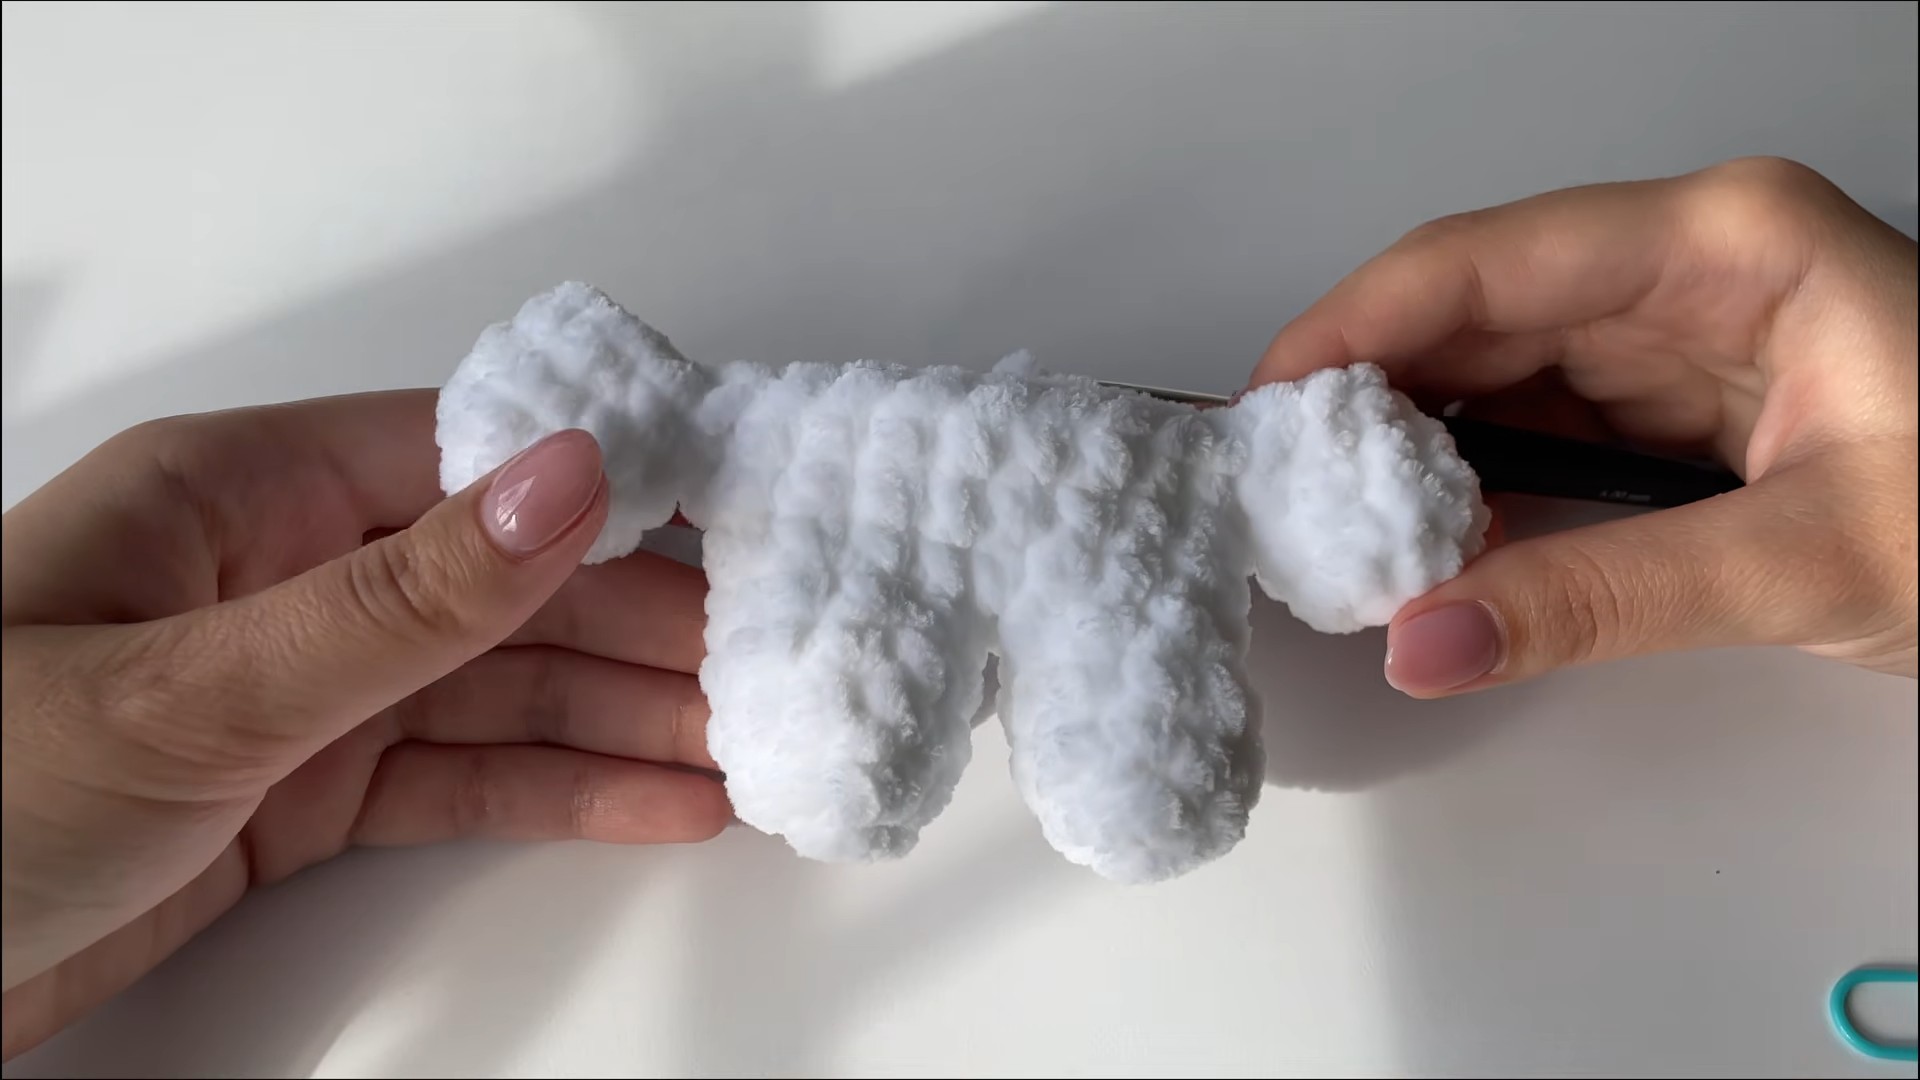
Check the Arm Placement
Before finishing the attachment, look at the bunny from the front.
The two arms should sit at approximately the same height. If one is noticeably higher or angled differently, correcting it now is easier than adjusting the finished body.
Shape the Body
Work one plain round first.
Next Round: Work 1 sc in each stitch around.
Then begin narrowing the body.
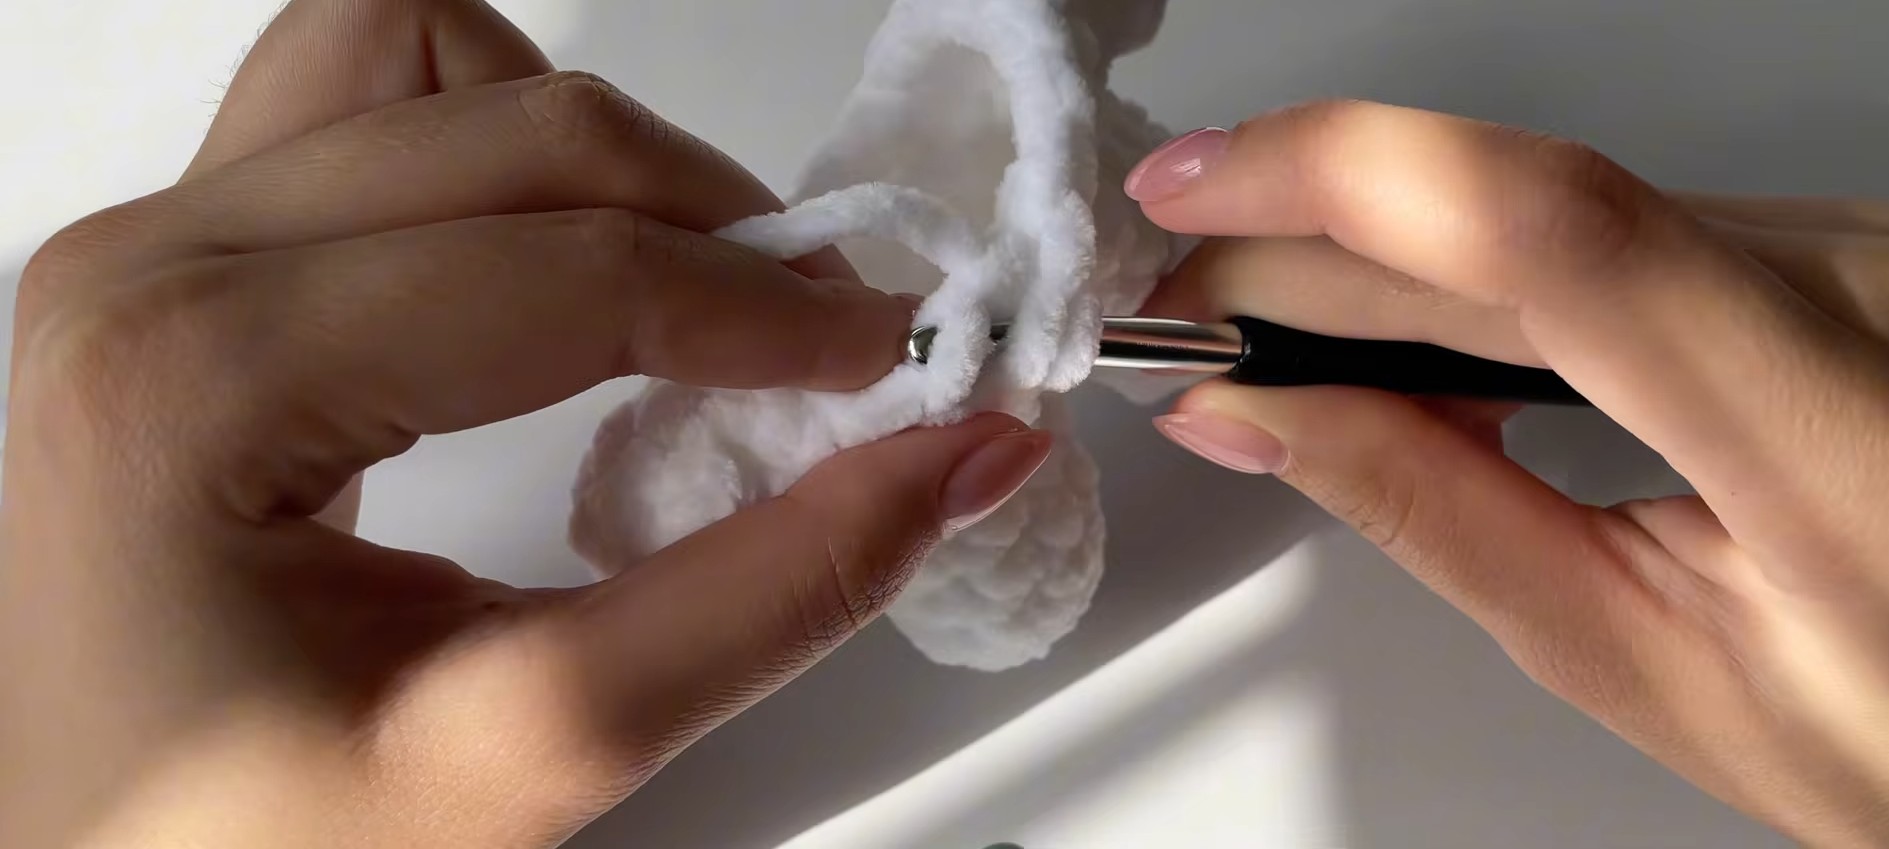
Decrease Round 1: Make 6 dec around, working through the front loops as instructed. (26 sts)
Decrease Round 2: Continue decreasing in the same manner until you reach 18 sts.
Add the Stuffing Gradually
Begin stuffing before the opening becomes too small.
Add small amounts at a time, working the filling into the lower body before adding more toward the top. This allows you to check the shape as it develops instead of trying to correct an unevenly filled body through a tiny opening.
Aim for a firm, rounded shape without stretching the stitches.
Crochet the Head
The head begins with increases, stays at its widest point, and then narrows through decreases.
Round 1: Increase in all stitches. (18 sts)
Round 2: 1 sc, inc around. (24 sts)
Rounds 3-5: Work 24 sc in each round.
Begin decreasing:
Next Round: 4 sc, dec around.
Following Round: 3 sc, dec around.
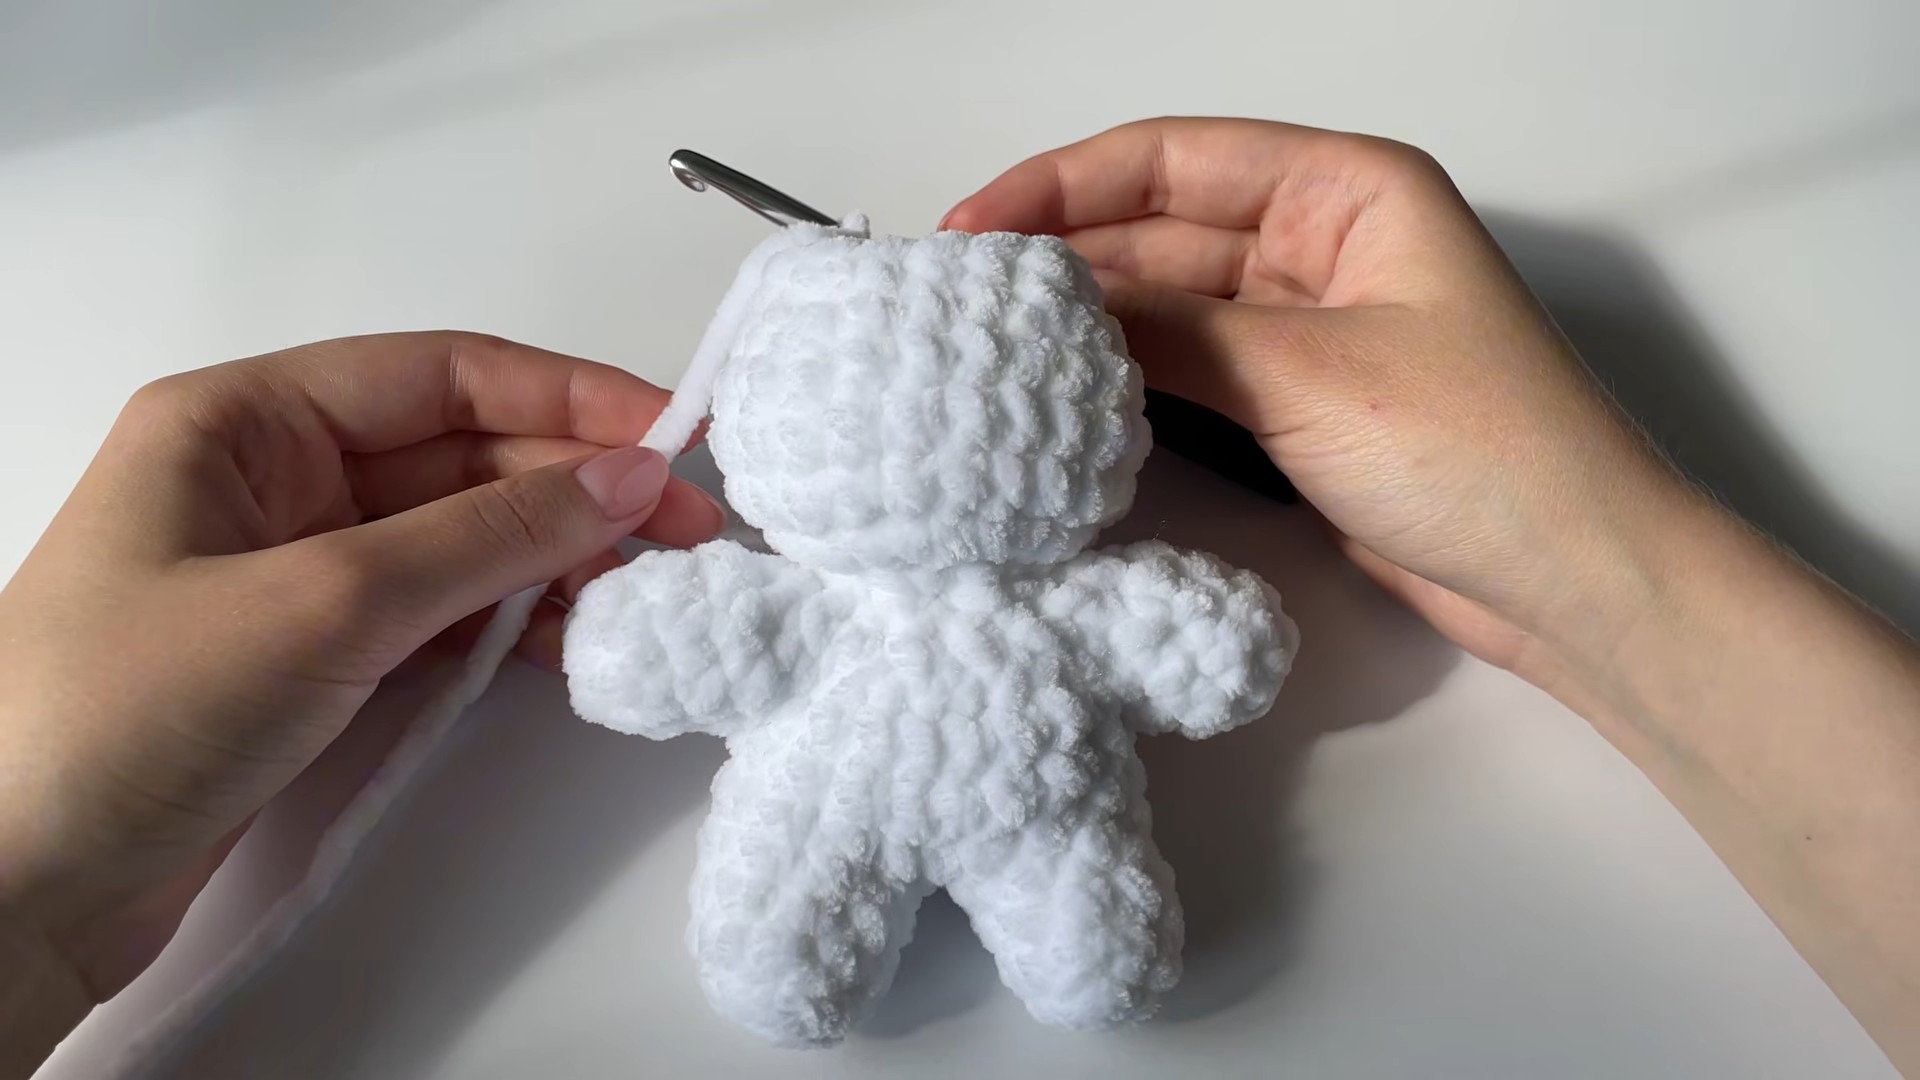
Continue the decrease pattern shown in the tutorial until 6 sts remain, adding stuffing as needed to maintain the rounded shape.
Watch the Head Shape While Stuffing
The filling should support the head rather than force it into a hard, overfilled ball. Add it gradually and check the shape from several angles.
A quick front and side view can reveal flat areas that are easy to miss when you are looking directly into the opening.
Close the Head
After reaching the final 6 stitches, leave a long yarn tail.
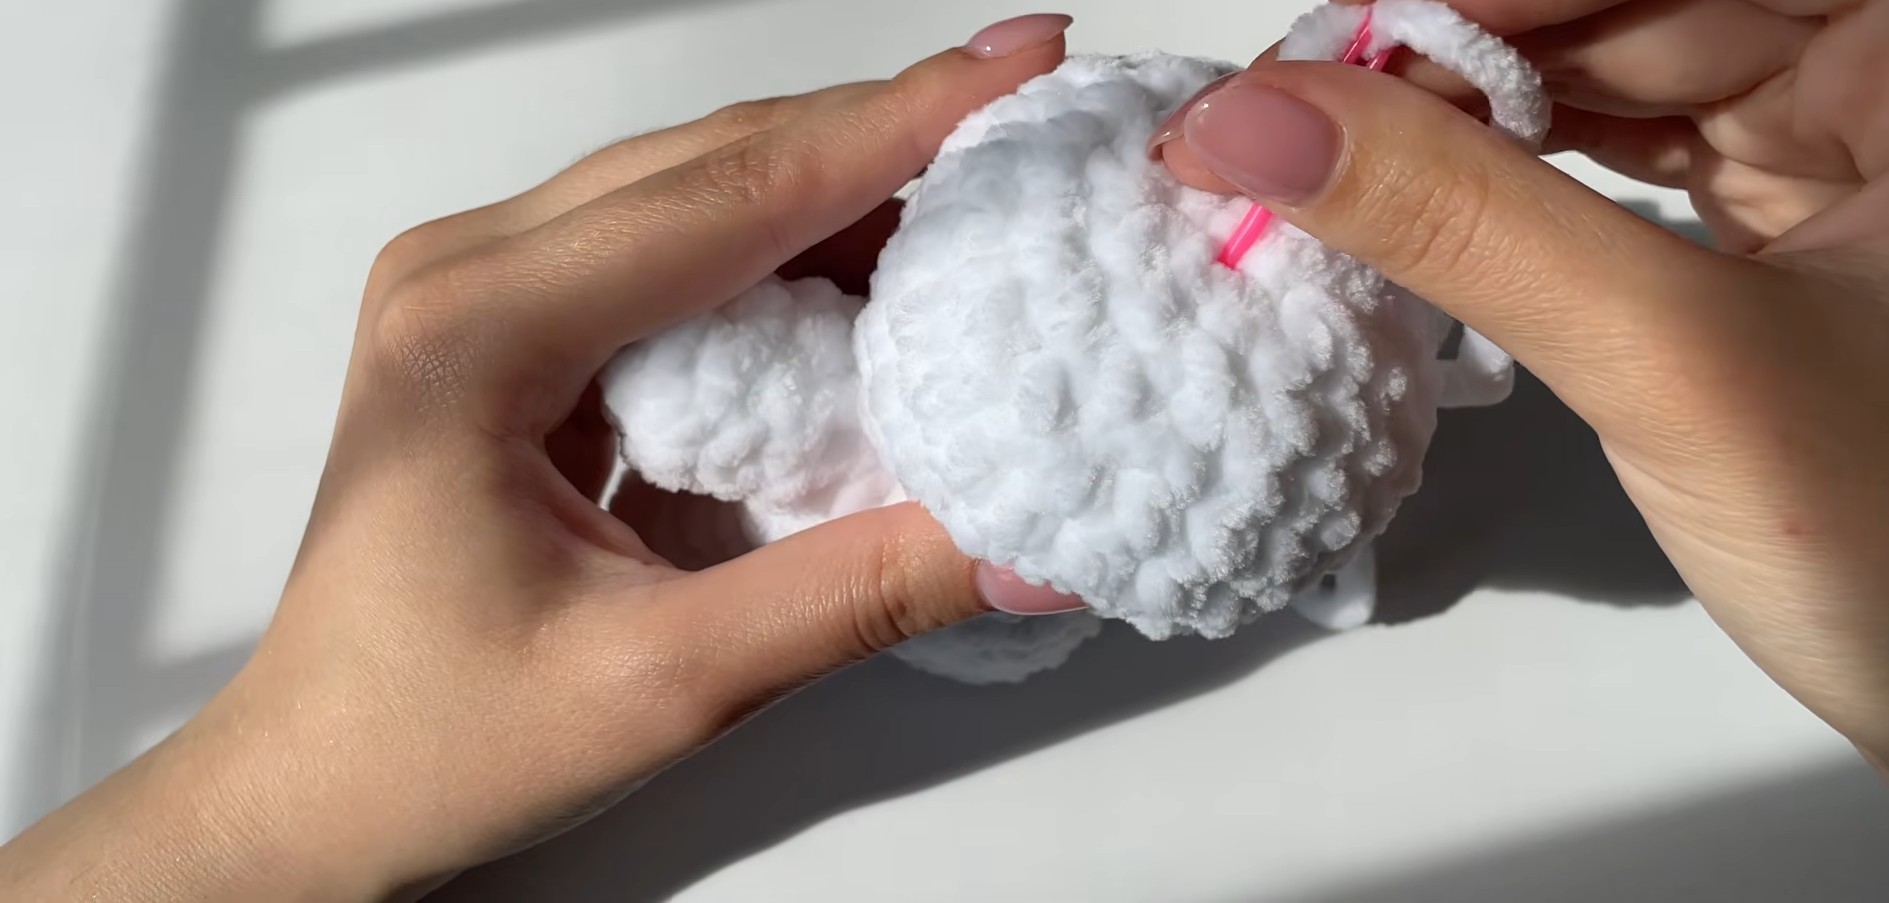
Thread the tail onto a yarn needle and weave it through the front loops of the remaining stitches. Pull the yarn to close the opening and secure it with a knot.
Insert the needle into the head and bring it out some distance away. Pull gently, trim the excess yarn close to the surface, and allow the remaining tail to disappear inside the stuffing.
Make the Ears
Make 2 ears.
Round 1: Start with an MR and make 6 sc in the ring. Join with a sl st. (6 sts)
Round 2: Increase in each stitch around. (12 sts)
Round 3: 1 sc, inc around. (18 sts)
Rounds 4–5: Work 18 sc per round.
Begin decreasing:
Next Round: 7 sc, dec around. (16 sts)
Following Round: Work 16 sc around.
Next Round: 6 sc, dec around. (14 sts)
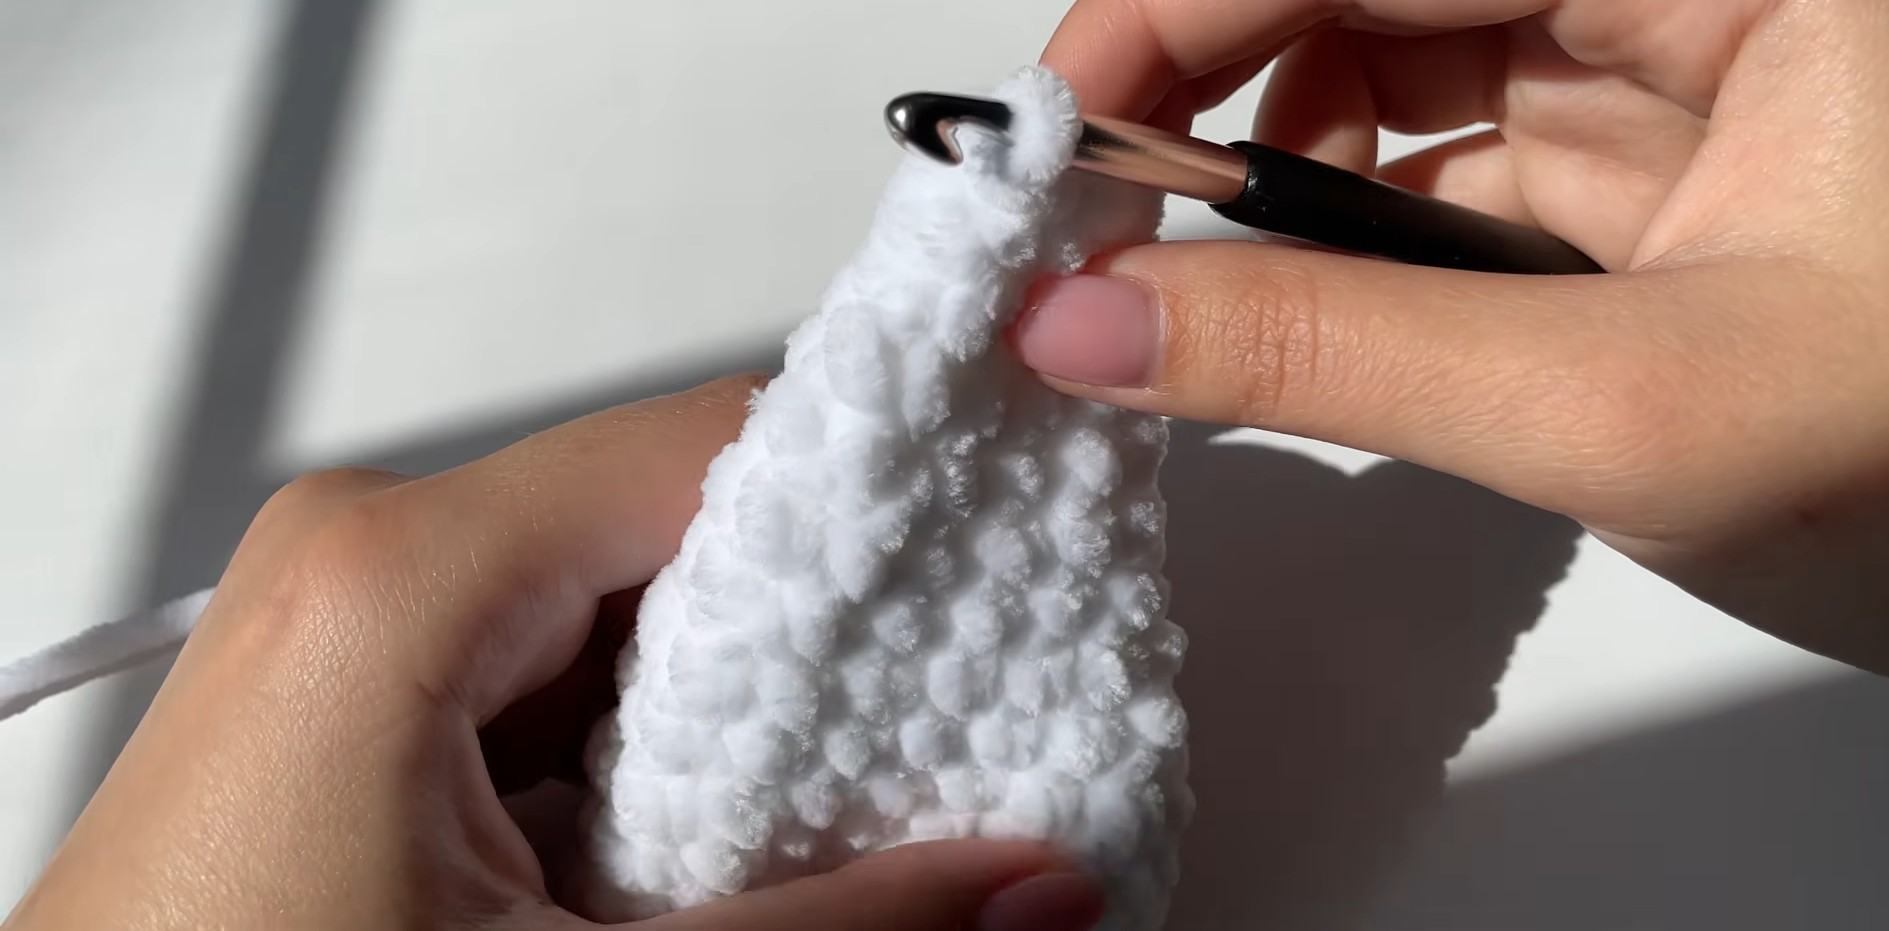
Continue decreasing as shown in the tutorial until 10 sts remain.
Fold the ear flat and slip stitch across to close it. Leave a long tail for sewing.
Compare Both Ears
Place the two finished ears beside each other before sewing them to the head.
They do not need to be perfectly identical, but their overall length and width should be similar. Checking them together helps you decide which orientation will give the bunny a balanced expression.
Assemble the Bunny
The facial details become much easier to position once the ears have been attached.
Attach the Ears
Position the ears symmetrically toward the back of the head.
Use the long tails to sew them securely into place, checking their position from the front and side.
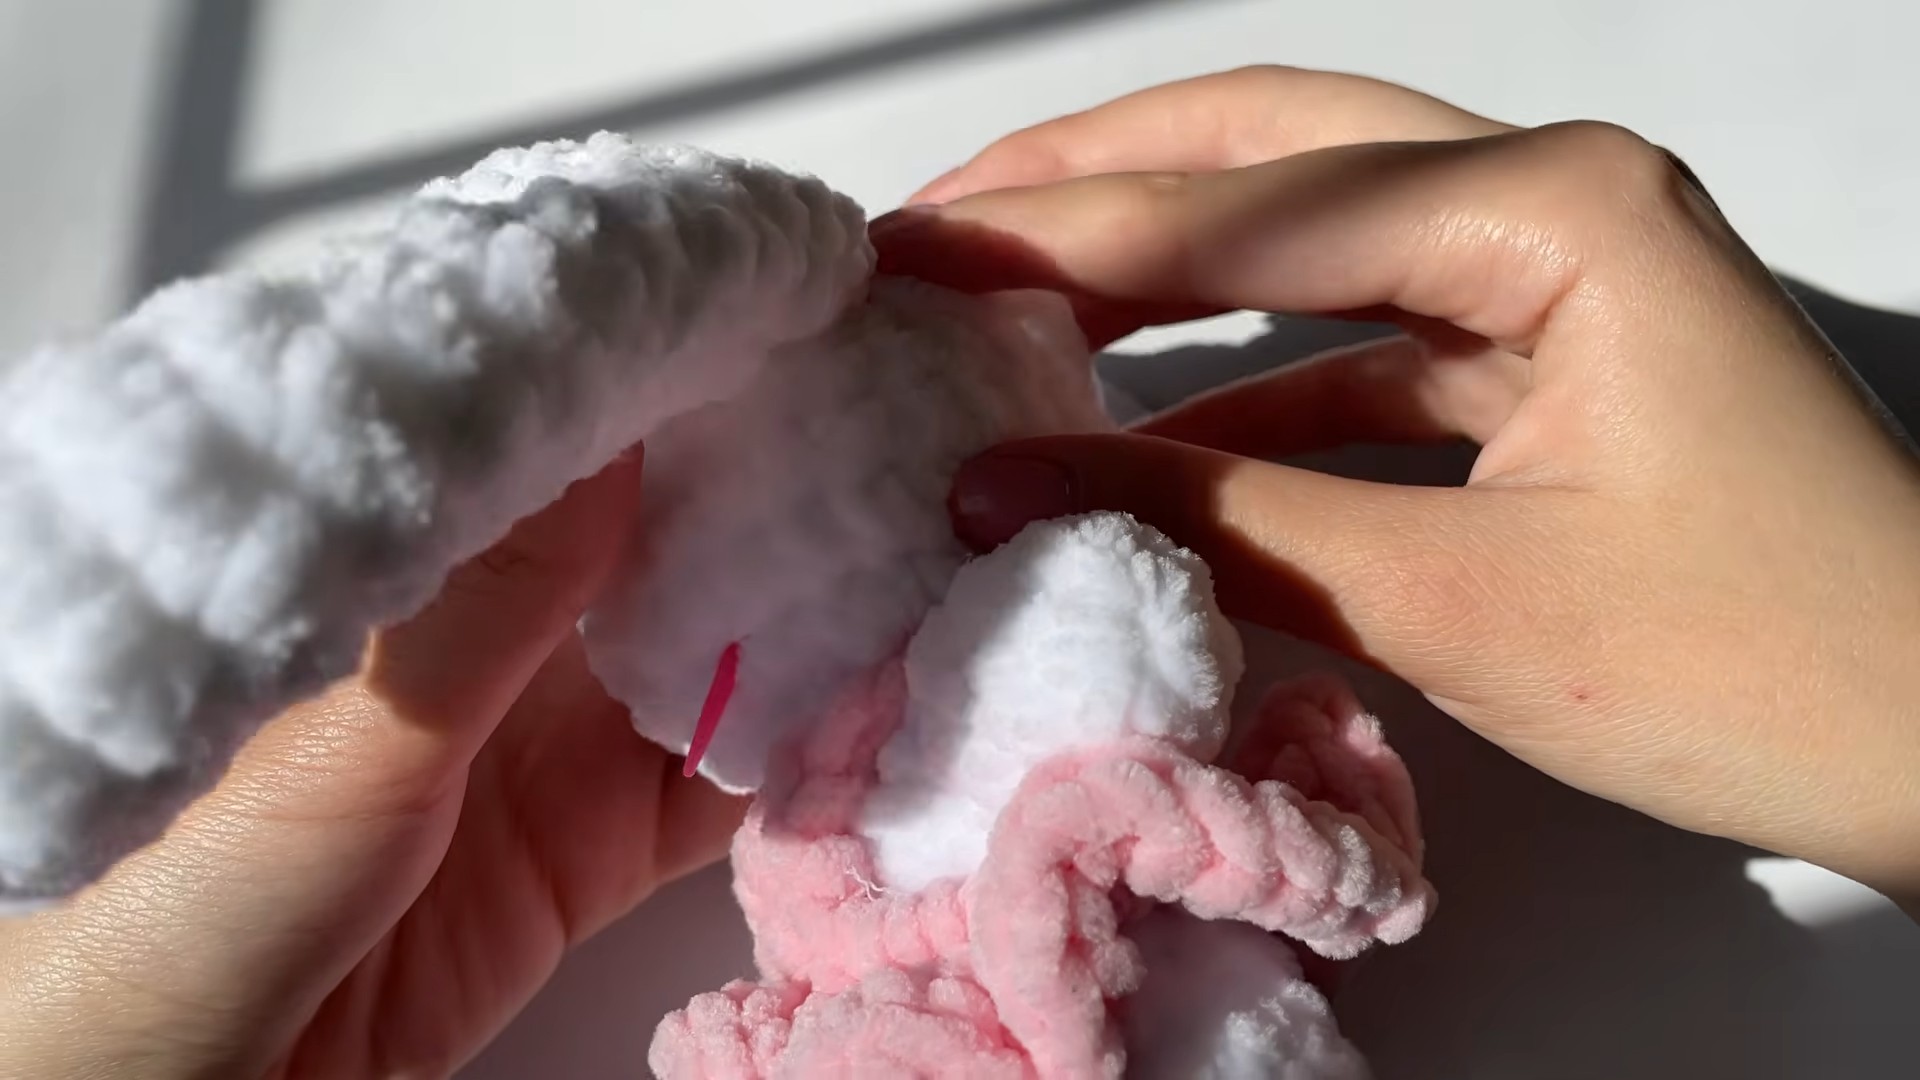
Embroider the Nose and Mouth
Use pink yarn to embroider a nose and a simple smile.
Secure and hide the yarn ends inside the head.
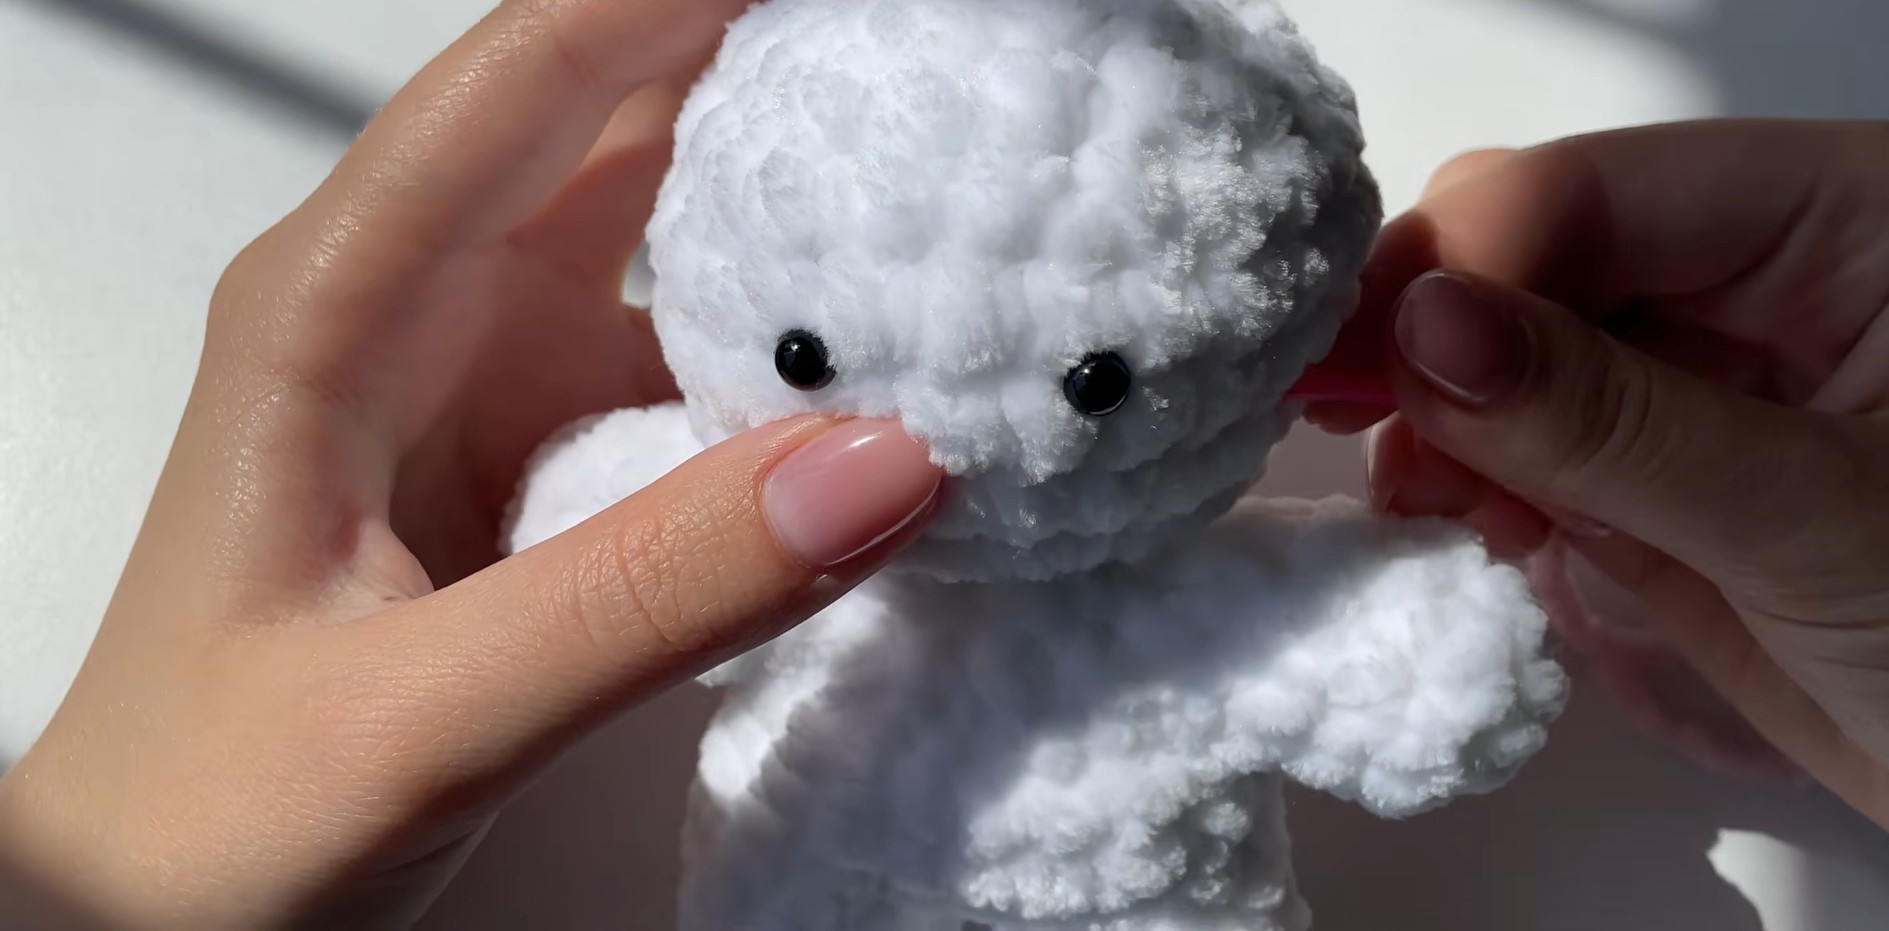
Add the Eyes
Place the safety eyes between Rows 14 and 15, leaving 3 stitches between them.
Look at the face straight on before securing the backs so you can make sure the eyes are level.
For a bunny intended for very young children, embroidered eyes are a safer alternative to plastic safety eyes because detachable safety eyes can present a choking hazard.
Optional Bunny Dress
The dress can be added after the bunny itself is complete.
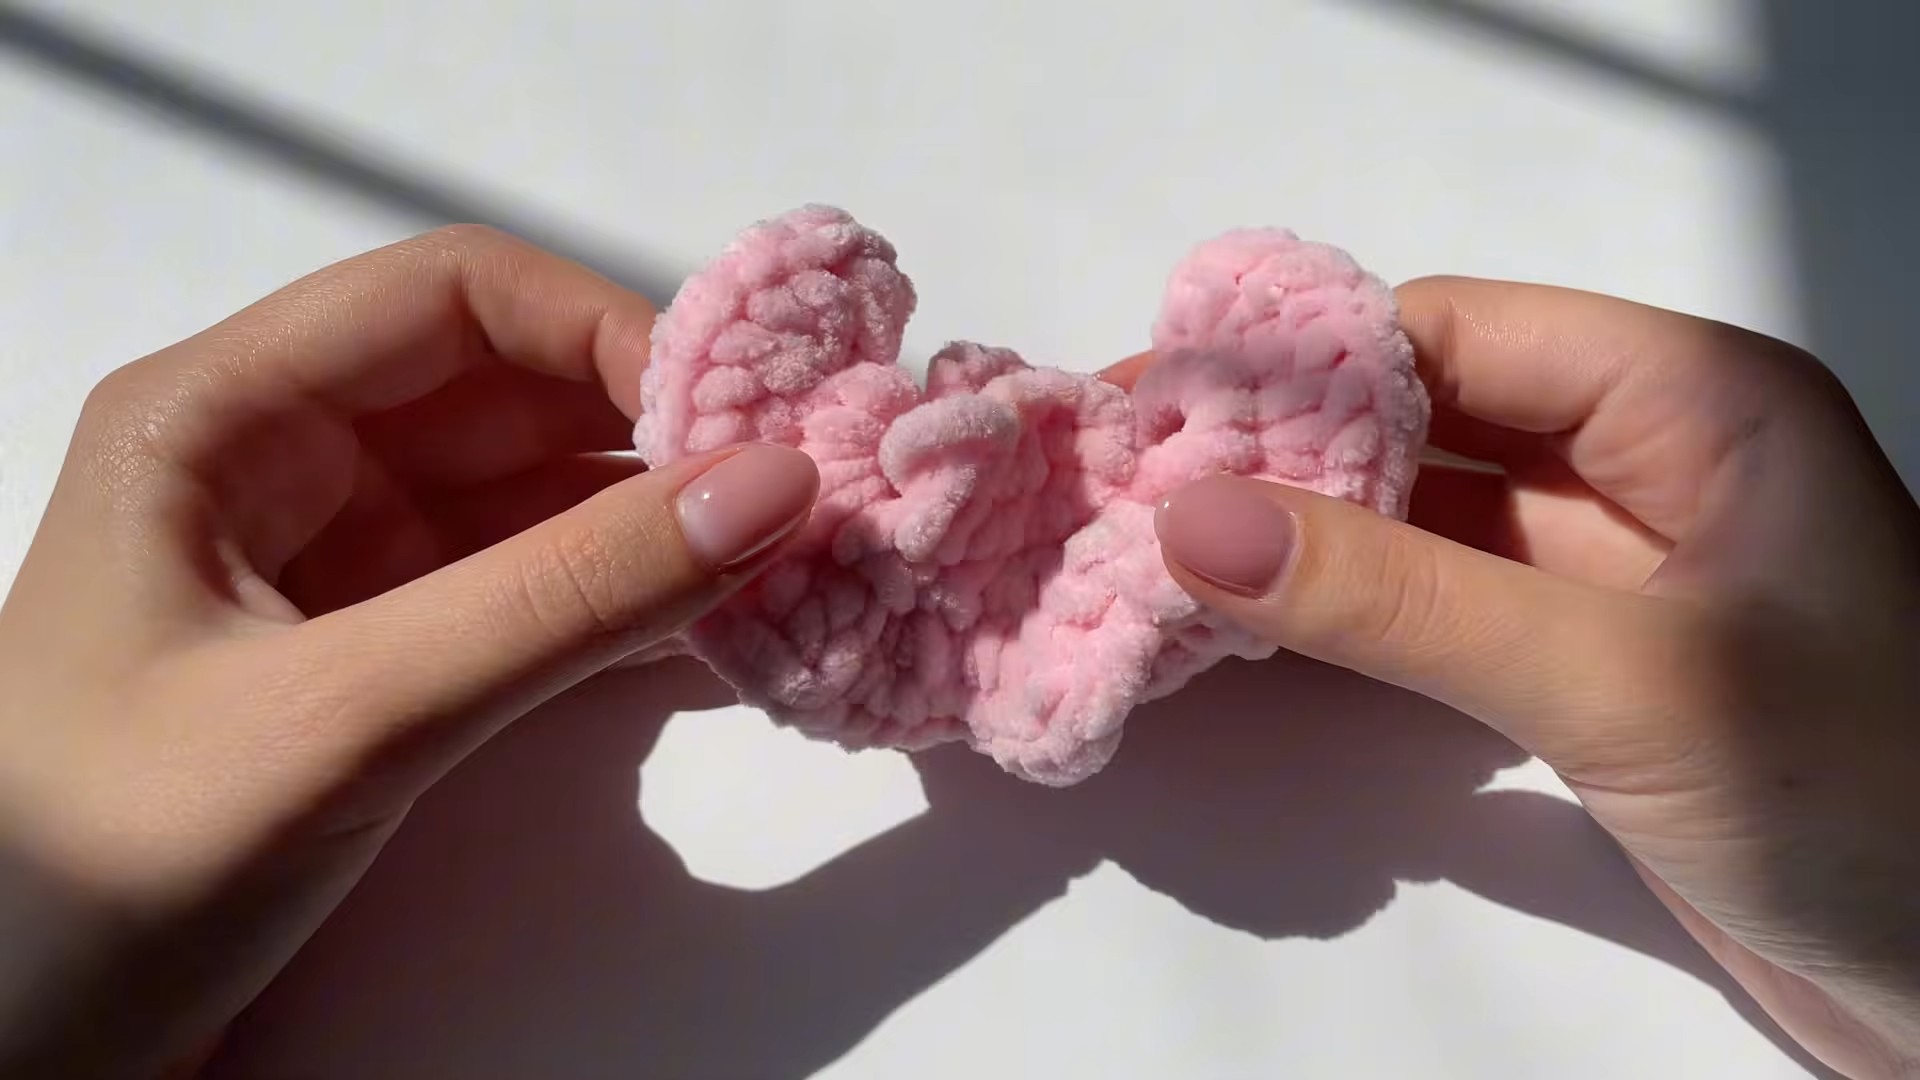
Using pink yarn, make two small panels.
Panel Foundation: Ch 5 and work 4 sc across for a few rows.
Make two matching panels.
Join the panels with chains to create a circular shape, then crochet around the edges to add decorative rows.
Create straps with chains and attach them to the front and back of the bodice.
The dress is optional, so the bunny can also be left in its simple plush form.
Final Bunny Check
Before trimming the last yarn ends, check the details that most affect the finished appearance:
- The legs face in the same direction.
- The body is centered over the leg join.
- The arms sit at similar heights.
- The body and head are evenly stuffed.
- The ears are balanced.
- The eyes are level and correctly spaced.
- The embroidered nose and smile are secure.
- Loose yarn ends are hidden.
With plush yarn, these final checks are particularly helpful because the fuzzy surface can disguise small differences while you are working.
Customize Your Bunny
A change in yarn color can give the same bunny a completely different personality. Soft pastels work well for a gentle look, while brighter colors can make the bunny feel more playful.
You can also add a tiny scarf, bow, or buttons, or use the optional dress for a more finished character. If you change the yarn weight substantially, remember that the bunny’s finished size and proportions will change too.