Crochet Carnation Flower Tutorial with Vase and Leaves
This Crochet Carnation Flower Pattern is perfect for gifting and adds a touch of handmade charm to any occasion, especially Mother’s Day.

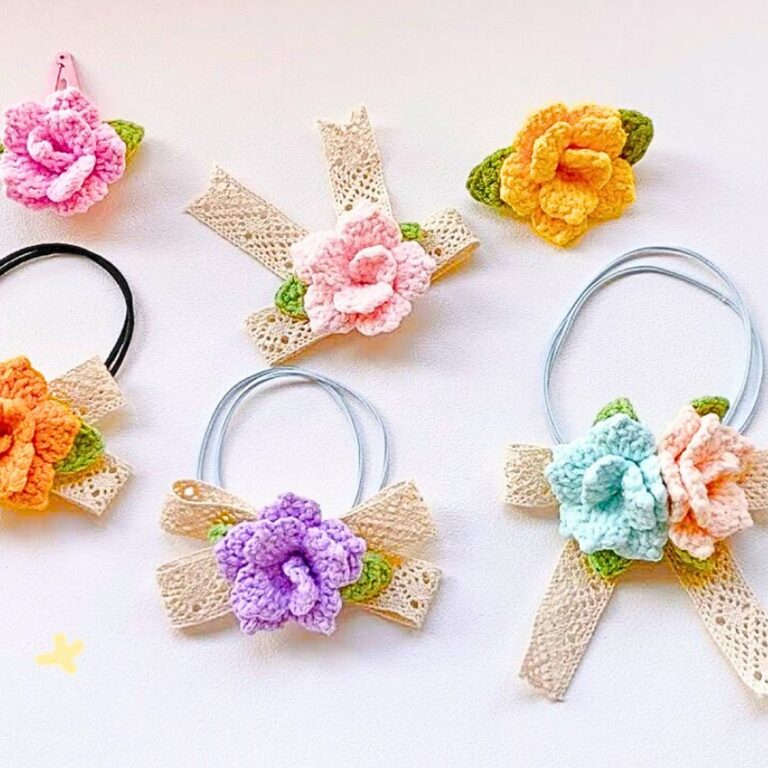
Crochet carnations are special because they are handmade flowers that never fade. These flowers can add a splash of color to any room, make a great gift for someone you love, or decorate your favorite hat or bag. They are special because they are created with love and care, making them perfect little treasures.
Crochet Carnation Flower
With this crochet flower pattern, you can create stunning carnations using simple techniques. It’s beginner-friendly, so even if you’re new to crocheting, you’ll find it easy to follow along. You’ll learn how to create petals, leaves, and even a matching vase if desired. Each piece can be customized by choosing your favorite yarn colors and styles. These carnation flowers are not only versatile but also great for occasions like Mother’s Day or decorating your desk with a personal touch.
Credit Lingzhi Handmade
Key Features and Construction at a Glance:
- Beginner-Friendly Design: Simple stitches form the base, perfect for crocheters of all levels.
- Two Versions: Create variations by adjusting yarn thickness and hook size.
- Layered Flower Form: Shaped with petals, leaves, and a textured base using increasing rounds of single crochet and double crochet stitches.
- Added Details: Includes optional leaves, a vase pattern, and heart-shaped accents.
The carnation flower begins with a foundation worked in a magic circle using single crochet stitches. Each round builds gradually, starting with increases to expand the base, followed by decorative shaping to create petal formations. This layered approach is what makes the flower look full and realistic. The flower petals are crocheted in rounds with chains and stitches forming loops, creating multiple rows of fluffy, voluminous layers—one of the hallmark features of the carnation.

Adding Petals and Leaves
After your main flower body is complete, the fun continues with crocheting the petals. Using stitch combinations such as chain stitches paired with double crochet clusters, the petals build outward in separate layers. The designer also introduces the concept of working into back loops or front loops only for added texture and separation between layers.
The leafy base is supported by crochet wire for stability, cleverly incorporated into the stitching as you crochet the leaf rows. This functional addition not only provides structural support but also gives the finished piece a crisp, natural look.

Assembling the Vase and Embellishments
Building the flower vase follows a similar increasing-and-decreasing pattern, anchored by rounds of single crochet. For added appeal, you can crochet tiny decorative hearts as accents using a unique cluster of triple and double crochet stitches. Adjusting yarn textures and weights offers creative flexibility to match different themes or gifting preferences.

Versatile Applications
While this carnation pattern works beautifully as a standalone decoration or gift topper, its design can also adapt to bouquets, corsages, or even keychain embellishments. Adding weighted fillers or decorative pebbles to the vase anchors the finished product, ensuring it stays upright.
Video Tutorial
Required Materials
- Yarn:
- Fine green yarn for the stem and leaves.
- Purple (or desired color) yarn for the flower petals (4-ply milk cotton yarn recommended).
- Crochet Hooks:
- 2.5 mm hook (for the stem and leaves).
- 3 mm hook (optional for the larger flower vase).
- Accessories:
- Decorative pebbles or cotton filling (to add weight to the vase).
- Crochet wire (for supporting the leaves).
- Other Tools:
- Scissors.
- Needle for finishing.

Step-by-Step Instructions
Carnation Flower Head
1. Flower Base:
- Start with fine green yarn and a 2.5 mm hook.
- Begin with a slip knot, then chain 1 (do not count this as a stitch).
- Work 6 single crochets (Sc) into the magic circle.
- Pull to close the circle.
- Slip stitch through the first space to finish the round.
2. Second Round:
- Chain 1 to begin the round.
- Work 6 increases (2 single crochets in each stitch from the previous round).
- At the end of this round, you should have 12 stitches.
3. Rounds 3–8:
- Chain 1 to start each round.
- Work 1 single crochet in each space for 6 rounds (no increases).
4. Creating Petals:
- Begin by chaining 5, skip 2 stitches, and follow the pattern below:
- Slip stitch into the second stitch from the hook.
- Work 1 single crochet, 1 half double crochet, and 1 double crochet in consecutive stitches. This forms one petal.
- Repeat the steps above to form 4 petals total for this layer.
5. Second Layer (Back Loops Only):
- Attach purple yarn to any back loop of the stitches from the previous round.
- Chain 3 and work 3 double crochets in each stitch around the circle.
- Close the round with a slip stitch.
6. Third Layer (Petal Definition):
- Chain 3. In every stitch, chain 3 and then work 1 single crochet.
- Continue the pattern to add texture and volume.
- After finishing, cut off the yarn and weave in the ends.
Leaves
- Crochet Wire Support:
- Insert crochet wire while working on the leaves to ensure they maintain their shape.
- Steps:
- Begin with a slip knot and chain 15.
- Starting in the second chain from the hook, work 13 single crochets along the chain.
- In the final stitch, work 3 single crochets to turn the corner.
- Proceed to the other side of the chain by working 1 single crochet in each stitch, incorporating the crochet wire as you go.
- End with a slip stitch, chain 1, and cut the yarn.
Assembling the Flower
- Sew or glue the leaves onto the base of the flower.
- Wrap the green yarn around the lower portion of the flower for a seamless finish.
- Ensure the wire support is secure inside the leaves.
Optional Additions
- Heart Decoration:
- Use purple yarn.
- Chain 3 and create 3 treble crochets, 3 double crochets, and then chain 1.
- Mirror the sequence on the other side to shape the heart.
- Flower Vase:
- Follow the same pattern for the flower base (Rounds 1–8).
- Continue increasing or decreasing as described in the scrape to adjust vase size.
- Add weight to the vase with pebbles or cotton filling.
Troubleshooting and Suggestions
Common Issues:
- Petal Symmetry: Beginners may experience uneven petals. Ensure stitch counts are accurate in each round. Working into the correct loops (front vs. back) is key to keeping layers consistent.
- Avoid Floppy Leaves: Incorporating crochet wire evenly while crocheting the leaves prevents droopiness.
Creative Modifications:
- Colors: Experiment with multi-tonal yarns or gradient colors for petals and leaves to mimic different carnation varieties.
- Textures: Try lightweight cotton or fine thread for a delicate appearance or heavier worsted yarn for a bold, chunky look.
- Alternative Uses: Skip making the vase to use the flower as a pin, an embellishment for hats, or centerpiece decoration.