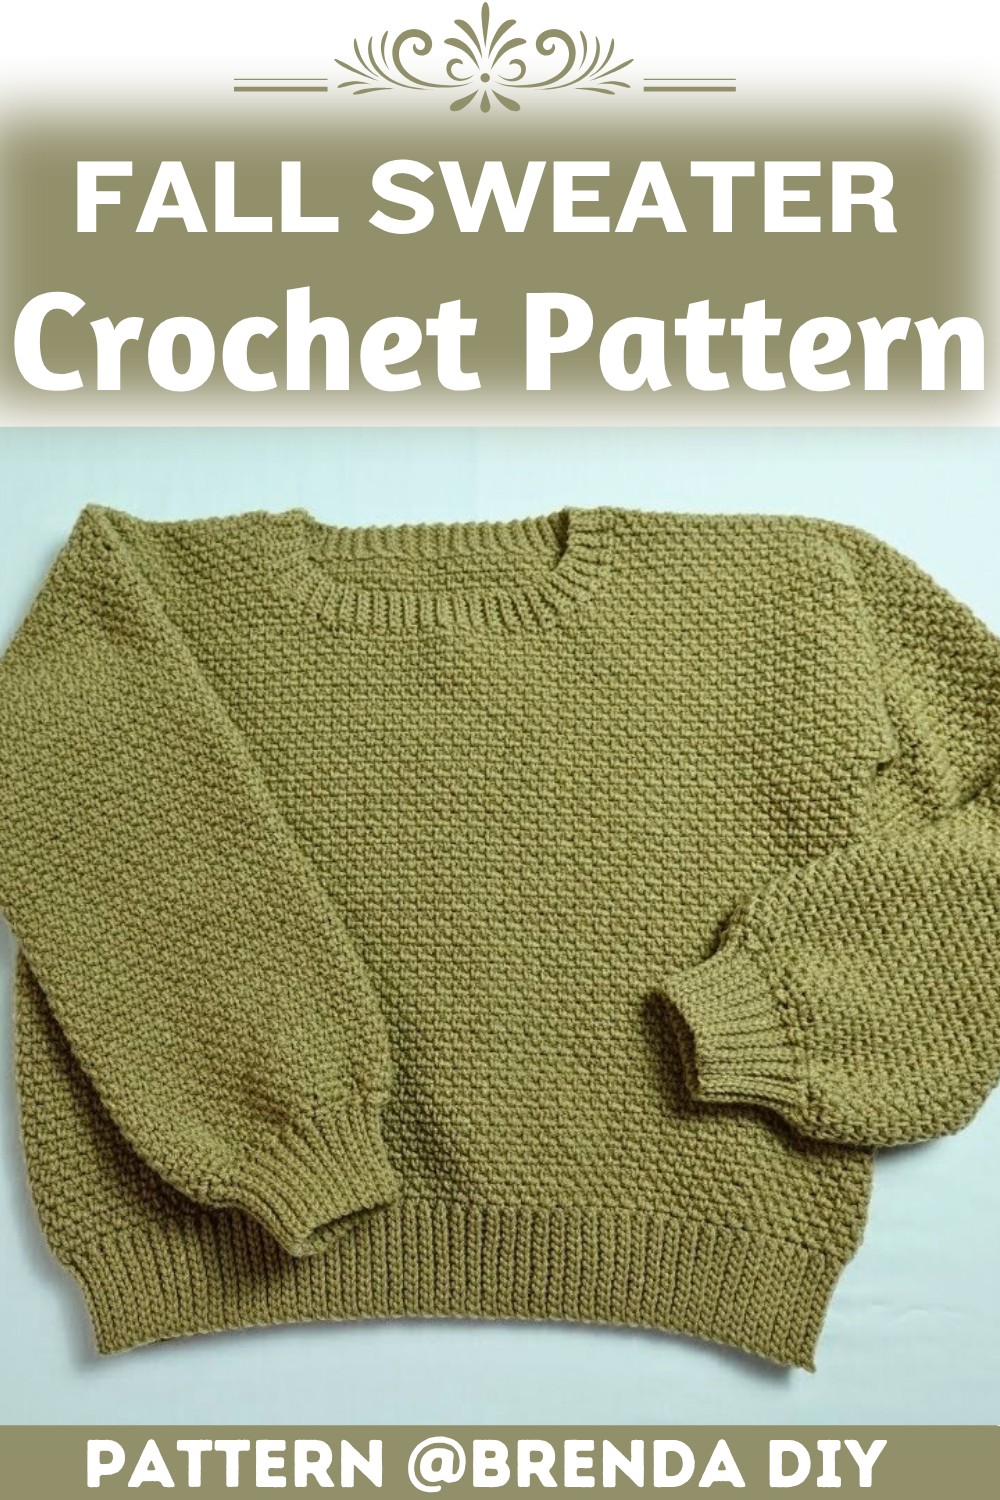
This fall sweater is a classic, warm, and customizable crochet pattern that’s ideal for transitioning into sweater weather. The simple, beginner-friendly design makes it easy to make your own comfy fall wardrobe staple.

A fall sweater is more than just clothing; it’s like a warm hug you can wear on chilly days. This crochet sweater pattern is special because it’s cozy, stylish, and perfect for crisp autumn weather. If you need something comfortable to wear during a walk in the cool breeze or to layer up for a casual evening, this sweater has you covered.
Crochet Fall Sweater
This Crochet Sweater is simple enough for beginners and has a soft, relaxed fit that goes well with your favorite jeans or leggings. The making process is fun, and the result is a sweater you’ll want to wear all season long. Imagine wrapping yourself in something you made with your own hands; it’s not only practical but also very rewarding.
Credit Brenda DIY
Pattern Highlights
- Size options included: Small, Medium, Large, and XL – adjust the foundation chain for your perfect fit.
- Panel construction: Two identical panels (front and back) worked in rows of single crochet.
- Optional cropping: Customize the front panel’s length for a shorter and trendier look.
- Sleeves created seamlessly in the round: Includes optional tapering for a tailored fit.
- Ribbed finishes: Neckline, hem, and cuffs are polished with simple ribbing.
- Decorative touches: Add fall-themed appliqués for personal flair.
This sweater begins with a foundation chain, which sets the width of your sweater’s torso. The chain length varies depending on the size you’re making (from Small to XL), making it easy to tailor the pattern to fit your measurements. Once your chain is ready, the next step is to create individual front and back panels—both worked in single crochet (sc) rows for a simple and sturdy finish. Feel free to modify the length of the panels for a slightly cropped or oversized look, depending on your preference.

Once the panels are complete, they’re joined at the shoulders using a yarn needle and simple seams, leaving an opening for the neckline. This creates the base structure of your sweater. From there, you’ll add arms by crocheting sleeves directly into the armhole openings. Using double crochet (dc) stitches worked in the round, the sleeve length and taper can be customized. Reducing stitch count strategically ensures a clean fit that narrows toward the cuffs.

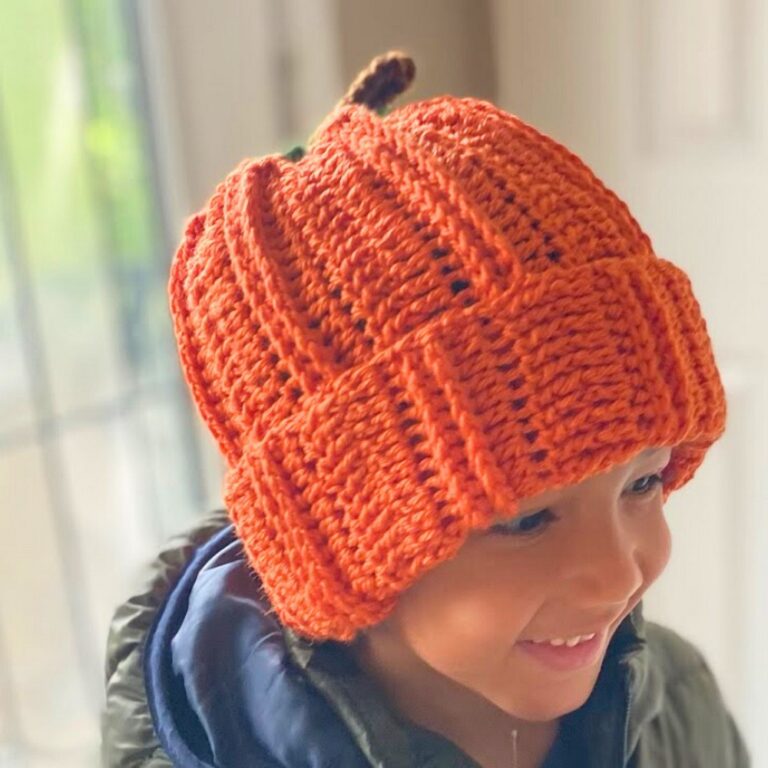
Finally, the neckline, hem, and sleeves are enhanced with ribbing. Ribbing is worked using single crochet stitches evenly along the edges, which gives the sweater crisp lines, prevents curling, and adds a polished finish. Appliqués like cute crochet pumpkins or maple leaves can then be sewn on for a seasonal accent.

Video Tutorial
Step-by-Step Pattern
Materials
Before starting, make sure you have the following items ready:
Yarn:
- Type: Worsted weight yarn (Medium #4). Acrylic or a wool-acrylic blend works well for warmth and durability.
- Suggested Colors: Burnt orange, mustard yellow, deep red, or earthy brown for a fall aesthetic.
Crochet Hook:
- Size: 5.5 mm crochet hook (US I-9).
Optional Tools:
- Scissors
- Stitch markers (great for tracking rows or sizing adjustments)
- Measuring tape
- Yarn needle (for sewing pieces together or weaving in ends)

Pattern Instructions
Step 1: Create the Foundation Chain
- Start by making a foundation chain: Chain 80 for Small, 90 for Medium, 100 for Large, or 110 for XL.
- This will determine the width of your sweater’s torso.
Step 2: Work the Back Panel
- Starting from the second chain from the hook, work 1 single crochet (sc) into each chain stitch to the end of the row.
- Turn your work, chain 1, and single crochet (sc) into each stitch across.
- Continue for 60 rows (or desired length).
Step 3: Create the Front Panel
- Repeat Step 2 to make another panel identical to the back.
- If desired, you can make a slightly shorter front panel for a cropped look.
Step 4: Assemble the Panels
- Lay the panels flat with the right sides (outer facing sides) together.
- Using your yarn needle, seam the shoulder seams together by sewing the top 20 stitches of each side. Leave the remaining stitches open for the neckline.
Step 5: Add Sleeves
- Attach yarn to the bottom edge of the armhole.
- Chain 2 and work double crochet (dc) evenly around the armhole opening, joining the round with a slip stitch (sl st).
- Continue crocheting in rounds until the sleeve reaches your desired length.
- To taper the sleeves, decrease 2 stitches evenly every 5th round.
Step 6: Add Ribbing to the Neckline, Hem, and Sleeves
- Attach yarn to the neckline and work single crochet (sc) evenly around, finishing with a slip stitch (sl st) to join.
- Repeat this process for the bottom hem and sleeve cuffs. Ribbing gives your sweater a polished look and helps prevent curling.
Step 7: Weave in Ends
- Use your yarn needle to weave all loose ends neatly into the sweater.
Step 8: Add Decorative Touches (Optional)
- For a fall flair, crochet appliqués like leaves or pumpkins using contrasting yarn and sew them onto the sweater.
Pattern Question
Q: What type of yarn is best for this pattern?
A: Choosing a medium-weight yarn like worsted or DK ensures a sturdy and cozy finish while maintaining the sweater’s softness and warmth.
Troubleshooting and Suggestions
Common Issues
- Uneven stitches: Single crochet rows can create uneven edges if your tension isn’t consistent. Be sure to check your gauge and practice keeping your stitches uniform.
- Loosely fitting sleeves: If your sleeves feel baggy, decrease stitches at tighter intervals, or switch to single crochet for a snugger fit.
- Neckline gaps: If the neckline ribbing feels overly stretched or loose, pick up fewer stitches around and try using a tighter tension.
Creative Modifications
- Color choices: Use autumn-inspired shades like mustard yellow, burnt orange, or forest green for a seasonal vibe. Alternating rows of different colors can create stripes or unique color patterns.
- Texture experiments: Replace single crochet rows with other stitch patterns (like half-double crochet or herringbone stitch) to add variety to your panels.
- Shapeshifting fun: Turn this sweater into a cardigan by leaving the front panel open and adding buttons along the edges.
- Appliqués: Add crocheted leaves, acorns, or pumpkins to embellish your sweater. You could also incorporate embroidery for a subtle textured look.