Crochet Floral Scalloped Headband with Puff Stitches
Create a stretchy floral crochet headband with puff-stitch texture, scalloped petals, and elastic finishing for comfortable wear around your head.
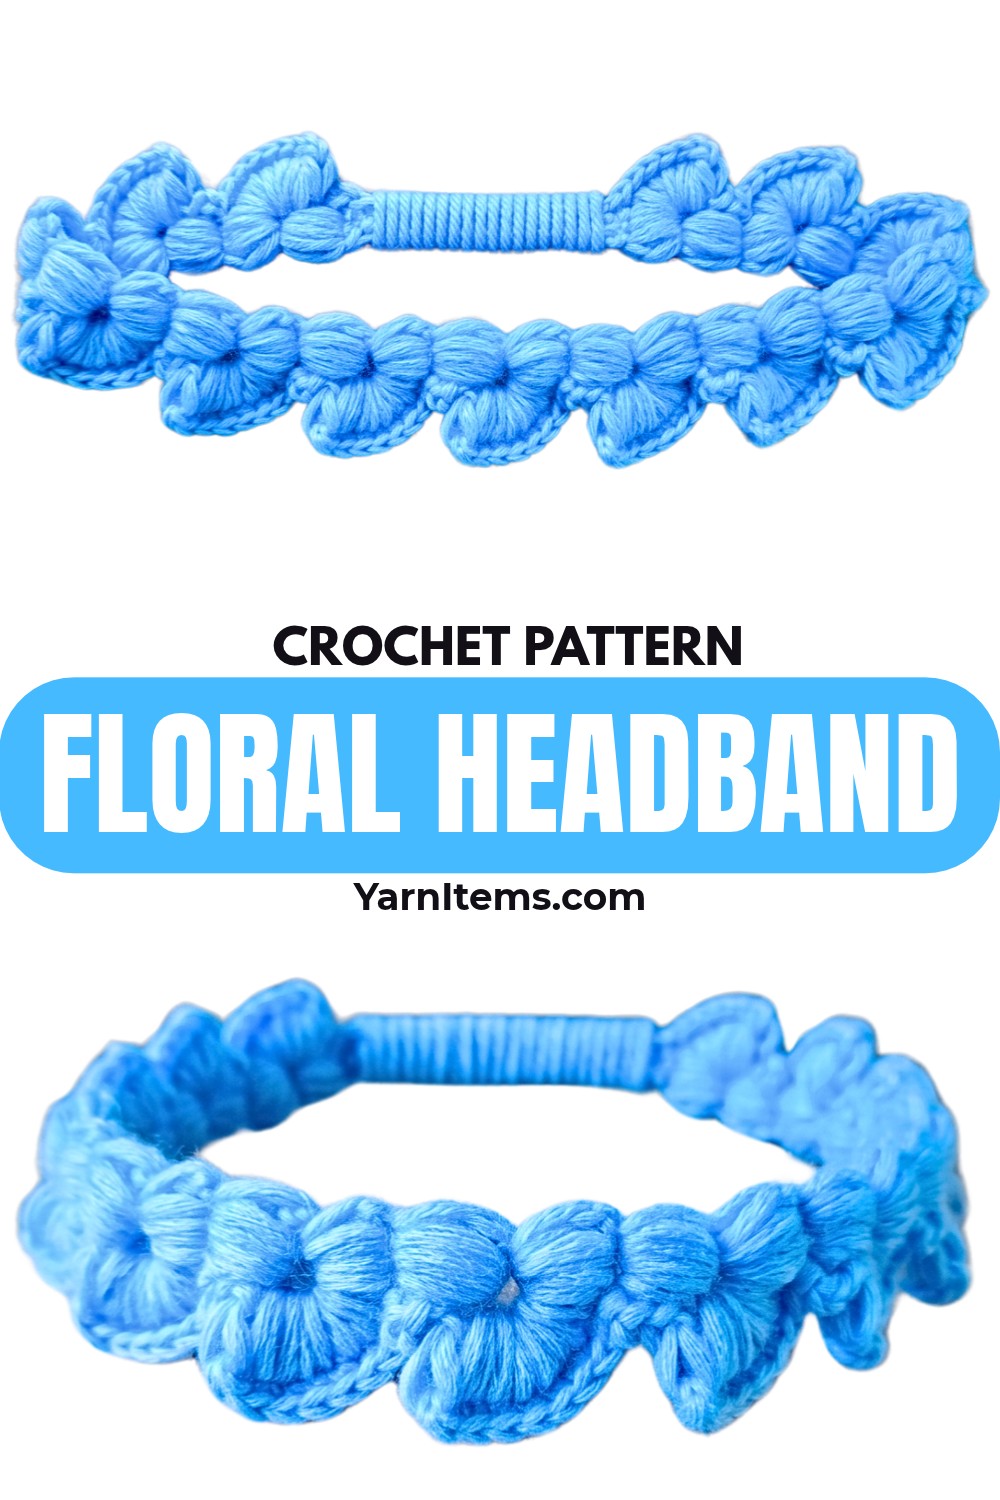
Rich puff stitches form center band of this crochet headband, while tall treble scallops spread along both sides to create an eye-catching floral or petal-like texture. Hair elastic at each end gives finished crochet piece gentle stretch and helps it sit comfortably at nape of neck.
Begin with 30 puff stitches joined through locking chains, then build scalloped edging along both sides using single crochet and treble stitches.
Keep each puff stitch evenly spaced and follow each scallop sequence carefully, since consistent spaces help petals line up neatly. Once both edges are complete, elastic is attached directly to each end for flexible fitting without complicated joining.
Credit Crochet & Crafts Therapy by Chompu
Materials & Tools Needed
- Yarn: Light-to-medium weight yarn; tutorial uses 50g/140m blend containing 25% Cotton and 75% Acrylic in light blue
- Crochet Hook: 2.20mm, Size 3/0 Tulip hook used in video
- Hair Elastic: 1 standard seamless hair tie, preferably matching yarn color
- Notions: Scissors and yarn needle for weaving in ends
Finished Size & Customization
A 30-stitch puff base fits an average adult or teen head, with hair elastic providing stretch and comfortable fitting at nape.
For child sizing, reduce starting puff count to around 20 or 25 puff stitches. For wider coverage, increase starting puff count.
For stronger contrast, alternate yarn colors between puff-stitch base and scalloped edging to create bold two-tone floral styling.
For thicker winter styling, use worsted-weight yarn with 5.0mm hook. This produces bulkier fabric suited to ear-warmer wear.
Pattern Abbreviations & Terminology
- ch: Chain
- sc: Single Crochet
- tr: Treble Crochet – yarn over twice before inserting hook
- sl st: Slip Stitch
- puff st: Puff Stitch – yarn over, insert hook, pull up loop 5 times in same stitch; 11 loops remain on hook; yarn over and pull through all loops, then ch 1 to secure
- sp: Space
- st / sts: Stitch / Stitches
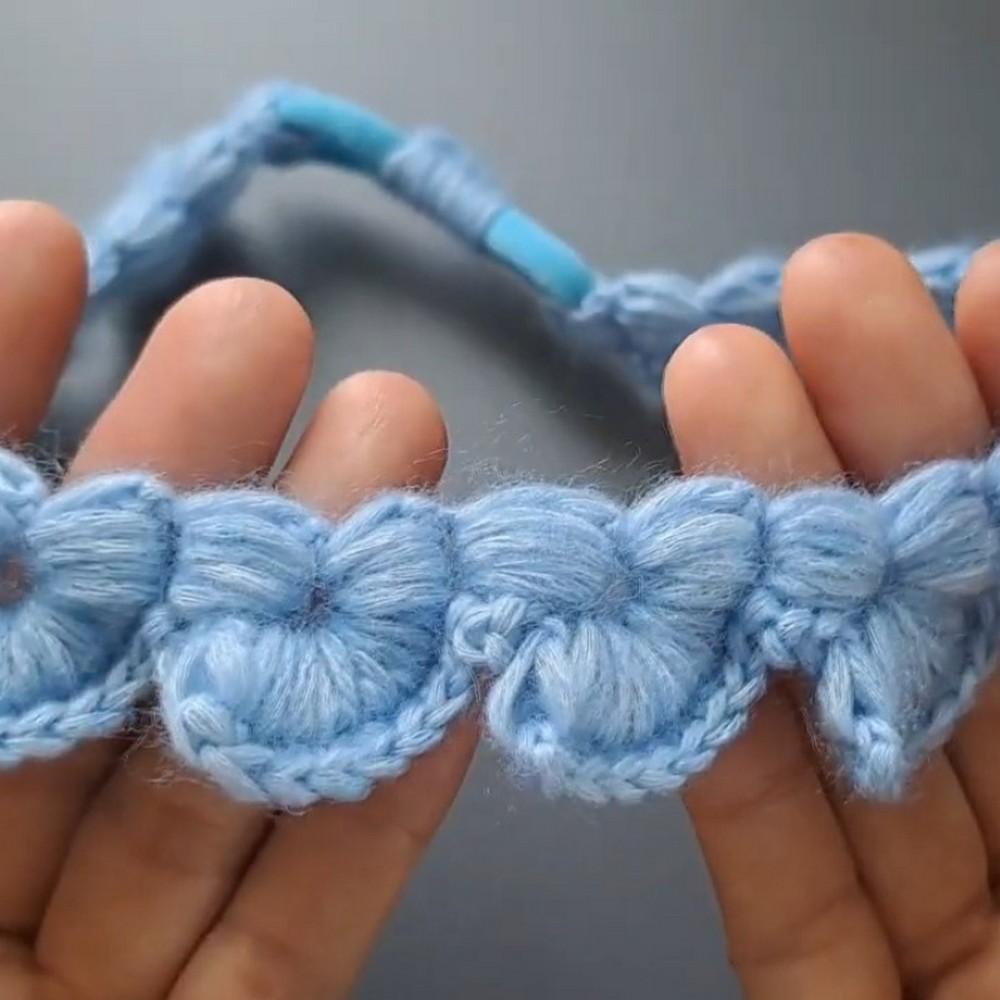
Puff Stitch Base Pattern
This section creates center stretchable band.
Step 1: Start with slip knot on hook.
Step 2: Ch 2.
Step 3: Work 1 puff st into first chain made. Yarn over, insert hook into chain, pull up loop 5 times; yarn over and pull through all loops; ch 1 to lock.
Step 4: Ch 1. Work next puff st into top locking-chain space of previous puff stitch.
Step 5: Repeat Step 4 until you have continuous straight chain of 30 puff stitches.
Keep puff stitches connected in one even line as you work. Each new puff enters locking-chain space from previous puff, which keeps center band continuous while allowing stretch.
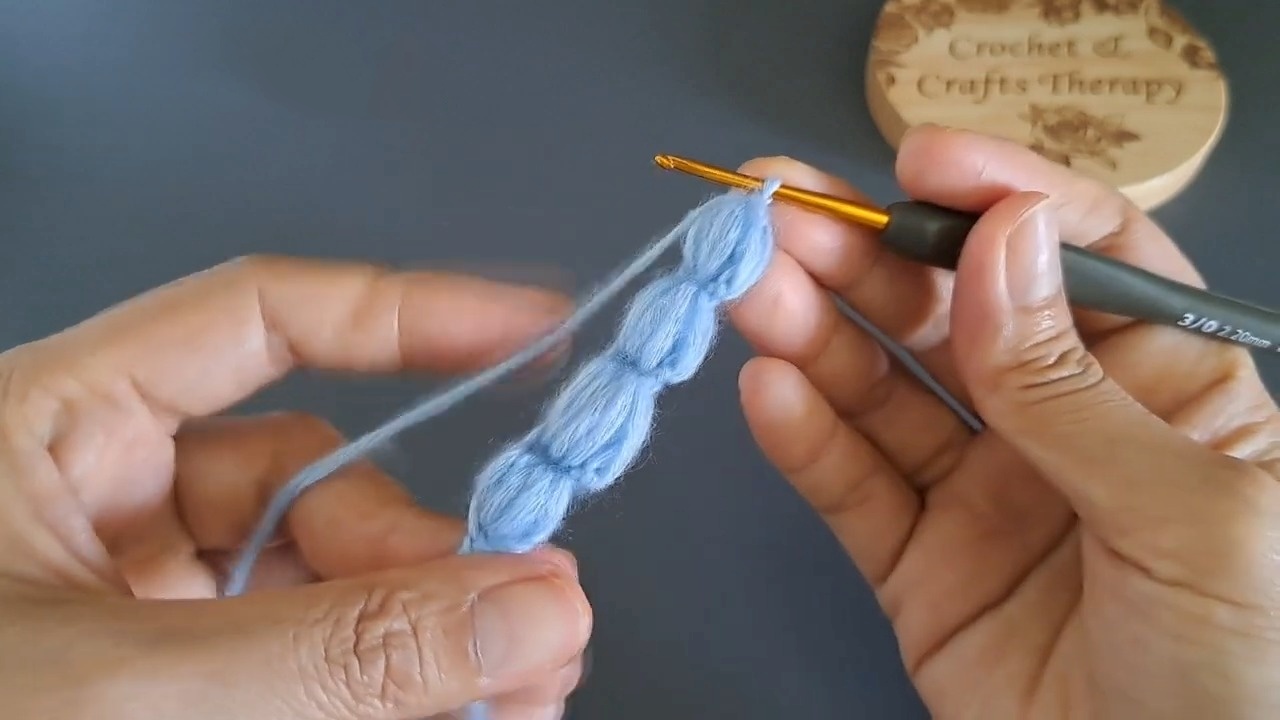
First Scalloped Edge
Step 1: Ch 4 to begin edging.
Step 2: Work 1 sc into first space, which is gap between 30th and 29th puff stitches.
Step 3: Work 8 tr into next space, using yarn over twice for each treble crochet.
Step 4: Work 1 sc into following space.
Step 5: Repeat [8 tr in next space, 1 sc in next space] across full length of puff-stitch base.
Step 6: At final space near starting slip-knot end, work 1 sl st into final gap to finish side.
Watch placement of each 8-tr group as you move across. Keeping scallops inside consecutive spaces helps floral edging remain even instead of drifting along band.
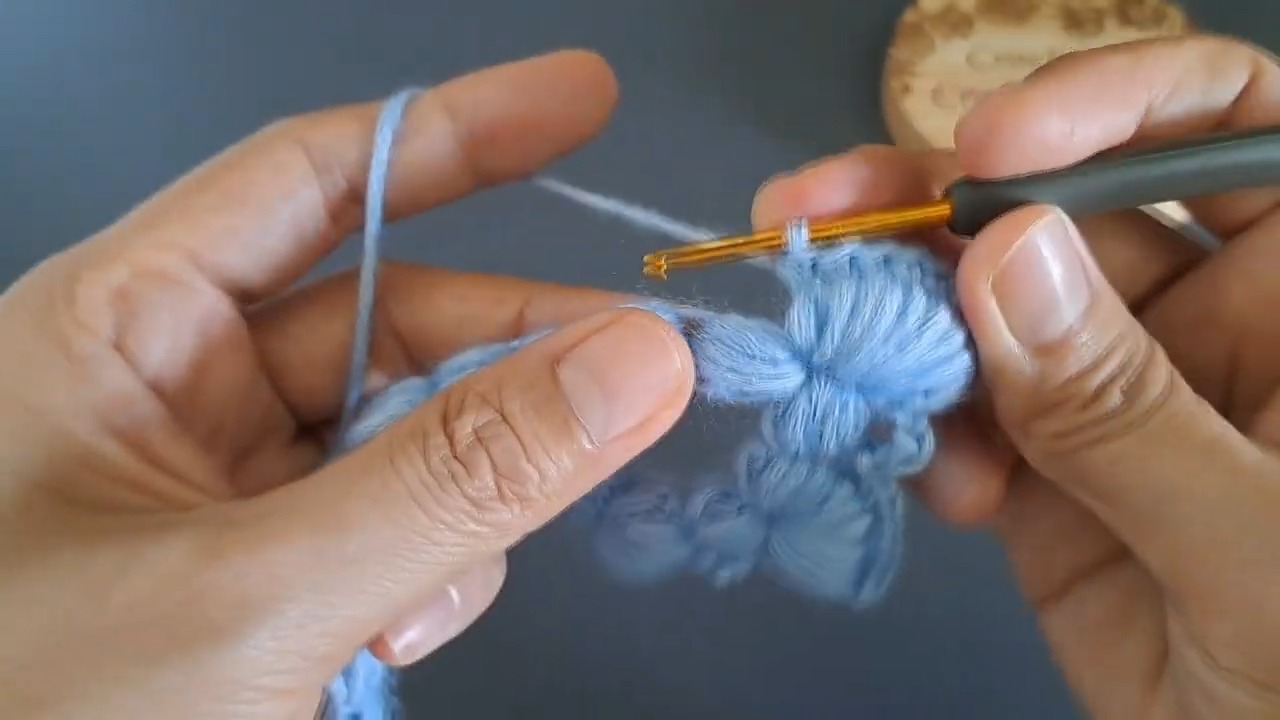
Second Scalloped Edge
Step 1: Ch 4 to turn work and travel down opposite side of puff-stitch base.
Step 2: Work 1 sc into first space on this side, directly opposite last scallop.
Step 3: Work 8 tr into next space. These scallops mirror first side and turn puff stitches into centers of flower-like petal motifs.
Step 4: Work 1 sc into following space.
Step 5: Repeat [8 tr in next space, 1 sc in next space] all way down second side.
Step 6: Finish with sl st at very end to complete round. Do not cut yarn yet.
Compare both sides visually as second edge develops. Mirrored scallops should sit opposite one another, giving each puff stitch its floral center effect.
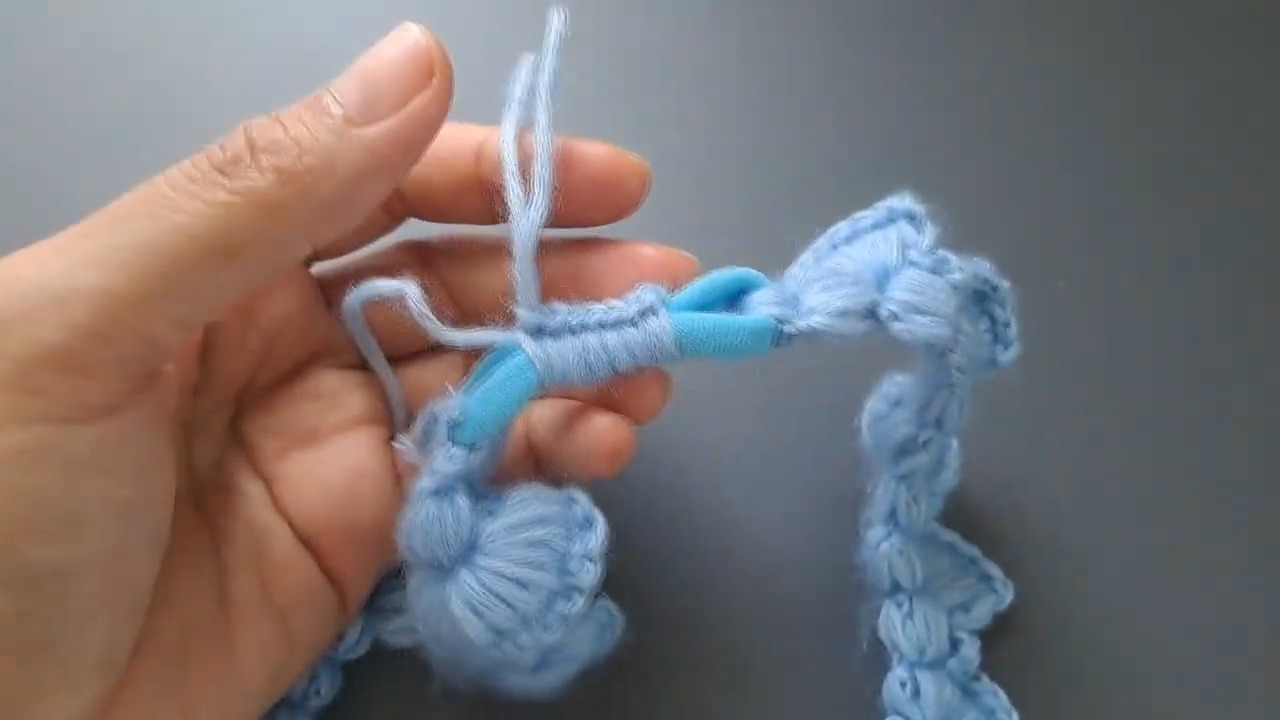
Attach Hair Elastic
First Elastic Connection
Step 1: Position seamless hair tie directly beside working end of headband.
Step 2: Insert hook through center of hair tie, pull up loop, then work 5 sc tightly around elastic band to anchor this side securely.
Step 3: Fasten off and weave in end.
Second Elastic Connection
Step 4: Move to unattached opposite end of headband. Join yarn to edge with new slip knot.
Step 5: Fold free end of hair elastic over to meet this side, bringing headband into full circle.
Step 6: Work 7 sc around elastic band on this side to secure it.
Step 7: Fasten off, snip yarn, then use yarn needle to carefully weave in remaining loose ends.
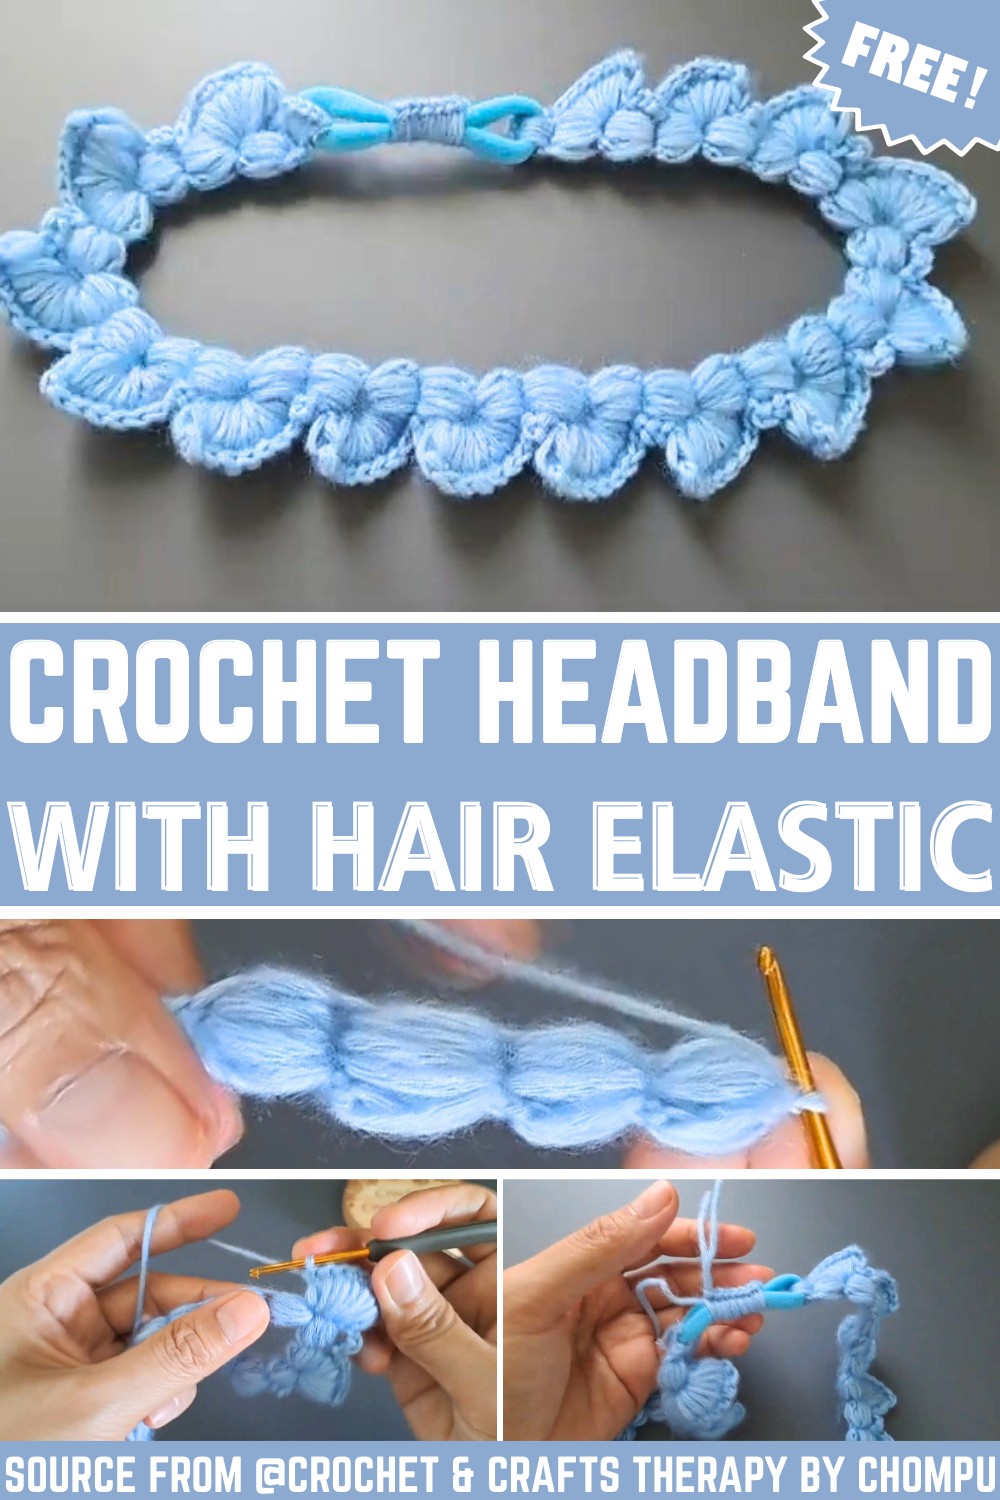
Keeping Floral Edging Even
Each scallop depends on correct space placement rather than placement directly into puff-stitch tops. When starting each side, identify gap between neighboring puff stitches before working sc or 8-tr group.
If scallops begin looking uneven, check whether one group was placed into wrong space. Correcting placement early is easier than adjusting several completed scallops later.
For color changes, keep puff base and scalloped edging in contrasting shades if you want each petal shape to stand out more clearly. Matching shades create softer floral texture.