Crochet Bunny Headband Appliqué with Pink Ears & Bow
Give any headband a spring-ready touch with this tiny crochet bunny, complete with pink inner ears, neat embroidery, and bow detail.
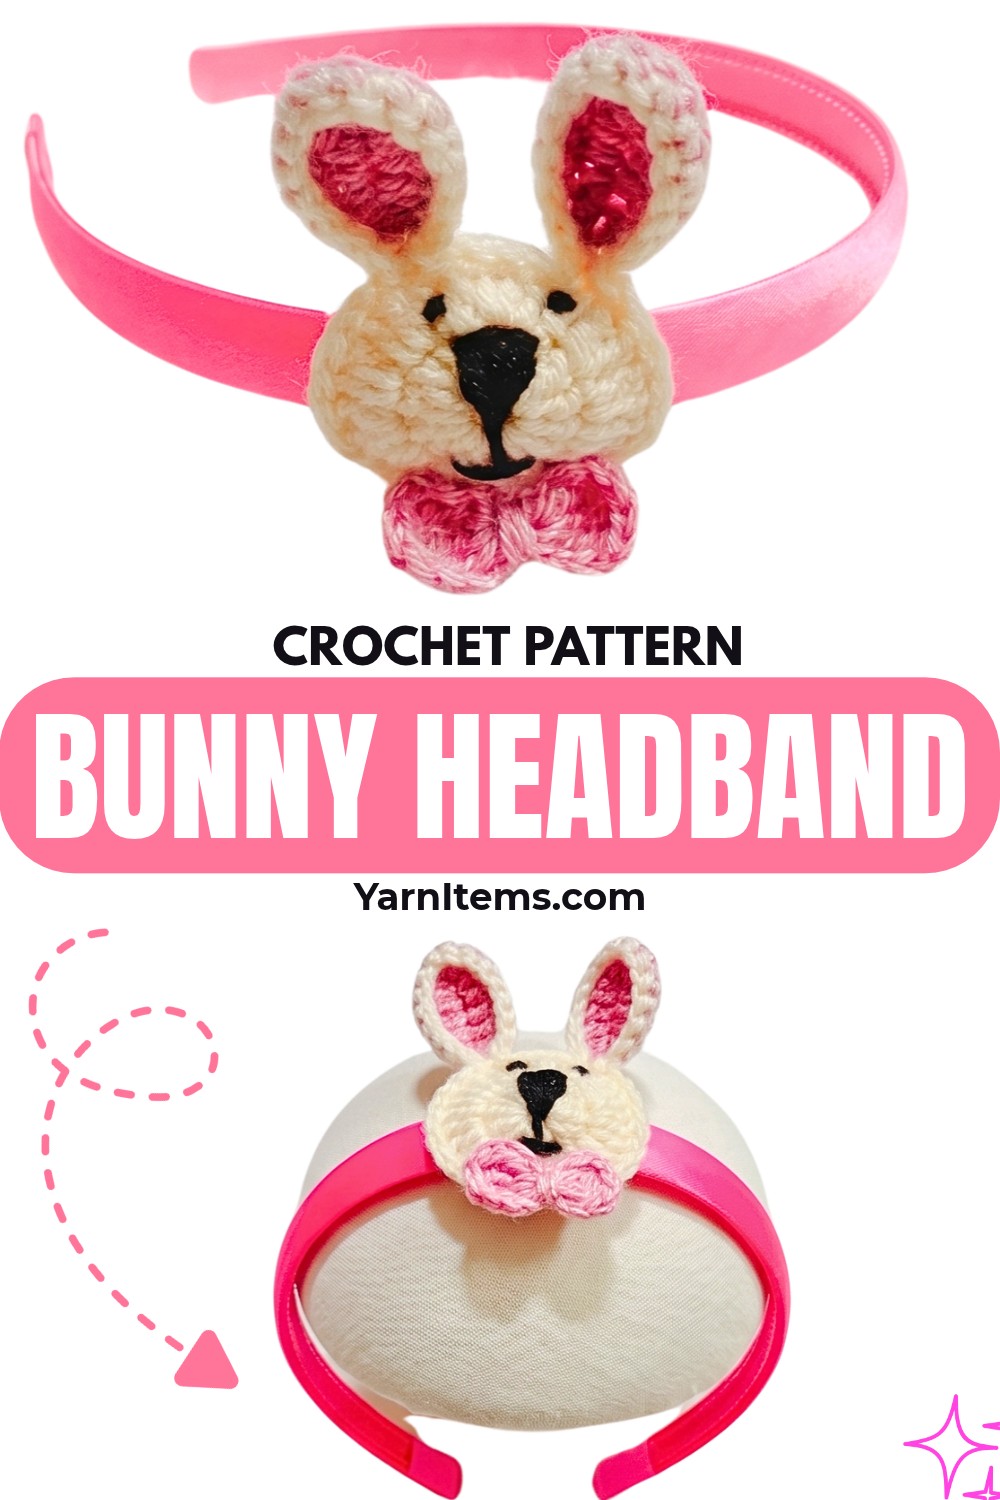
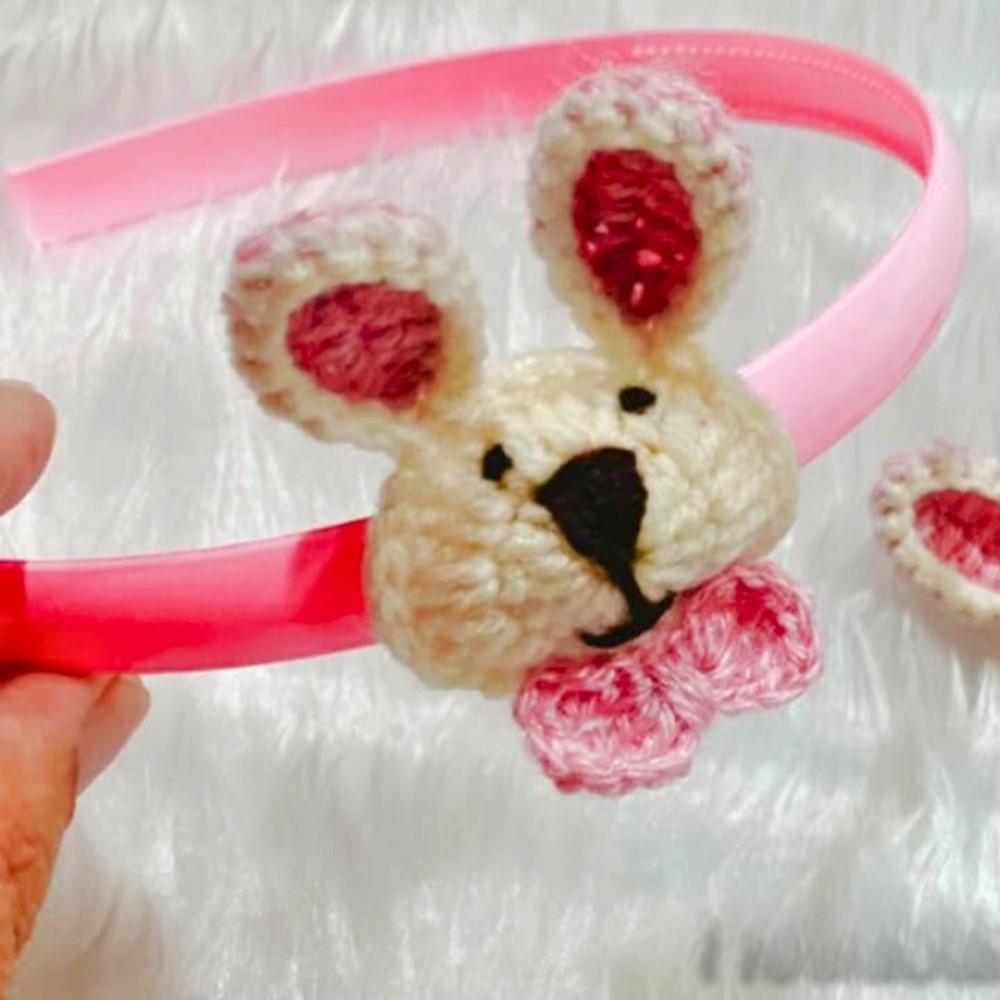
This tiny crochet bunny brings plenty of personality to a simple headband without requiring much yarn or complicated stitch work. Its round white head, pink inner ears, embroidered face, and small bow create an instantly recognizable crochet bunny that works especially well for children’s accessories.
Beyond its original crochet headband use, finished appliqué can also become decoration for hair clips, keychains, baby blankets, beanies, or cardigans. Simple color changes let you move beyond pink and create bunny details in baby blue, yellow, lavender, or another favorite shade.
Credit Knitting with bano
Materials & Tools
- Yarn: Light worsted or DK weight yarn in White for the head and ear border, Pink for the inner ears and bow, plus a small amount of Dark Brown or Black for facial embroidery
- Crochet Hook: 3.5mm or 4.0mm hook, depending on yarn weight; tighter stitches help keep finished appliqué firm
- Tapestry needle: For sewing, weaving in ends, and facial embroidery
- Scissors
- Headband: Standard plastic or fabric-covered headband; tutorial uses pink plastic headband
- Hot glue gun: Optional if you prefer gluing finished bunny onto headband instead of sewing
Finished Size & Ways to Use It
Finished bunny head measures approximately 2.5–3 inches tall, including ears, which keeps it compact enough for children’s headbands.
Headband is only one option. Sew the finished bunny onto a hair clip, attach it to a keychain, or use it as an embellishment on a baby blanket, beanie, or fall cardigan. Pink can also be replaced with baby blue, yellow, lavender, or another color combination.
Abbreviations
MR: Magic ring
ch: Chain
sl st: Slip stitch
sc: Single crochet
hdc: Half double crochet
dc: Double crochet
tr: Treble (triple) crochet
st(s): Stitch(es)
inc: Increase – 2 stitches in same space
How to Crochet a Bunny Head
Work bunny head first so ears and facial details have stable placement points during assembly.
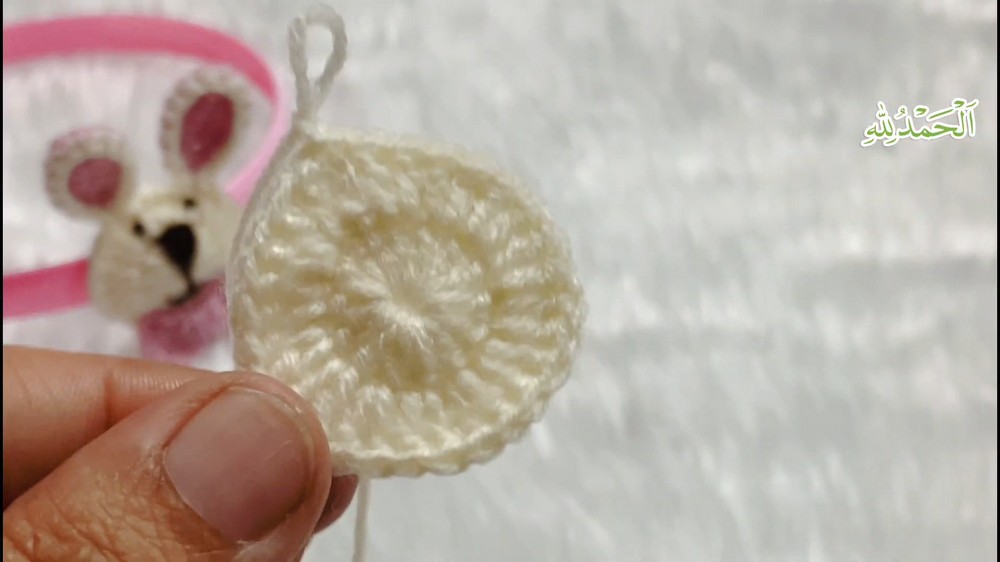
Round 1: Create a Magic Ring (MR). Ch 3 (counts as first dc). Work 13 dc into MR. Pull ring tightly closed. Join with sl st to top of initial ch-3. (Stitch count: 14 dc)
Round 2: Ch 3 (counts as first dc). Place 1 dc into the same stitch as the chain. Work 2 dc in every remaining stitch around the circle. Join with sl st to top of initial ch-3. Fasten off and weave in end. (Stitch count: 28 dc)
Helpful check: Round 2 should give you a flat, even circle. If edge begins to cup heavily, check whether each stitch received 2 dc before continuing.
Shape Two Inner Ears
Each ear begins with Pink yarn and receives White edging afterward. Make 2 ears.
Row 1 (Inner Ear – Pink Yarn): Ch 8.
Row 2 (Shaping – Pink Yarn): Working into 2nd ch from hook, place 1 sc; place 1 hdc in next ch; place 1 dc in each of next 3 chs; place 1 hdc in next ch; place 5 dc in last ch, allowing this fan to rotate work so you can continue down opposite side of starting chain; working down opposite side, place 1 dc in each of next 3 spaces, 1 hdc in next space, and 1 sl st in final space. Fasten off Pink yarn.
The group of 5 dc at end of starting chain is what creates rounded ear tip and turns your work naturally. Keep those stitches together in the final chain space rather than spreading them across several spaces.
Row 3 (Outer Border – White Yarn): Attach White yarn to the bottom right edge of the finished Pink ear; work 5 sl sts sequentially up the straight side; continue with sl sts evenly around the curved top and down the opposite side to create a clean White outline; join with the final sl st at the base. Fasten off, leaving a long tail for sewing the ear onto head.
Repeat complete ear instructions for second ear.

Make Tiny Pink Bow
Bow uses very little yarn and forms two matching loops around central ring.
Round 1: Create Magic Ring (MR).
Side 1: Ch 4; work 3 tr into MR; ch 4; sl st directly into MR.
Side 2: Ch 4; work 3 tr into MR; ch 4; sl st directly into MR.
Finishing the Bow: Pull MR tightly to cinch center. Wrap yarn tail tightly around middle of bow 3–4 times to create finished center-knot appearance. Tie securely on back, leaving tail for attachment.
Before sewing bow into place, gently adjust both loops so they sit evenly on opposite sides of center. This small adjustment helps the finished bow look balanced.

Put Bunny Together
1. Sew Ears Onto Head
Use long White tails left on ears and a tapestry needle. Position both ears along the top edge of White bunny head, around Round 2, keeping spacing and angles as symmetrical as possible. Sew bases securely through head stitches.
Check placement from the front before trimming any tail. Small position changes are much easier before ends are woven in completely.
2. Embroider Face
Thread tapestry needle with Dark Brown or Black yarn.
- Nose: Embroider a small triangle or “Y” shape at the center of the head, directly over the center hole created by MR.
- Eyes: Add two small vertical straight stitches above and slightly to each side of nose.
Keep eye stitches similar in length and height. Since the face is small, even tiny differences can noticeably change the bunny’s expression.
3. Add Pink Bow
Use Pink yarn tail to sew a tiny bow directly onto the bottom center of the bunny head, just below the nose/mouth area.
Secure bow through its center rather than pulling through loops. This keeps loops defined and prevents the bow from flattening.
4. Attach Bunny to Headband
Place finished bunny on side or top of headband and choose preferred position before securing it.
For sewn attachment, use White yarn to stitch around the headband and lock the bunny firmly in place. For quicker attachment, apply a generous dab of hot glue to the back of the bunny head and press it firmly against the band.
Allow glue to cool and set fully before handling finished accessory.
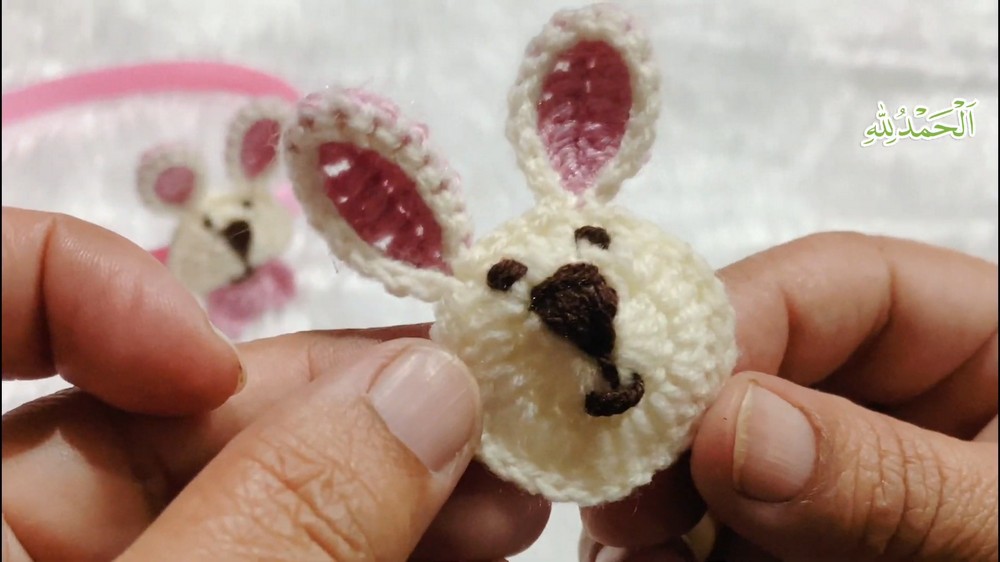
Small-Scale Finishing Check
Because the finished bunny is only about 2.5–3 inches tall, placement has strong visual impact. Before final attachment, check three points: ears sit evenly, facial features remain centered, and bow sits directly beneath nose. These quick checks help preserve neat proportions even when making several pieces.
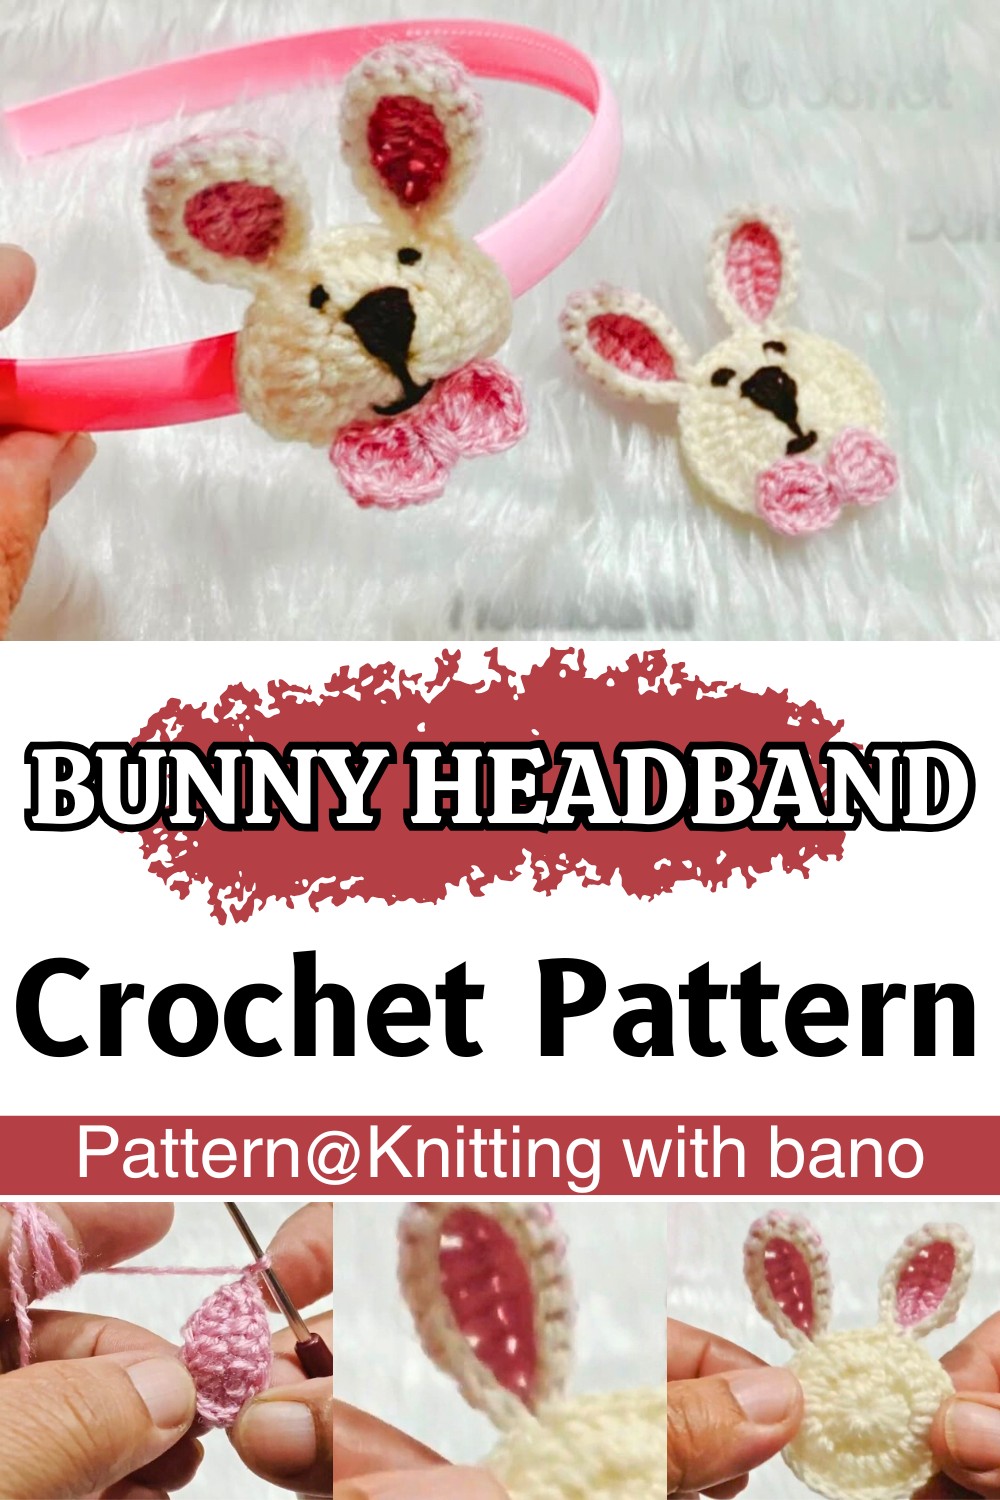
Color & Placement Variations
Pink gives the bunny a classic, soft contrast, but changing the inner-ear and bow colors can create completely different looks. Try baby blue, lavender, or yellow for seasonal sets, sibling accessories, or matching hair clips.
For uses beyond headbands, keep the attachment method suited to the finished item: sewing works well when the bunny needs secure stitching, while adhesive offers quicker placement on suitable accessory surfaces.