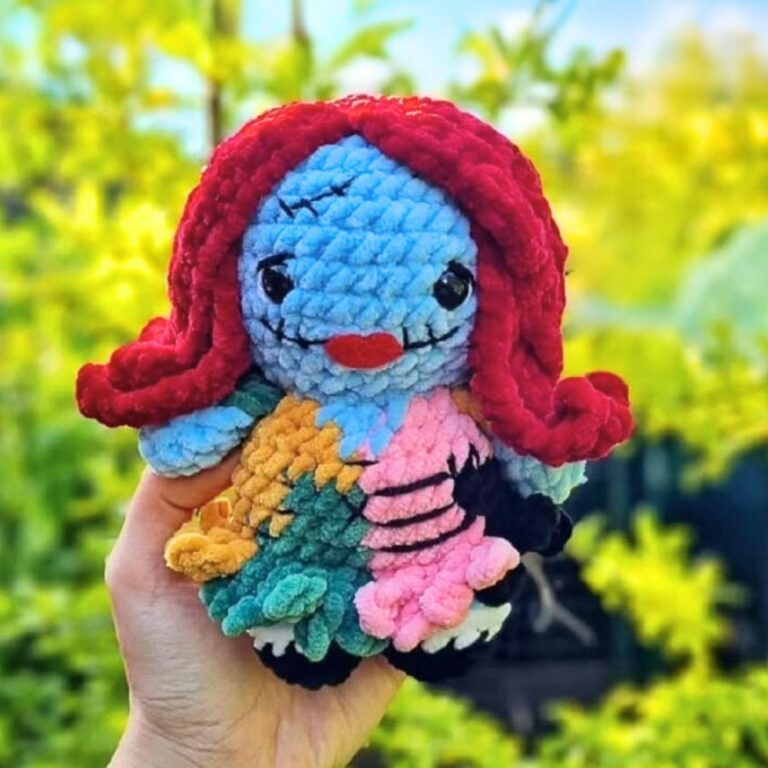
Crochet Moon and Saturn Keychain Pattern Free
A tiny piece of the night sky can add an unexpected touch of magic to your everyday essentials. This crochet Moon and Saturn keychain brings celestial charm to bags, backpacks, and keys with its playful shapes and vibrant colors.
Its compact design makes it easy to carry, while the handmade details give this little accessory a personality of its own.
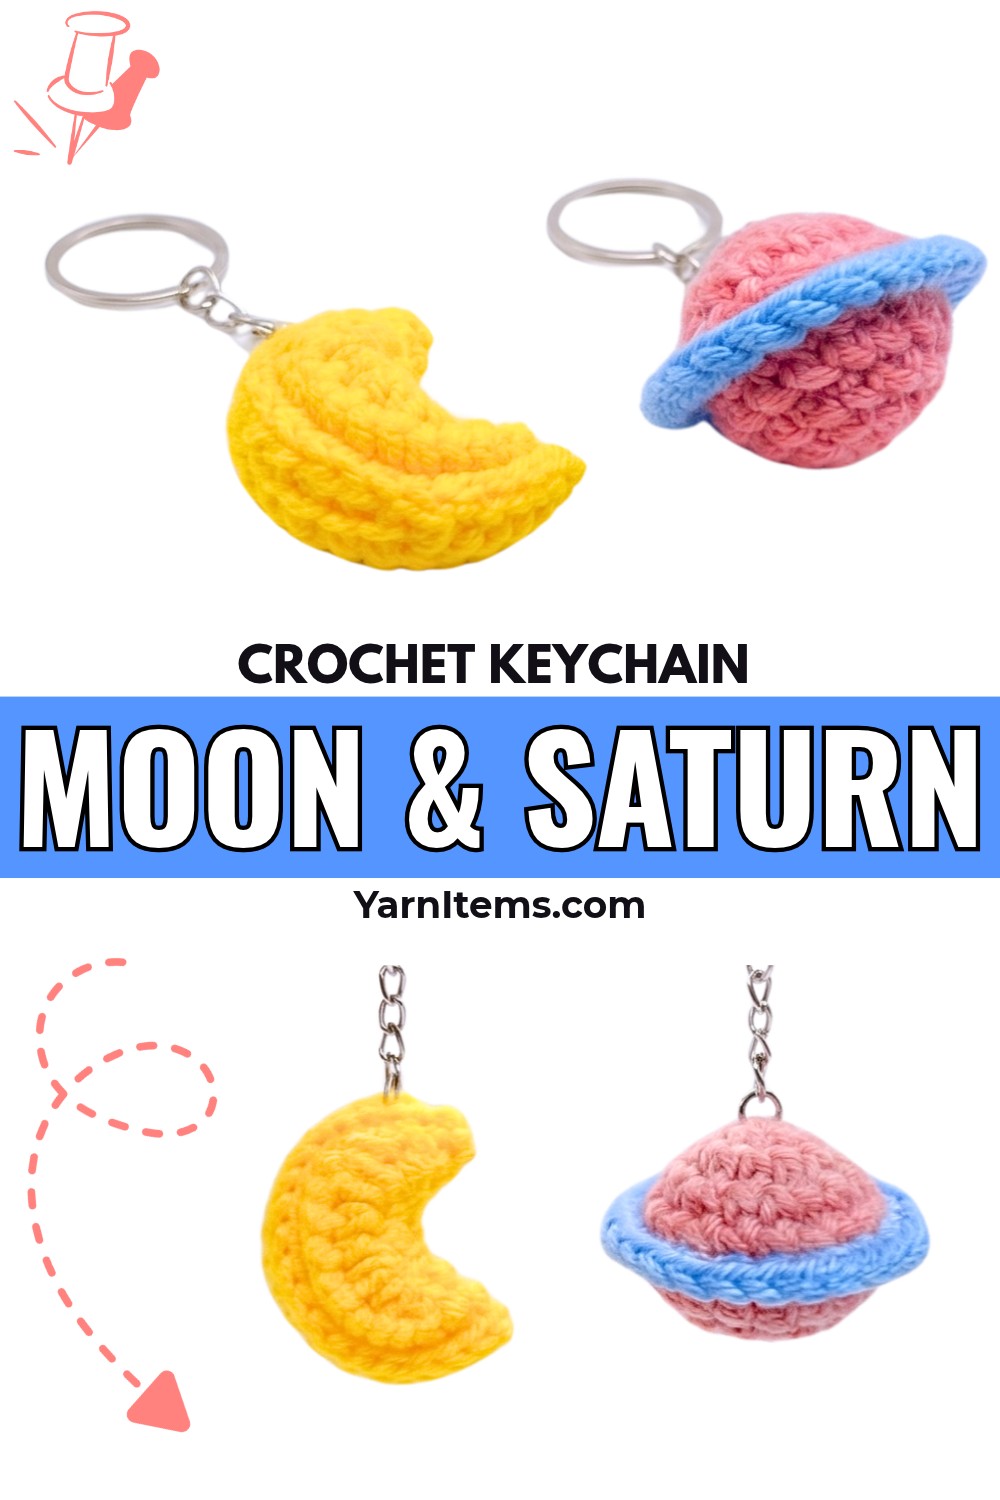
Space-inspired details make this crochet keychain especially fun to personalize and enjoy. The Moon and Saturn can become a cheerful gift for a space lover or a unique little item for adding character to your favorite accessories. With its manageable size and simple creative appeal, this crochet piece is also a lovely choice for beginners who want to explore colorful designs and make something truly their own.
Credit Xuxu Crochet
Materials & Tools Needed
Yarn (5-ply Milk Cotton Yarn):
- Yellow: for the Crescent Moon
- Dusty Pink / Rose: for the Saturn Planet Body
- Sky Blue: for the Saturn Ring
Other Supplies:
- Crochet Hook: 2.5 mm
- Stuffing: Fiberfill or cotton stuffing
- Notions:
- Stitch marker
- Tapestry/yarn needle
- Scissors
- 2 keychain rings with jump rings
- Jewelry pliers (for attaching keychains)
Finished Size
- Approx. 4–5 cm (1.5–2 inches) per keychain
Customization Ideas
- Color Palettes:
- Swap colors for other themes (e.g., pastel colors, metallic threads, or cosmic tones like lavender planets with cream rings).
- Embellishments:
- Add embroidered tiny eyes or stars to personalize the moon and planet.
- Usage Ideas:
- Use these as matching couple keychains, bag charms, or car mirror ornaments!
Pattern Notes
- Rounds: The pattern is worked in joined rounds. Each round ends with a slip stitch (sl st) to the first stitch, starting with a chain 1 (ch 1).
- Note: The initial ch 1 does not count as a stitch.
- Right vs. Wrong Side: When folding the moon to form its crescent shape, ensure the right side (front of the stitches) is facing outward.
- Invisible Decrease (dec): For a clean, nearly unnoticeable decrease:
- Insert the hook into the front loop only of two consecutive stitches.
- Yarn over, pull through two loops.
- Yarn over again and pull through the remaining two loops.
Pattern Abbreviations & Terminology
-
MR: Magic Ring
-
ch: Chain
-
sc: Single Crochet
-
inc: Single Crochet Increase (2 sc in the same stitch)
-
dec: Single Crochet Decrease / Invisible Decrease
-
BLO: Back Loop Only
-
FLO: Front Loop Only
-
sl st: Slip Stitch
-
st(s): Stitch(es)
-
[ ] x N: Repeat the instructions inside brackets
Ntimes.

Tips Before You Start
- Keep your stitch tension consistent to prevent stuffing from poking through.
- Mark the first stitch of each round with a stitch marker to track your progress.
- Do not overstuff; too much stuffing may distort the shapes.
Step-By-Step Crochet Instructions
Part 1: Crescent Moon (Yellow Yarn)
Round 1:
- Start with a magic ring (MR).
- Work 10 single crochet (sc) into the MR.
- Pull the yarn tail tightly to close the ring.
- Slip stitch (sl st) to the 1st sc to join.
- Chain 1 (ch 1).
(Total: 10 stitches)

Round 2:
- In the same stitch as the ch 1, work 1 increase (inc) by crocheting 2 sc into the same stitch.
- Work 1 inc in each stitch around.
- Slip stitch to the 1st sc to join, and ch 1.
(Total: 20 stitches)
Round 3:
- In the same stitch as the ch 1, work 1 inc.
- Continue working 1 inc in every stitch around (20 increases in total).
- Slip stitch to the 1st sc to join, and ch 1.
(Total: 40 stitches)
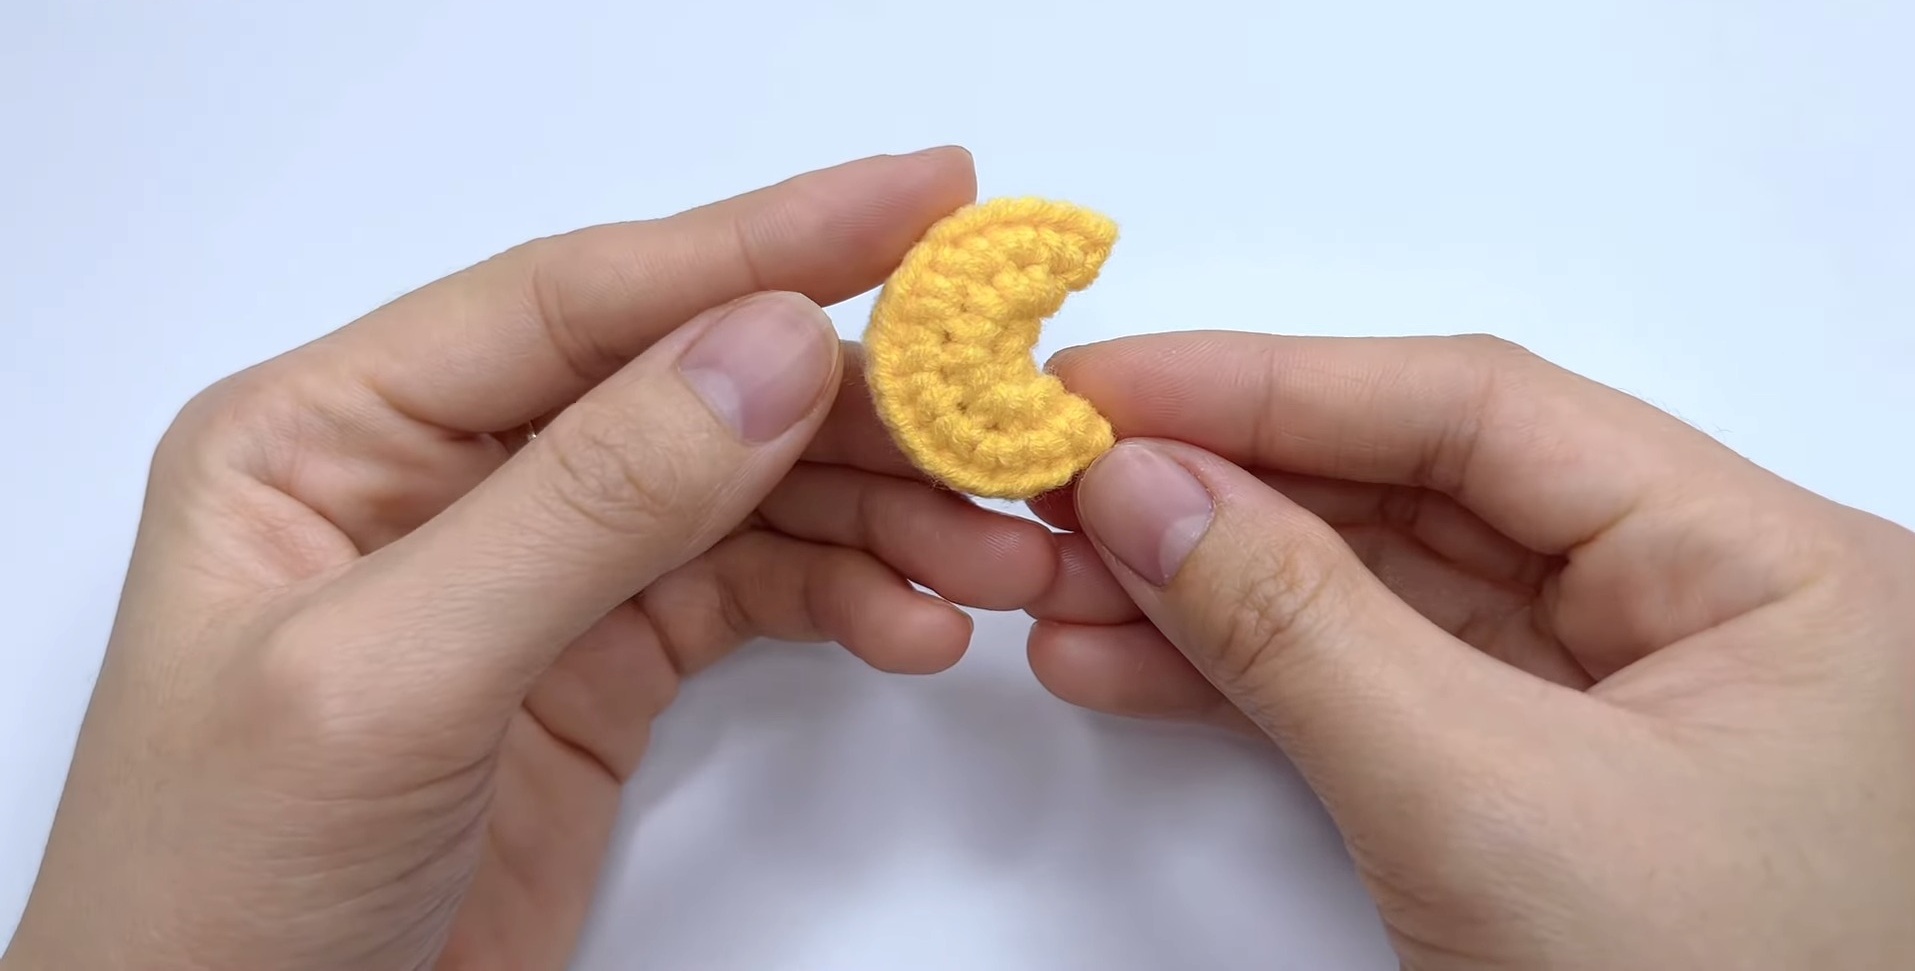
Moon Shaping and Joining:
- Fold the flat circle in half so that the wrong sides are on the inside and the right sides face outwards.
- Align the edges of the crocheted circle.
- Insert your hook through the first stitch on the front layer and the corresponding stitch on the back layer.
- Work 1 slip stitch (sl st) through both layers to join the edges together.
- Continue working 1 sl st through each pair of matching stitches along the curved edge.
Stuffing:
- When you’ve completed about 3/4 of the edge, stop stitching.
- Insert fiberfill stuffing into the crescent shape using your fingers or the back of your hook.
- Continue stitching slip stitches across the remaining edge to fully close the crescent moon shape.
Finishing:
- Fasten off and leave a short yarn tail.
- Use a tapestry needle to weave in the end securely inside the moon.
Your Crescent Moon is now complete!
Part 2: Saturn Planet & Ring
A. Saturn Body (Dusty Pink Yarn)
Round 1:
- Start with a magic ring (MR).
- Work 6 sc into the MR.
- Pull the yarn tail tightly to close the ring.
- Slip stitch to the 1st sc to join, and ch 1.
(Total: 6 stitches)
Round 2:
- Work 1 inc in each stitch around.
- Slip stitch to the 1st sc to join, and ch 1.
(Total: 12 stitches)
Round 3:
- Work [1 sc, 1 inc] six times around (this means alternate between 1 sc and 1 inc).
- Slip stitch to the 1st sc to join, and ch 1.
(Total: 18 stitches)
Round 4:
- Work 1 sc in each stitch around.
- Slip stitch to the 1st sc to join, and ch 1.
(Total: 18 stitches)

Round 5 (BLO):
- Work in the Back Loops Only (BLO) of the stitches in this round.
- Work 1 sc in each stitch around.
- Slip stitch to the 1st sc to join, and ch 1.
(Total: 18 stitches)Note: The unworked front loops will be used to attach the planet ring later.
Round 6:
- Return to crocheting through both loops.
- Work 1 sc in each stitch around.
- Slip stitch to the 1st sc to join, and ch 1.
(Total: 18 stitches)
Round 7:
- Work [1 sc, 1 invisible decrease (dec)] six times around.
- (Use an invisible decrease by inserting your hook through the front loops of the next two stitches together before completing the stitch.)
- Slip stitch to the 1st sc to join.
(Total: 12 stitches)
Stuffing:
- Pause here to firmly stuff the sphere with fiberfill. Adjust the stuffing to maintain the round shape.
Round 8:
- Work 6 dec around using invisible decreases.
- Slip stitch to the 1st sc to join.
(Total: 6 stitches)
Fasten Off & Close:
- Fasten off, leaving about a 4-inch yarn tail.
- Thread the tail into a yarn needle.
- Pass the needle through the front loops of the remaining 6 stitches, pull tight to close the sphere, and secure the tail.
- Weave in the end inside the sphere, making sure it’s secure.
Your Saturn body is complete!
B. Saturn Ring (Sky Blue Yarn)
- Orient the completed Saturn sphere so that Round 1 (the magic ring) faces upward.
- Locate the ridge created by the 18 exposed Front Loops (FLO) left over from Round 5.
- Attach the Sky Blue yarn to any exposed front loop. Chain 1 (ch 1).
- Work 1 sc into the same front loop.
- Work around the entire ring in FLO using this pattern: [1 sc, 1 inc] nine times.
(Total: 27 stitches)
Finishing:
- Slip stitch to the first sc of the round to join and complete the ring.
- Fasten off, leaving a short tail.
- Thread the yarn end into a tapestry needle.
- Weave the tail into the body of the Saturn sphere to secure and hide it.

Final Assembly
- Prepare the keychains by opening jump rings carefully with pliers.
- Attach the jump ring:
- To the crescent moon, pass the ring through the top center edge and attach to the keychain chain.
- To Saturn, pass the ring through the top MR center of the planet body and secure it with the keychain chain.
- Use pliers to ensure the jump rings are securely closed.
Conclusion
Your Moon & Saturn Crochet Keychains are complete! These adorable cosmic companions make unique gifts and versatile accessories for loved ones.