Mini Crochet Christmas Wreath Pattern For Holiday Decoration
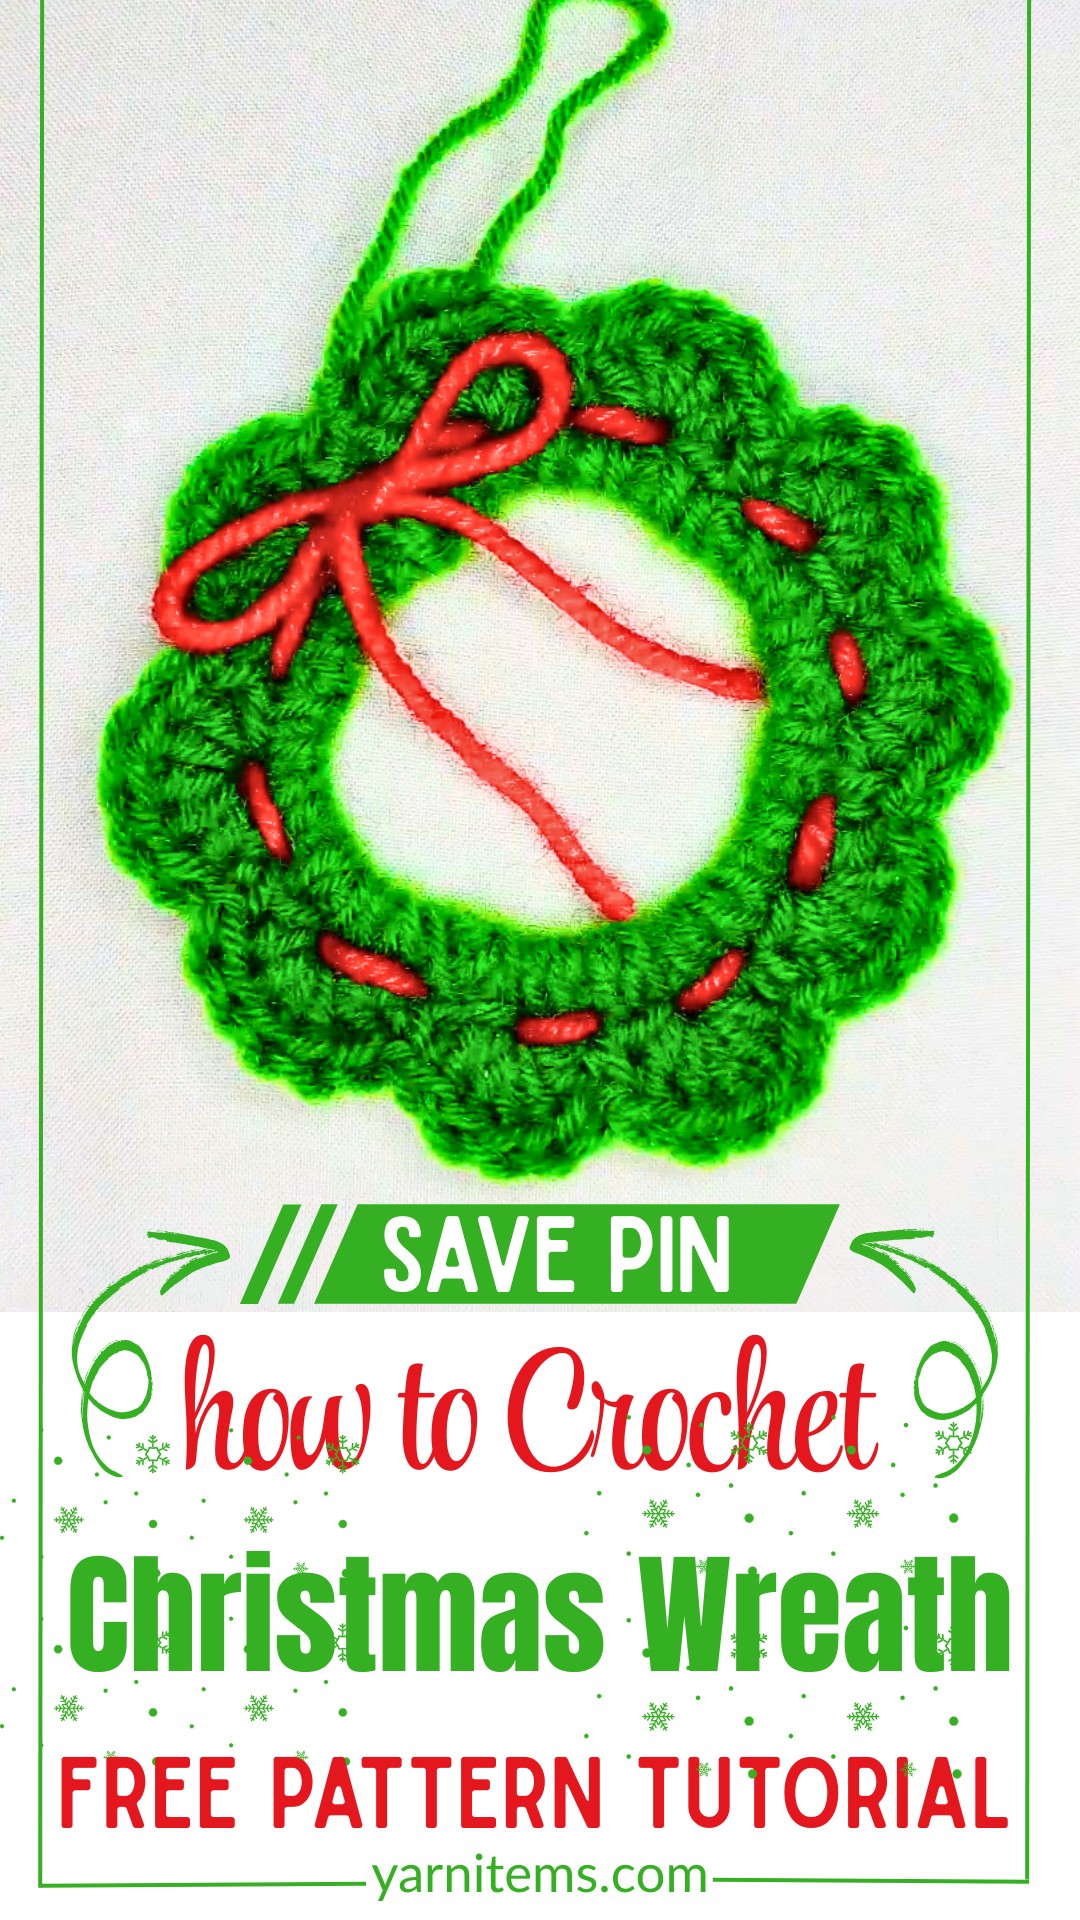
A mini crochet Christmas wreath may be small enough to fit in the palm of your hand. But it can instantly make holiday crochet pieces look more festive.
Add one to a gift tag, hang it on the tree, decorate a holiday garland, or use it to brighten a handmade card. This pattern turns a few simple stitches into a cheerful decoration. It can be made again and again throughout the season.
Crochet Christmas Wreath Pattern
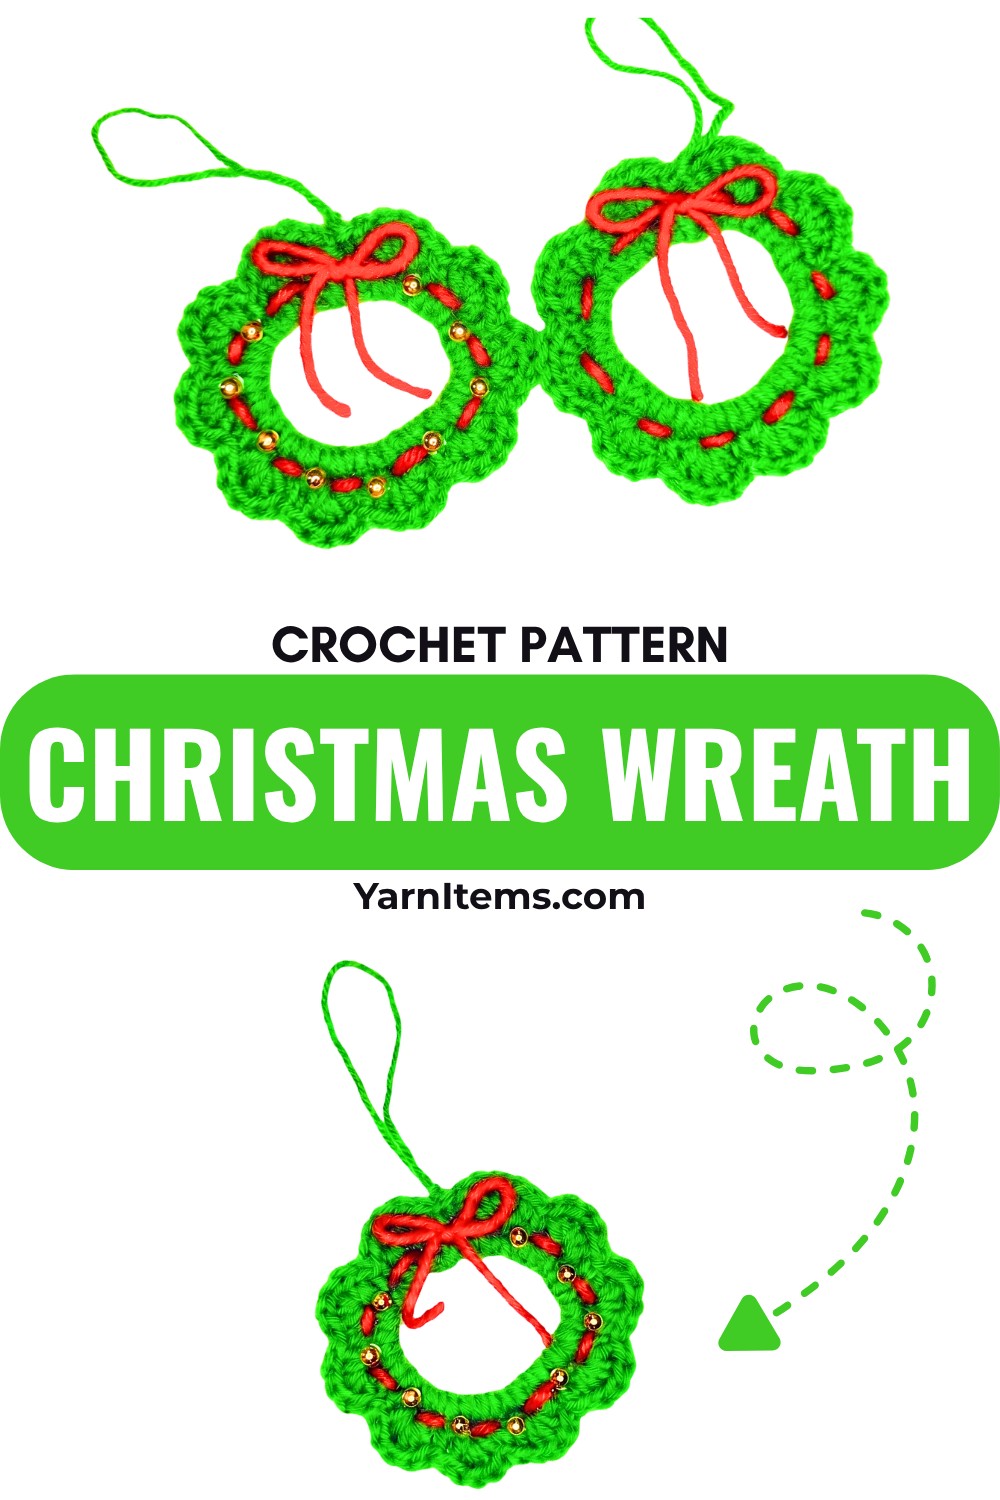
You don’t need a long list of supplies or advanced crochet skills to bring this little wreath to life. The step-by-step instructions show how to shape the wreath and add its finishing details. And customize it with bows or tiny embellishments for your own holiday style. Before long, you’ll have a collection of miniature crochet wreaths ready to decorate everything from presents to your Christmas home.
Credit Vima’s Crochet
Materials & Tools Needed
- Yarn:
- Green yarn for the wreath (medium-weight or 3-ply yarn is recommended; sparkly yarn works great for Christmas aesthetics).
- Red yarn for the bow/accent.
- Crochet Hook: 5 mm hook.
- Tools:
- Stitch markers.
- Scissors.
- Yarn needle.
- Optional: Fabric glue or hot glue for adding embellishments.
- Embellishments: Beads or decorations (optional).
Finished Size
The finished size depends on the yarn used and the tightness of your stitches. However, it will generally result in a small wreath suitable for hanging as an ornament.
Customization Ideas:
- Use different shades of green for the base wreath.
- Add beads for an extra festive sparkle.
- Use contrasting colors for the bow for a vibrant look.
Pattern Abbreviations & Terminology
(Note: Instructions are written in US Crochet Terms)
- ch: Chain
- sc: Single Crochet
- dc: Double Crochet
- sl st: Slip Stitch
- st: Stitch
Step-by-Step Detailed Crochet Instructions
Base Wreath:
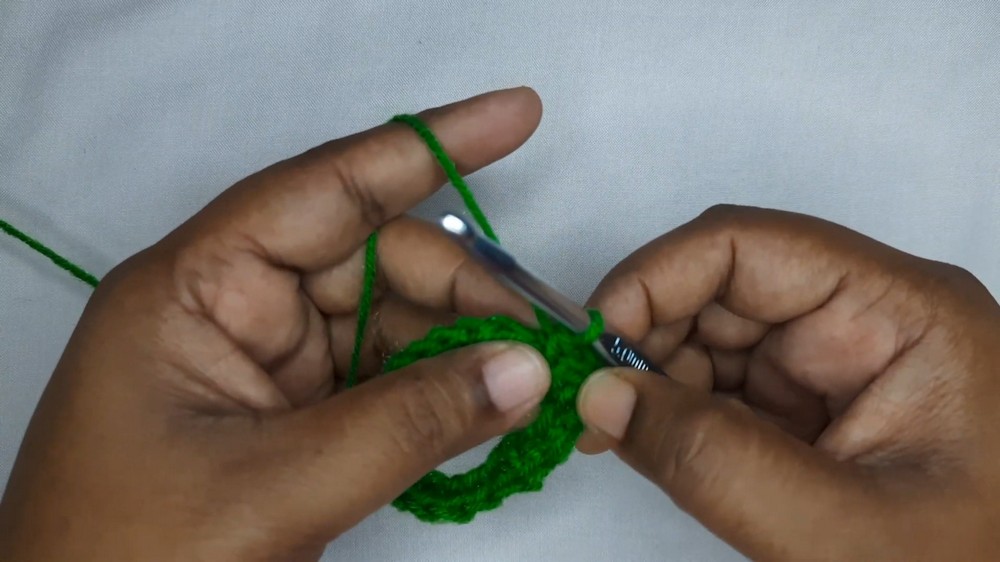
- Make the foundation chain:
- Begin with a slip knot on your hook.
- Chain 20 stitches (ch 20).
- Form a ring:
- Ensure the chain isn’t twisted before joining.
- Insert your hook into the first chain.
- Pull the working yarn through both loops to form a circle.
- Chain 1 (ch 1) to secure.
- Create the first round:
- Work 1 single crochet (sc) into each of the 20 chains around.
- Ensure stitch count totals 20 sc. (Work over the yarn tail as you go for a neater finish.)
- Join with a slip stitch (sl st) to the first single crochet.
- Begin the second round:
- Chain 1 (ch 1). Insert the hook through the center of the ring (not the stitches) and pull up a loop for a single crochet in the ring (sc).
- Continue making 40 single crochets (sc) into the middle of the ring, spacing them evenly.
- (Tip: Push the stitches outward as you go to make space for all 40 stitches.)
- Complete the second round:
- Count your stitches to ensure you have 40 sc.
- Join with a slip stitch (sl st) to the first sc.
Decorative Edging:
- Start the edging pattern:
- Chain 1 (ch 1). Make 1 single crochet (sc) into the first stitch.
- Place a stitch marker in this stitch to mark the beginning of the round.
- Create shells:
- Skip 1 stitch, then make 5 double crochets (dc) into the next stitch. This forms a shell.
- Skip the next stitch, then make 1 single crochet (sc) into the next stitch.
- Continue the pattern around:
- Repeat the sequence: Skip 1 st, 5 dc (shell), skip 1 st, 1 sc.
- Work this pattern until you reach the start.
- Complete the edging:
- After your last shell, skip the next stitch, then join with a slip stitch (sl st) to the first single crochet.
- Fasten off the yarn, leaving the loop for the bow.

Adding the Hanging Loop:
- Use the remaining yarn or a different color to make the hanging loop.
- Tie a secure knot near the base of the wreath and create a loop for hanging.
- If desired, you can weave in the remaining yarn ends using the yarn needle and trim any excess.
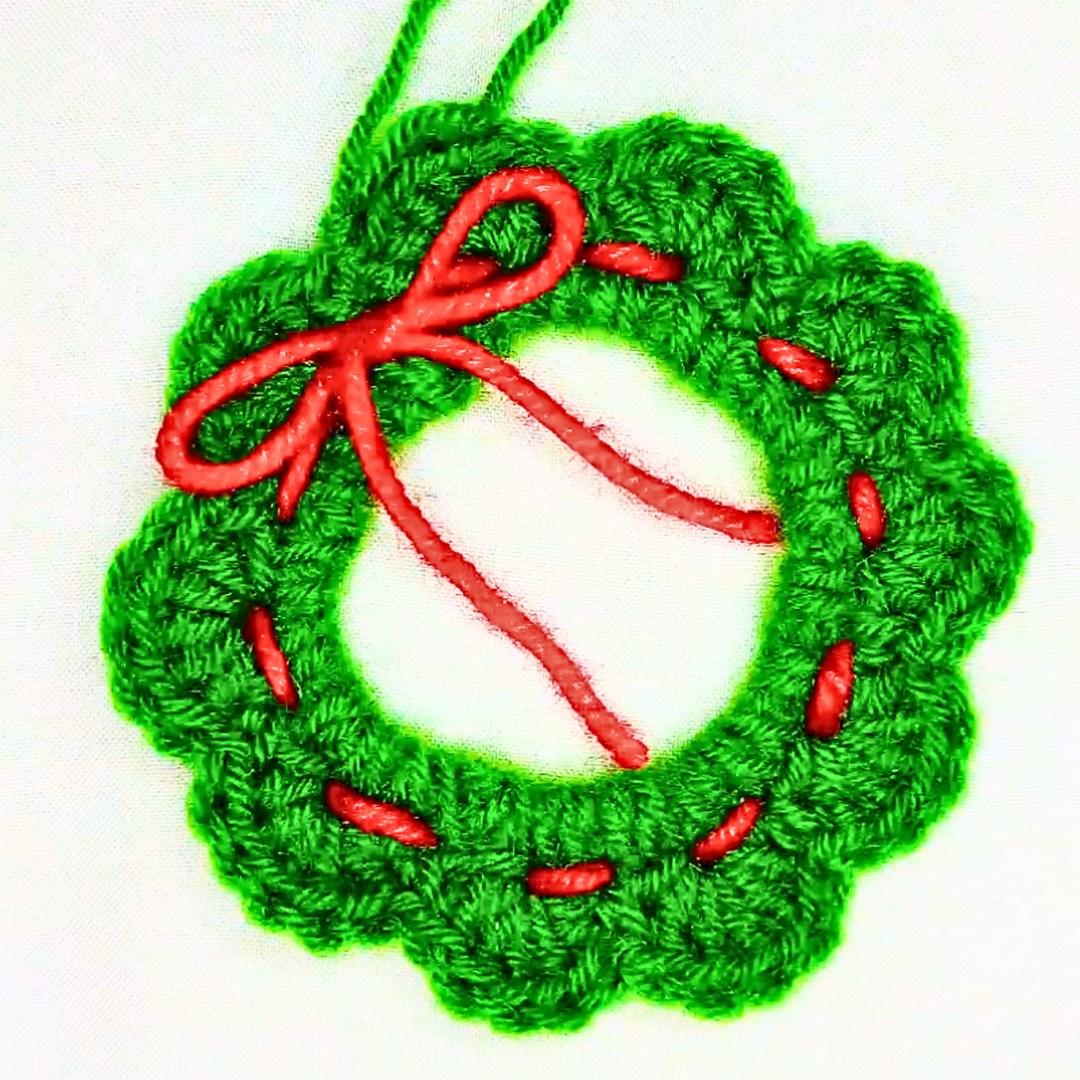
Adding the Red Accent:
- Take the red yarn and insert it through the wreath:
- Start from a single crochet stitch and weave the yarn into the wreath.
- Insert through a single crochet stitch and pull back out at the top of a shell.
- Continue this pattern:
- Repeat the process of weaving the red yarn from single crochet stitches to shell clusters all the way around the wreath.
- Finish the bow:
- Once you’ve completed the weaving, tie a knot at the starting point. Use the remaining yarn tails to create a bow.
- Trim any excess yarn if needed.
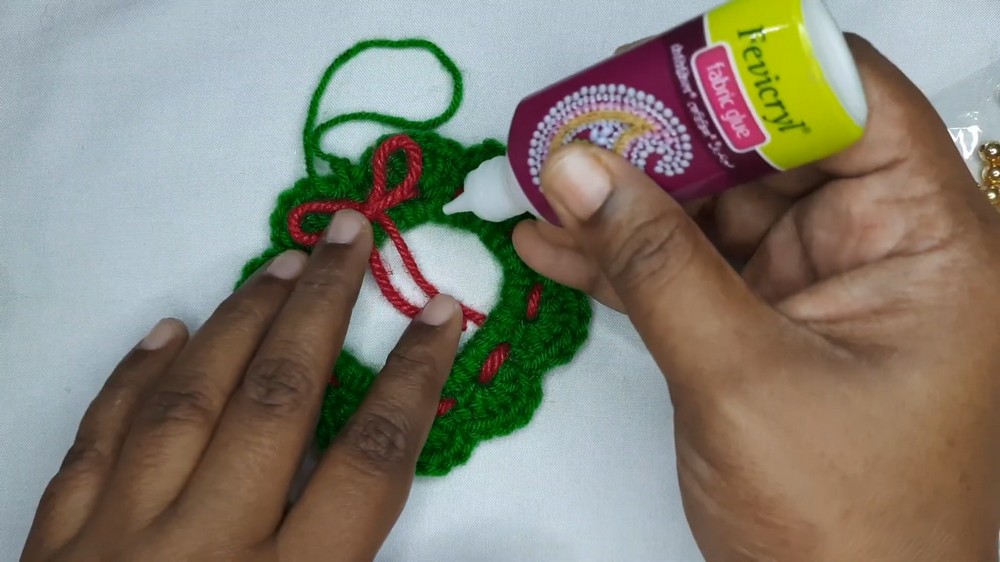
Add Beads (Optional):
- Use fabric glue or a glue gun.
- Apply small dots of glue at the center of each shell.
- Place beads into the glue. Let them dry fully before handling.
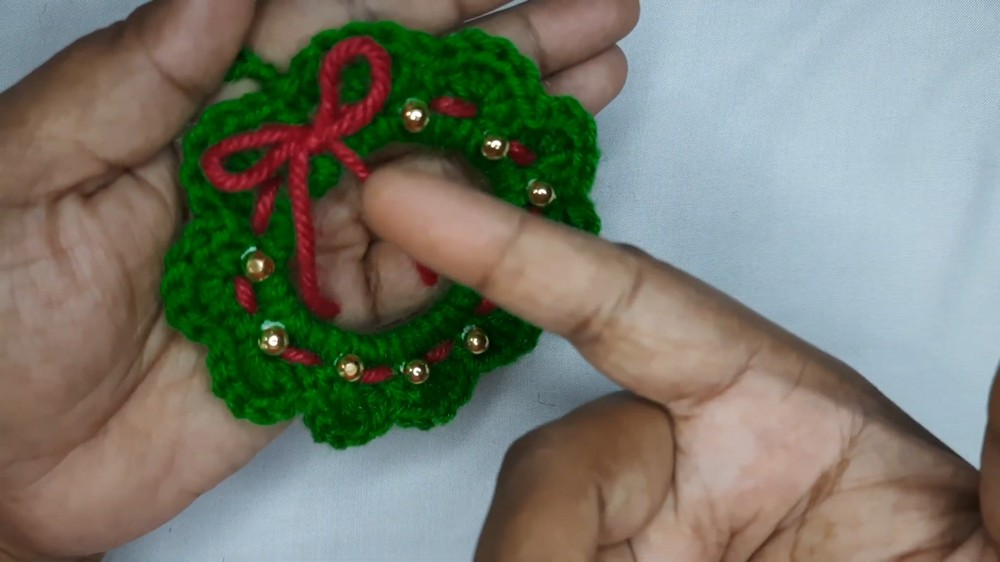
Final Adjustments & Finishing:
- Adjust all stitches to form a uniform circular shape.
- Make sure the hanging loop and bow are tied securely.
- Add more beads or embellishments as desired.