
Free Crochet Christmas Star Coaster & Ornament Pattern
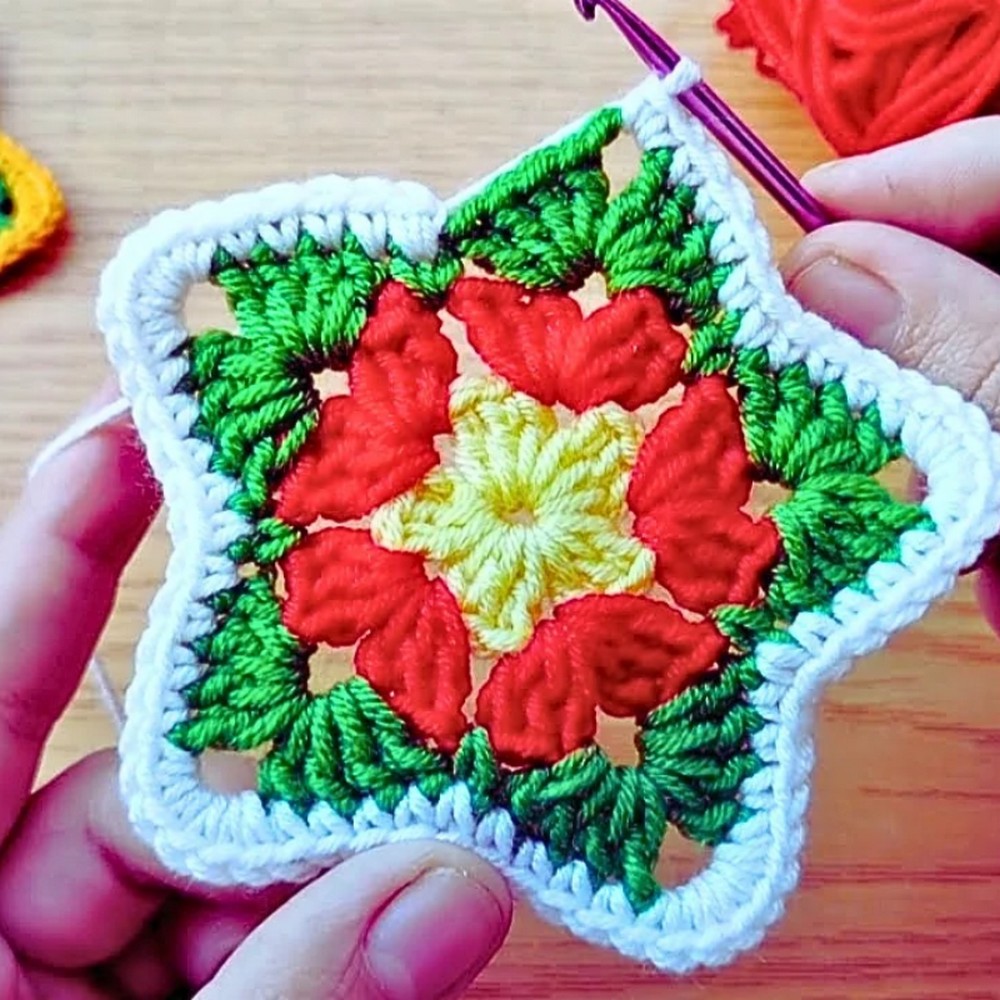
Five colorful points and a neat double-layer finish make this crochet star a festive coaster, tree ornament, or addition to handmade holiday garland.

Colorful yarn turns this five-point crochet star into a cheerful holiday decoration, with a yellow center, red inner petals, green star points, and a crisp white border. Its layered finish adds structure, making it useful as a festive coaster or a decorative crochet piece for your Christmas tree.
Building the star involves four rounds of simple crochet stitches, with each color creating a different part of its shape. You’ll make two matching panels, finish their edges, and join them with a tapestry needle. You can also add a small hanging loop during assembly if you want to display the finished crochet star as an ornament.
Credit karma crochet
Materials & Tools Needed
Gather these supplies before you begin:
- Yellow Yarn: For the center star/ring.
- Red Yarn: For the inner petal round.
- Green Yarn: For the star points round.
- White Yarn: For the final border/edging and assembly.
- Crochet Hook: 2.5 mm hook.
- Notions: Scissors and a tapestry needle for weaving ends and seaming.
Finished Size & Ways to Customize Your Star
This crochet star can be used in several ways around the holiday season:
- Festive Coaster: Place it on a table as a decorative coaster.
- Christmas Tree Ornament: Add a small hanging loop at the top corner.
- Holiday Garland: Connect several finished stars together to create a colorful garland.
You can also change the yarn colors to suit your decorating style. Try traditional Christmas red, green, and white, choose neutral rustic tones, or use a bright winter white and gold combination.
Pattern Abbreviations & Terminology
- ch: Chain
- sl st: Slip stitch
- sc: Single crochet
- dc: Double crochet
- st(s): Stitch(es)
- rnd: Round
Before You Start: Make Two Matching Star Panels
This pattern requires two identical star panels. Each panel is crocheted separately by completing Rounds 1 through 4. Once both pieces are ready, align them back-to-back and seam around the outer edge using the long white yarn tail.
Work the same color sequence for both panels:
- Yellow for the center.
- Red for the inner petal round.
- Green for the five star points.
- White for the outer border and joining.
Step-by-Step Crochet Christmas Star Pattern
Round 1: Center (Yellow Yarn)
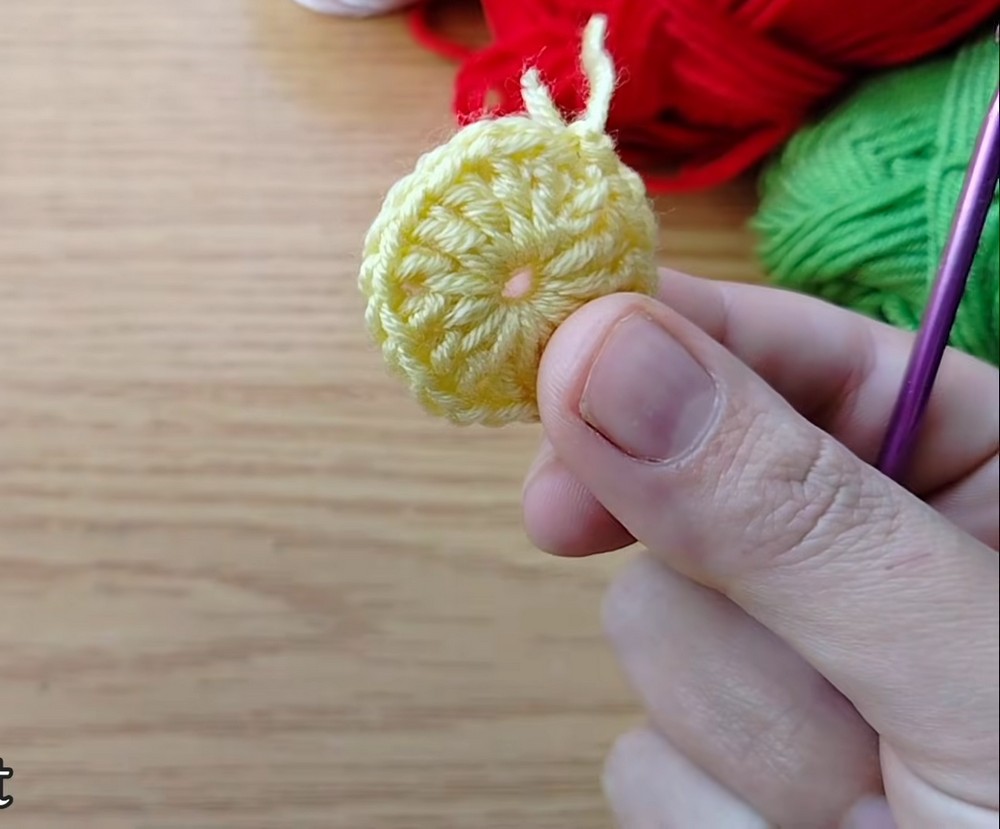
Begin with yellow yarn to create the small center ring and five chain spaces. These spaces form the foundation for the red petal round.
- Step 1: Start with yellow yarn by working
5 ch. - Step 2: Join with a sl st into the very first chain to form a small center ring.
- Step 3: Work
3 ch(counts as your first double crochet equivalent or starting height), work2 dcinto the ring, then1 ch. - Step 4: Repeat the sequence
(3 dc, 1 ch)into the center ring 4 more times so you have a total of 5 petal spaces. - Step 5: Join with a sl st to the top of the initial
3 ch, fasten off yellow yarn, and secure the tail.
Round 2: Petals (Red Yarn)
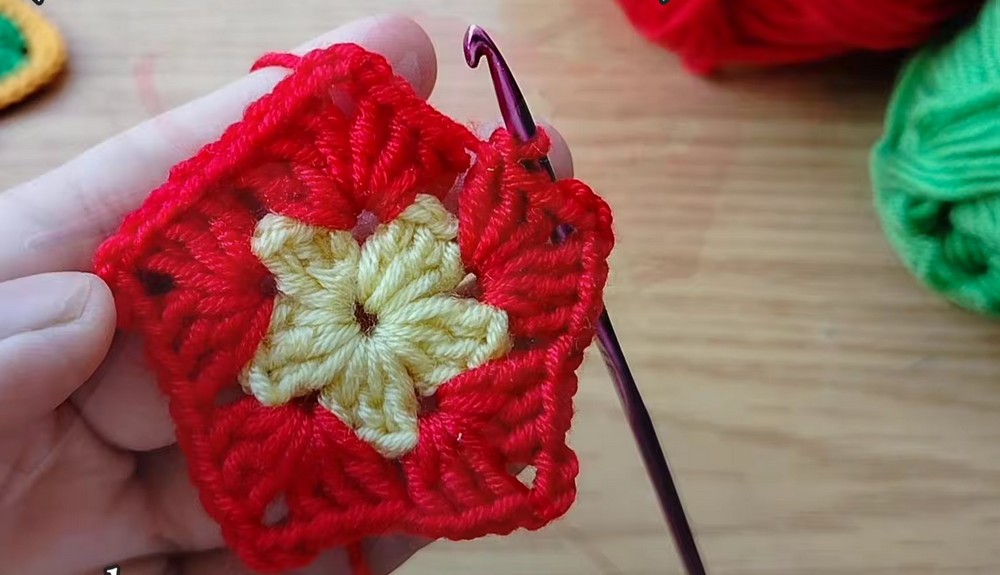
Attach red yarn to one of the chain spaces from Round 1. Each space will hold a matching group of double crochet stitches to form the five red sections.
- Step 1: Attach red yarn into any
1 chspace from Round 1. - Step 2: Work
(3 dc, 3 ch, 3 dc, 1 ch)directly into that same1 chspace. - Step 3: Repeat this exact pattern
(3 dc, 3 ch, 3 dc, 1 ch)into each of the remaining4chain spaces around the ring. - Step 4: Join with a sl st to the top of the first stitch, fasten off red yarn, and trim the yarn tail.
Round 3: Star Points (Green Yarn)
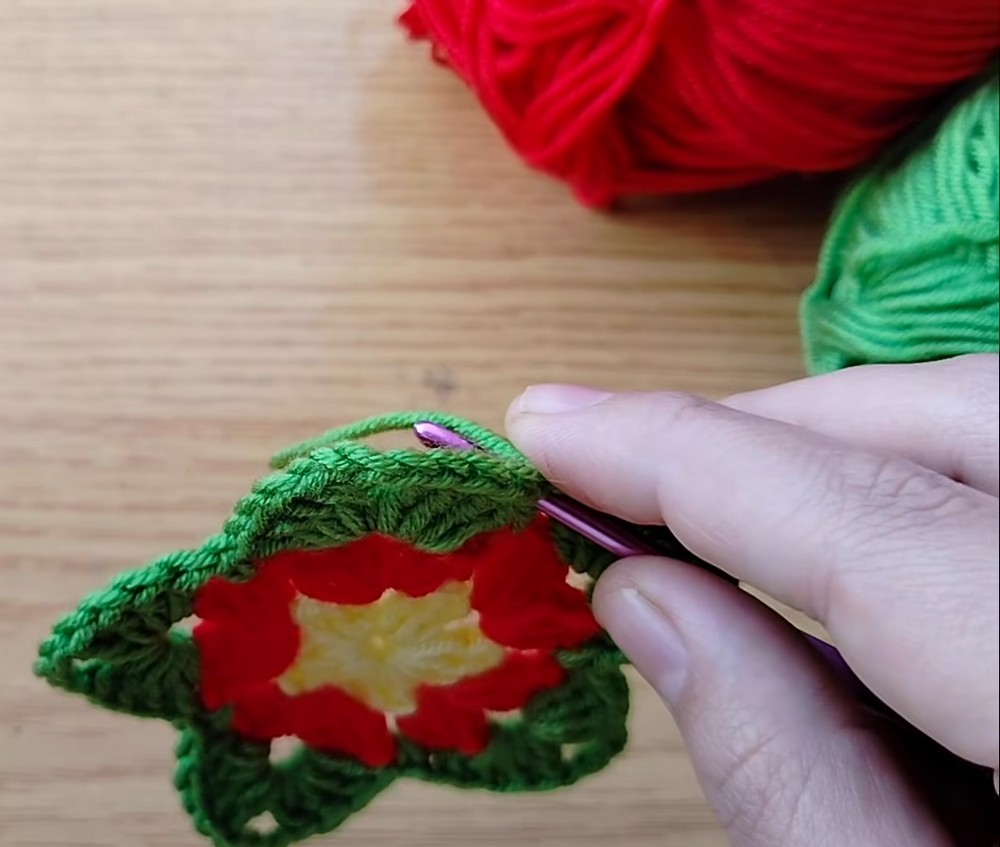
The green round creates the five pointed sections. Work a single crochet in each valley space and a larger double crochet group in every corner space.
- Step 1: Attach green yarn into any
1 chspace located between the red petal clusters. - Step 2: Work
1 ch, followed by1 scin that same space. - Step 3: In the next
3 chcorner space (the tip of the star point), work:(4 dc, 3 ch, 4 dc). - Step 4: Work
1 scinto the next valley space (between the red petals). - Step 5: Repeat this sequence around the entire piece (
4 dc, 3 ch, 4 dcin the corner tip;1 scin the valley between points) for all 5 points. - Step 6: Join with a sl st to close the round, fasten off green yarn, and cut the tail.
Round 4: Border & Edging (White Yarn)
Use white yarn for the final border. The single crochet stitches follow the sides of each green point, while the six stitches in every corner space create a rounded turn at the star tips.
- Step 1: Attach white yarn at any valley single crochet stitch.
- Step 2: Work
1 ch, then1 scinto that same stitch. - Step 3: Work single crochets evenly across the side (
4 scworking up the slope of the star point). - Step 4: In the
3 chcorner tip, work6 scinside the space to create a smooth, rounded turn at the star’s apex. - Step 5: Work down the next side with
4 sc, then1 scin the valley stitch, and continue this exact sequence around all 5 points. - Step 6: Fasten off white yarn, leaving a long tail (approx. 12–15 inches) designated for the final assembly seaming.

Make the Second Star Panel
After completing the first panel, repeat Rounds 1 through 4 to crochet a second matching star.
Use the same yarn colors and stitch sequence so both pieces have matching points, valleys, and outer borders. Leave the long white yarn tail on the second panel as directed in Round 4.
Assembly: Joining the Two Star Panels
Once both star panels are finished, place them together and join their outer edges.
- Step 1: Complete a second matching star panel by repeating Rounds 1 through 4.
- Step 2: Align both panels back-to-back, ensuring the wrong sides face inward and all corresponding star points and valleys match up cleanly.
- Step 3: Thread your tapestry needle with the long white yarn tail left from panel one.
- Step 4: Seam the two panels together along the outer edge using a neat whipstitch or overcast stitch, passing the needle through the matching front and back loops of Round 4 across all sides.
- Step 5: (Optional) If using as an ornament or hanging decor, create a small loop with a few chain stitches or a piece of leftover yarn and anchor it securely into the top point during the final edge closure. Weave in all remaining ends securely.
Keeping the Star Points Aligned During Seaming
Before joining the panels, match the five points and five valley sections carefully. This is especially important because the star has several color rounds and a white border around its outline.
Start by lining up one point on the front panel with the corresponding point on the back panel. Then match the neighboring valleys and continue around the shape. Keep checking the alignment as you sew so the two layers do not shift and leave one point sitting unevenly.
The long white yarn tail from the first panel is used for the joining seam, so work neatly around the border and secure the yarn ends when the seam is complete.

Displaying Your Finished Crochet Star
Use the finished double-layer star as a Christmas coaster, or add the optional chain loop to hang it from your tree. Making several stars in coordinated or contrasting colors also gives you the pieces needed for a festive holiday garland.


2 Comments