Crochet Bag Straps Pattern Free
Those looking for an easy way to make a sturdy custom bag strap can follow this simple crochet tutorial, using basic stitches and metal swivel clasps for secure attachment.
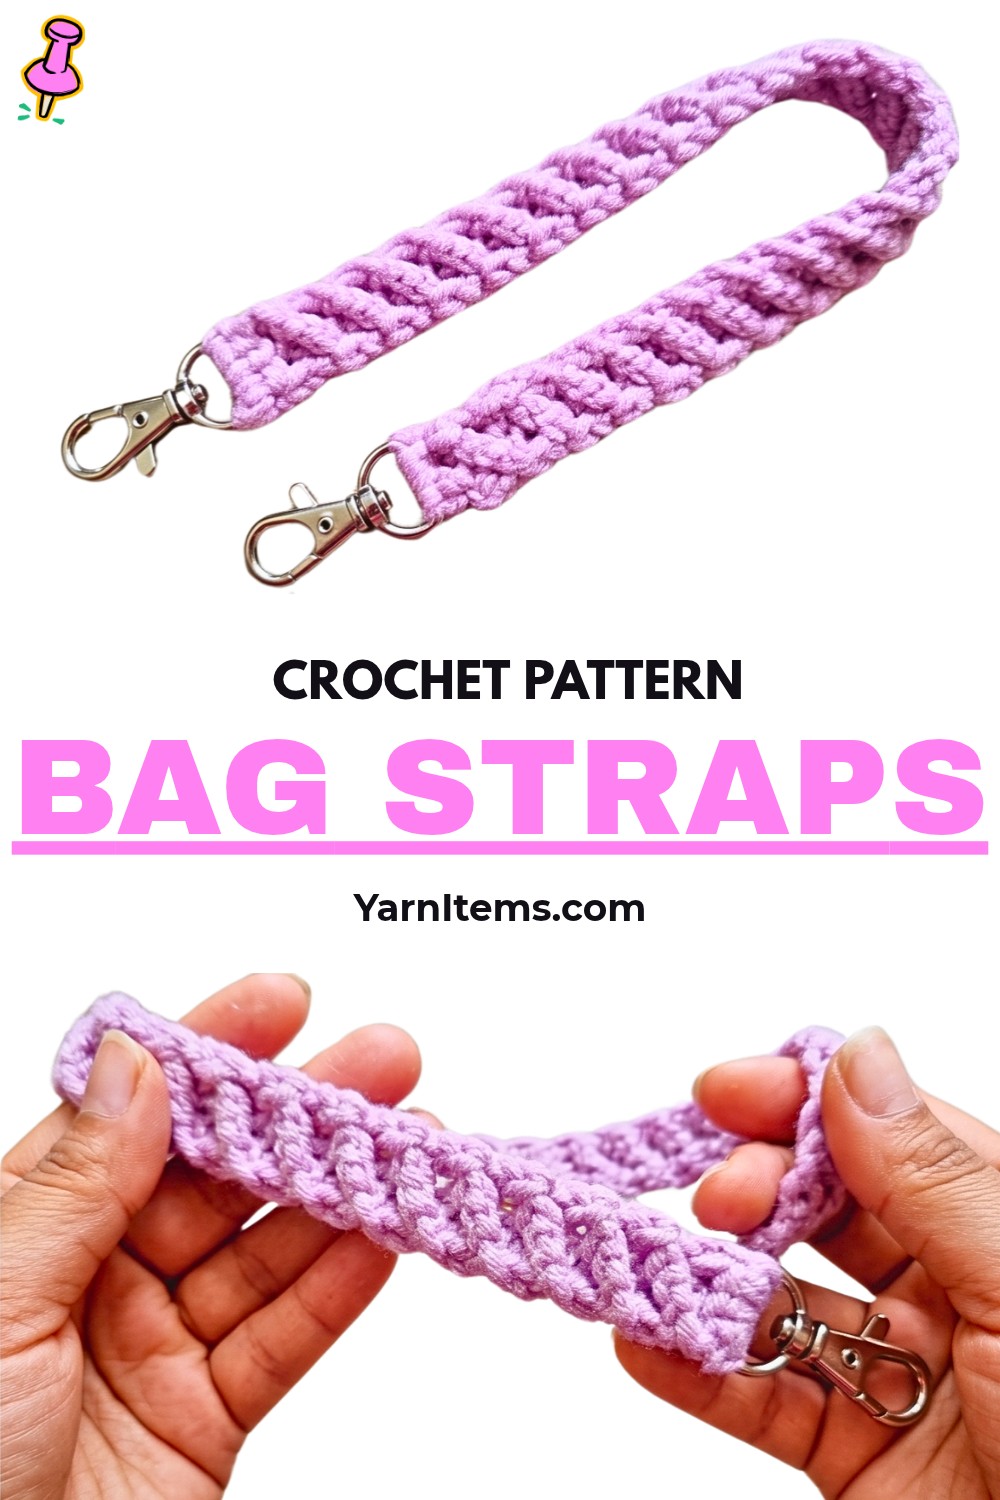
Bag straps can wear out, stretch, or simply fail to match your favorite handmade bags. This crochet strap offers an easy way to create your own replacement using medium-weight yarn, basic crochet stitches, and two metal swivel clasps. Dense texture also gives this crochet strap useful structure for everyday carrying.
This crochet tutorial starts directly from one clasp, builds length through repeated rows, and finishes by joining the second clasp to your work. You’ll learn how each crochet stage connects to the next, how to adjust strap length, and how to neatly secure yarn tails before using your finished strap.
Credit Zhote Crochet
Materials & Tools Needed
Gather everything before starting so you can work continuously from clasp attachment through finishing.
- Yarn: Medium-weight acrylic yarn, approximately light purple or lavender as shown in tutorial
- Crochet Hook: 3.0 mm
- Hardware: 2 metal swivel bag clasps or D-ring snap hooks
- Scissors
- Yarn Needle: For weaving in ends
Finished Size & Customization
Finished strap measures approximately 0.5 inches wide. Its narrow width combined with dense texture gives it sturdy structure while keeping it suitable for bags.
Length is fully customizable. Continue repeating core rows until strap reaches desired length for shoulder or cross-body use.
For firmer support, especially when carrying heavier handbags, you can use a slightly smaller hook or sturdier cotton yarn.
Stitch Abbreviations
Pattern uses standard US crochet terminology:
- ch: Chain
- sc: Single crochet
- hdc: Half double crochet
- st(s): Stitch(es)
- t: Turn
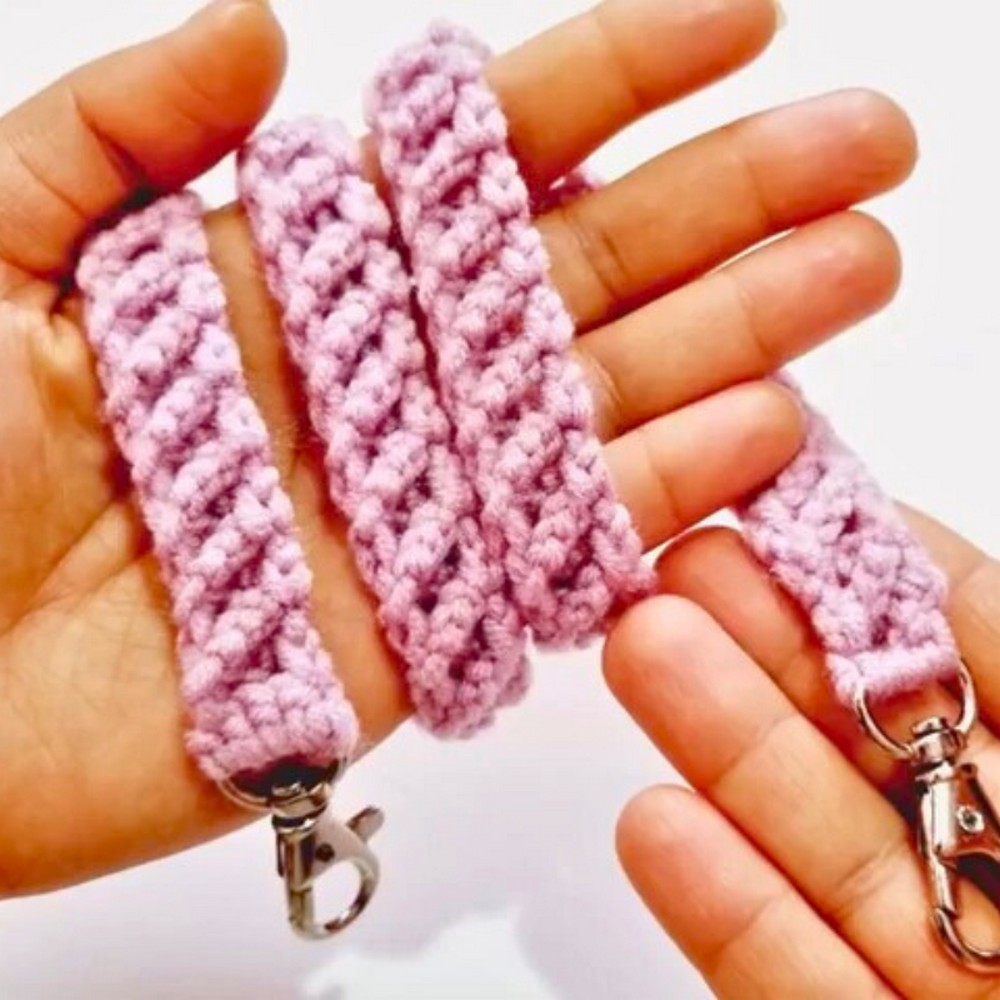
How to Crochet Bag Strap
Work begins directly around first metal clasp rather than with separate foundation chains. Keep clasp positioned comfortably as you make starting stitches so yarn surrounds metal securely.
Attach Yarn to First Clasp
Start by attaching yarn directly to metal ring loop.
Create slip knot with yarn and place it onto your crochet hook. Position first swivel bag clasp so hook can work around its metal loop, then begin building your starting stitches.
This direct attachment keeps crochet fabric connected to hardware from beginning.
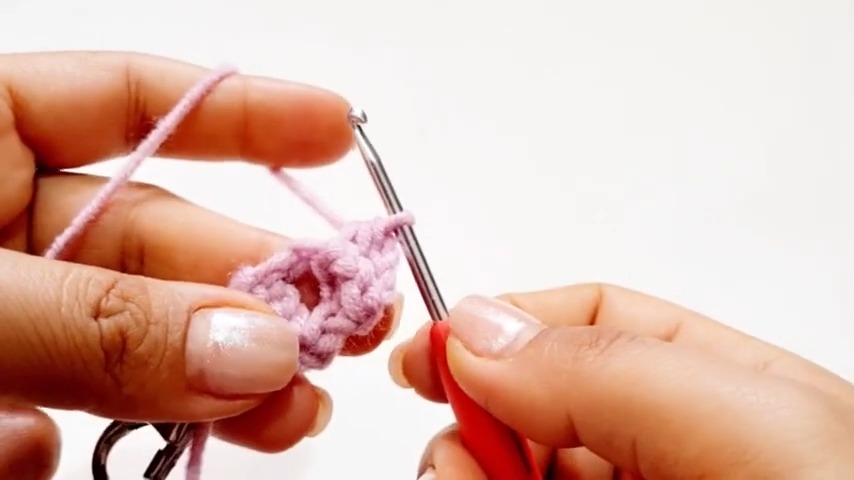
Work 4 Single Crochet Around Clasp
With yarn attached, work 4 sc evenly around metal loop of first clasp.
Spread stitches around loop as evenly as possible instead of crowding all four stitches into one small section. This creates starting base from which strap rows will grow.
Once 4 sc are complete, check that stitches sit securely around metal loop before turning.
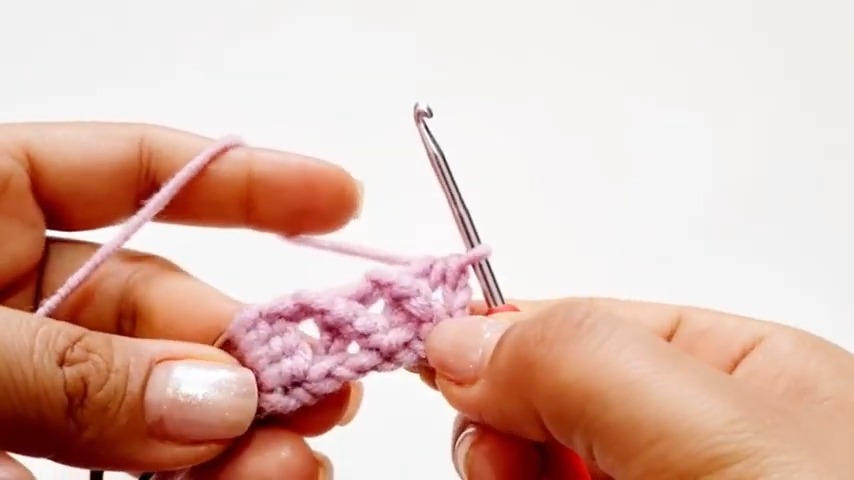
Begin First Turn
Chain 3 ch, then turn your work.
This turning movement changes direction so strap body can develop outward from clasp rather than continuing around metal hardware.
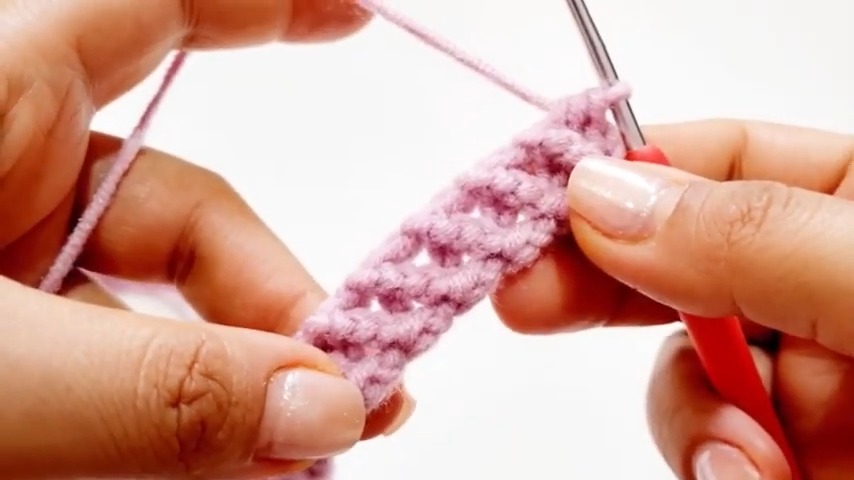
Work Strap Rows
Begin first body row with 1 hdc into very first stitch.
Continue following repeated turning sequence shown in tutorial. For each consecutive row, chain 3, turn work, then work 1 hdc into first stitch as demonstrated.
Because strap length depends on repetition, keep working through rows until finished strap reaches desired measurement.
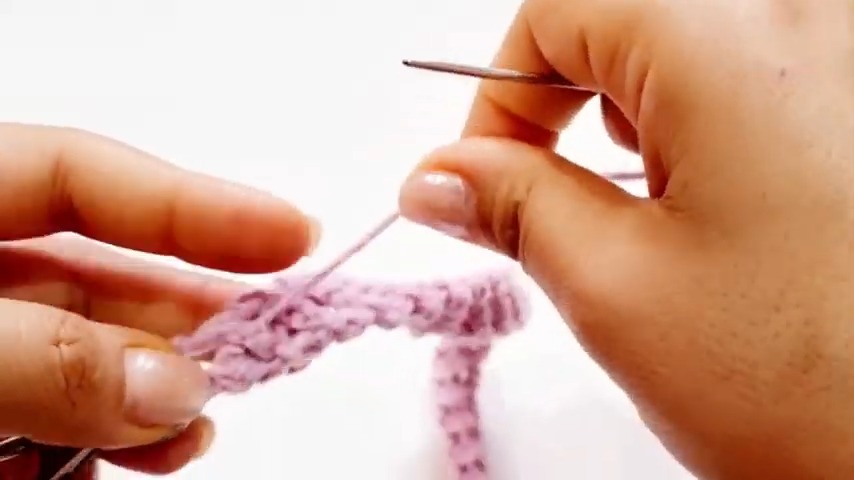
Continue Until Desired Length
Repeat: 3 ch → turn → 1 hdc
Continue this sequence until strap reaches your preferred shoulder or cross-body length.
Pause occasionally to measure strap rather than relying only on row count. This lets you stop when strap reaches useful length for intended bag.
Length Tip: Finished length is customizable, so measurement matters more than matching any fixed number of rows.
Attach Second Swivel Clasp
Once desired strap length has been reached, bring second metal swivel clasp beside live working edge.
Align clasp loop with final crochet row, then pass hook through both crochet work and metal loop to join them securely.
Work connection carefully so clasp sits straight rather than twisting against strap.
Fasten Off
After second clasp has been secured, finish yarn cleanly.
Cut yarn while leaving approximately 6 inches of tail. Pull cut yarn completely through final loop on hook, then secure end.
Leaving enough tail makes weaving easier and gives you enough yarn to anchor finishing securely near clasp.
Weave In Yarn Ends
Thread remaining yarn tail onto yarn needle.
Work needle back and forth through stitches close to clasp base, hiding yarn inside crochet fabric. Keep tail tucked securely within stitches before trimming excess.
Check both clasp connections once finishing is complete. Hardware should sit securely at each end, while strap should remain straight without loose yarn ends.
Using and Customizing Your Finished Strap
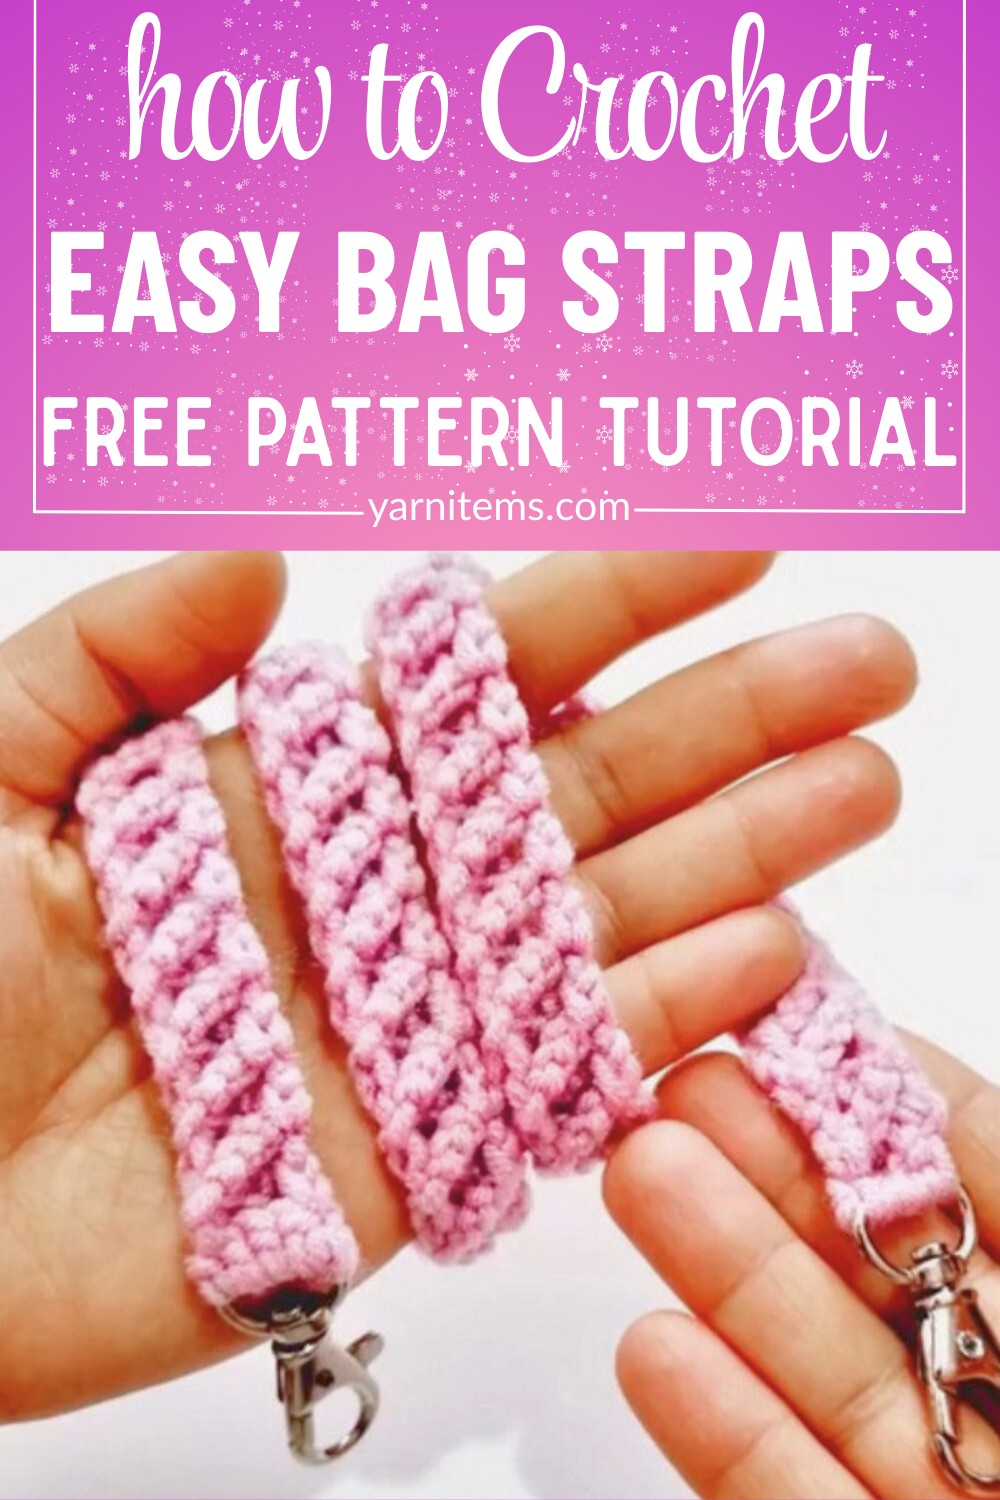
Once both clasps are attached and ends are secured, connect strap to bag hardware and adjust placement according to intended use.
For different bags, simply vary strap length during repeated body rows. Color can also be changed to coordinate with bag body, lining, or other accessories.
For heavier bags, sturdier cotton yarn or slightly smaller hook can provide firmer structure than softer acrylic yarn.
Quick Pattern Overview
For easy reference, construction follows this order:
- Attach yarn directly to first swivel clasp.
- Work 4 sc around metal loop.
- Ch 3 and turn.
- Begin strap body with 1 hdc in first stitch.
- Repeat ch 3, turn, and hdc sequence as demonstrated.
- Continue until desired strap length is reached.
- Join second swivel clasp to final working edge.
- Fasten off with approximately 6-inch tail.
- Weave tail through stitches near clasp base.
- Trim excess yarn and check both clasp attachments.
This simple construction makes strap length easy to customize while keeping metal hardware attached directly to crochet fabric.