Easy Crochet Snowflake Ornament Pattern Free
A delicate crochet snowflake can change the whole feel of your holiday décor with almost no effort. This light and lacy crochet piece captures the beauty of a real snowflake while staying quick and enjoyable to make. White, silver, or soft pastel yarn gives it a gentle winter look that feels fresh and elegant. Even a single finished item can add a peaceful seasonal touch to any space.
Crochet Snowflake Pattern
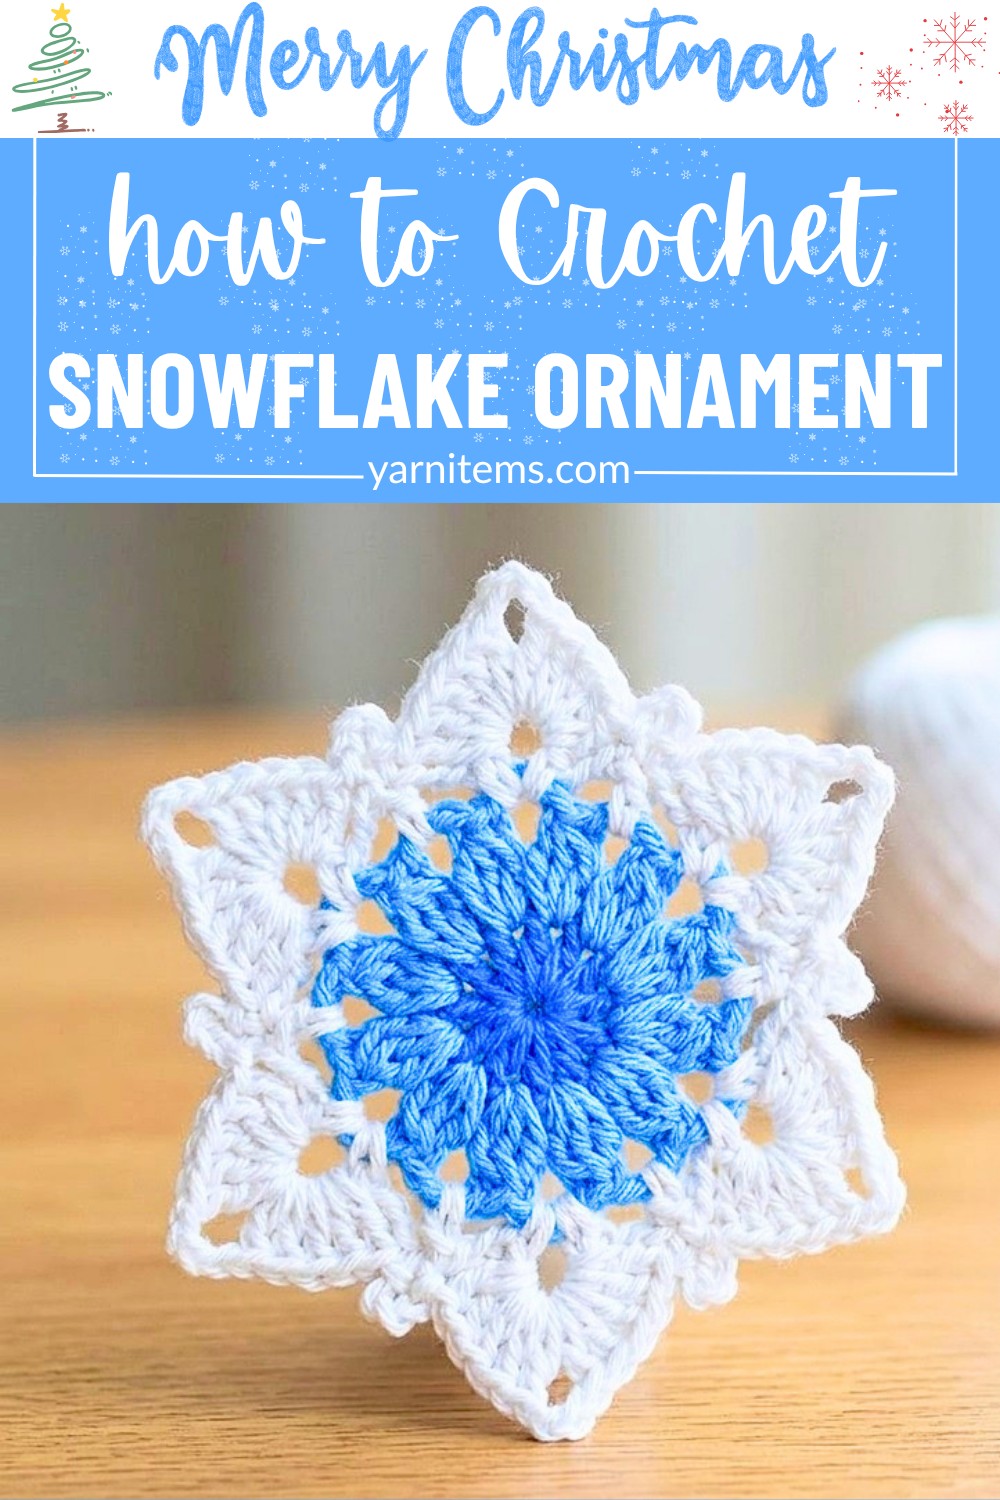
The best part appears once you start finding new ways to use it around your home. This charming crochet piece looks beautiful on a Christmas tree, hanging in a window, or attached to a wrapped gift as a thoughtful detail. Several snowflakes can be joined into a festive garland, while one can become a lovely bookmark or a decorative addition to a handmade card. It is a simple way to turn leftover yarn into something you’ll enjoy throughout the season.
Credit Crochet Squares
Crochet Snowflake Guide
1. Estimated Time to Complete
- Small Snowflake: 15–20 minutes
- Medium Snowflake: 20–35 minutes
- Large or Detailed Snowflake: 35–60 minutes
- Beginners: 45–60 minutes for their first snowflake
Color Combination Ideas
- Classic Options:
- White
- White & Silver
- Ice Blue & White
- Light Blue & Silver
- Gold & White
- Festive Options:
- Red & White
- Green & White
- Navy Blue & White
- Unique Choices:
- Purple & Silver
- Pastel Pink, Mint & Lavender
- Rainbow Colors
- Glitter White Yarn
Just These Simple Materials Are Enough
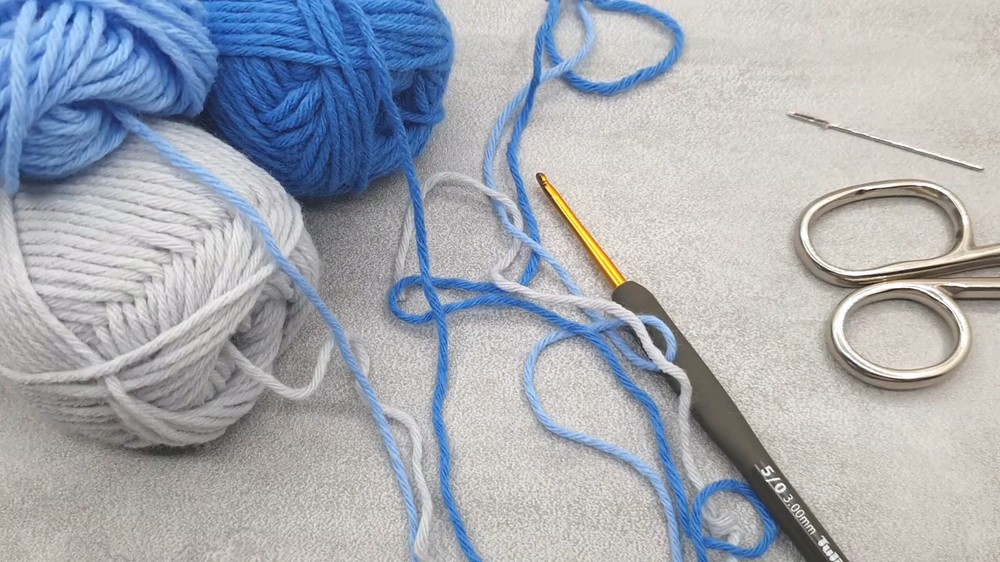
- Yarn: DK weight acrylic yarn in 3 colors:
- Dark Blue
- Light Blue
- Light Grey/White
- Crochet Hook: 3.0 mm (US size 5/0)
- Tapestry Needle: For weaving in yarn tails
- Scissors
- Measuring Tape: Optional (for checking size)
The Secret Pattern Behind This Design
Construction
- Worked in the Round: The pattern starts at the center and grows outward, creating a circular shape.
- Rounds: A total of 4 rounds are worked to complete the design.
Color Changes
- Gradient Effect: Each of the first three rounds uses a different color, creating a smooth transition (gradient).
- For best results, choose colors that complement or progressively lighten/darken from one to the next.
Stitch Placement
- Round 2: Instead of traditional stitch placement into the tops of stitches, work between the double crochets from Round 1. This creates a unique texture.
- Rounds 3 and 4: Stitches are worked into the chain spaces, which often leads to an airy and open design.
Finished Size
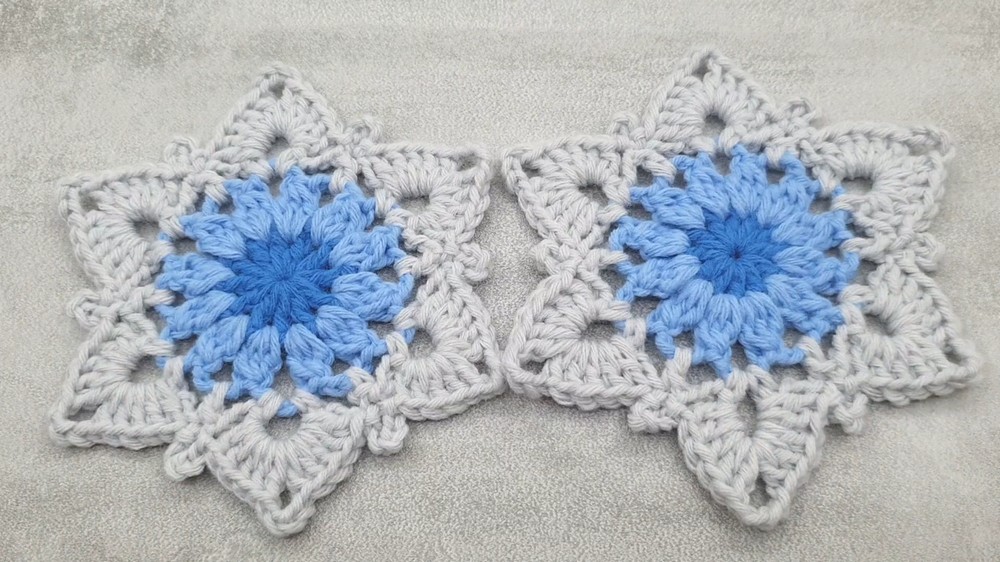
- The design creates a piece measuring approximately 4.7 inches (12 cm) in diameter, perfect for a coaster, embellishment, or decorative element.
Secret Styling Tip
The unusual stitch placement (e.g., working between stitches in one round and into chain spaces in others) contributes to the distinct appearance of this design. Combined with the gradient color effect, it becomes an eye-catching pattern that can be adapted into patterns like:
- Table decor (coasters, placemats, etc.)
- Wall hangings or mandalas
- Ornament accents for garments or bags
Before You Crochet, Check the Size
- Solid Color: Use all white or silver metallic yarn for a classic snowflake.
- Stiffening/Blocking: Dip the finished snowflake in a water-and-PVA-glue mixture or liquid starch to make it rigid. Pin it on a blocking board with the 6 points stretched out.
- Hanging Loop: Add a chain loop (e.g., ch 20-25) at the tip of one point in Round 4 for a Christmas decoration.
- Garland/Bunting: Join multiple snowflakes by chaining between their points.
The Language of Crochet Made Simple
- MC – Magic Circle (magic ring or loop)
- ch – Chain stitch
- sl st – Slip stitch
- sc – Single crochet
- dc – Double crochet
- 3dc-tog – 3 double crochets worked together (cluster)
- st(s) – Stitch(es)
- sp – Space (e.g., chain space)
- rep – Repeat
The Complete Step-by-Step Guide
Round 1 (Dark Blue)
- Form a magic circle, ch 1.
- Work: (1 sc, ch 1) into the MC — acts as your starting dc.
- Work 11 dc into the MC.
- Pull the tail of the MC tightly to close the hole.
- Join with a sl st into the top of the initial (sc, ch 1). Ch 1, then fasten off the dark blue yarn.
Stitch Count: 12 dc.
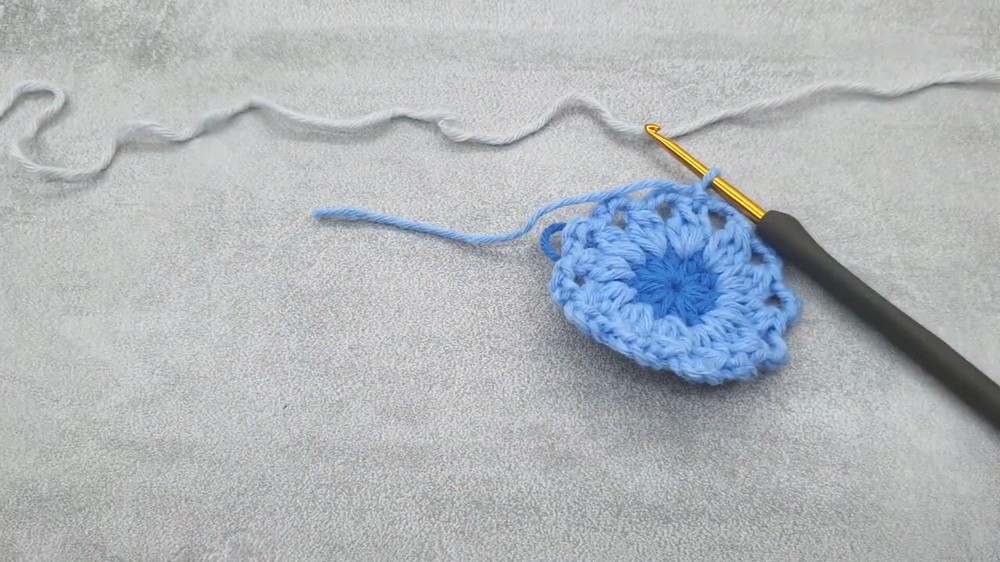
Round 2 (Light Blue)
- Join light blue yarn in the space between any two dc stitches from Round 1.
- First Cluster: Work (1 sc, ch 1) — counts as 1 dc — then work 2 incomplete dc into the same space (3 loops on hook). Yarn over and pull through all 3 loops to close the 3dc-tog cluster.
- ch 4.
- Remaining Clusters: Work (3dc-tog, ch 4) into each of the 11 remaining spaces between Round 1 dc stitches.
- Join with a sl st to the top of the first cluster. Ch 1, then fasten off light blue yarn.
Stitch Count: 12 3dc-tog clusters and 12 ch-4 spaces.
Round 3 (Light Grey/White)
- Join light grey/white yarn in any ch-4 space from Round 2.
- In the first ch-4 space: Work (1 sc, ch 1) — counts as 1 dc —, ch 3.
- In the next ch-4 space: Work (1 sc, ch 5, 1 sc), then ch 3.
- Repeat Sequence: Repeat [1 dc in next ch-4 sp, ch 3, (1 sc, ch 5, 1 sc) in next ch-4 sp, ch 3] 5 times around.
- Join with a sl st to the top of the initial standing dc.
Stitch Count: 6 ch-5 peak spaces alternating with 6 dc points, separated by ch-3 spaces.

Round 4 (Light Grey/White – Outer Points & Edging)
- At the dc stitch: In the top of the same dc stitch where you joined, work (sl st, ch 5, sl st) into the stitch top to create a small picot loop.
- At the ch-5 space: In the next ch-5 space, work (5 dc, ch 4, 5 dc) to form a main snowflake point.
- Repeat Sequence: Repeat [(sl st, ch 5, sl st) into top of next dc, (5 dc, ch 4, 5 dc) in next ch-5 sp] 5 times around.
- Join with a sl st to the starting slip stitch. Ch 1, then fasten off.
Stitch Count: 6 large points and 6 small picot loops.

Here’s How to Get a Clean Finish
- Cut yarn, leaving a 4–5 inch tail. Pull it through the final loop.
- Using the tapestry needle, weave in all yarn tails on the back of the snowflake.
- Trim any excess yarn ends.
- Gently shape the six outer points or pin-block it for a crisp, structured finish. For added rigidity, stiffen with a glue mixture or starch if desired.

Care and Storage Tips
Follow these steps to maintain and store your finished snowflakes:
- Washing: Hand wash gently if needed.
- Drying: Lay flat to dry completely.
- Blocking: Block again to restore the snowflake’s shape if necessary.
- Storage:
- Only store snowflakes when completely dry.
- Use a zip-top bag or airtight container.
- Store in a cool, dry place away from sunlight and moisture.
- Avoid placing heavy objects on top to prevent bending or flattening.