Crochet Pumpkin Pattern For Fall Decor or Keychains
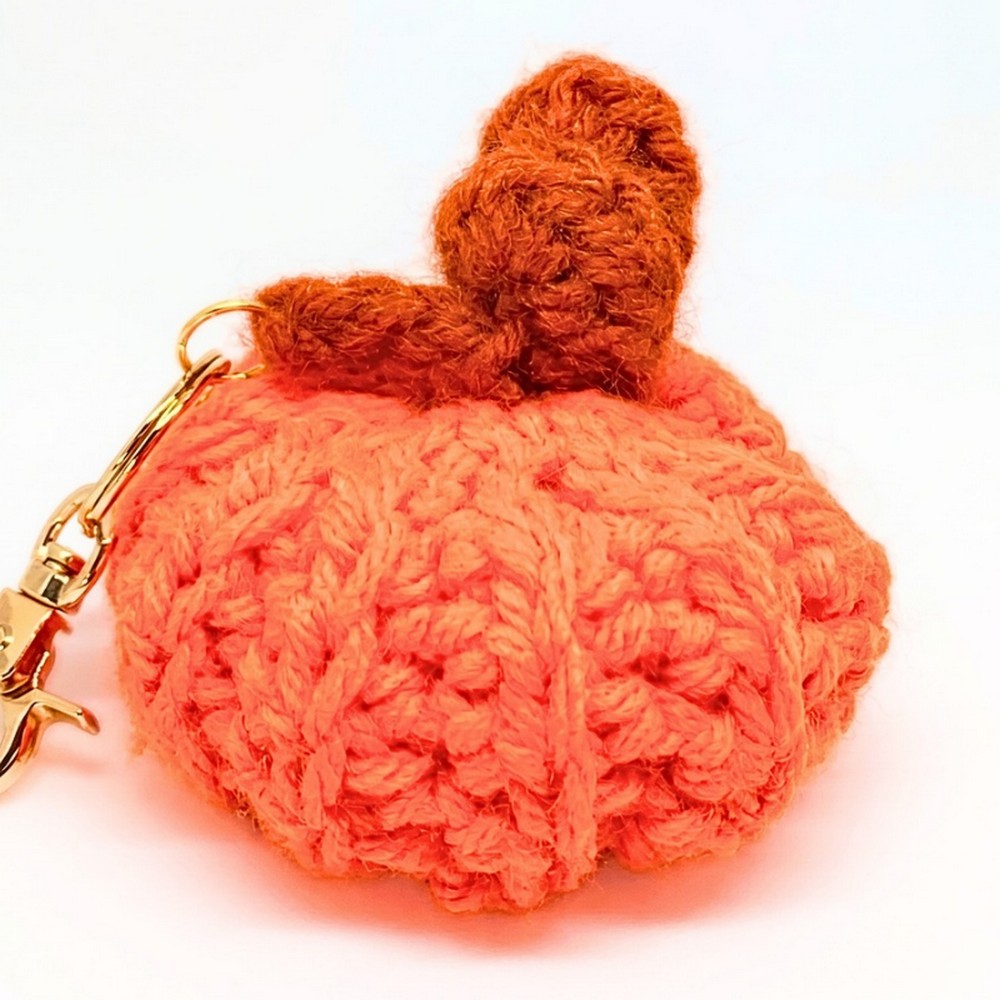
A tiny pumpkin can completely transform the feel of your fall décor. This charming crochet piece brings cozy seasonal style with its soft shape and beautifully textured ridges.
It works wonderfully as a shelf decoration, a thoughtful handmade gift, or a cheerful keychain to carry every day. Simple details give this crochet item a warm, handcrafted look that stands out wherever it is placed.
Crochet Pumpkin Pattern

The magic is hidden in the clever stitch texture and finishing touches. Working through the back loop creates the crochet pumpkin’s signature ridged design, making the finished piece look full and realistic. A curled stem, soft stuffing, and optional key ring add both personality and function without making the process feel overwhelming. This delightful crochet item is a fun way to celebrate the season while creating something you’ll enjoy using or displaying.
Credit My Yarn Loft by Tansy
Materials & Tools Needed
- Yarn: 100% acrylic, 4-weight yarn (orange for pumpkin, green or brown for stem, optional colors for decoration).
- Crochet Hook: 4 mm crochet hook (the tutorial uses a smaller size than recommended for tighter stitches).
- Tapestry Needle: To sew the seams, close the ends, and attach the stem.
- Stuffing: Polyester filling or similar for the pumpkin body.
- Jump Ring/Keyring (optional): To create a keychain.
- Scissors
Finished Size & Customization Ideas
- Size: The completed pumpkin is small and fits in the palm of your hand. If you want a larger pumpkin, you can increase the number of chains and rows.
- Customization Ideas:
- Add a face with black yarn or felt to turn it into a jack-o’-lantern.
- Create pumpkins in multiple colors (e.g., white, pastel, or variegated yarn).
- Add additional details like leaves or curly vines (a spiral is detailed below).
- Insert tiny plastic eyes for an adorable character pumpkin.
Pattern Note
- The pumpkin body is crocheted flat in rows, using back loop only (BLO) stitches to give it texture.
- A turning chain is made at the start of each row to add height but is not counted in the total stitch count.
Pattern Abbreviations & Terminology
(Pattern uses US crochet terms):
- ch: Chain
- sl st: Slip Stitch
- hdc: Half Double Crochet
- st(s): Stitch(es)
- BLO: Back Loop Only
Tips Before You Start
- Consistent Tension: Keep your tension even; tighter stitches will help create a neat and structured pumpkin.
- Use Stitch Markers: If you’re new to crocheting in rows, consider using a stitch marker to track your starting and ending stitches.
- Stuffing: Make sure to stuff the pumpkin firmly but evenly to avoid lumps.
Step-by-Step Detailed Crochet Instructions
Pumpkin Body
- Foundation Chain:
- Begin with a slip knot and ch 10 (this creates 10 foundation chains).
- Make 1 additional chain for the turning chain (this does not count as part of the stitch count).
- Row 1:
- Starting in the 2nd chain from the hook, work:
- 2 sl st in the first 2 stitches.
- 6 hdc in the next 6 stitches.
- 2 sl st in the final 2 stitches.
- This completes the first row. (Stitch Count = 10)
- Ch 1 (turning chain) and turn your work.
- Starting in the 2nd chain from the hook, work:
- Row 2 (and remaining rows):
- Work this row entirely in BLO:
- Skip the first stitch (this was the turning chain).
- 2 sl st (BLO) in the first 2 stitches.
- 6 hdc (BLO) in the middle 6 stitches.
- 2 sl st (BLO) in the last 2 stitches.
- Ch 1 and turn your work.
- Repeat this row until you have 10 ridges on your project. Each ridge consists of 2 rows.
- Work this row entirely in BLO:
Finalizing the Pumpkin Body
- Seam the Edges to Form a Tube:
- Once you’ve completed 10 ridges, cut your yarn, leaving a long tail for sewing.
- Fold the rectangle in half so the first row meets the last row.
- Thread your tapestry needle with the yarn tail and whipstitch through the stitches along the edges to form a seamless tube.
- Turn the tube inside out to hide the seam.

Gather the Bottom:
- Weave your needle through the stitches around one open side of the tube and pull tight to gather it. Secure it with a knot to close the bottom of the pumpkin.
- Stuff the Pumpkin:
- Turn the pumpkin right-side out.
- Use polyester stuffing to fill the pumpkin evenly, ensuring it is firm but not over-stuffed.
- Close the Top:
- Use the remaining yarn tail to weave through the stitches around the open top.
- Pull tight to close the gap, securing it with a knot.
Shape the Pumpkin:
- For additional shaping:
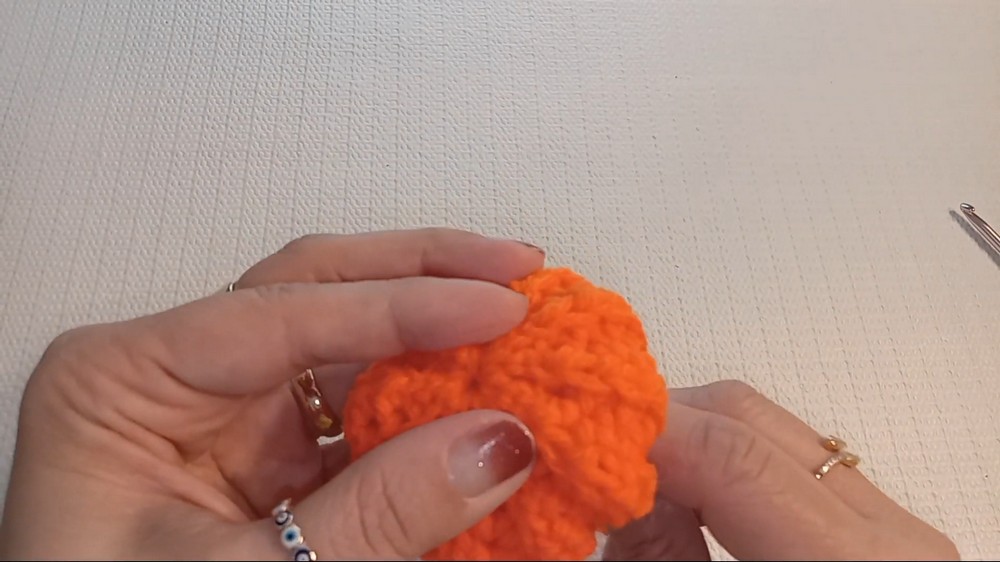
- Use the yarn tail to pass through the center of the pumpkin (top to bottom) several times, pulling tightly to create a slightly flattened shape.
- This creates the classic pumpkin appearance.
Creating the Stem and Optional Vine
Attach the Stem:
- With green or brown yarn, create a slip knot.
- Select a stitch on the top of the pumpkin and attach the yarn with a sl st.
- Ch 4 for the stem length, then ch 1 more as a turning chain.
- Starting in the 2nd chain from the hook, work:
- 1 sl st in each of the next 4 chains (this forms the stem).
- Fasten off and weave the tail securely into the top of the pumpkin.

Optional Vine:
- To create a curly vine:
- Ch 6, then ch 1 more as a turning chain.
- In the 2nd chain from the hook, work 3 hdc in each stitch back to the base. This will create a spiral.
- Attach the vine securely to the base of the stem.
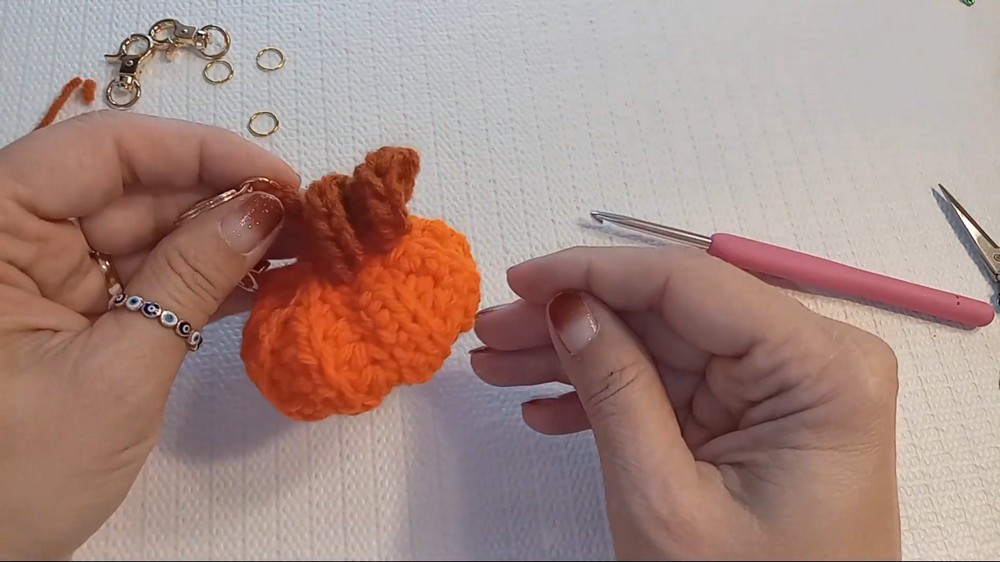
Final Assembly
- Secure any loose tails within the body of the pumpkin using your tapestry needle.
- If you’re adding a keyring, loop the jump ring through the base of the stem before finishing off your vine.
Conclusion
Your crochet pumpkin is complete! Whether used as a fall decoration, keychain charm, or festive garland piece, this pumpkin is a versatile and fun project. Try experimenting with different yarn colors, sizes, and embellishments to make your pumpkin uniquely yours.