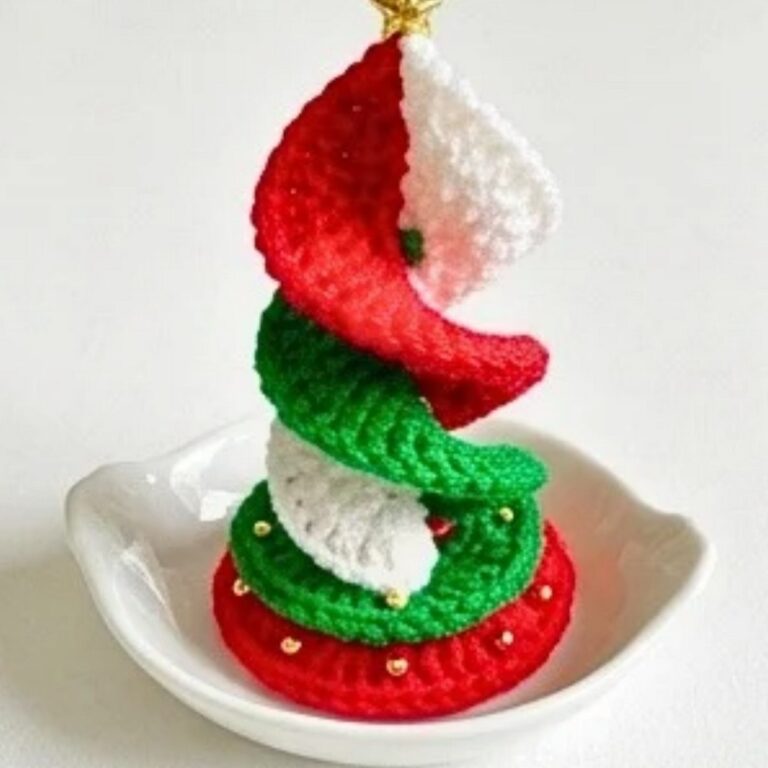
Crochet Christmas Stocking with Pom-poms & Bubble Stitches
A crochet Christmas stocking is one of those holiday pieces that looks special the moment it’s finished. Bubble stitches give it a playful, raised design, while fluffy pom-poms add a cheerful finishing touch.
Whether it hangs on the mantel, decorates a door, or holds small holiday surprises. This handmade crochet stocking brings festive character wherever you place it. The pattern ahead shows how every detail comes together with simple stitches.
Crochet Christmas Stocking Pattern

This step-by-step guide keeps the process clear from the first stitch to the final crochet pom-pom. You’ll work with acrylic yarn to build the textured design. Then customize the colors and size to match your holiday décor.
As each section takes shape, the crochet stocking quickly transforms into a festive decoration you’ll look forward to displaying year after year.
Credit Ravella Design
Materials and Tools Needed
- Yarn:
- Main Stocking: 75% Acrylic, 25% Wool, medium thickness (e.g., winter yarn such as for beanies/scarves).
- Upper Rim and Pom-poms: Additional soft/fuzzy yarn for decorative purposes.
- Colors: Two colors for the stocking (example, Gold and a complementary color for contrast).
- Hooks:
- 5mm Hook (for the main stocking).
- 10mm Hook (for the fuzzy upper rim crocheting).
- Other Tools:
- Darning needle (for sewing sides and attaching decorative elements).
- Scissors (to cut yarn).
Finished Size
- Height: Large enough to hold bigger gifts with a long-length body.
- Can be easily customized by increasing or decreasing the number of rows for the body, heel, or toe sections.
- Finished size also varies depending on the chosen yarn thickness and crochet tension.
Customization Ideas
- Use different yarn colors for stripes for a festive look.
- Add more or fewer bubble stitch rows for a personalized design.
- Vary the number of chain stitches for the hanging handle for different placements.
- Create additional pom-poms for a fun and playful look.

Pattern Abbreviations & Terminology
- ch: Chain
- st: Stitch
- sl st: Slip Stitch
- sc: Single Crochet
- hdc: Half Double Crochet
- YO: Yarn Over
- beg: Beginning
- rnd: Round
- rep: Repeat
Terminology: US crochet terms are used in this tutorial.
Step-by-Step Detailed Crochet Instructions
1. Stocking Base (Toe Section)
- Begin with a Magic Ring:
- Create a magic ring using the 5mm crochet hook and yarn.
- Chain 1 to secure the ring.
- Round 1 (Toe Center):
- Work 10 hdc into the magic ring.
- Pull the loose end of the ring tightly to close the center.
- Slip stitch (sl st) into the first hdc to join the round.
- Stitch count: 10 stitches.
- Round 2 (Increase):
- Chain 1.
- Work 2 hdc into each stitch around.
- Slip stitch to the first hdc to join.
- Stitch count: 20 stitches.
- Round 3 (Increase):
- Chain 1.
- Alternate: 1 hdc in the first stitch, 2 hdc in the next stitch.
- Repeat around.
- Slip stitch to the first hdc to join.
- Stitch count: 30 stitches.
- Round 4 (Increase):
- Chain 1.
- Alternate: 1 hdc in the first stitch, 1 hdc in the second stitch, 2 hdc in the third stitch.
- Repeat around.
- Slip stitch to the first hdc to join.
- Stitch count: 40 stitches.
- Rounds 5-6:
- No increases.
- Work 1 hdc in each stitch around.
- Slip stitch to the first hdc to join.
- Stitch count: 40 stitches.
2. Bubble Stitches Section
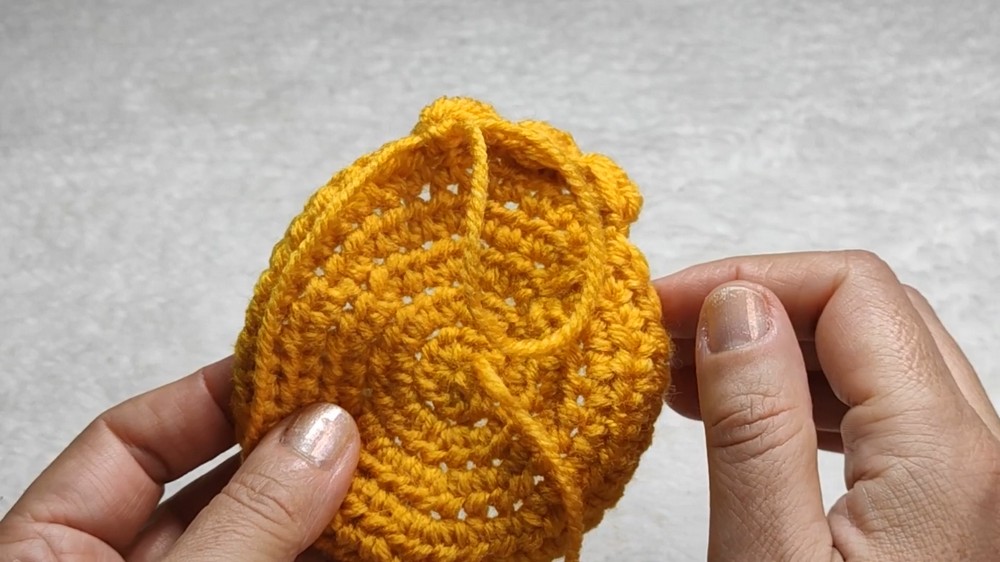
- Round 7 (First Bubble Stitch Row):
- Turn the work to the backside to crochet the bubble stitches.
- Skip the joining stitch and go to the next real stitch.
- To create a bubble stitch:
- Yarn over, insert your hook in the stitch, YO, pull through 2 loops.
- Repeat 4 times in the same stitch.
- You will now have 5 loops on your hook.
- YO and pull through all loops.
- Work 1 single crochet in the next stitch.
- Alternate: 1 Bubble Stitch, 1 Single Crochet around.
- Stitch count: 20 bubble stitches (on 40 base stitches).
- Slip stitch at the end of the round to join.
- Rounds 8-11 (Half Double Crochet Rounds):
- Work 1 hdc into each stitch around on the front side.
- Slip stitch at the end of each round to join.
- Stitch count: 40.
- Repeat Bubble Stitch Row + 4 Half Double Crochet Rows
- Continue alternating 1 bubble stitch round and 4 hdc rounds.
- Repeat until the desired length of the body is achieved.

3. Heel Section
- Start Heel Decreases:
- Work 19 hdc across (half the number of stitches).
- Chain 1, turn.
- Decrease at the beginning and end of the row:
- Insert your hook into the first stitch, YO, insert into the next stitch, YO, pull through all 5 loops.
- Work hdc in each stitch across, leaving the last two stitches to decrease in the same manner.
- Continue until the heel narrows to 11 stitches.
- Re-Increase for Heel Shape:
- Once the heel narrows, switch to increasing in the first and last stitch of each row until you return to 19 stitches.
- Join the Heel:
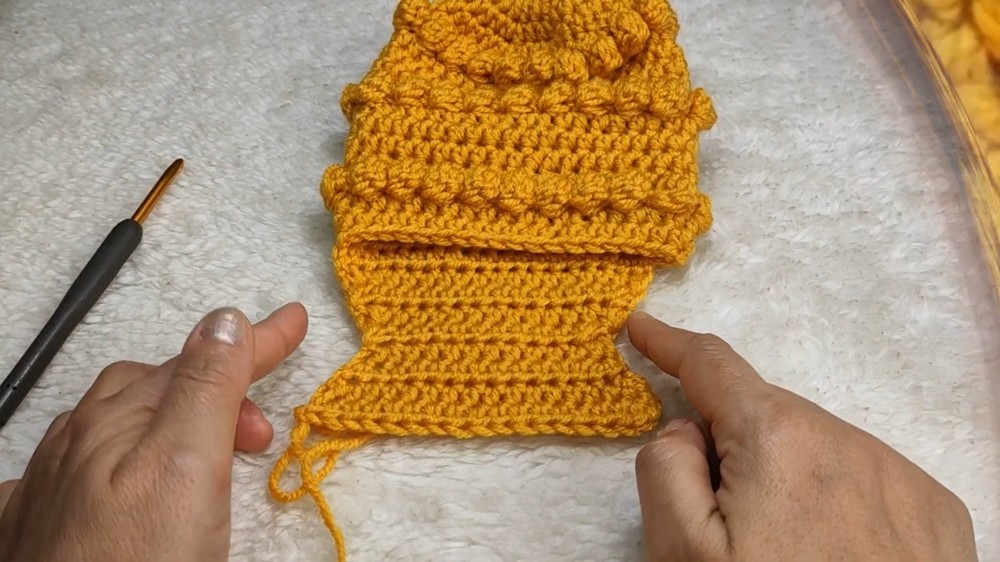
- Fold the heel section in half and use slip stitches or sewing to join the edges.

4. Leg Section
- Resume Rounds Along the Top Edge:
- Work hdc in each stitch around the heel and reconnected edges.
- Make sure you have 40 stitches around.
- Repeat the previously established pattern:
1 Bubble Stitch Round + 4 hdc Rounds.
- Extend the Body Length:
- Make 6 bubble rows (with each row separated by 4 hdc rows).
5. Upper Rim
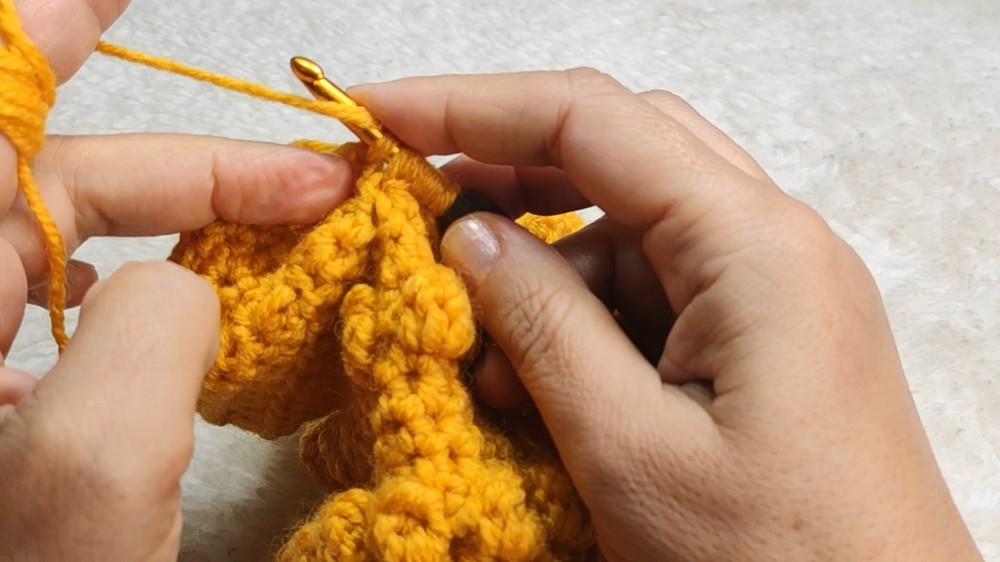
- Use the 10mm hook and fuzzy yarn to create the decorative top.
- Chain a length long enough to wrap around the stocking’s circumference.
- Work 4-5 rounds of sc into the chain.
- Sew or slip stitch the rim securely to the top of the stocking.
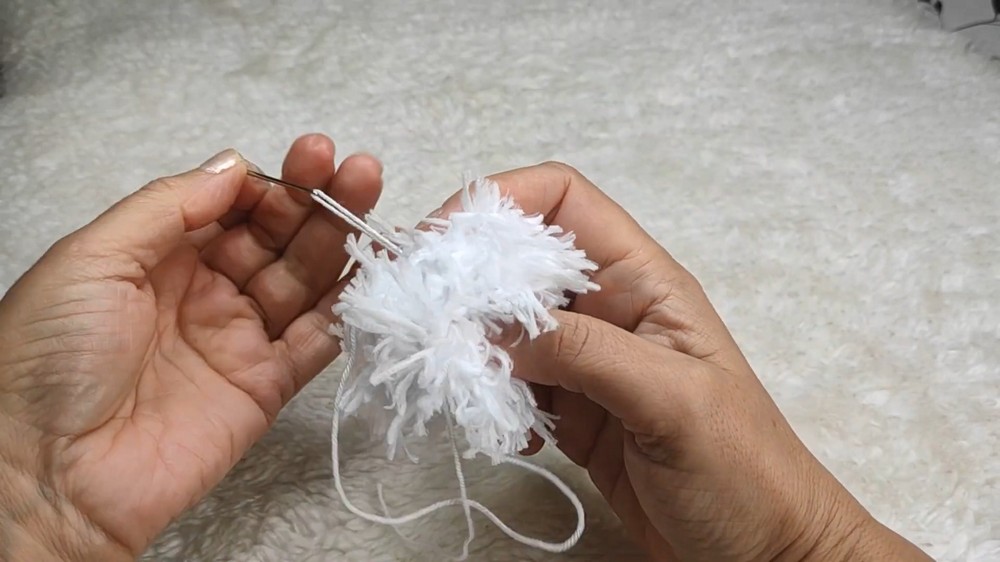
6. Pom-Poms
- Create a chain string using the 5mm hook (length: 50-55 chains).
- Attach pom-poms to the ends of the chain by sewing or tying securely.
7. Hanging Loop
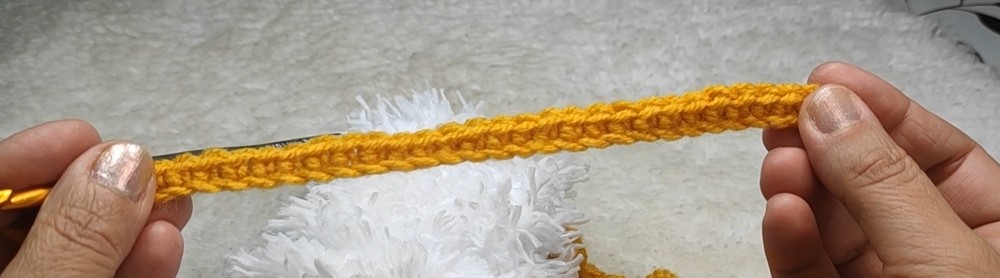
- Chain 30 and work a round of sc for reinforcement.
- Sew the loop securely to the back of the stocking near the rim.
Finishing
- Weave in all loose ends with a darning needle.
- Shape the stocking to ensure a clean and professional finish.
- Add more embellishments, if desired.