Cute and Useful Crochet Penguin Gift Card Holder Pattern
A gift card may be small, but the way you present it can make it feel unforgettable. This Crochet Penguin Gift Card Holder Pattern transforms an ordinary gift into a handmade surprise.
With a sweet penguin that hides the card inside. It’s a playful crochet piece that feels just as special to make as it does to give, and you’ll soon see how easily it comes together.
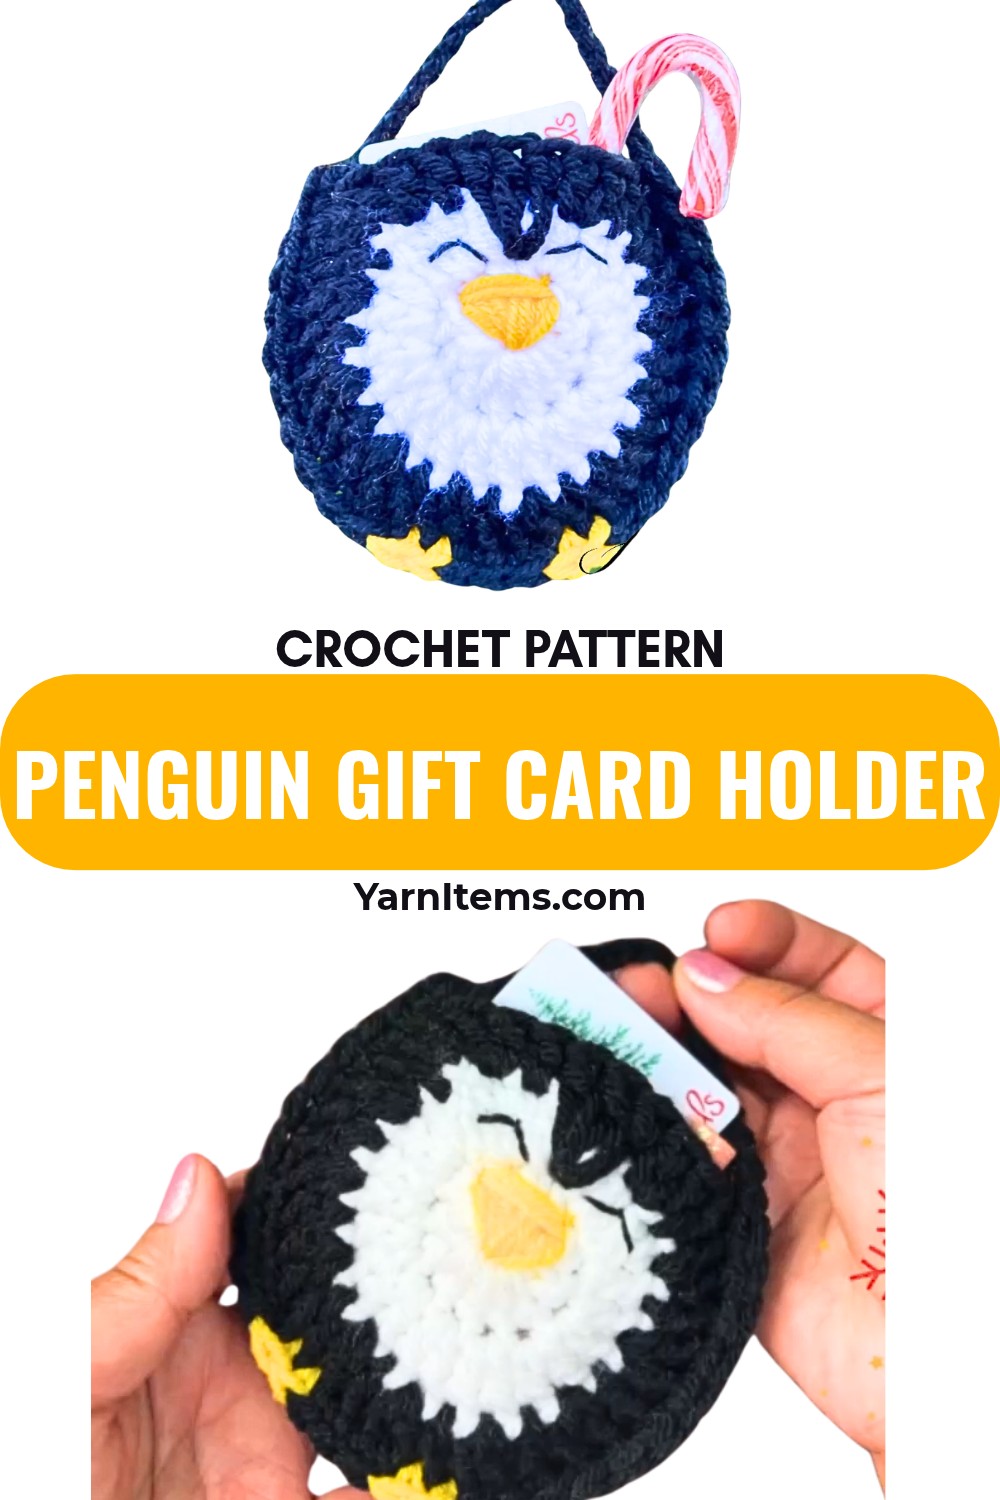
Crochet Penguin Gift Card Holder Pattern
This pattern uses simple stitches to shape an adorable penguin with a handy pocket for a gift card, cash, or a short handwritten note. The instructions are easy to follow, making it a fun piece for confident beginners and experienced crocheters alike. Gather your yarn, crochet hook, and a little holiday spirit, then follow along to create a gift holder that everyone will remember.
Materials & Tools Needed
- Yarn: Medium #4 weight yarn in Black, White, and a small amount of Yellow
- Hook: 6.0 mm crochet hook
- Tools: Yarn needle, scissors, and stitch markers
Finished Size & Customization Ideas
- Size: Perfectly sized to hold a standard gift card or mini holiday treats (like candy canes or lip balm).
- Customization Ideas:
- Add a loop on the back to hang as a Christmas tree ornament.
- Adjust the facial expressions to make the eyes playful, sleepy, or happy.
Pattern Abbreviations & Terminology (US Terms)
- Ch: Chain
- St(s): Stitch(es)
- Sl st: Slip stitch
- Sc: Single crochet
- Dc: Double crochet
- Special Instructions:
- Ch 2 does not count as a stitch throughout the pattern.
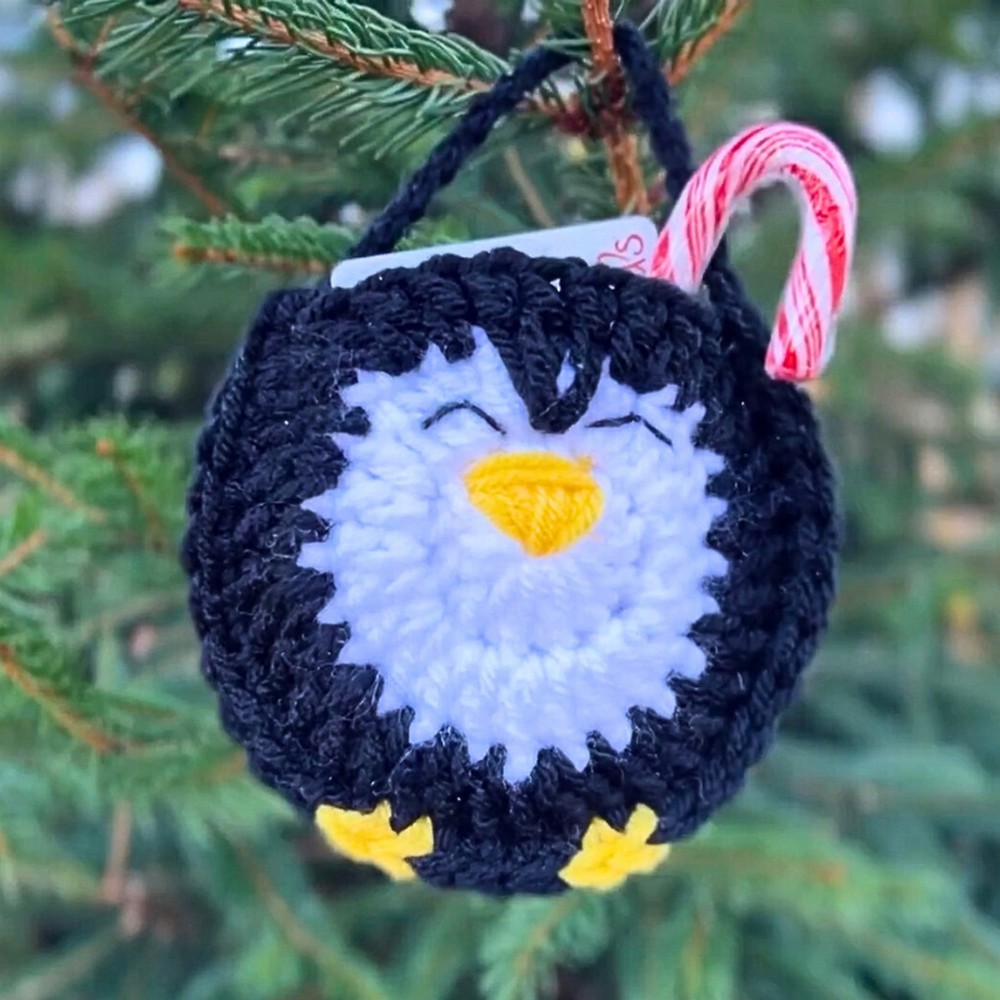
Step-by-Step Crochet Instructions
Component 1: Front Panel (Penguin Face)
- Round 1 (White Yarn)
- Create a magic ring.
- Ch 2 (does not count as a stitch).
- Work 12 dc into the magic ring.
- Pull the ring tightly closed and join with sl st to the first dc. (12 dc)
- Fasten off or tightly weave in the center tail.
- Round 2 (White Yarn)
- Ch 2.
- Work 2 dc into each stitch around.
- Sl st to the first dc to join. (24 dc)
- Round 3 (Switch to Black Yarn)
- Join Black yarn into the joining stitch.
- Ch 2.
- Repeat the sequence: (1 dc, 2 dc in the next stitch) exactly 10 times.
- Special Penguin Peak Feature:
- When you have 4 remaining stitches, create a dip for the penguin’s forehead:
- Work (1 dc, 2 dc) into the stitch below Round 2, pulling yarn loops tall for elongated stitches.
- Then work (1 dc, 2 dc) normally into the last two remaining stitches.
- When you have 4 remaining stitches, create a dip for the penguin’s forehead:
- Sl st to the first dc to join.
- Ch 1, fasten off, and weave in loose ends. (36 dc)
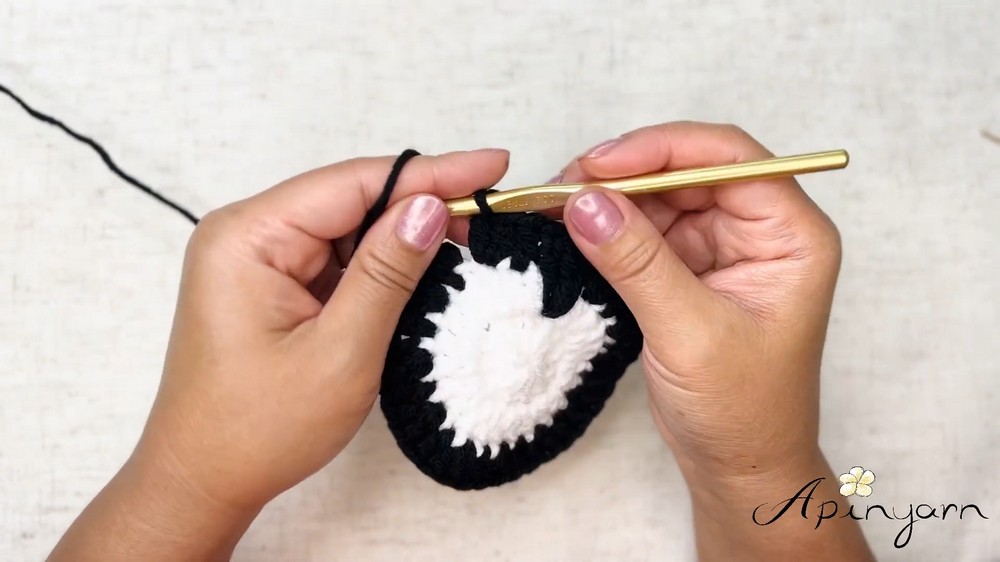
Component 2: Back Panel
- Repeat Rounds 1 and 2 entirely using Black yarn.
- Round 3:
- Follow the standard increase sequence (1 dc, 2 dc) around using Black yarn.
- Sl st to the first dc to join.
- Ch 1, fasten off, and weave in ends. (36 dc)
Component 3: Facial Embroidery & Assembly
1. Embroidering the Beak & Eyes
- Beak:
- Thread yarn needle with Yellow yarn.
- Starting near the center of Round 1:
- Embroider a small downward-pointing triangle over 3–4 stitches.
- Fill it in smoothly with horizontal or vertical satin stitches.
- Eyes:
- Use thinned Black yarn or embroidery thread.
- Embroider closed/sleepy eyes (like an upside-down “V”) on either side of the beak across Round 2.
2. Joining the Panels Together
- Place Panels Together:
- Align Front and Back Panels with wrong sides facing each other.
- Top Opening:
- Count and leave 8 stitches open at the very top (above the penguin’s head).
- Use stitch markers to mark boundaries of these 8 stitches on both layers.
- Feet Placement:
- Count 11 stitches downward from the left and right sides of the top opening markers to mark where the tiny feet will go.
- Joining Panels:
- Start at the Side Edge:
- Insert your hook through both panels at the first marker near the top opening.
- Join Black yarn with a slip stitch, ch 1, and work sc into the same stitch.
- Continue sc through both layers all the way around.
- First Foot (Yellow Accent):
- At the first foot marker:
- Switch yarn to Yellow.
- Work sc into the next 2 stitches, carrying the Black yarn along.
- At the first foot marker:
- Continue Base:
- Switch back to Black yarn, making sc into the next 3 stitches.
- Switch to Yellow yarn and make sc into the next 2 stitches to form the second foot.
- Finish Joining:
- Switch back to Black yarn and continue sc through both layers until reaching the opposite marker at the top opening.
- Start at the Side Edge:
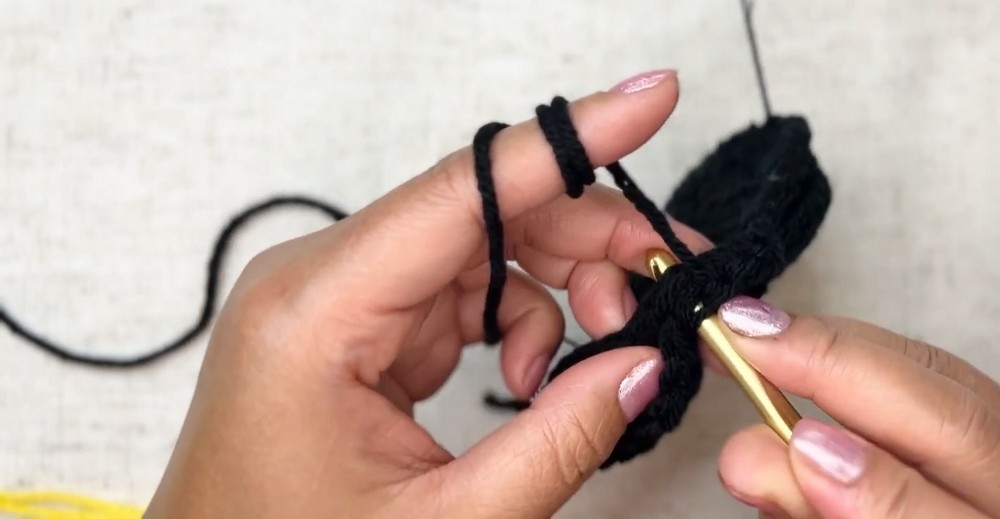
3. Creating the Hanging Handle
- Without cutting your yarn at the end of your joining row:
- Ch 16 to make the loop.
- Sl st into the base of your first single crochet stitch from the joining step to secure the handle.
- Ch 1, cut yarn, fasten off, and weave remaining ends securely inside the pocket holder.