
Beginner Crochet Phone Bag Pattern with Cross-Over Stitch
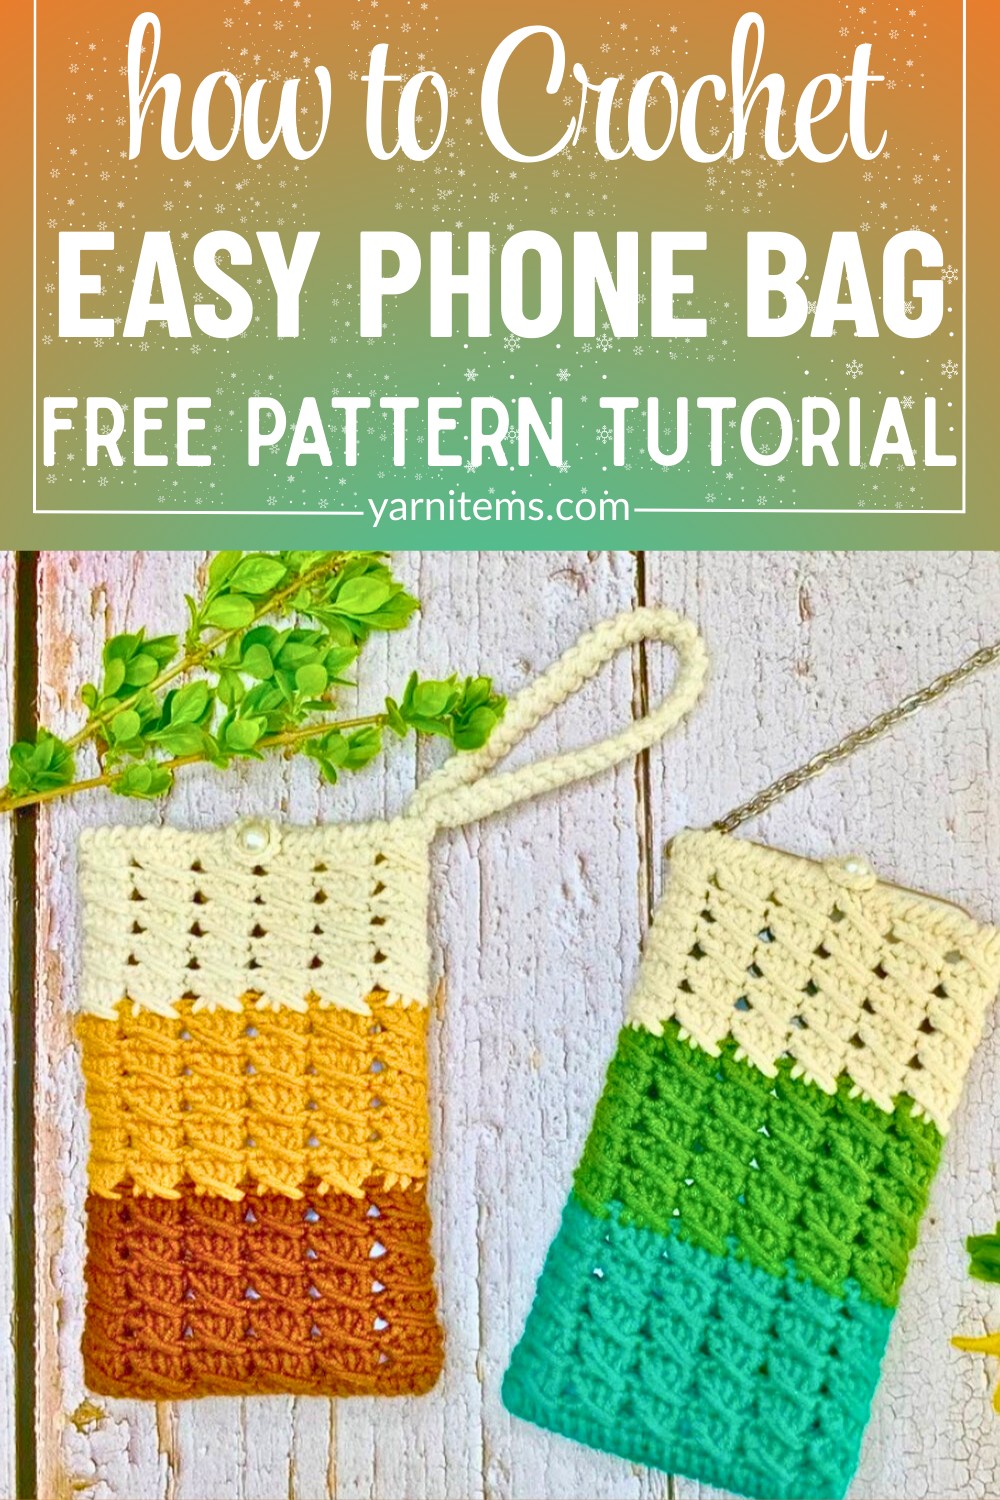
Need a compact crochet phone bag with a sturdy base, textured cross-over rounds, colorful stripes, and a durable strap? This beginner-friendly pattern keeps it practical and easy to customize.
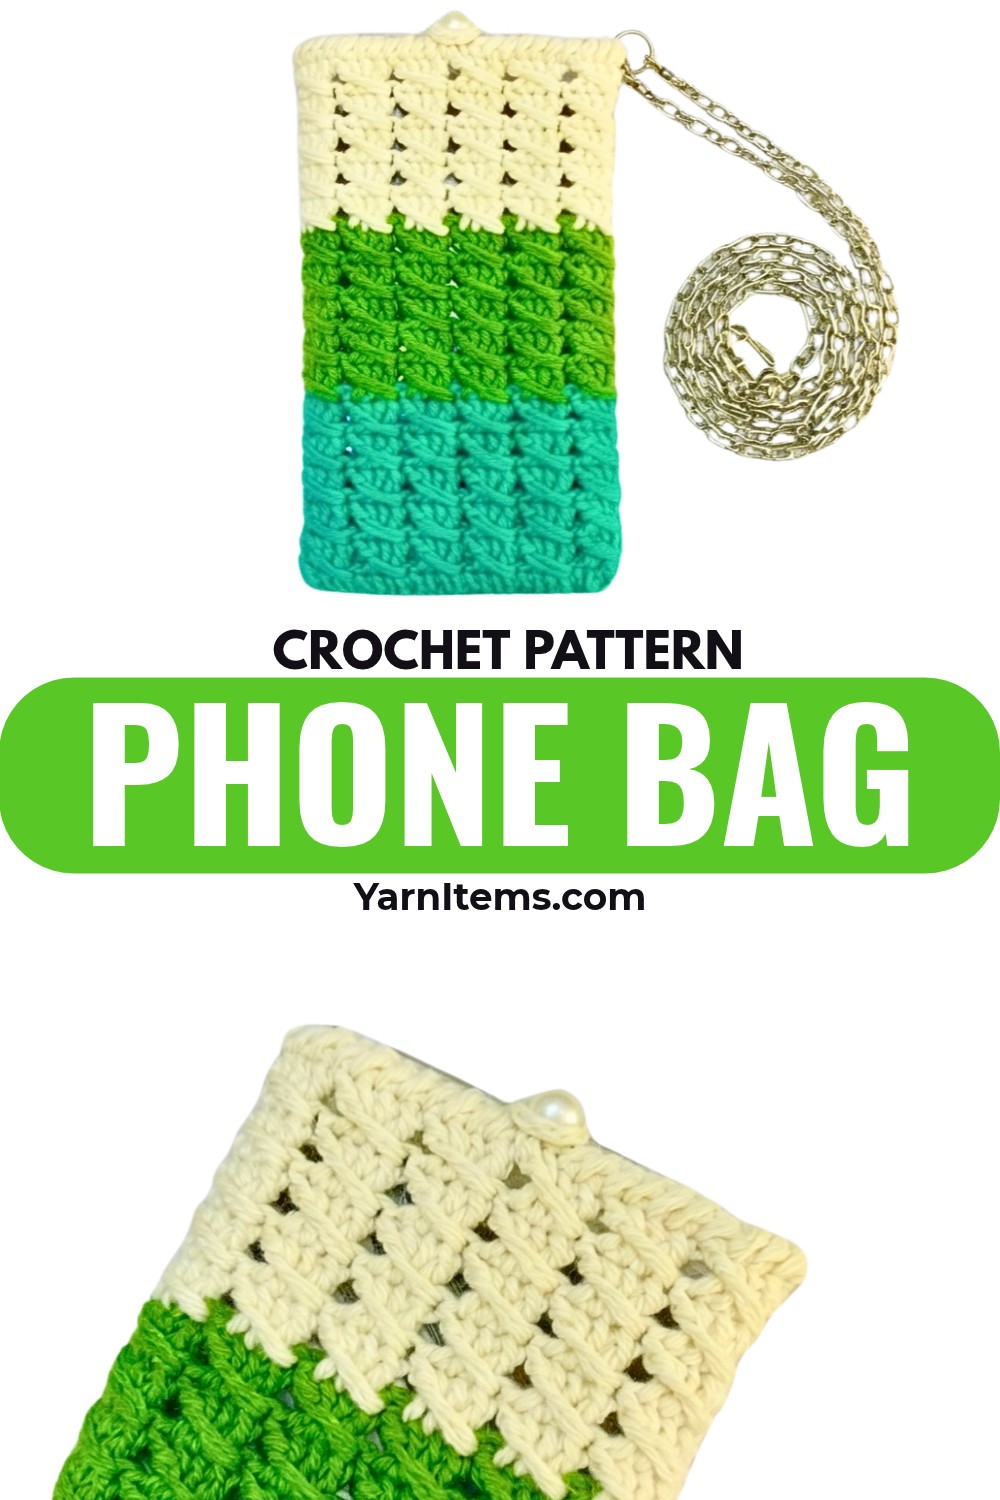
Compact size makes this crochet phone bag handy for carrying your phone without adding bulk, while textured cross-over stitches give the crochet surface more character than a plain fabric. Reinforced corners and a sturdy strap also make this crochet accessory practical for everyday use.
Simple crochet techniques carry the bag from its foundation chain through the rounded base, textured body, color changes, and finished edging. You’ll also see where stitch placement matters, how to check the base size, and how to adjust the strap for your preferred fit.
Credit Nala Crochet
What You’ll Need
- Yarn: Milk cotton yarn or 2.4 mm yarn for the bag body and trim. For the strap, use double strands of 2.4 mm yarn for extra durability.
- Crochet Hook: Choose a hook appropriate for your yarn, typically 2.5 mm–3.5 mm depending on yarn weight and desired tension.
- Notions: Scissors and a tapestry needle or yarn needle for weaving in ends.
Size & Customization
The foundation chain of 25 stitches creates a compact phone bag base measuring approximately 10 cm across the bottom, making it suitable for most standard smartphones. The strap can be made to approximately 20 cm or adjusted to your preferred crossbody or shoulder length.
Color and strap choices can change the look and use of the finished crochet bag:
- Color Stripes: Change yarn colors every 5 rows for a vibrant striped effect.
- Strap Length: Adjust the chain or cord length for a short wristlet, longer crossbody strap, or shoulder strap.
Abbreviations
- ch = Chain
- sl st = Slip Stitch, represented by symbol C
- sc / x = Single Crochet, represented by symbol X
- dc = Double Crochet
- v = 2 Double Crochets worked into the same stitch
- w = 3 Double Crochets worked into the same stitch
- st(s) = Stitch(es)
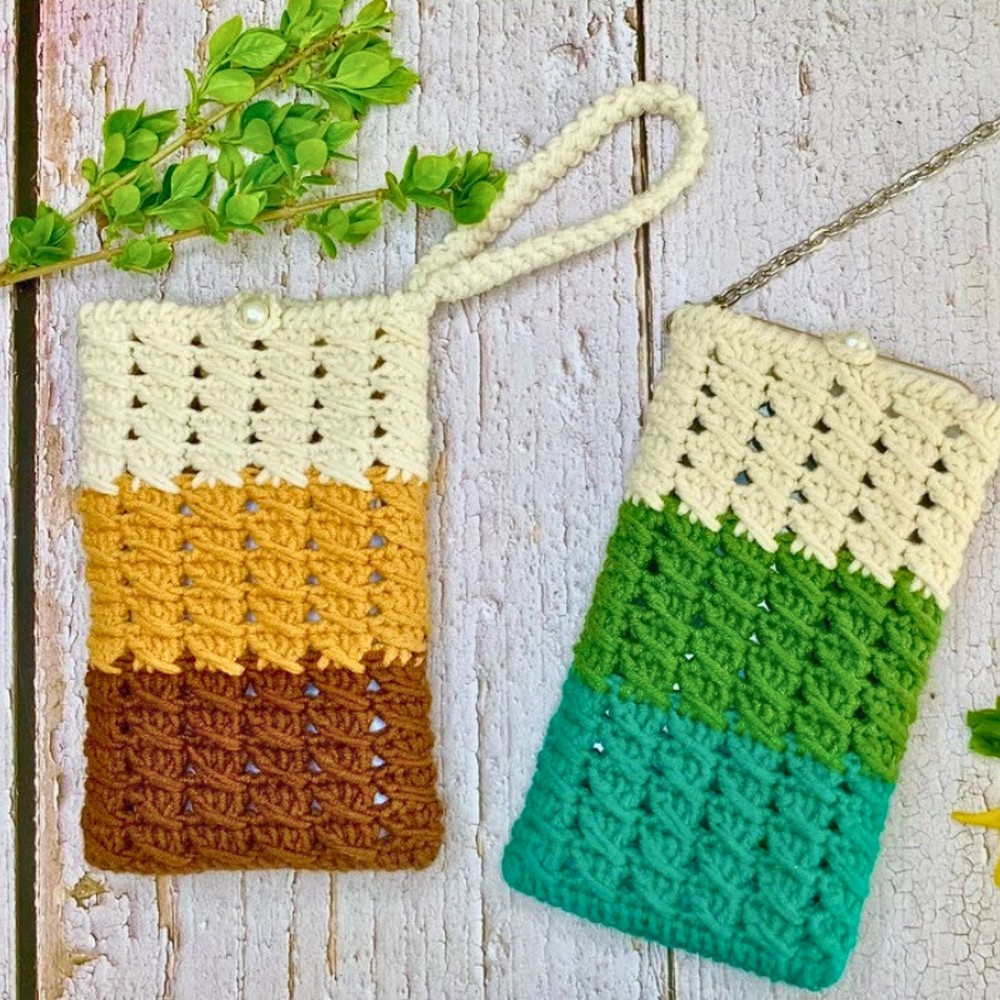
Step-by-Step Crochet Phone Bag Pattern
Make the Base
The base begins with a 25-stitch foundation chain and is worked around both sides of that chain. Working into the back bumps on the first side helps create the reinforced foundation needed for the bag.
Teaching Guide: Shape the First Side
Work carefully into the back bumps rather than the usual top loops of the chain. This gives you a sturdier starting edge and makes it possible to continue around the opposite side without turning the work into separate rows.
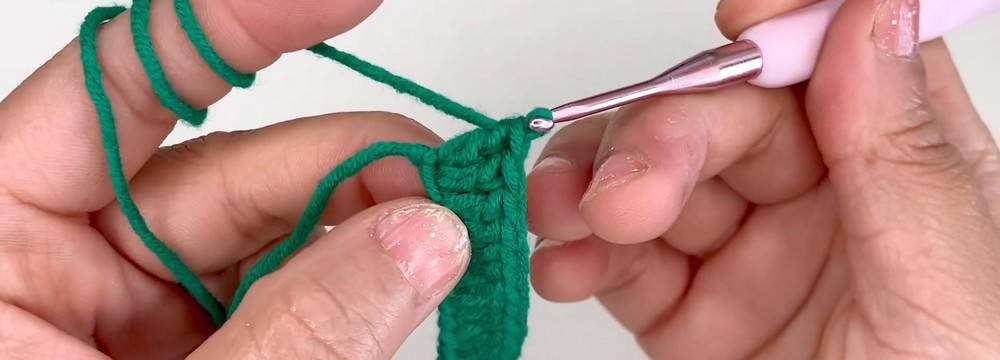
Row 1: Make a slip knot and ch 25 sts. Working into the back bumps/underside of the chain, insert the hook into the 3rd ch from the hook and work 1 dc, then continue with 1 dc in each chain across. In the very last chain space, work 3 dc into the same stitch (W). Rotate the work and continue down the opposite side of the chain with 1 dc in each corresponding stitch. In the final corner stitch space, work 2 dc (V), bringing the total stitches in this corner to 3. Join with a sl st into the top of the first dc.
Check the Base
Before moving upward, check that the foundation has formed an even oval-like base rather than pulling sharply at either corner. The completed base should measure approximately 10 cm across.
The two corner increases are what allow the crochet fabric to turn around both ends of the foundation chain. If either corner looks uneven, check that the required 3 dc in the first corner and 2 dc in the final corner were worked into their intended spaces.
Build the Textured Body
Once the base is joined, the crochet work begins rising upward into the phone bag. The cross-over stitch creates the textured surface, so keeping track of the skipped stitch and returning to it is important.
Teaching Guide: Follow the Cross-Over
The key movement in this section is simple but needs careful placement: skip 1 stitch, work your dc forward, then return to the skipped stitch to complete the backward cross-over. Keeping this movement consistent around the round creates the repeating texture.
Round 1: Work 1 sl st into the next stitch, then ch 3, which counts as the first dc, followed by 2 more dc. Work the backward cross-over stitch by skipping 1 stitch, working your dc forward, then working back into the skipped stitch. Continue this textured pattern around the body. Join with a sl st to the first dc, then ch 3 to begin the next round.
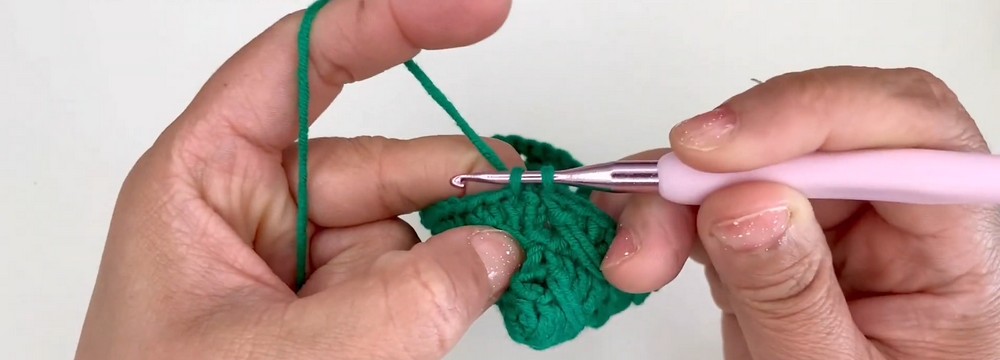
Following Rounds: At the end of each round, join with a sl st to the first dc, then ch 3 to begin the next round. Continue the textured cross-over pattern around the body.
Teaching Guide: Keep the Pattern Moving
While working each round, watch the skipped stitch and the stitch you return to. If the texture suddenly looks interrupted, stop before continuing and check whether the skipped stitch was worked in the correct position.
Maintaining the same cross-over movement around each round keeps the sides of the phone bag developing evenly. The fabric should continue building upward from the 10 cm base rather than spreading outward.
Change Colors
Color changes are worked in blocks of five rows, creating clean horizontal stripes through the textured body.
Teaching Guide: Make Each Color Block Consistent
Finish the current 5-row color section before changing yarn. Keeping every color for the same number of rows makes the stripes visually balanced.
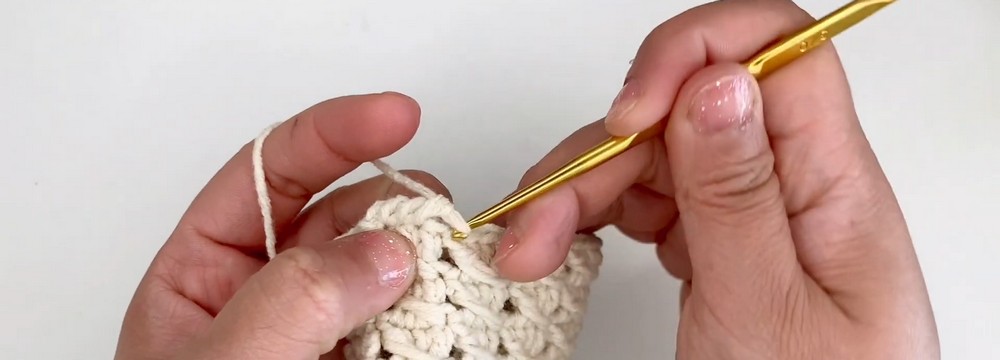
Color Change: After completing 5 rows in one color, secure and trim the old yarn. Slip stitch with the new yarn color, pull snug, ch 3, and continue the cross-over pattern.
Finish the Top Edge
Once the body rows are complete, the top opening receives a simple single crochet foundation followed by a reverse single crochet border. This gives the opening a defined finished edge.
Teaching Guide: Keep the Opening Even
Work the first sc into the first stitch after the ch 1. As you move around the opening, keep the stitch placement steady so the top edge does not become noticeably tighter or looser in different areas.
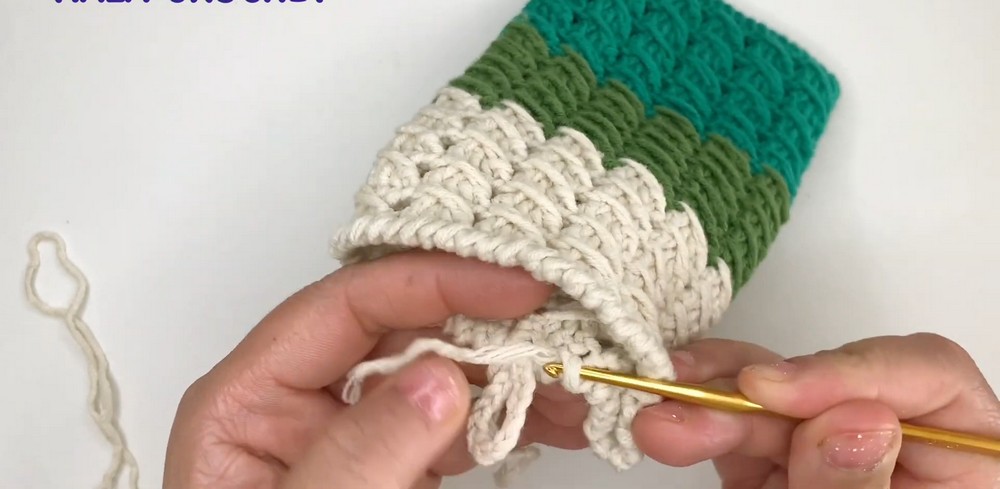
Edging: Ch 1 and work 1 sc (x) into the first stitch. Continue with a decorative reverse single crochet (crab stitch), working backwards all the way around the top opening. Fasten off securely.
Add the Strap
The strap can be made from a short chain-based foundation or from a continuous cord technique. Using double strands of 2.4 mm milk cotton yarn gives the strap extra durability.
Teaching Guide: Check the Length Before Sewing
Test the strap length before attaching it permanently. The tutorial uses approximately 20 cm, but the length can be adjusted according to whether you want a shorter wristlet-style strap, shoulder strap, or longer crossbody fit.
Strap Option 1: Using a double strand of 2.4 mm yarn, test a chain length of 10–12 chains.
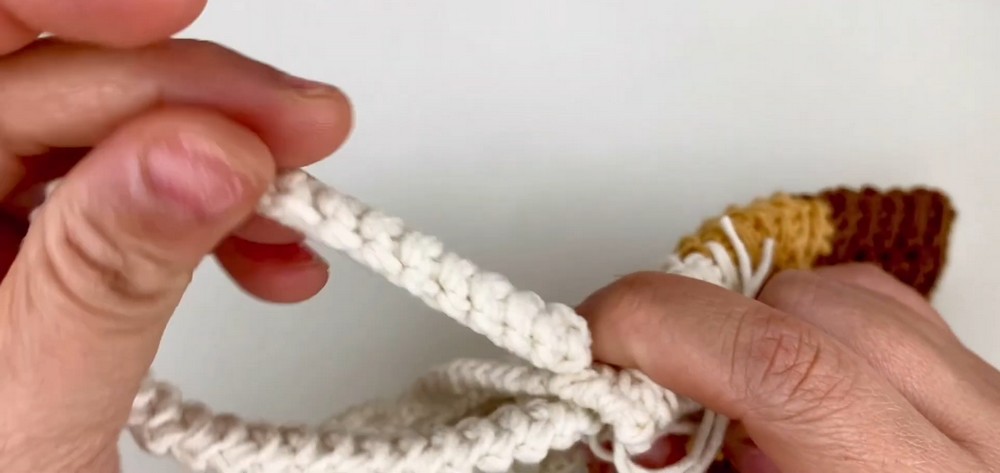
Strap Option 2: Chain 2, work a single crochet into the first chain, and continue the continuous cord technique until the strap reaches approximately 20 cm or your desired length. Leave a long yarn tail for sewing.
Secure the Strap
Position both ends of the finished strap securely on the inside upper corners or rim of the phone bag. Sew them firmly into place with a tapestry needle, then weave in all remaining loose ends.
Final Check
Give both strap attachments a gentle check before using the bag. The ends should sit securely against the inside upper corners or rim, with the sewing firmly holding them in place.


One Comment