Crochet Daisy Granny Square Headband Pattern Free
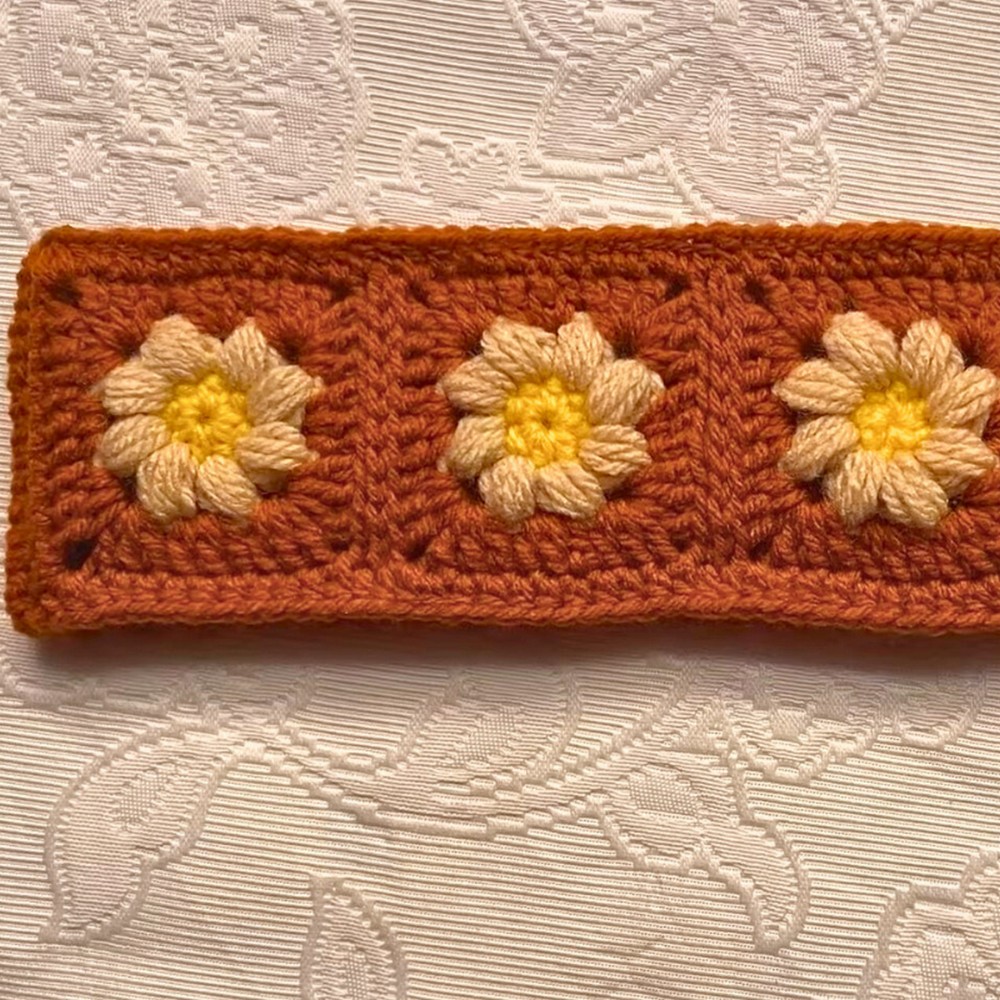
This daisy crochet granny square headband combines eight-petal flowers with a stretchy ribbed back, creating a cozy adult-size ear warmer you can easily customize.
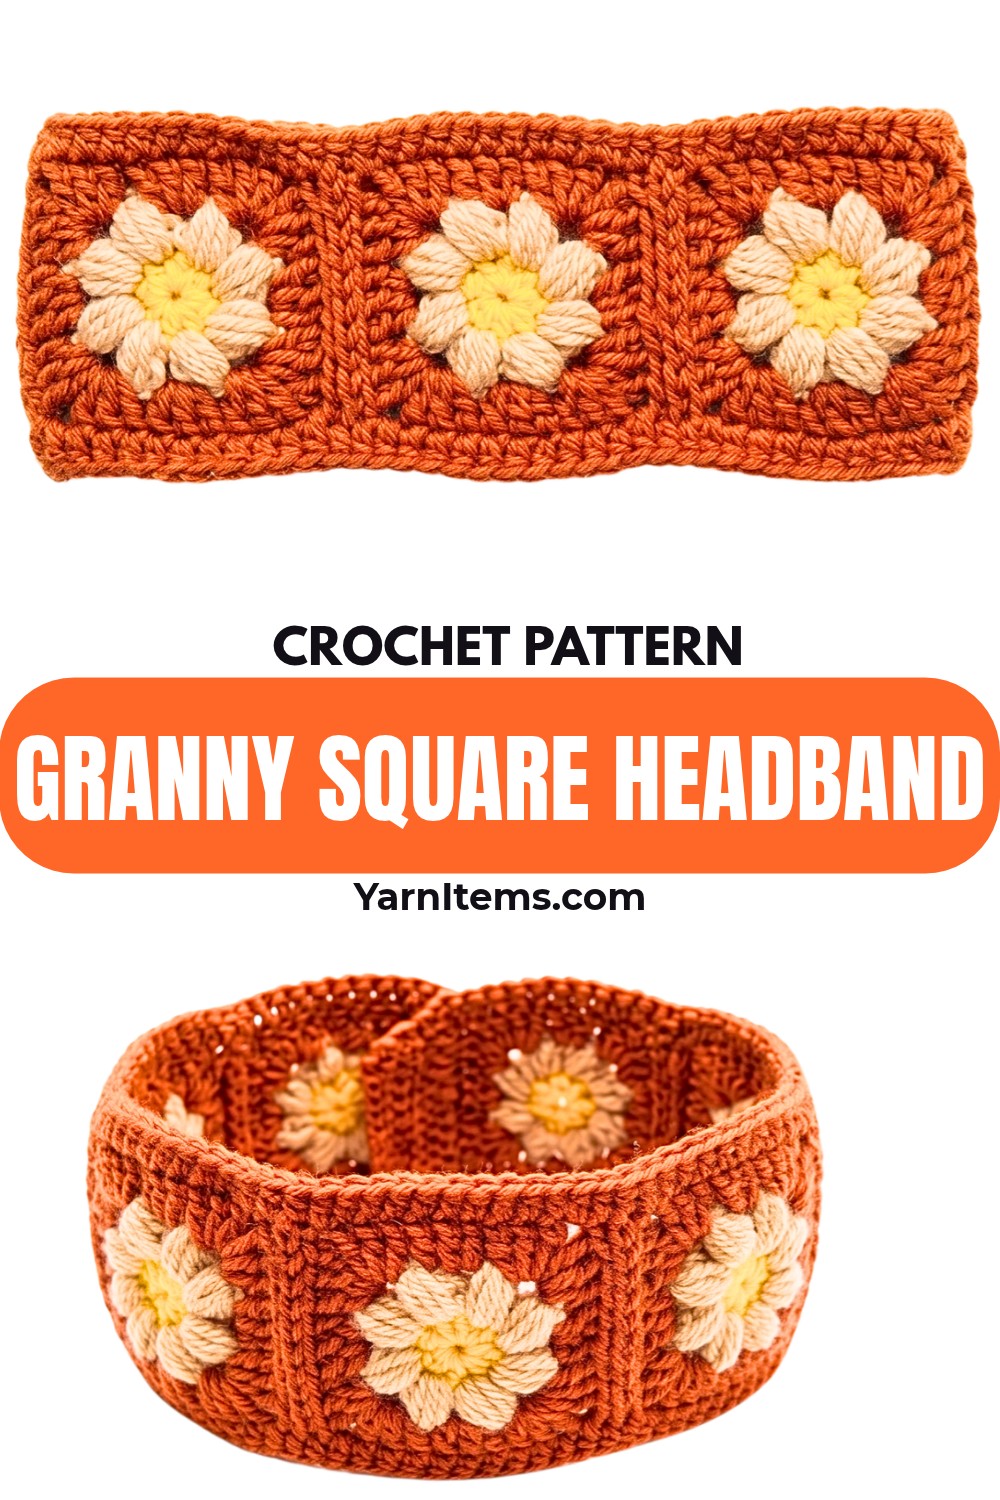
Four cheerful daisy crochet squares turn a simple ear warmer into a colorful floral accessory. Each square begins with a yellow flower center and cream petals before orange stitches frame the flower into a classic crochet granny-square shape.
Once the four crochet squares are joined into a strip, a simple hdc edging tidies the top and bottom while the ribbed BLO band adds stretch at the back. You can make the fit smaller or larger simply by changing the number of ribbed rows before joining the ends.
Credit Annie Ahmed
Materials & Tools Needed
- Yarn: Acrylic yarn in three colors:
- Yellow for the flower centers
- Cream for the petals
- Orange for the granny-square body and band
- Crochet Hook: 3.5mm
- Stitch marker
- Tapestry needle: For weaving in ends
- Scissors
Finished Size & Customization
This pattern creates a standard adult-size headband.
The fit can be adjusted through the ribbed back section. For a child-sized or more relaxed/tighter fit, simply add or remove ribbed rows before making the final seam.
The color combination is also easy to change. Keep the yellow-and-cream daisies for a classic floral look, or replace the colors with seasonal shades for a different finish.
Pattern Abbreviations
- mr: Magic Ring
- hdc: Half Double Crochet
- ch: Chain
- dc: Double Crochet
- sc: Single Crochet
- BLO: Back Loop Only
- FLO: Front Loop Only
- sl st: Slip Stitch
- sl knot: Slip Knot
Pattern note: In this tutorial, the term sl knot is also used when anchoring the puff stitches to close the petals.
Step-by-Step Crochet Daisy Headband Pattern
Part 1: Make the Four Daisy Granny Squares
You’ll make 4 identical squares before joining them into the headband. Each one is worked in three rounds: yellow for the flower center, cream for the petals, and orange for the square.
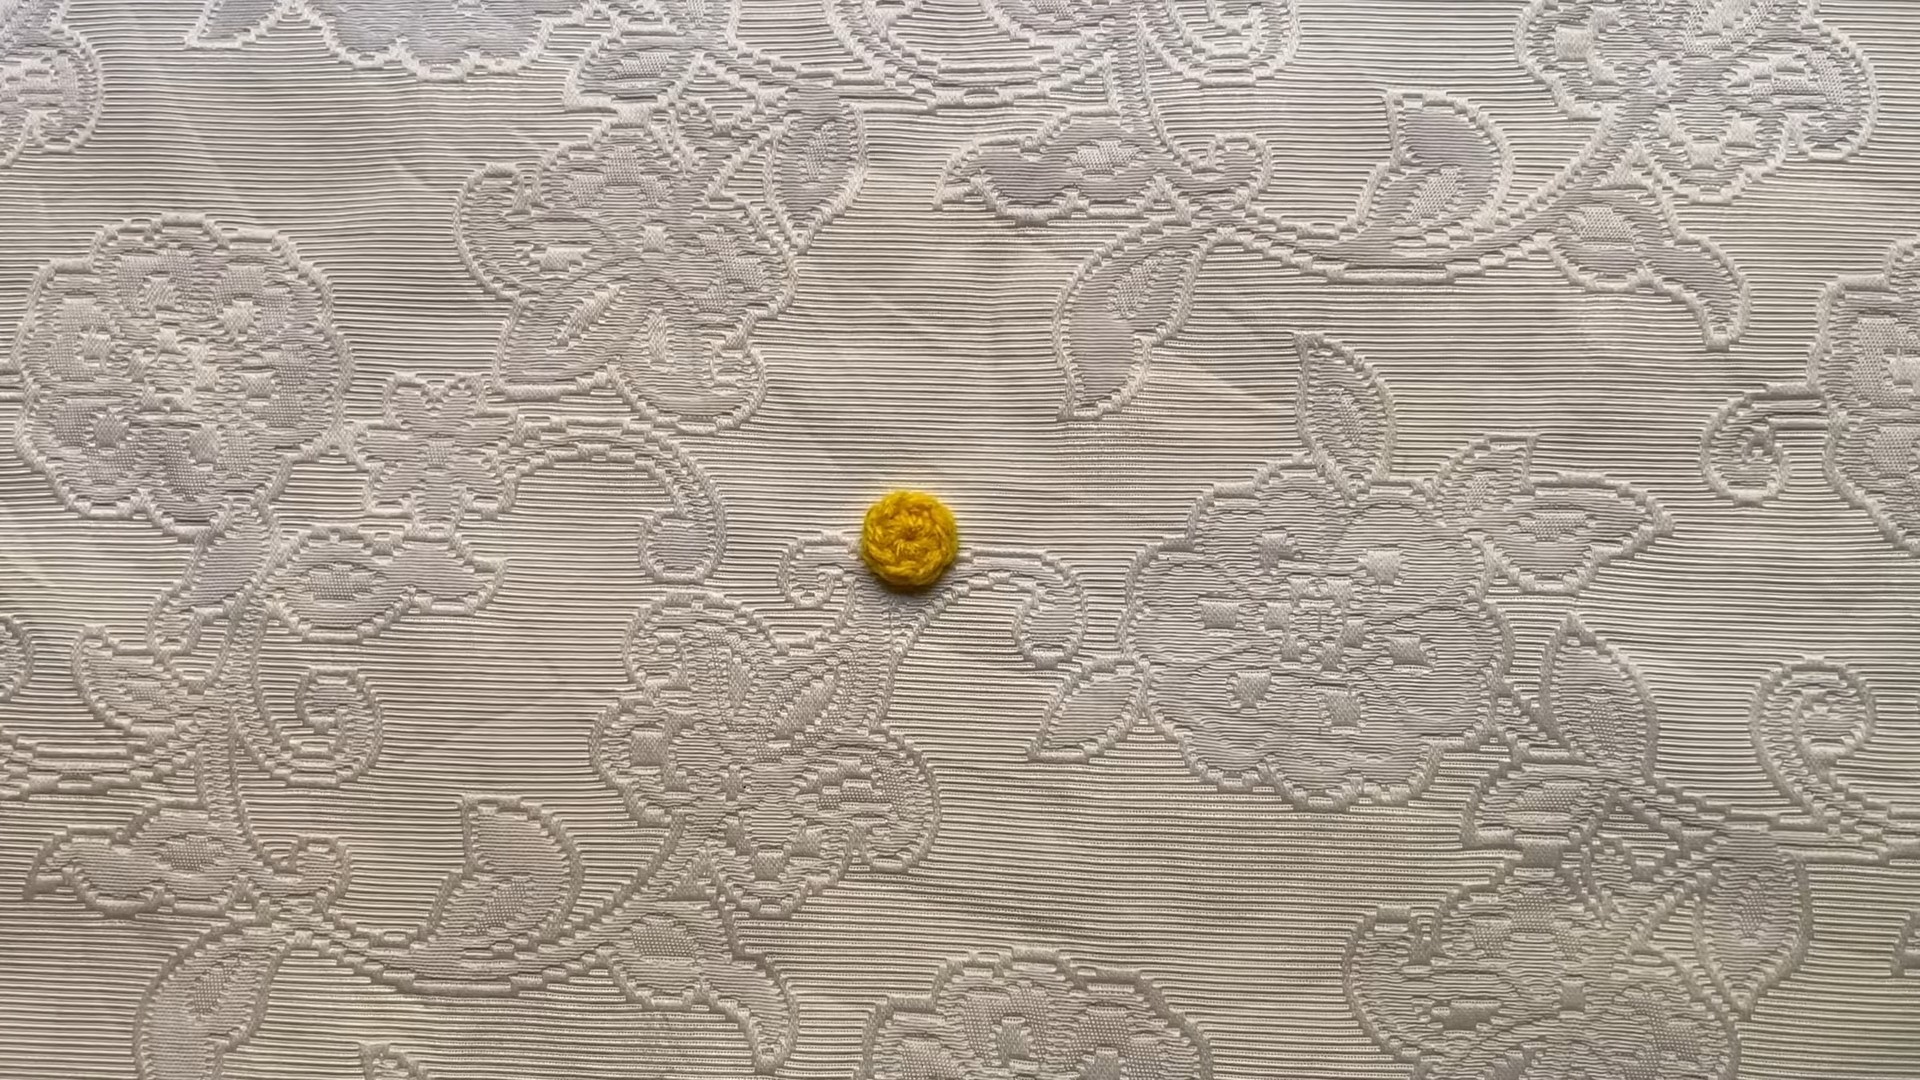
Round 1: Create the Yellow Flower Center
The first round establishes the small circular center from which all eight petals will grow.
Step 1: Create a magic ring (mr).
Step 2: Ch 1, which counts as your first hdc.
Step 3: Work 7 hdc into the magic ring.
Step 4: Pull the magic-ring tail firmly to close the center circle, then join to the first stitch.
Stitch Count: 8 hdc.
Fasten off and cut the yellow yarn.
Before moving on, check that the center has closed into a compact circle. A loose center can leave an unwanted hole beneath the petals.
Round 2: Add the Cream Petals
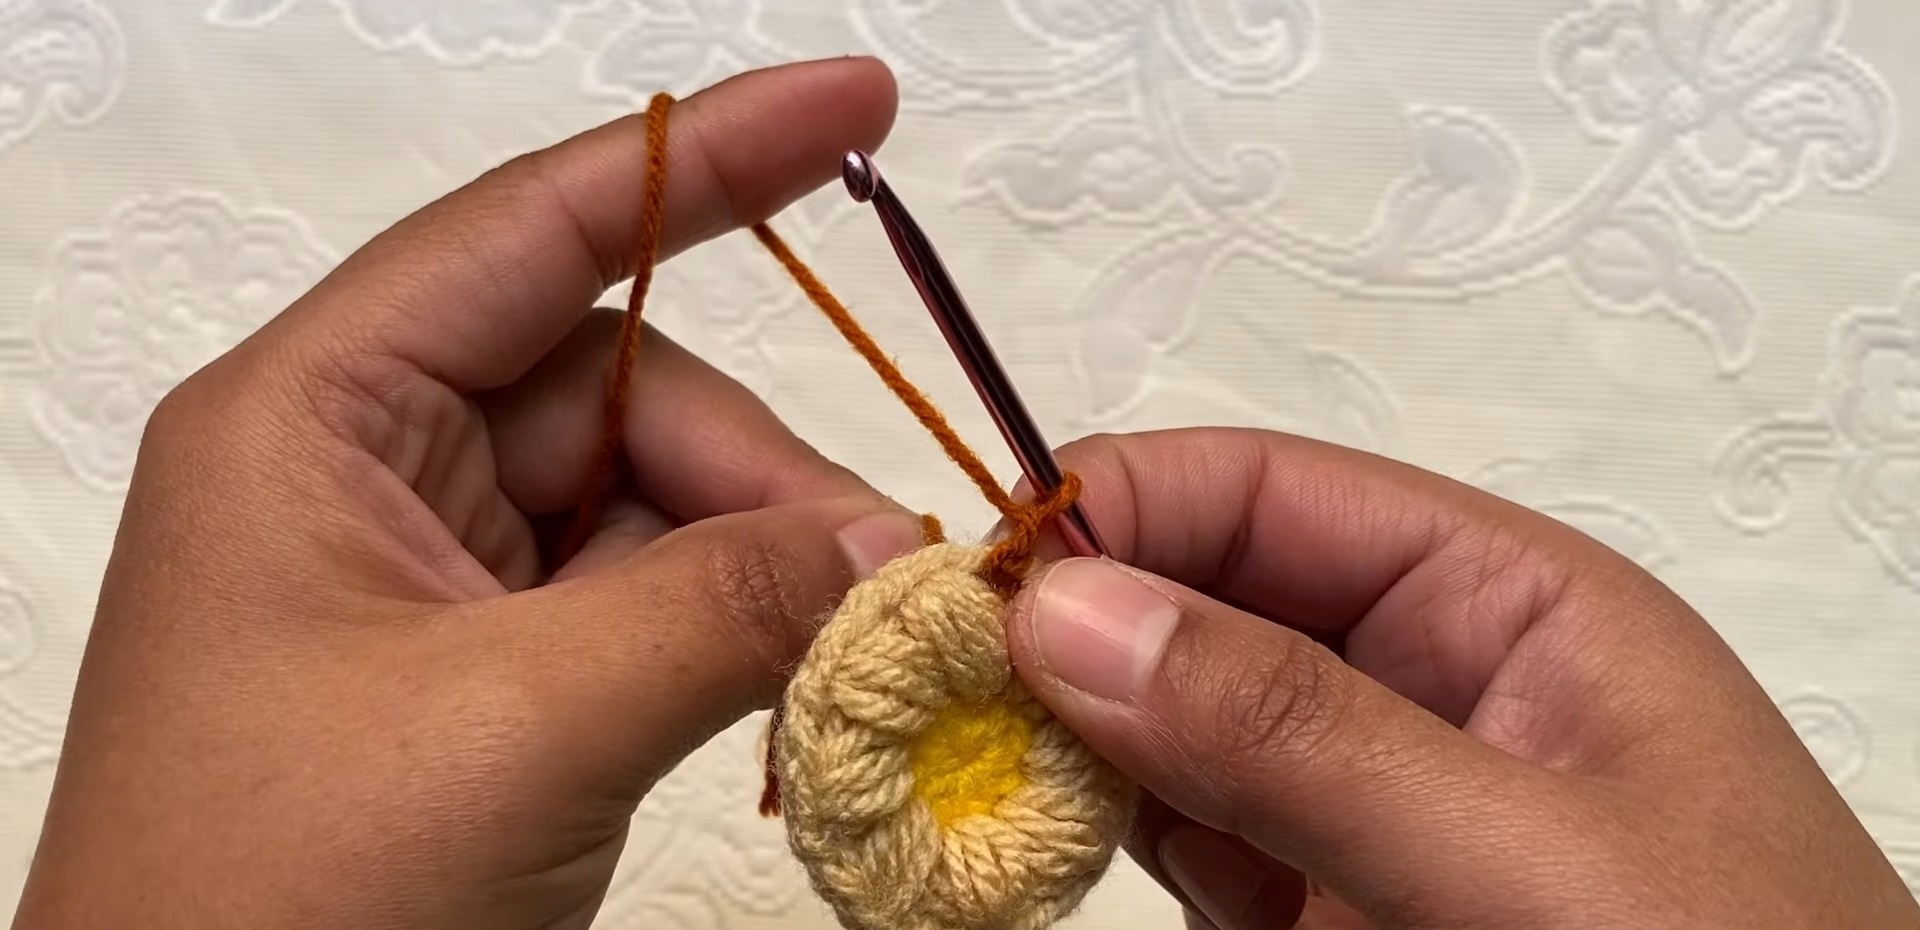
The cream yarn turns the yellow center into an eight-petal flower. Each petal is made in one stitch of the center, so keeping the repeats consistent will help the flower remain evenly spaced.
Step 1: Attach the cream yarn to any stitch from Round 1 using a sl knot.
Step 2: Ch 2.
Step 3: In the same stitch, work (puff stitch, sl knot, ch 1).
Step 4: Repeat (puff stitch, sl knot, ch 1) in each stitch around the yellow center.
You should create exactly 8 puff-stitch petals.
Step 5: Join to the top of the first petal, fasten off, and cut the cream yarn.
Look at the flower before starting the orange round. You should be able to identify eight separate cream petals around the yellow center.
Round 3: Turn the Flower Into a Square
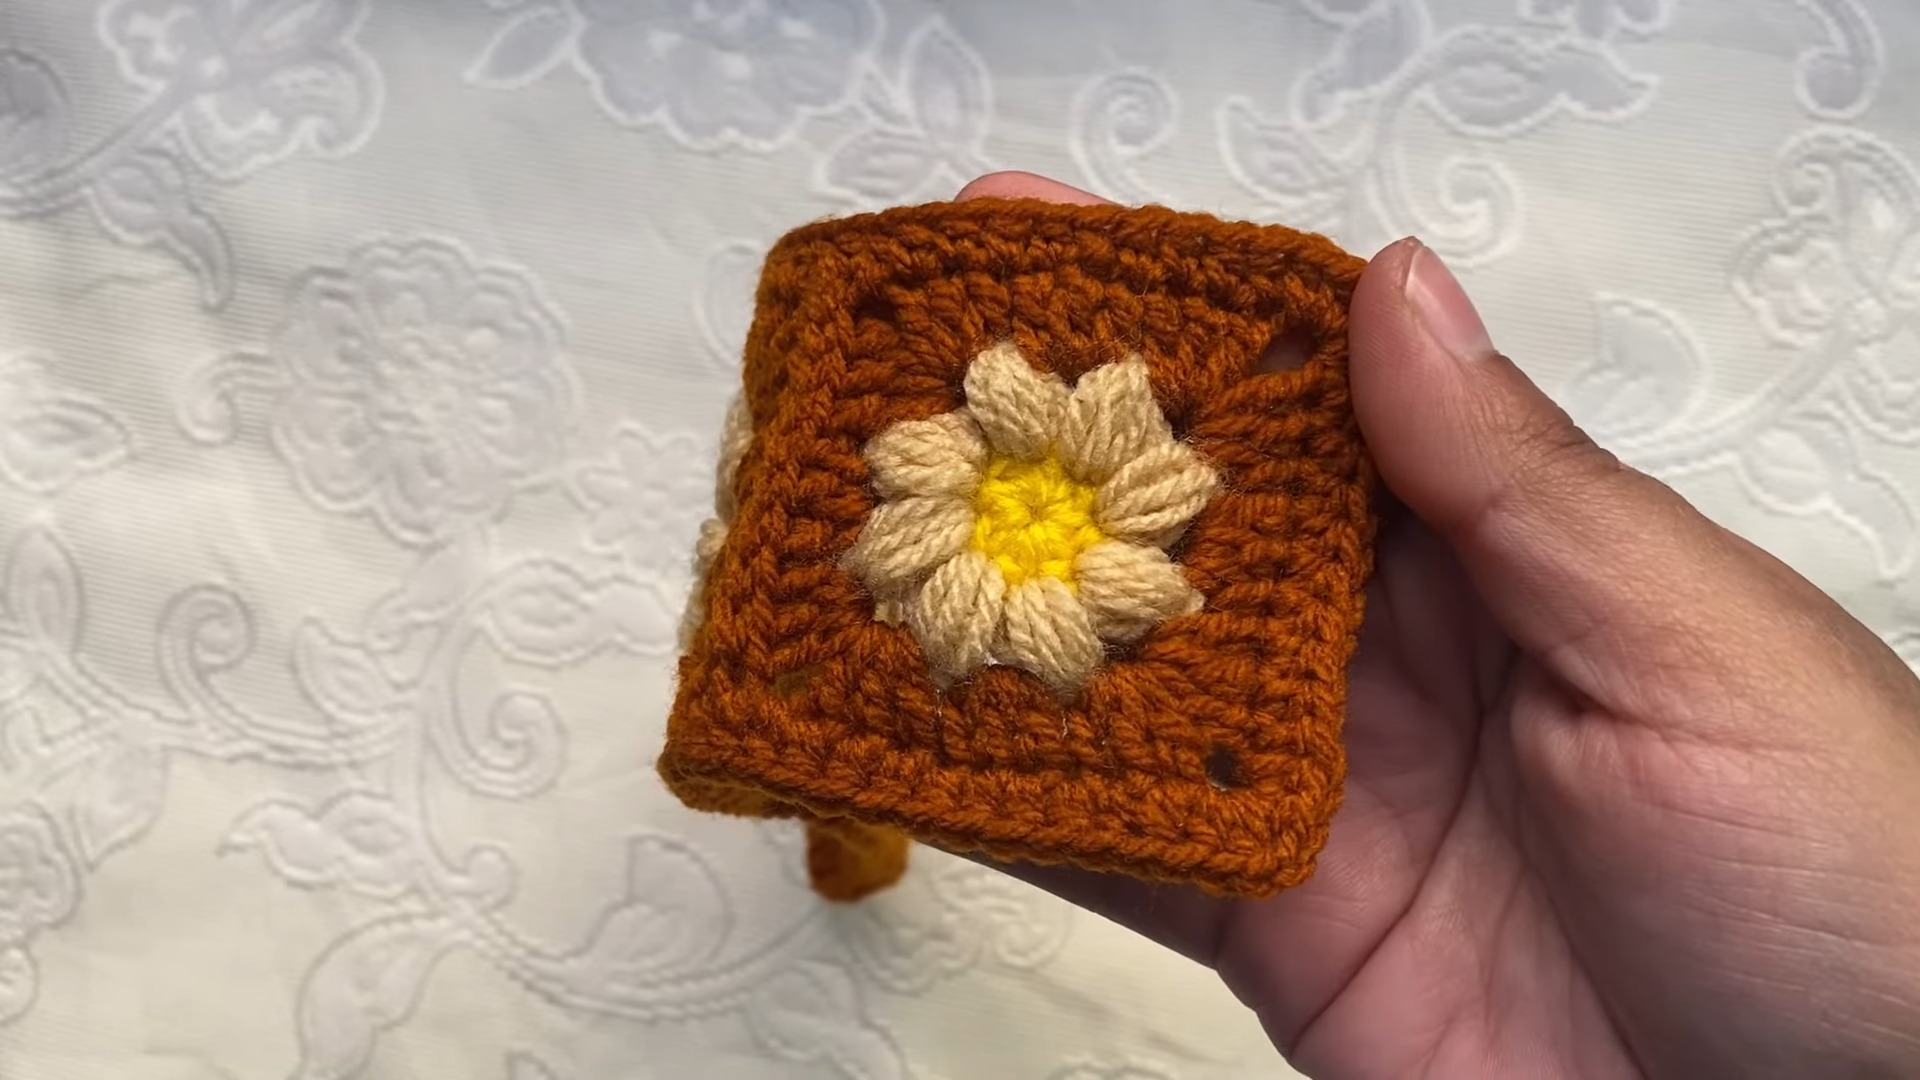
The orange yarn now surrounds the flower and establishes the four corners that give the motif its granny-square shape.
Step 1: Attach the orange yarn to any chain space between the cream petals using a sl knot.
Step 2: Ch 2, which counts as your first dc, then work 2 dc into the same space.
Step 3: In the next chain space, work the first corner: (3 dc, ch 2, 3 dc).
Step 4: In the next chain space, work 3 dc.
Step 5: Continue around by working a corner of (3 dc, ch 2, 3 dc) in the next space, followed by 3 dc in the following space.
Step 6: Once all four corners are formed, join with a sl st to the top of the starting ch-2.
Step 7: Fasten off and cut the orange yarn.
The finished motif should now have a recognizable square outline with a daisy in the center. Make sure each corner has a clear ch-2 space; these corners determine how neatly the squares will align later.
Repeat Rounds 1–3 until you have 4 complete daisy squares.
Part 2: Join the Four Squares
Lay the four squares flat and arrange them in one long strip, checking the direction of each flower before joining.
Step 1: Place two squares side by side with their edges aligned.
Step 2: Make a sl knot with the orange yarn.
Step 3: Insert your hook through the BLO of the front square and the FLO of the back square.
Step 4: Work sl sts across the aligned edges to join the squares.
Repeat the same BLO-to-FLO joining method until all four squares are connected into one long strip. Fasten off.
The joined strip should lie flat rather than pulling sharply at the seams. If one square sits higher than the next, realign the edges before continuing with the border.
Part 3: Add the Top and Bottom Edges
The hdc edging gives the long strip a cleaner upper and lower edge before the ribbed back is added.
Top Edge
Step 1: Attach orange yarn with a slip knot to the far-right stitch of the top edge.
Step 2: Ch 1, which counts as a hdc.
Step 3: Work 1 hdc in each stitch across the entire top edge.
Fasten off.
Bottom Edge
Repeat the same process along the bottom edge:
Step 1: Attach orange yarn with a slip knot.
Step 2: Ch 1, counting as a hdc.
Step 3: Work 1 hdc in each stitch across the entire bottom edge.
Fasten off.
Check both edges before beginning the back band. The orange border should frame the daisy panel without noticeably tightening or gathering it.
Part 4: Crochet the Stretchy Ribbed Back Band
The ribbed section is what allows the headband to adjust around the back of the head. Working each row through the back loops creates the ridged texture and gives the band flexibility.
Step 1: Attach orange yarn with a sl knot to the outer short side edge of the granny-square panel.
Step 2: Work a base row of sc evenly across the side edge.
Step 3: Row 1: Ch 1, turn, then work sc in BLO across.
Step 4: For each following row, repeat ch 1, turn, sc in BLO across the entire row.
Continue adding rows until the ribbed section is long enough to reach comfortably around the back of the intended wearer’s head.
For a smaller head, stop after fewer rows. For a larger or looser fit, continue with additional rows. This is the easiest point in the pattern to check the fit before permanently joining the headband.
Part 5: Make the Final Seam
Once the ribbed band reaches the desired length, bring the two ends together to form the headband loop.
Step 1: Align the final row of the ribbed band with the unworked short side of the original granny-square panel.
Step 2: Join both sides with sl st, working through the loops of both panels to create a secure seam.
Step 3: Fasten off and snip the yarn.
Step 4: Use your tapestry needle to weave in the remaining loose ends.
The BLO/FLO slip-stitch seam keeps the connection neat while the ribbed section provides the stretch needed for a comfortable fit.
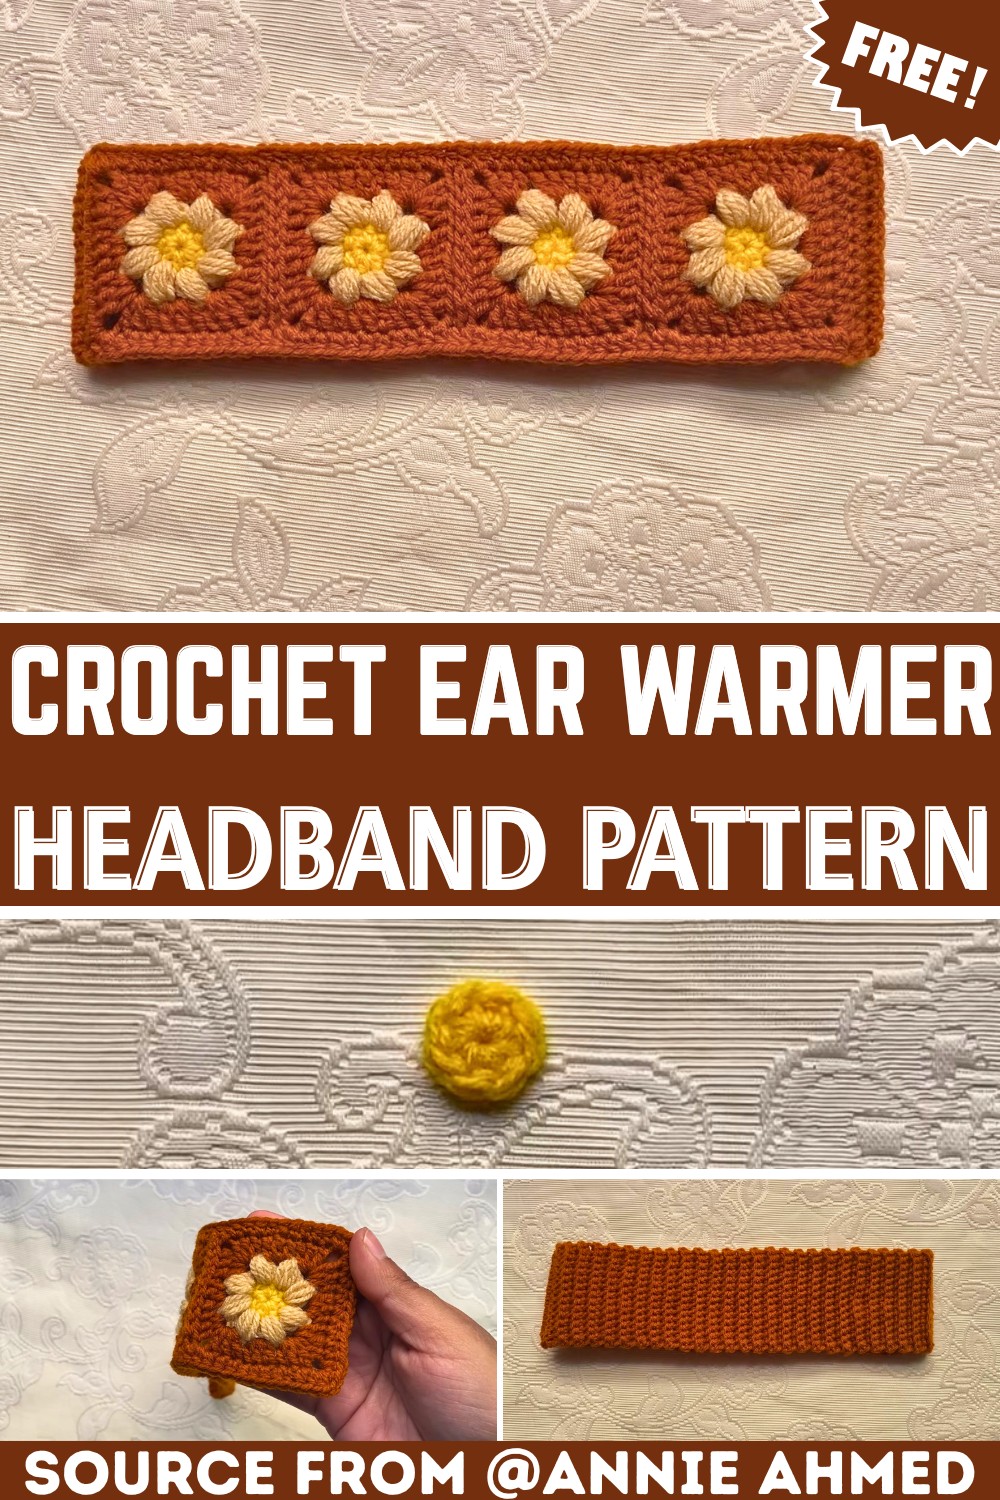
Finishing Touches
Weave all remaining yarn tails securely into the back of the headband, keeping the ends hidden rather than leaving them near the visible flower motifs.
Give the finished headband a gentle smoothing so the daisy squares sit flat and the puff-stitch petals remain clearly defined. If needed, lightly block the piece to help the squares and borders settle into an even shape.
Before wearing it, try the headband on and check that the ribbed back provides enough stretch without feeling overly tight. If the fit needs adjustment, the number of ribbed rows can be changed on your next version.
The finished ear warmer brings together four floral granny squares, dimensional puff-stitch petals, and a flexible ribbed back for a cozy handmade accessory that can easily move from one season to another.