Crochet Arrow Beanie Hat with Arrow Stitch Design
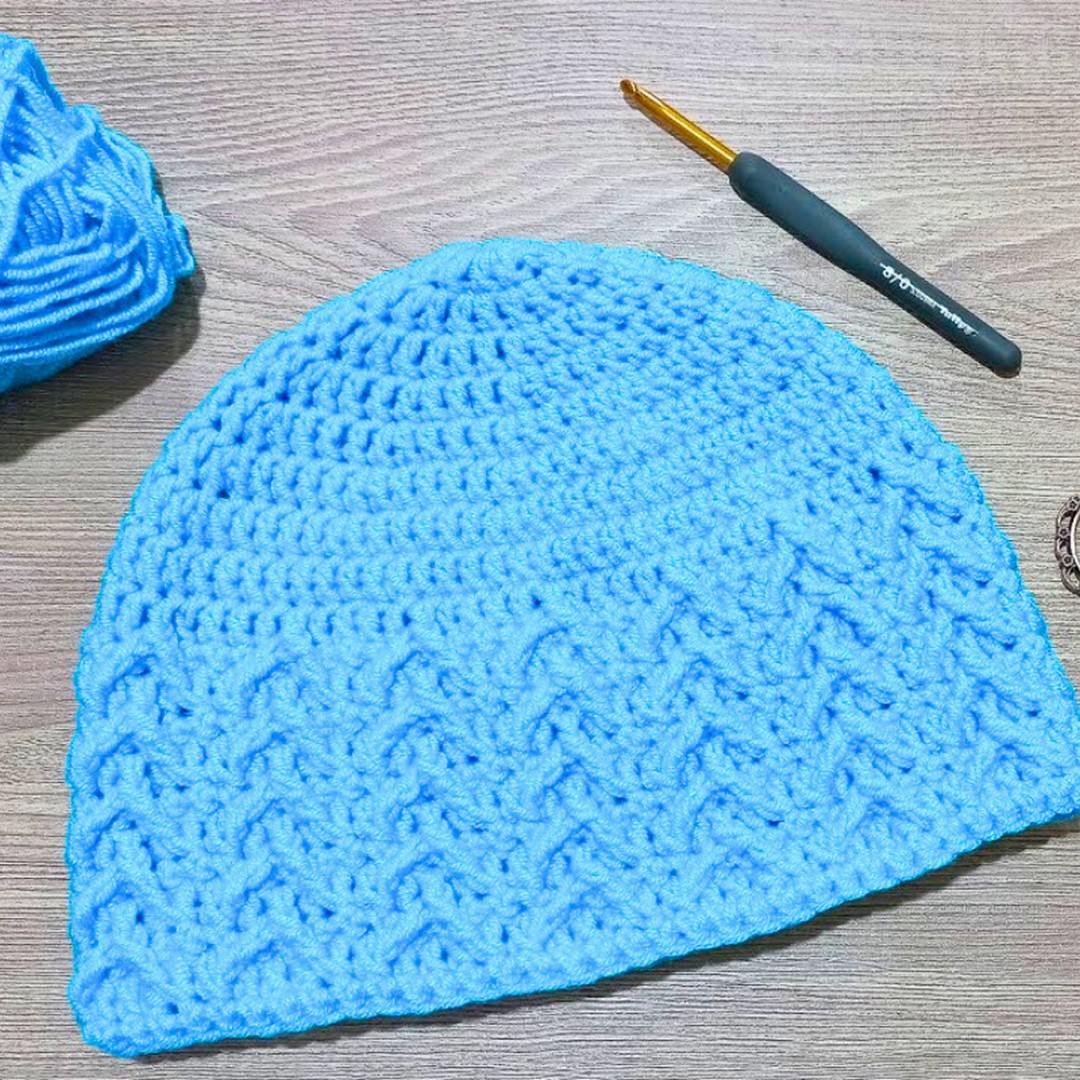
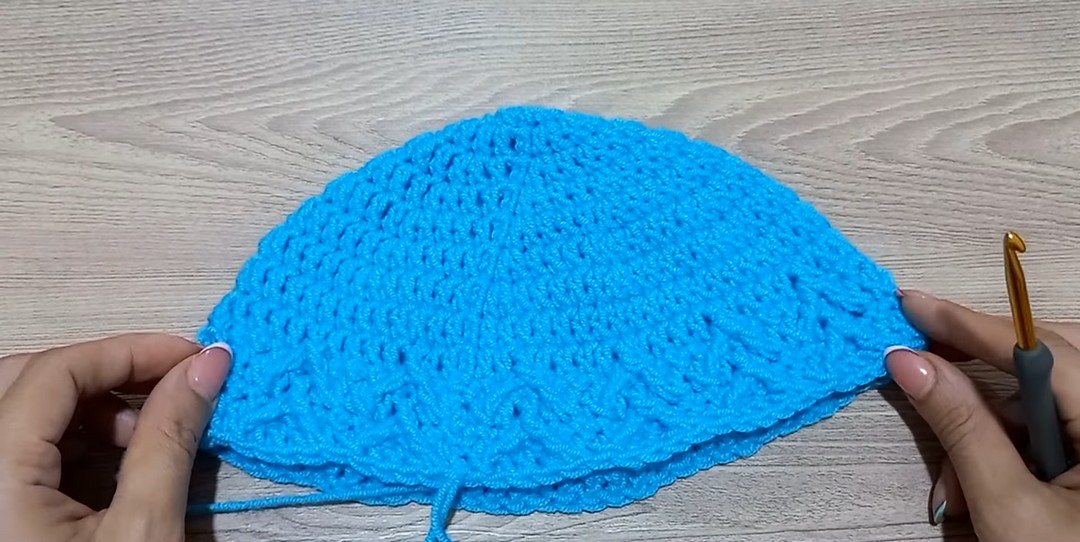
Some crochet pieces capture attention the moment their texture begins to appear. The Crochet Arrow Beanie Hat stands out with a striking arrow stitch pattern that adds depth, style, and a polished finish.
Designed for adults, this cozy piece blends everyday comfort with a modern handmade look. Every round gradually reveals a bold design that feels both creative and timeless.
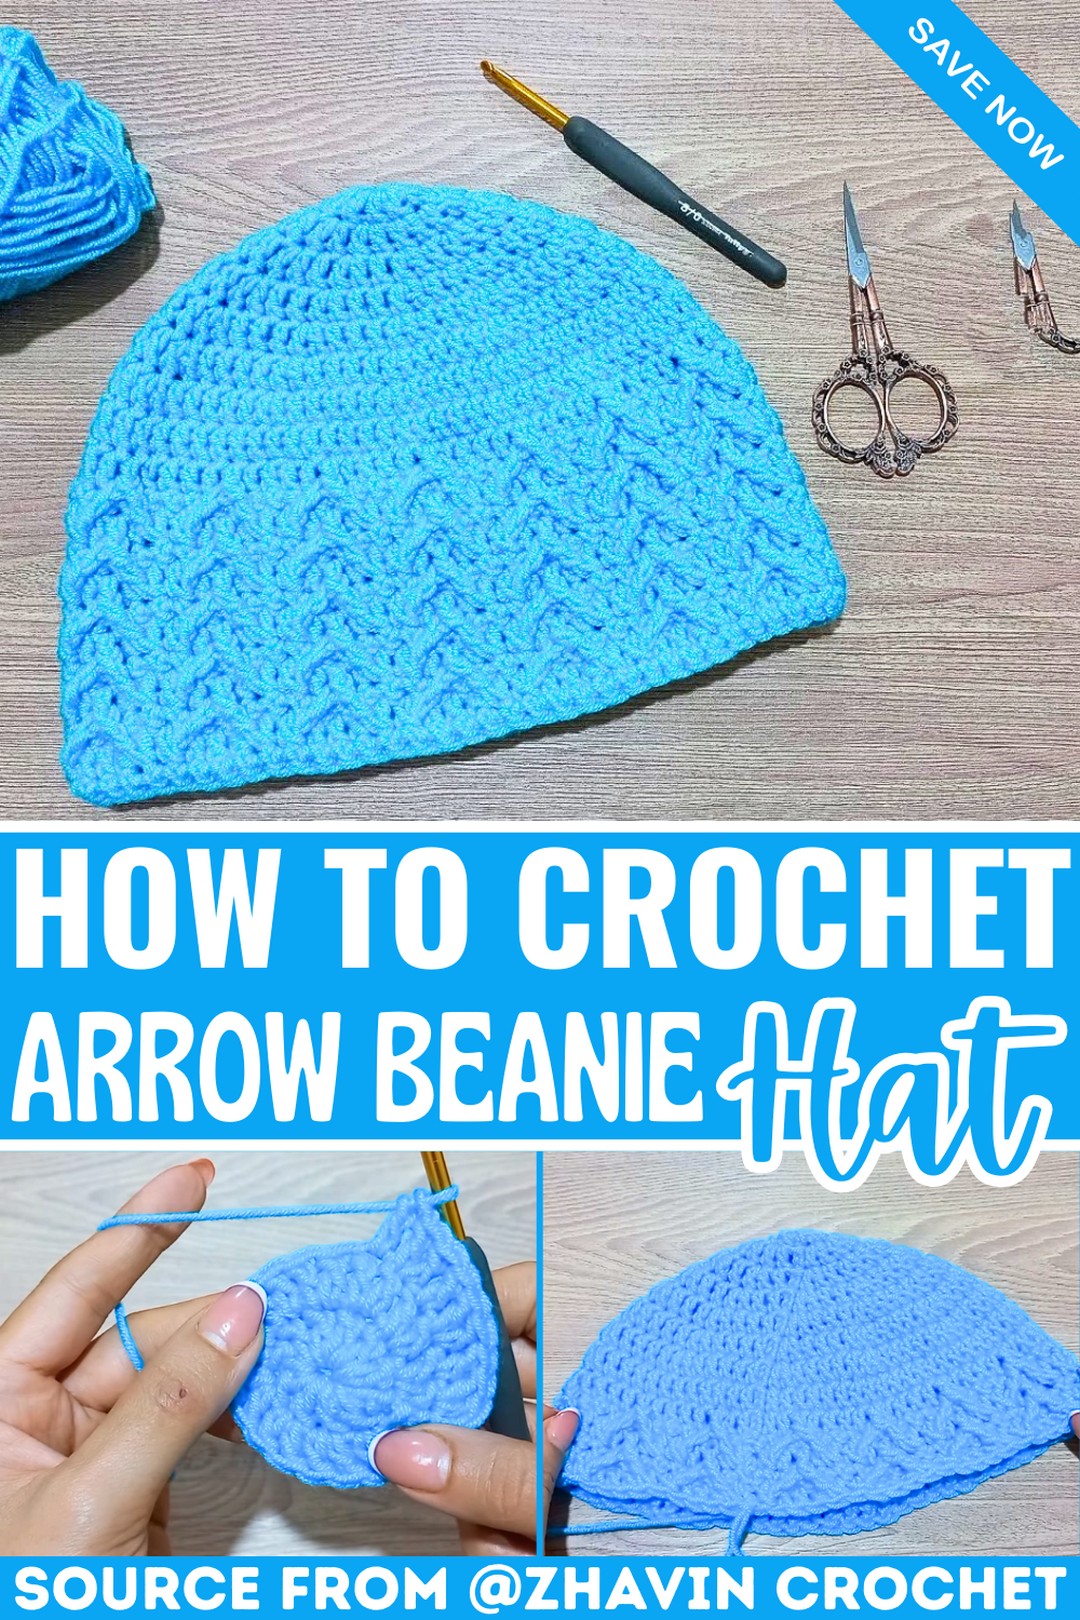
Soft yarn, simple stitches, and an eye-catching texture come together to create an item you’ll enjoy wearing again and again. Made with worsted-weight yarn and a 5 mm hook, this crochet beanie offers warmth while keeping its stylish shape.
It also makes a thoughtful handmade gift or a dependable cold-weather accessory for any wardrobe. As you continue, you’ll discover how each stitch builds the signature arrow crochet design into a beautiful finished piece.
Credit zhavin crochet
Estimate Time
- Beginner: 3-4 hours
- Intermediate: 2-3 hours
- Advanced: 1.5-2 hours
Materials & Tools Needed
- Yarn: Worsted-weight yarn (approx. 150g or 250-300 yards, depending on size)
- Hook: 5mm crochet hook
- Notions: Scissors, yarn needle (for weaving in ends), stitch marker (optional for tracking rounds)
- Gauge: 6.5-inch (17 cm) diameter after Round 7. Adjust hook/yarn size if necessary
Finished Size & Customization Ideas
- Finished Size: Approx. 7.5 in (19 cm) height; 6.5 in (17 cm) diameter for adult size.
- Custom Sizing:
- For smaller sizes: Reduce the number of increasing rounds.
- For larger sizes: Add additional increase rounds (e.g., after Round 7, increase spaces between the two double crochets as per the established pattern).
Read These Pattern Notes Before Your First Stitch
- This hat is worked in the round from the crown downward.
- Chains made at the start of rounds do not count as stitches.
- From Round 10 onward, the hat alternates between Arrow Stitch rounds and Single Crochet rounds.
- Turning your work at the end of each round starts from Round 10.
- Maintain tight, even tension for the front post triple crochet stitches to emphasize the texture of the arrow design.
Pattern Abbreviations & Terminology
All instructions use US crochet terminology:
- ch: chain
- sl st: slip stitch
- sc: single crochet
- dc: double crochet
- fptr: front post triple (or treble) crochet
- st(s): stitch(es)
- YO: yarn over
Simple Ways to Make This Pattern Uniquely Yours
Here are some simple ways to make this pattern uniquely yours, with added detail for inspiration:
1. Play with Colors
- Self-striping yarn: Choose a vibrant or variegated yarn that transitions colors automatically for an eye-catching effect.
- Alternating colors: Switch colors between rounds or sections of the arrow pattern to create a bold, graphic design.
- Gradient effect: Blend colors gradually or use an ombre yarn to mimic a fading effect.
2. Add Embellishments
- Pom-poms: Attach one oversized pom-pom to the top, or add smaller ones around the edge for fun texture.
- Buttons: Sew colorful or themed buttons to accentuate certain areas of the design.
- Appliqué: Add felt shapes, embroidered designs, or iron-on patches for a touch of personalization.
3. Use Textured Yarns
- Tweed yarn: Incorporate speckled yarns to give your piece a cozy, rustic vibe.
- Heathered yarn: Opt for subtle yarns with blended colors for a softer, richer tone.
- Novelty yarns: Experiment with fluffy, metallic, or ribbon-like yarns to lend a unique texture.
Step-by-Step Detailed Crochet Instructions
Crown and Body of the Hat
Round 1: Magic Ring with 10 Double Crochets
- Start with a slipknot, then ch 4. Join into a ring by inserting the hook into the first chain.
- Ch 2 (does not count as a stitch; just for height).
- Work 10 dc into the ring.
- Fasten the round with sl st into the first dc (not the chains), maintaining 10 dc.
Round 2: Increase Round
- Ch 2. In the same st, 2 dc.
- Work 2 dc into each st around (total: 20 dc).
- Join with a sl st to the top of the first dc.
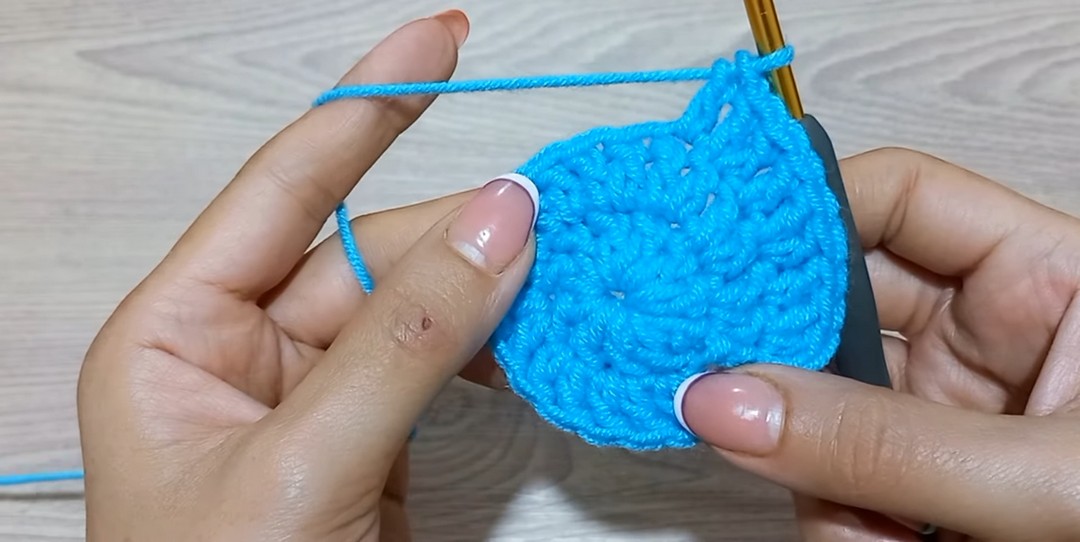
Round 3: Increase Round
- Ch 2. In the same st, 2 dc.
- (2 dc in first st, 1 dc in next st) – repeat the sequence around (total: 30 dc).
- Join with a sl st to the top of the first dc.
Round 4: Increase Round
- Ch 2. In the same st, 2 dc.
- (2 dc in first st, 1 dc in each of the next 2 sts) – repeat the sequence around (total: 40 dc).
- Join with a sl st to the top of the first dc.
Round 5: Increase Round
- Ch 2. In the same st, 2 dc.
- (2 dc in first st, 1 dc in each of the next 3 sts) – repeat the sequence around (total: 50 dc).
- Join with a sl st to the top of the first dc.
Round 6: Increase Round
- Ch 2. In the same st, 2 dc.
- (2 dc in first st, 1 dc in each of the next 4 sts) – repeat the sequence around (total: 60 dc).
- Join with a sl st to the top of the first dc.

Round 7: Increase Round
- Ch 2. In the same st, 2 dc.
- (2 dc in first st, 1 dc in each of the next 5 sts) – repeat the sequence around (total: 70 dc).
- Join with a sl st to the top of the first dc.
- Diameter = 6.5 in (17 cm). If making a smaller size, skip some increase rounds.
Rounds 8 & 9: No More Increases
- Ch 2. Dc into the same st, then dc in each st around.
- Repeat for 2 rounds.
- Continue joining with sl st to the first dc.
Arrow Stitch & Single Crochet Rounds
Round 10: Round of Single Crochets
- Ch 1, turn the work (wrong side facing).
- Work 1 sc into each st around.
- Join with a sl st to the first sc.
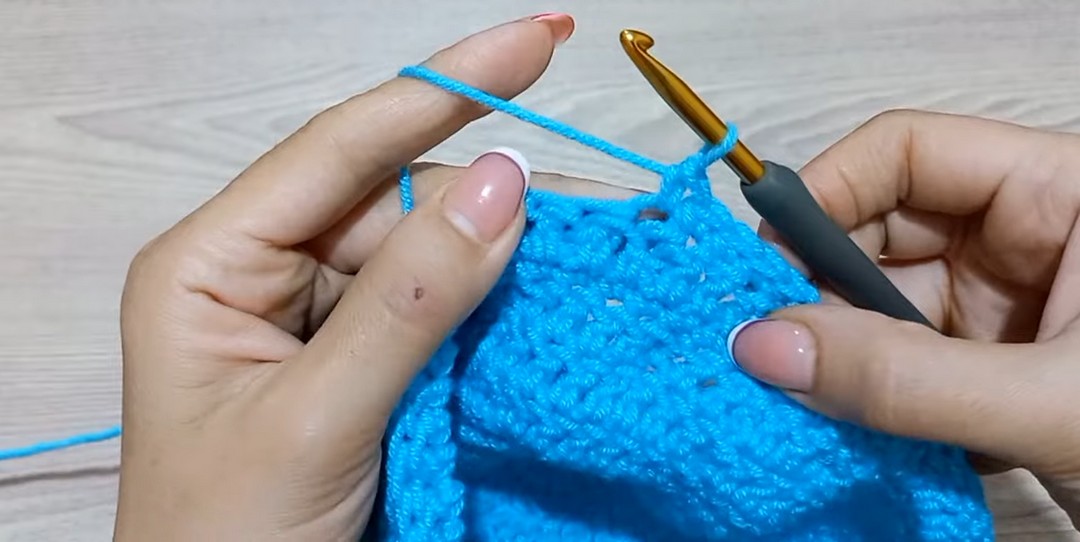
Round 11: Arrow Stitch Round
- Ch 2, turn the work (right side facing).
- Work 1 fptr and 1 dc together (see detailed instructions at timestamp).
- Continue the arrow pattern as (3 dc, fpdc + dc together) around.
Repeat Pattern: Alternate between Arrow Stitch Rounds and Single Crochet Rounds for 5 repeats.
Final Assembly
- After completing the Arrow Stitch pattern, work one more round:
- Turn work to the wrong side.
- Work 1 sc in each st around, join with sl st, then fasten off.
- Weave in ends using a yarn needle.
Smart Storage Tips Every Crocheter Should Know
1. Store Finished Patterns Properly
- Hats: Use breathable containers (like cloth bins or mesh bags) to maintain the shape of finished hats. Avoid plastic bins unless they’re ventilated to prevent moisture buildup.
- Blankets and Larger Items: Roll them loosely to avoid creases and store in a clean, dry area.
2. Protect Your Yarn Stash
- Moths: Use cedar sachets or lavender packs to repel moths naturally. Avoid direct contact between sachets and yarn to prevent any transfer of oils or residue.
- Keep Dry: Store yarn in airtight bins or zippered storage bags if your space is prone to moisture. Add silica gel packets to absorb humidity.
3. Use Clear, Stackable Bins
- Opt for transparent bins so you can easily see your stash without opening each one.
- Label each bin (e.g., “Cotton Yarn,” “WIP [Work-in-Progress],” or “Holiday Patterns”) for quick access.
4. Hang Yarn or Tools
- Install wall hooks, pegboards, or hanging baskets for smaller tools like scissors, stitch markers, tape measures, and hooks.
- Consider a yarn wall with dowels or shelves for easy access and display.
5. Organize Labels and Patterns
- Save yarn labels in a small binder or zippered pouch for reference later (e.g., yardage, fiber content).
- Use clear page protectors to store printed patterns in binders. Organize them by category, such as “Scarves,” “Socks,” or “Seasonal.”
6. Create a System for WIPs (Works-in-Progress)
- Designate specific pattern bags or baskets for each work-in-progress.
- Choose bags with zippered or drawstring closures to prevent accidental unraveling.
7. Repurpose Household Items
- Zippered Pillowcases: Perfect for storing delicate finished patterns like shawls or lacework.
- Mason Jars: Great for tiny notions like buttons, safety pins, or stitch markers.
- Over-the-Door Shoe Organizers: Use the pockets to hold yarn, tools, or WIPs.