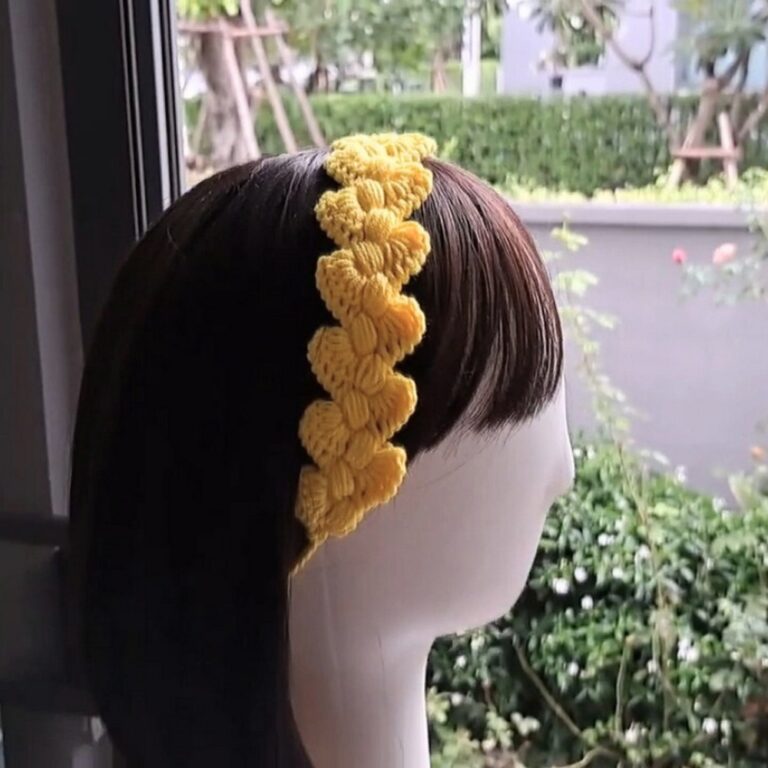
Easy Crochet Granny Square Vest Tutorial – Beginners Welcome
This crochet granny square vest combines classic motifs and modern flair to create a versatile, customizable garment perfect for any wardrobe.

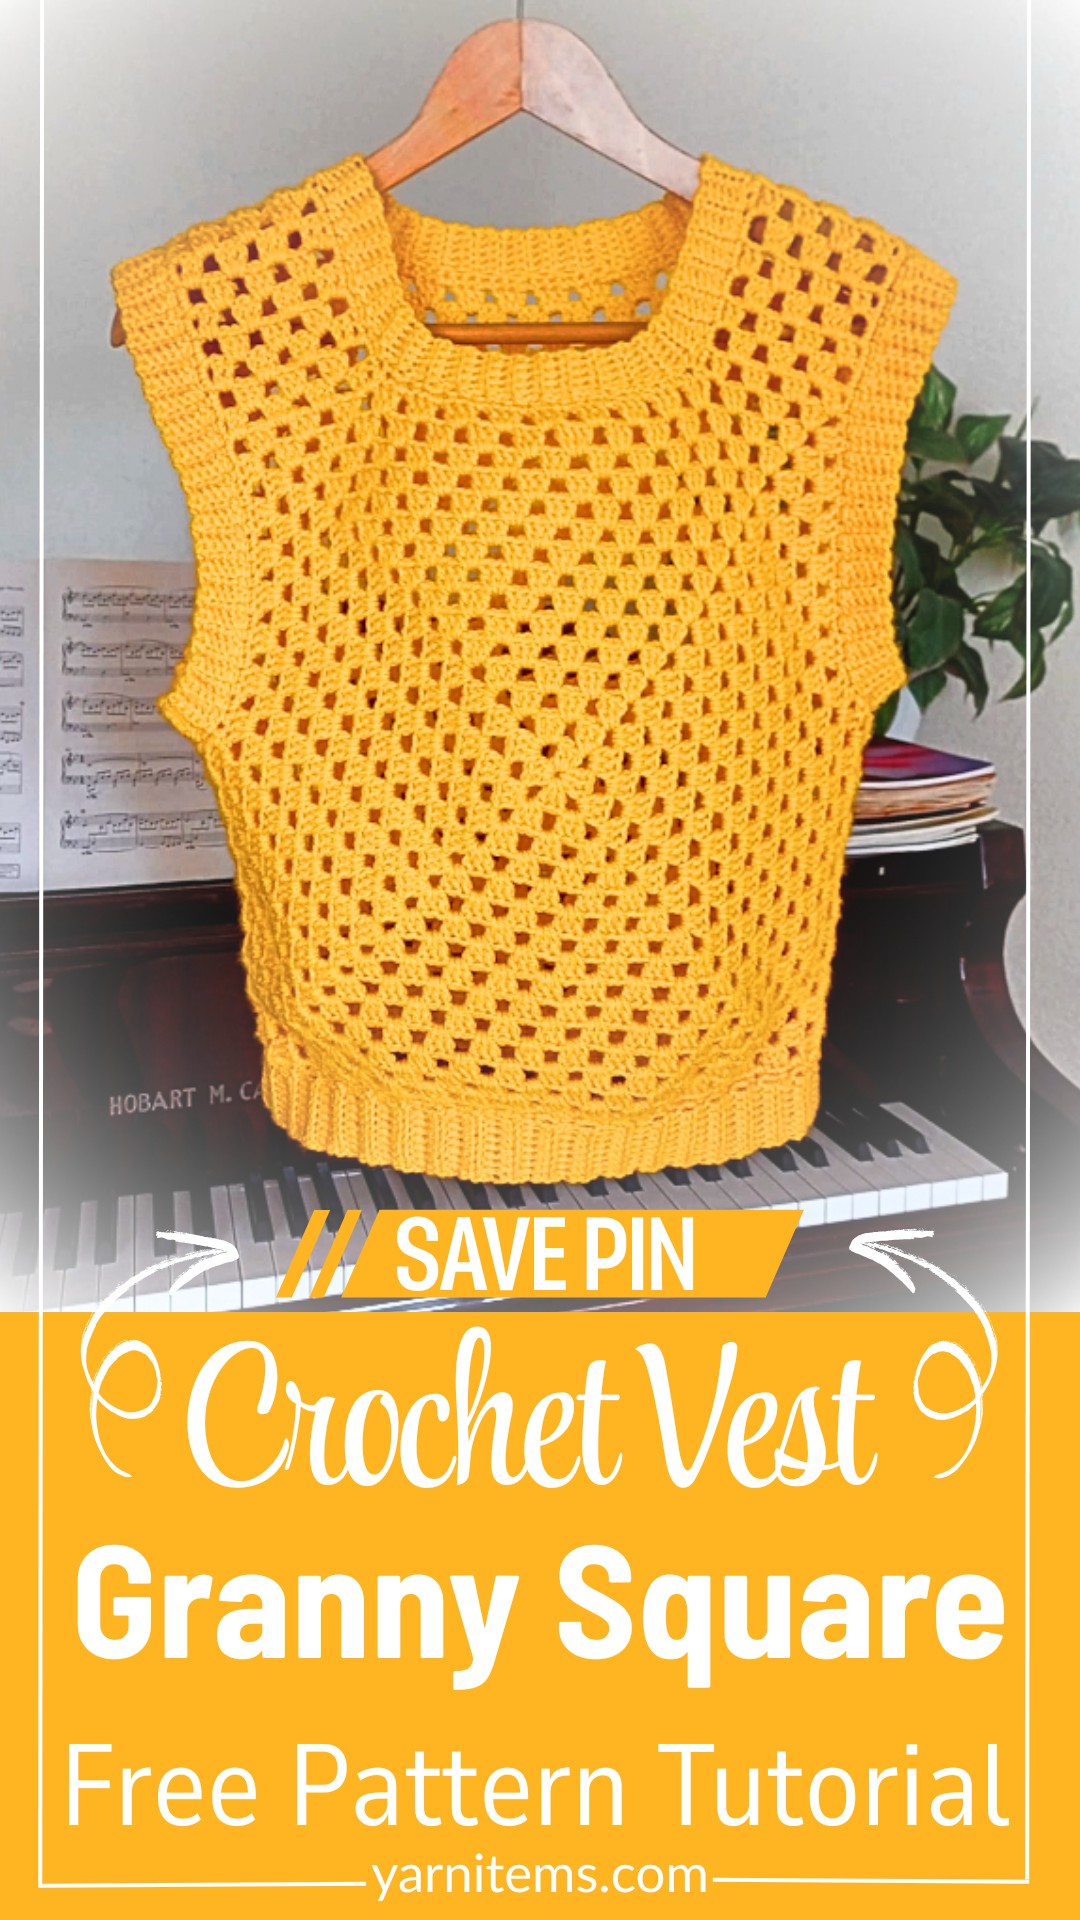
A crochet granny square vest is a trendy, fun, and wearable item that can brighten up any outfit. Crochet Vest is made from simple square pieces stitched together to form a creative and stylish vest. What makes it special? You can personalize it with your favorite colors and yarn, making it truly one-of-a-kind. Crochet Vest Pattern is perfect for layering over a t-shirt or dress, combining comfort with style.
Crochet Granny Square Vest
This Crochet Vest Pattern is easy to adapt for all sizes, meaning anyone can make it. The simple steps of a crochet vest involve crocheting several granny squares, which are then joined to create the vest. Even if you’re just starting with crochet, this vest is a wonderful piece to try, as granny squares are a classic and simple crochet technique. It’s not only functional but also a fun way to express your creativity.
Credit Crochet & Yara
Key Features
- Classic Granny Squares: The vest is built from individual granny squares, a timeless crochet technique.
- Customizable Fit: Easily adjust the pattern for different sizes, making it wearable for anyone.
- Minimalist Assembly: Squares are carefully connected to construct the vest design with simple seams.
- Adaptable Yarn Choices: Use any yarn type or color palette to match your personal style.
- Quick to Make: Perfect for beginners or a fast weekend pattern.
This stylish vest starts by creating the traditional granny squares, a beginner-friendly design relying on basic stitches such as double crochets and chain spaces. Each square is worked in rounds, beginning from the center outward, allowing crocheters to play with a vibrant mix of colors or stick to a monochromatic scheme for a chic look.
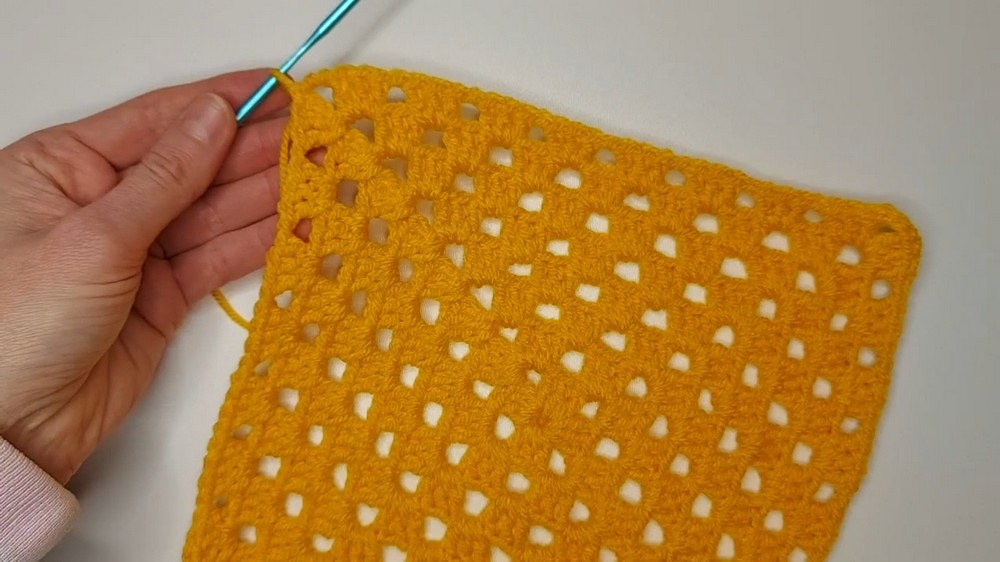
Once you’ve completed all the squares, they’re strategically arranged and joined. The arrangement is key to ensuring proper drape and fit, requiring mindful placement for a seamless and cohesive look. Connecting the squares is done via slip stitches or single crochet for durable seams, keeping the construction simple yet strong.
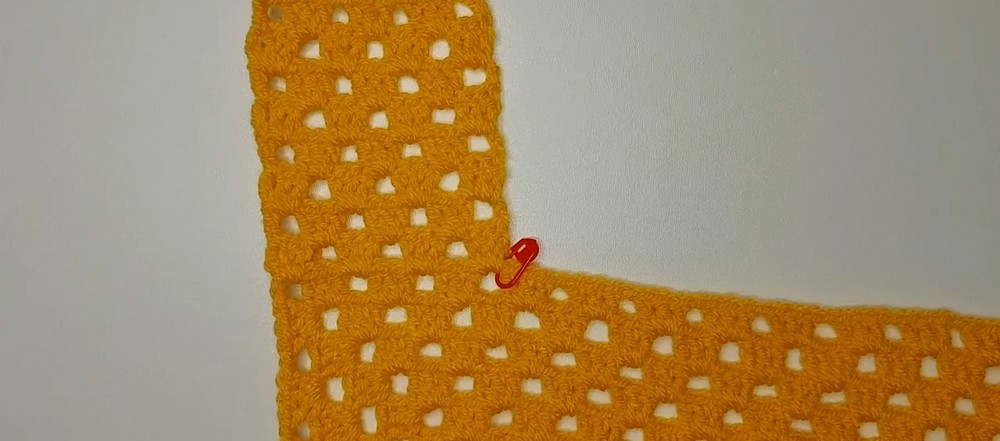
Shaping the vest involves carefully attaching shoulder and side seams, creating armholes and ensuring a comfortable fit. This step is highly adjustable, letting you tailor the piece to your preferred sizing with ease. The overall design is forgiving, meaning you can easily tweak the layout to fit your measurements or desired style.
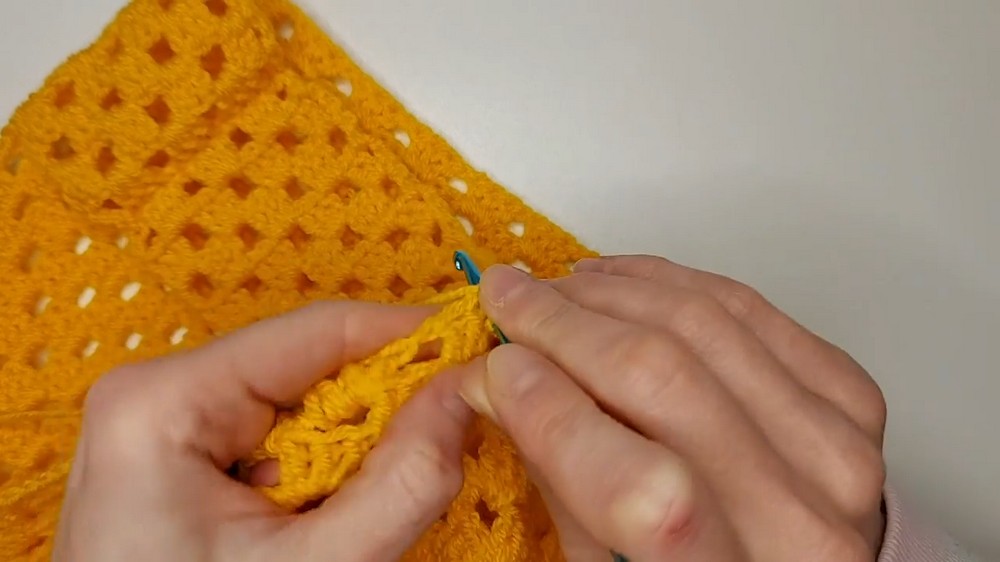
The finishing touches bring everything together, from edging with neat single crochet all around the vest to ensure clean lines to adding optional embellishments. You could add tassels, fringe, or a scalloped edge for a playful vibe—or leave it minimal for a streamlined, modern piece ready to pair with your wardrobe staples.

Video Tutorial
Step-By-Step Pattern
Materials
To create your Crochet Granny Square Vest, gather the following supplies:
- Yarn: Worsted weight yarn (medium weight) is recommended. You can choose a single color or a variety of colors for a multi-toned effect. Examples include cotton, acrylic, or blends.
- Hook: 5.0mm (H-8) crochet hook. Adjust the hook size per your yarn label recommendations.
- Scissors: For cutting yarn ends.
- Yarn Needle: For weaving in ends and assembling the granny squares.
- Measuring Tape: Optional, for checking gauge and customizing size as needed.

Notes
- Gauge Adjustments: Granny squares are naturally flexible, but for a smoother fit, crochet a test square first. Aim to match the pattern in dimensions by adjusting the hook size, if needed.
- Customization Tips: To adjust your vest for different sizes:
- Add more rows to each granny square for a larger size.
- Use fewer squares or smaller squares for a more fitted look.
- Color Choices: Experiment with different colors for unique designs. Multi-color squares or a single color vest both look great!
Pattern Question
Question: Can I use different types of yarn for the granny square vest?
Answer: Absolutely! The tutorial is adaptable to any type of yarn, making it easy to customize the texture, color, and thickness to fit your preferences.
Troubleshooting and Suggestions
- Consistent Stitch Texture: Focus on keeping your tension even, ensuring squares end up the same size for a polished look when piecing together the vest. If one square is too small, gently block it to match the others.
- Joining Techniques: Experiment with different methods for clean seams—slip stitching creates an invisible join, while single crochet adds subtle texture. Select based on your preferred look.
- Color Variations: Swap traditional multicolored granny squares for tonal schemes or gradients to adapt the vest style. The boldness of color choices can shift the garment from vintage-inspired flair to modern minimalism.
- Adaptable Embellishments: Add buttons at the front closure or create a crochet tie for a functional yet decorative accent—or consider embellishing the granny squares with embroidered details for extra personality.
- Alternative Uses: Love the granny square concept but want more options? Convert your squares into a cropped top or dress by modifying the layout, or even use the pattern for a cozy throw or pillow.