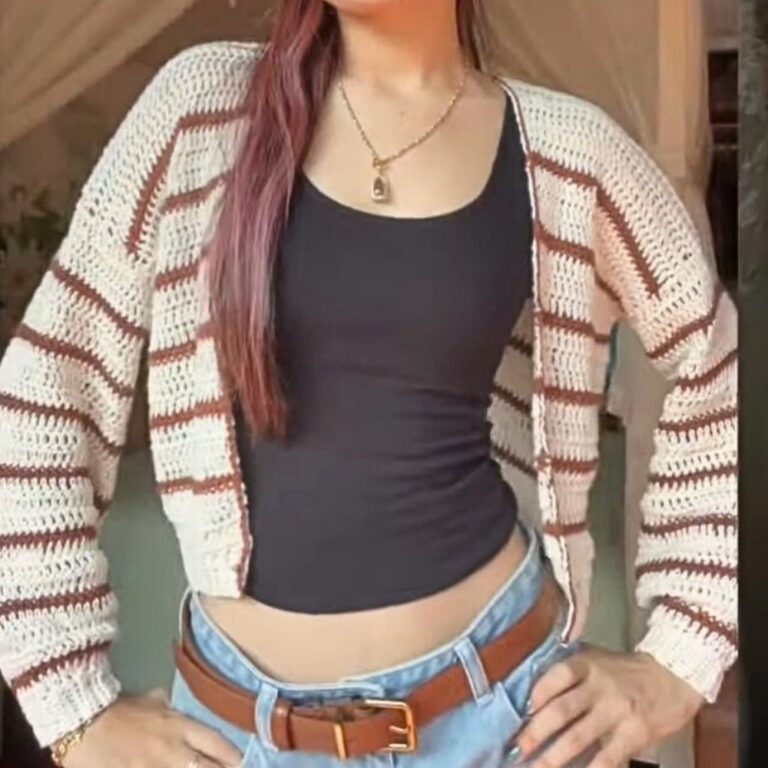
Crochet Purple Flower Cardigan Pattern Free
A burst of purple flowers can turn an ordinary cardigan into something truly memorable. This crochet flower cardigan combines cozy comfort with cheerful floral details, creating a wearable piece that feels both stylish and handmade.
The colorful blooms add a playful touch while giving the cardigan enough character to stand out on its own.
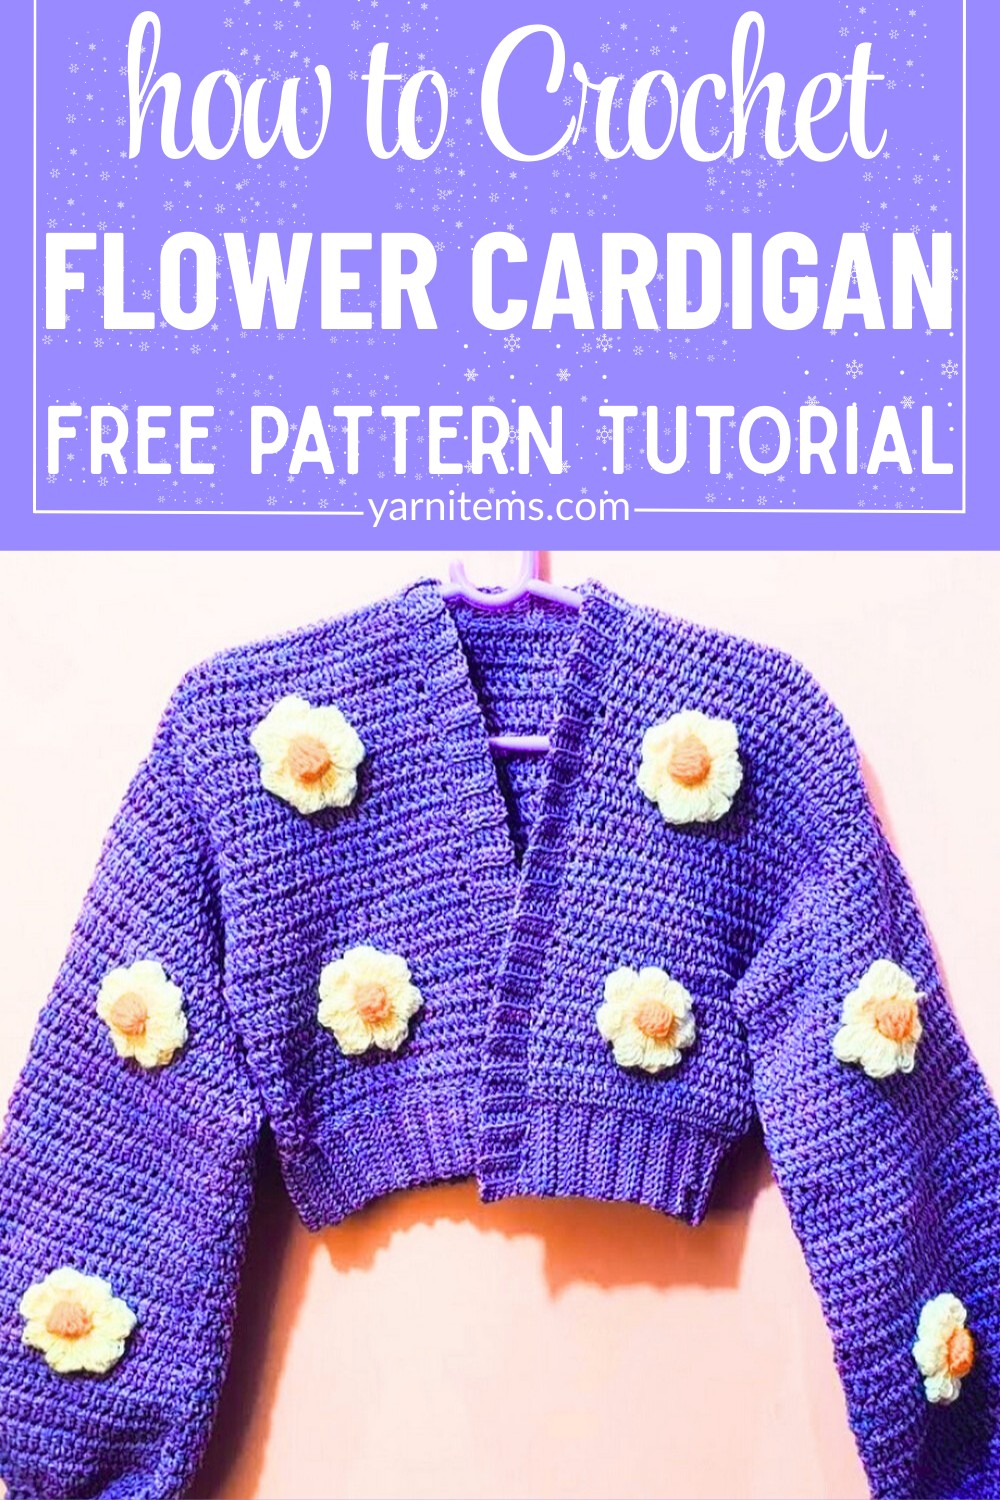
The beauty of this crochet cardigan goes beyond its eye-catching flowers. Its comfortable design makes it suitable for cool days, while the vibrant details can instantly brighten a simple outfit.
Whether styled for everyday wear or saved for a special occasion, this unique crochet piece offers a lovely way to bring color, personality, and handmade charm into your wardrobe.
Credit Elaf’s Premium
Materials & Tools Needed
- Yarn – Use yarn in colors of your choice (purple and white are suggested for flowers and the cardigan base).
- Crochet hook (appropriate size for your yarn) – Based on the video, a 4mm or 5mm hook could work, but confirm this based on your yarn’s label.
- Scissors.
- Tapestry needle for weaving in ends.
- Measuring tape.
Finished Size & Customization Ideas
- Finished Size (approximate):
- Front panel: 28 rows, width determined by your desired size.
- Back panel: Chains 65, using the same pattern as the front panel.
- Sleeves: 50 chains, with a total length of approximately 18.5 inches and width of 14.2 inches.
- Bottom ribbing: Make this piece as long as you prefer, depending on the desired fit.
- Cuffs: Customize to fit the circumference of your wrist.
- Customization Ideas:
- Use different colors for flowers and base to create your preferred aesthetic.
- Adjust the final size by increasing/decreasing chains and rows as required.
- For a longer or shorter cardigan, simply modify the total rows.
Pattern Notes
- The pattern uses US crochet terminology.
- Make sure to maintain an even tension throughout.
- Test your gauge before beginning to ensure you achieve the correct size.
- Customization can be done by modifying chains, rows, or the size and number of flowers.
Pattern Abbreviations & Terminology
- ch – Chain
- st(s) – Stitch(es)
- sl st – Slip Stitch
- dc – Double Crochet
- hdc – Half Double Crochet
- yo – Yarn Over

Tips Before You Start
- Check your yarn weight and crochet hook size to ensure your cardigan achieves the desired drape.
- Practice making a magic circle if you’re unfamiliar, as you will need this for the flowers.
- Keep a measuring tape handy to ensure your panels and pieces match the suggested dimensions.
Step-by-Step Detailed Crochet Instructions
1. Front Panels
- Slip Knot and Foundation Chain:
- Start with a slip knot.
- Chain 25, then chain 2 more extra chains (total: 27 chains).
- Row 1 (DC Row):
- Starting from the 3rd chain from the hook, work double crochets (dc) across the entire chain. You’ll have 25 dc stitches in this row.
- Turn your work.
- Row 2:
- Chain 2 at the beginning.
- Work double crochet (dc) in the gaps of the stitches below (not in the top of the stitch but into the spaces between stitches), across the row.
- Turn your work.
- Continuation:
- Repeat Row 2 until you have crocheted 28 total rows.
- Repeat to make two front panels.
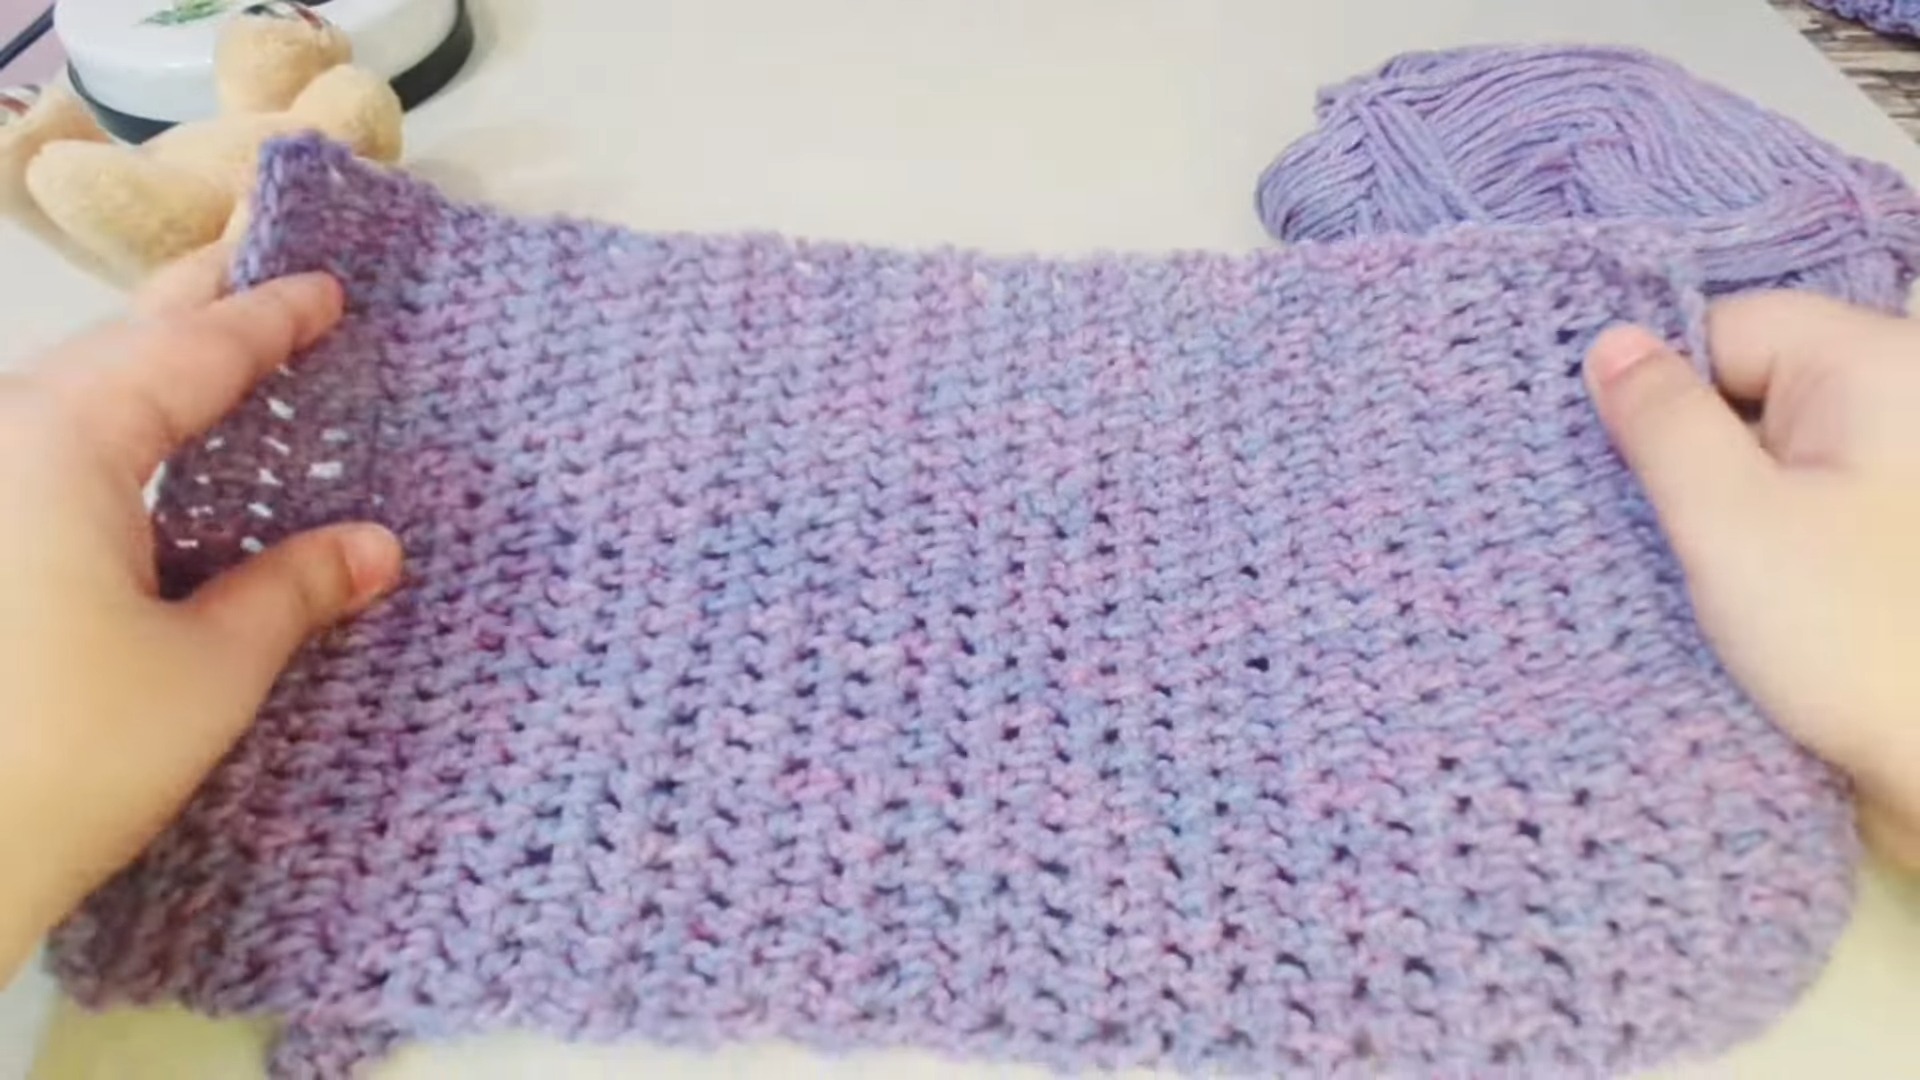
2. Back Panel
- Foundation Chain:
- Chain 65, then chain 2 extra chains (total: 67 chains).
- Row 1 (DC Row):
- Starting from the 3rd chain from the hook, work double crochets (dc) across the entire chain. You’ll have 65 dc stitches in this row.
- Turn your work.
- Continuation:
- Work the same pattern as the front panels (Row 2 pattern) until the back panel matches the length of the front panels (i.e., 28 rows).

3. Sleeves
- Foundation Chain:
- Start by chaining 50.
- Rows with DC:
- Begin working Row 1 (dc across), starting from the 3rd chain from the hook.
- Turn your work. Chain 2, and continue working dc rows.
- Dimensions:
- Continue until the sleeve length is approximately 18.5 inches long and the width is 14.2 inches.
- Repeat to make two identical sleeves.
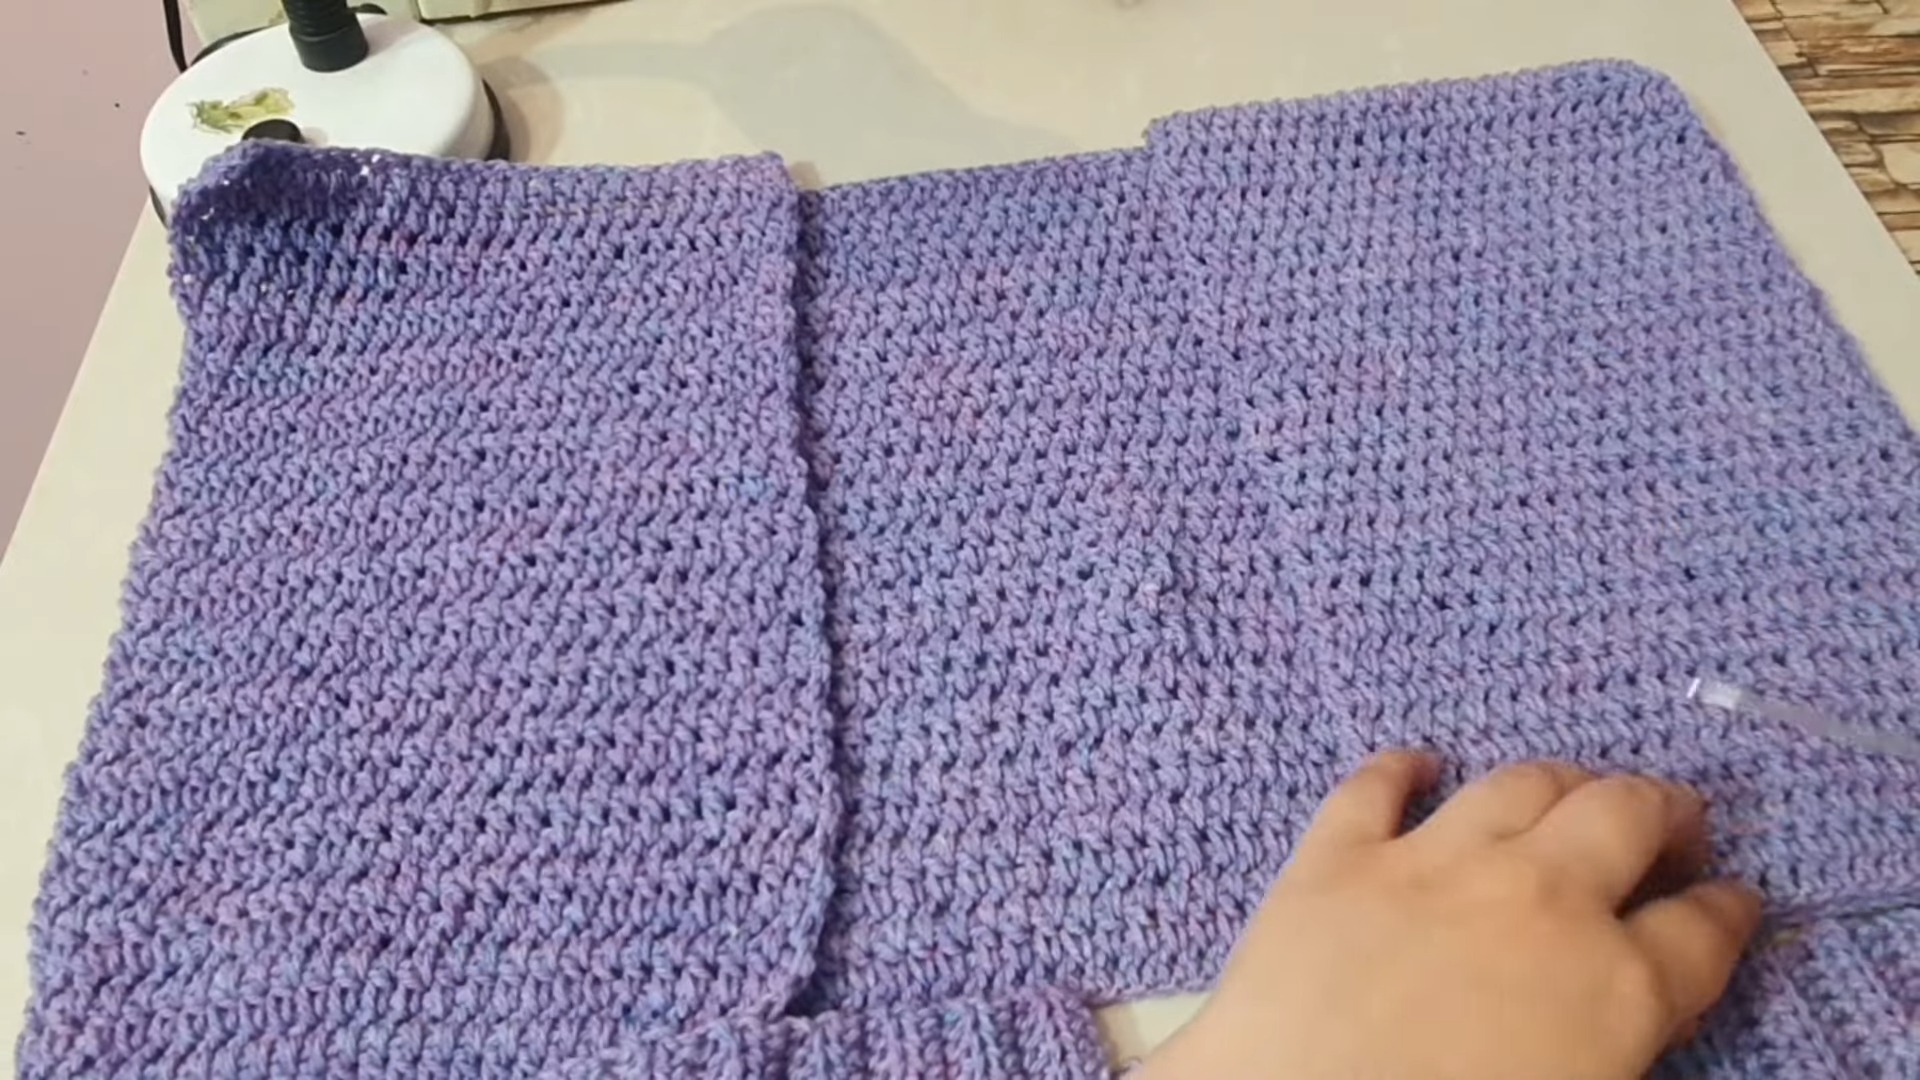
4. Bottom Ribbing
- Foundation Chain:
- Chain 10, then chain 2 extra chains (total: 12 chains).
- Row 1 (HDC in Back Loops):
- Skip the first 2 chains from the hook.
- Work half double crochets (hdc) in the back loops only for the remaining 10 sts.
- Turn your work.
- Continuation:
- Chain 2, continue working hdc in the back loops only for each stitch till the end of the row.
- Turn your work.
- Repeat this process until your ribbed piece matches the bottom of the cardigan when stretched slightly.

5. Front Panel Ribbing
- Foundation Chain:
- Chain 5, then chain 2 extra chains (total: 7 chains).
- HDC in Back Loops:
- Work hdc in the back loops starting from the 3rd chain and continue as for the bottom ribbing.
- Continue until the ribbing piece matches the length of each front panel edge.
6. Cuffs
- Foundation Round:
- Chain approximately 28 chains, then join the chain into a ring with a sl st.
- Rows with HDC:
- Chain 2, then work half double crochet (hdc) across all stitches in the ring.
- Repeat Rounds with hdc for about 4 rounds, or until your cuff’s length satisfies your preference.
- Repeat to make two identical cuffs.
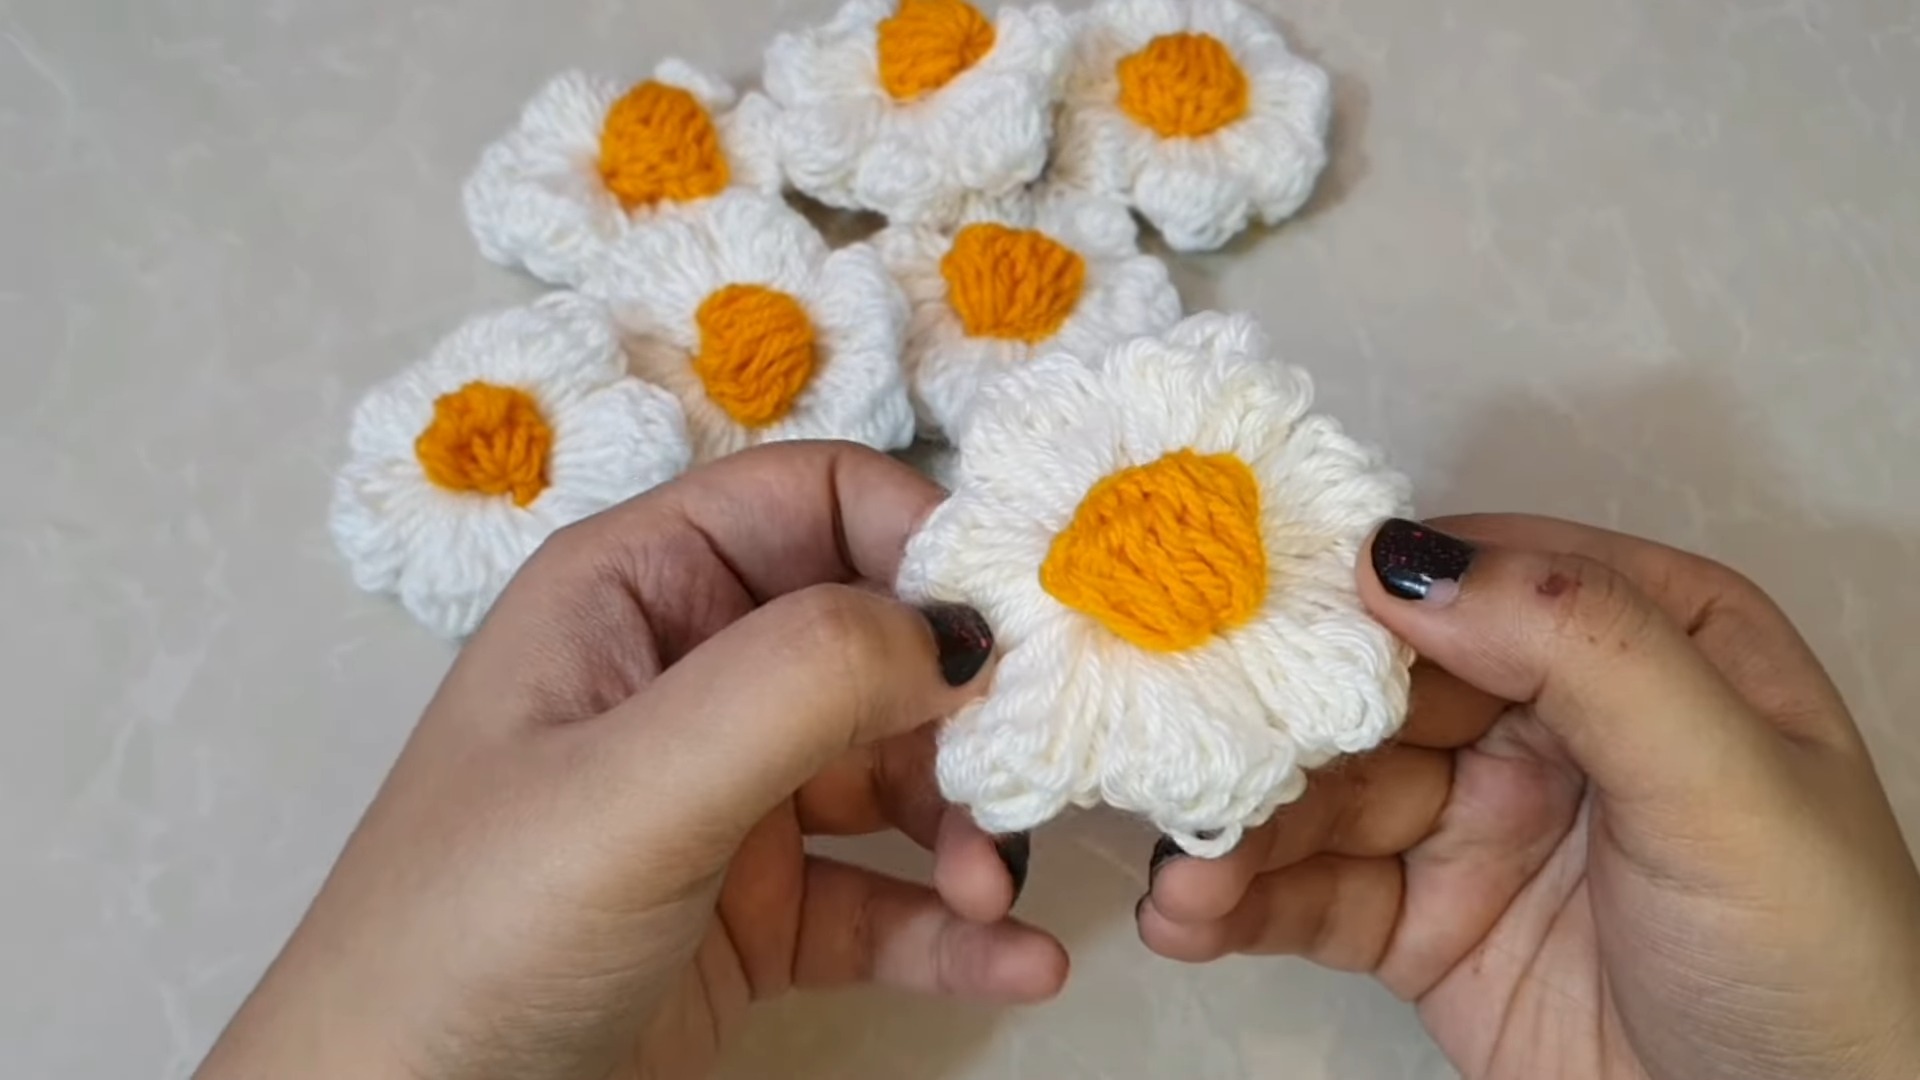
7. Crochet Flowers
- Magic Circle and Foundation Row:
- Using white yarn, create a magic circle.
- Work 6 hdc into the circle. Close the circle tightly with a sl st.
- Petals:
- To create each petal:
- Chain 3 (keep the chains loose).
- Yarn over and pull through to create a puff stitch with 10 loops.
- Yarn over and pull through all loops. Secure with a sl st at the base.
- Repeat this process 6–7 times to create 6–7 petals.
- To create each petal:
- Center of the Flower:
- Switch to a purple or darker yarn.
- Insert the hook through the center of the flower and pull through the purple yarn.
- Chain 3, make a puff stitch of 10 loops, and secure at the base with a sl st.
- Cut loose ends and weave them in.
- Repeat the steps to make a total of 8 flowers.
Final Assembly
- Stitch the Panels Together:
- Place the three main cardigan panels together (two front panels and back panel).
- Sew the shoulders together at the top.
- Align the sides and sew them together, leaving room for the armholes.
- Attach the Sleeves:
- Sew each sleeve into the armholes.
- Attach Ribbing:
- Stitch the bottom ribbing to the cardigan.
- Attach the ribbing to the edges of the front panels and around the neckline.
- Cuffs:
- Attach cuffs to the end of the sleeves.
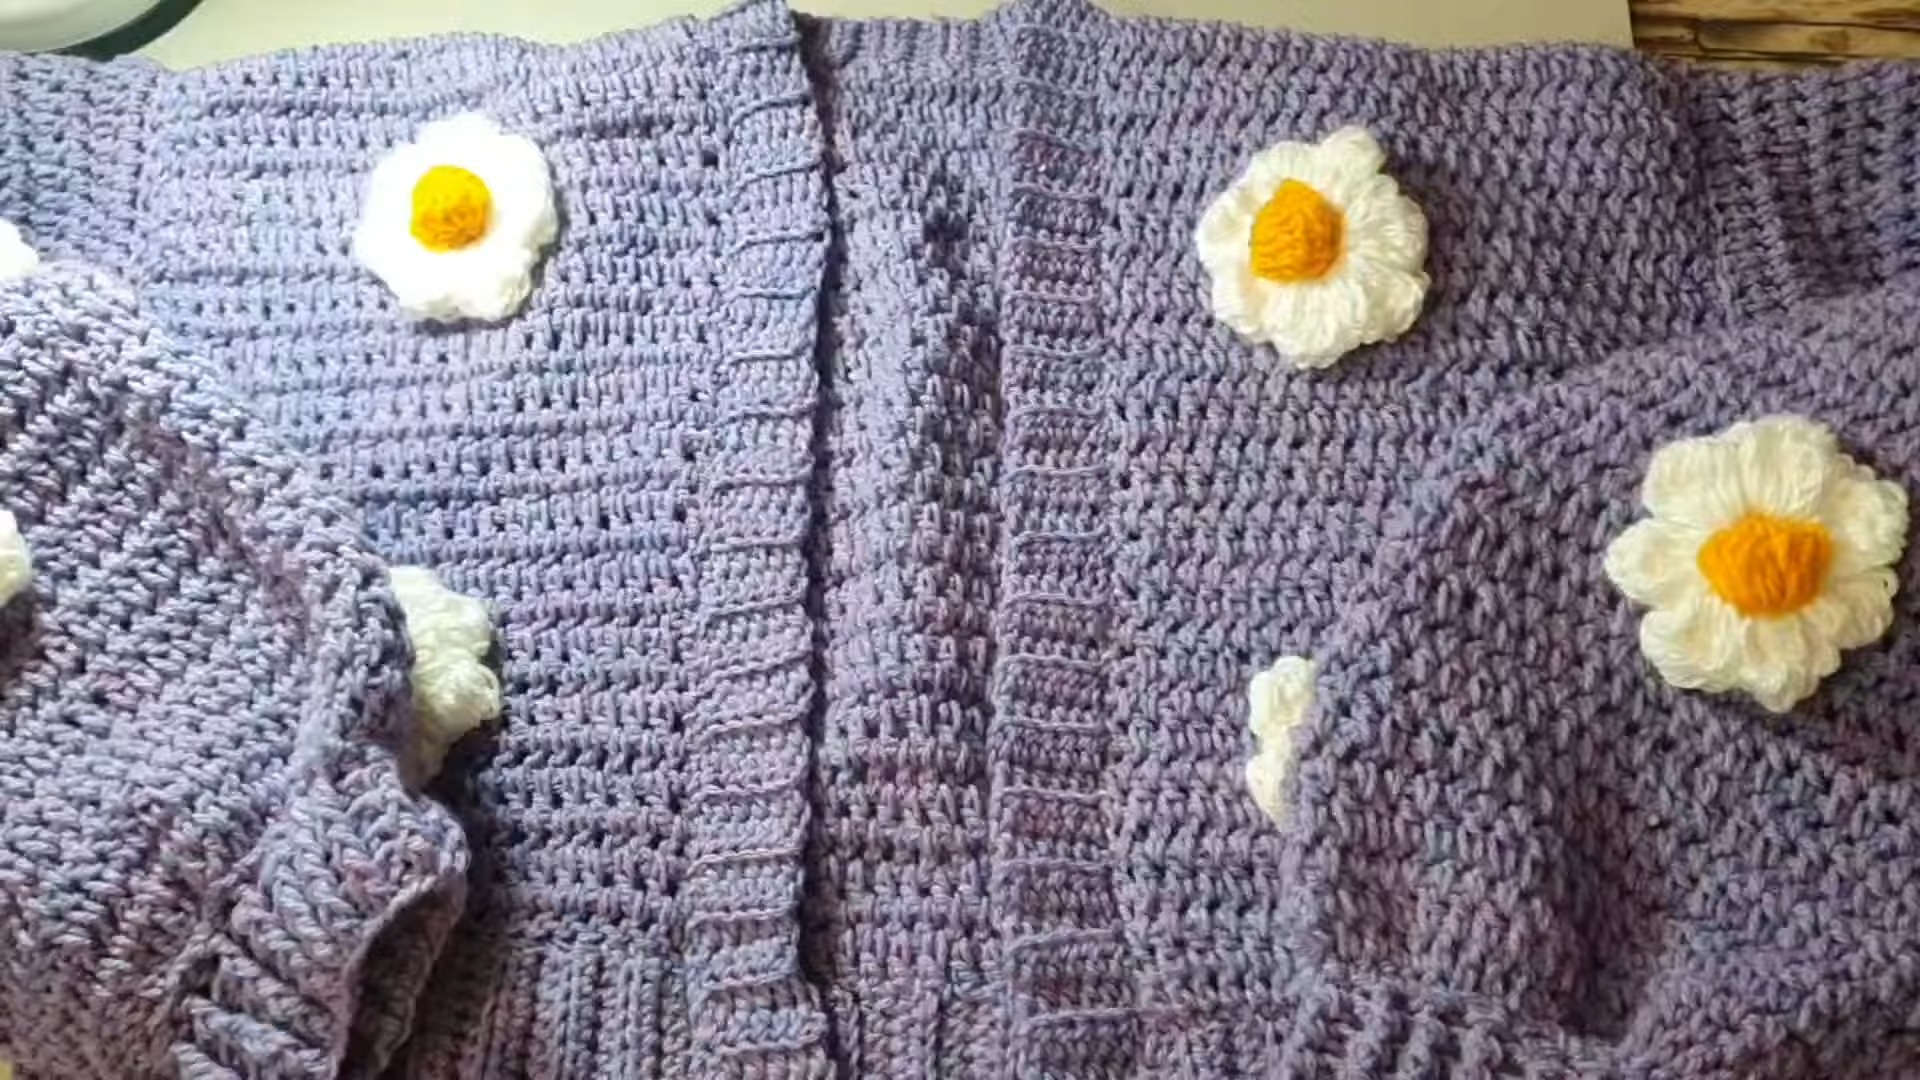
- Decorate with Flowers:
- Arrange the crochet flowers as desired on the front panels and securely stitch them onto the cardigan.
Conclusion
Your Purple Flower Cardigan is now complete! This project combines simple construction techniques with elegant floral decoration, resulting in a stylish and cozy garment. Customize the colors, flower arrangement, and sizing to make it truly unique to your personal style. Remember, practice and patience are key to perfecting your crochet skills.