
Crochet 3D Flower Motif Pouch Pattern with Button Closur
Need a tiny crochet pouch with a standout front? Pair a colorful 3D flower square with a simple granny-square back for a cute accessory that closes with a button.
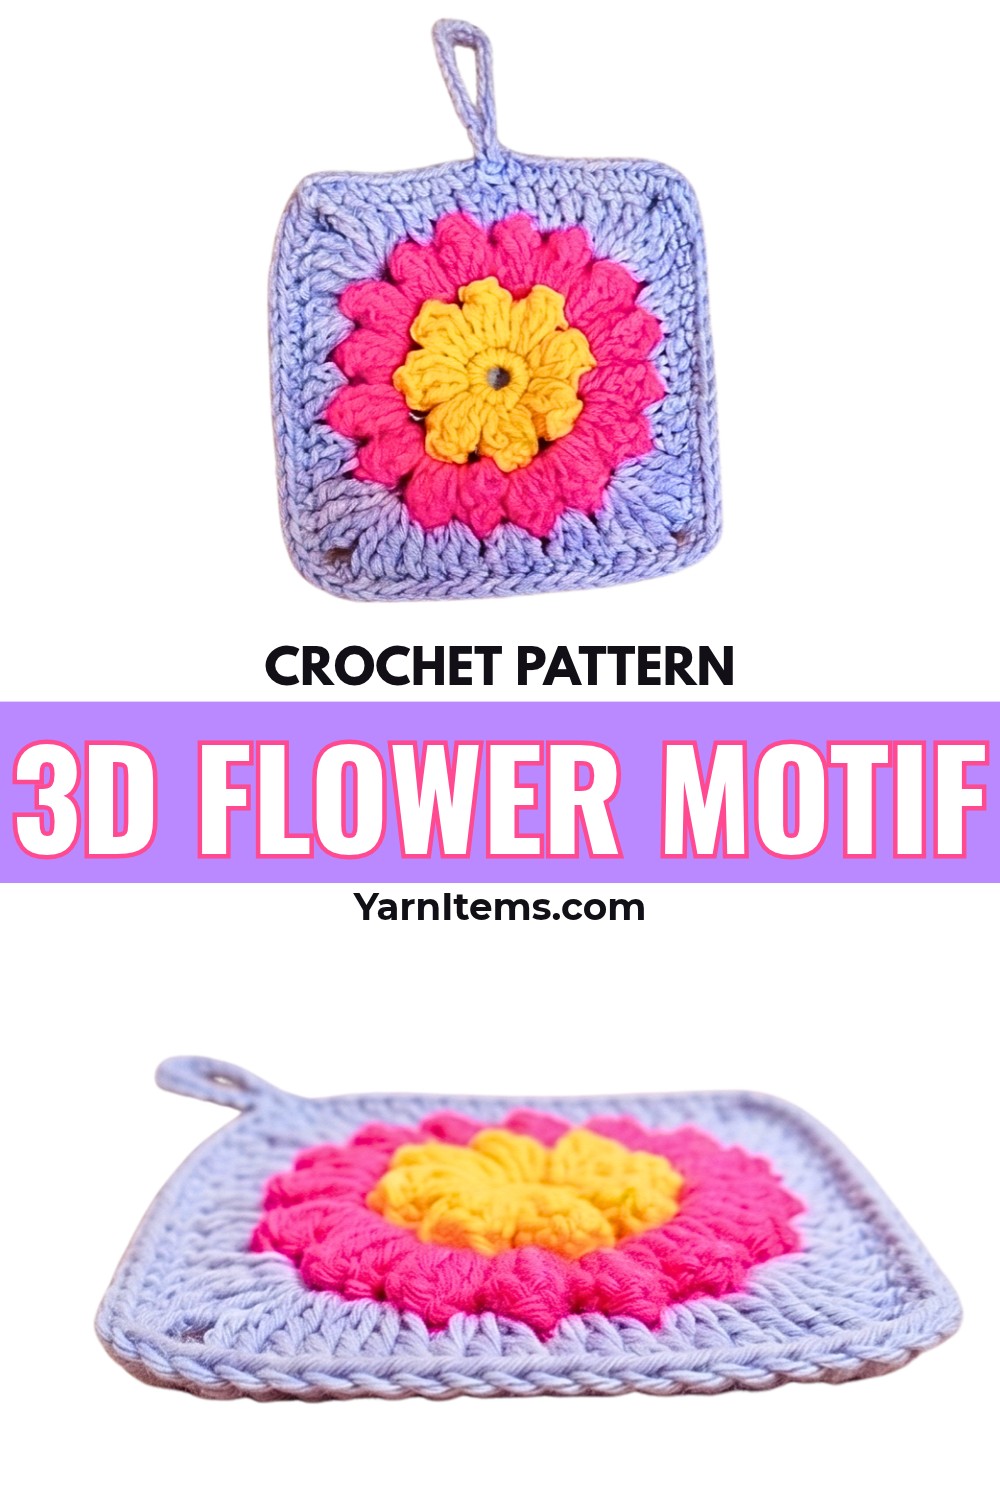
Turn a single textured flower motif into a useful little pouch for crochet AirPods, loose change, or other tiny essentials. The colorful 3D flower becomes the front panel, while a solid granny square forms the back, giving the finished piece an interesting contrast without requiring a complicated second crochet motif.
Before you begin, have your 3D flower granny square ready, because this tutorial creates the matching solid back and then joins the two crochet pieces directly. You’ll also learn how to shape the top opening, add the buttonhole, make the 13-chain strap loop, and finish the border neatly so the inside stays tidy.
Credit Simple Crochet
Prepare the Flower Motif
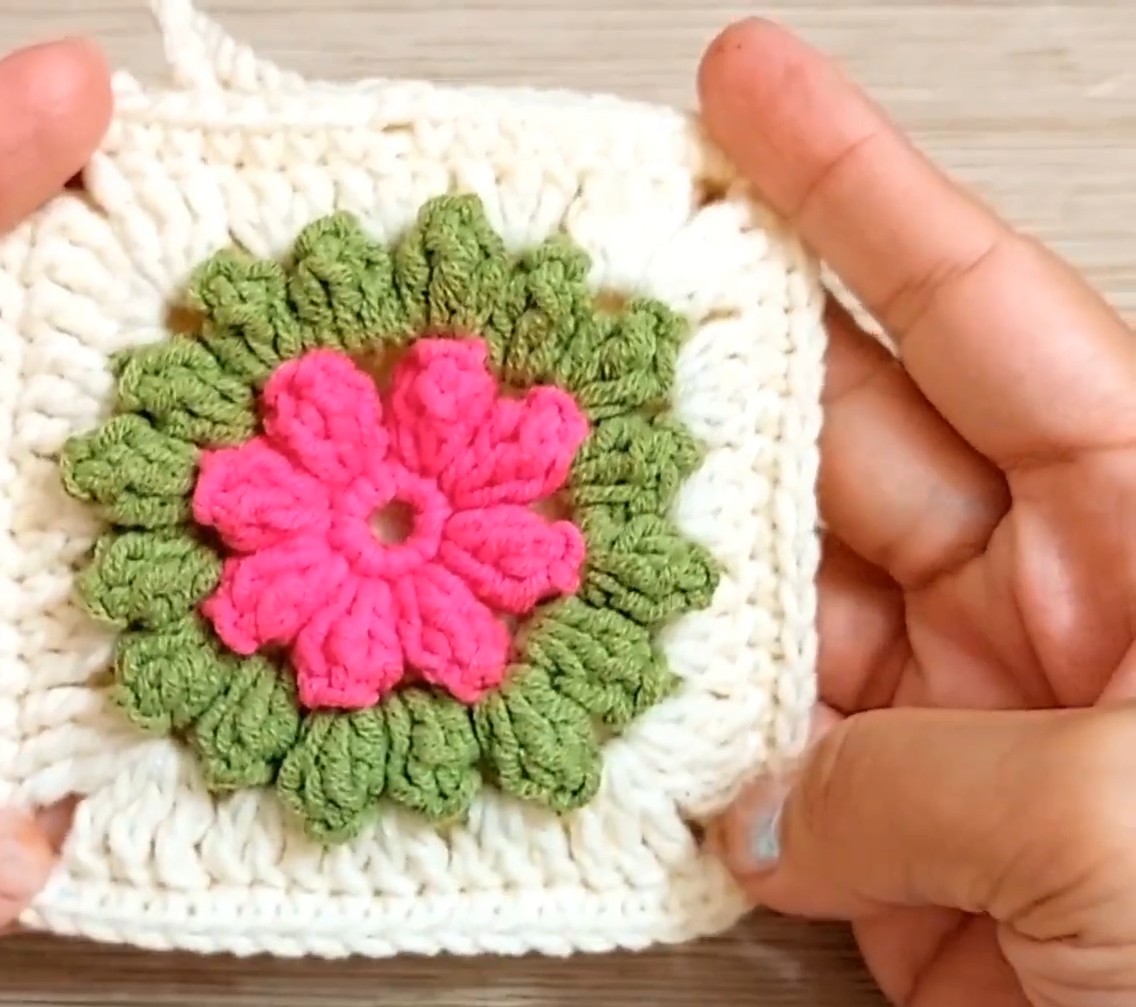
This pouch uses one pre-made 3D flower granny square as the front. Its exact size depends on the yarn and hook you use for that motif, so make sure the flower square is ready before you start the simple back square.
Work the back motif in a solid color and expand it to four rounds, ending with 15 dc along each side. Matching the number of stitches along the edges is important because the two motifs will be joined stitch by stitch.
Materials & Tools
- Leftover yarn of your choice; the tutorial uses a solid color for the back and a multicolored 3D flower for the front.
- An appropriate crochet hook for your yarn weight.
- A tapestry needle for weaving in ends, though you can also use a smaller crochet hook to weave tails.
- Scissors.
- Button for the front closure.
- One pre-made 3D flower granny square for the front panel.
Abbreviations
- MR: Magic Ring
- ch: Chain
- ch-sp: Chain Space
- st(s): Stitch(es)
- sc: Single Crochet
- hdc: Half Double Crochet
- dc: Double Crochet
- sl st: Slip Stitch
- rep: Repeat
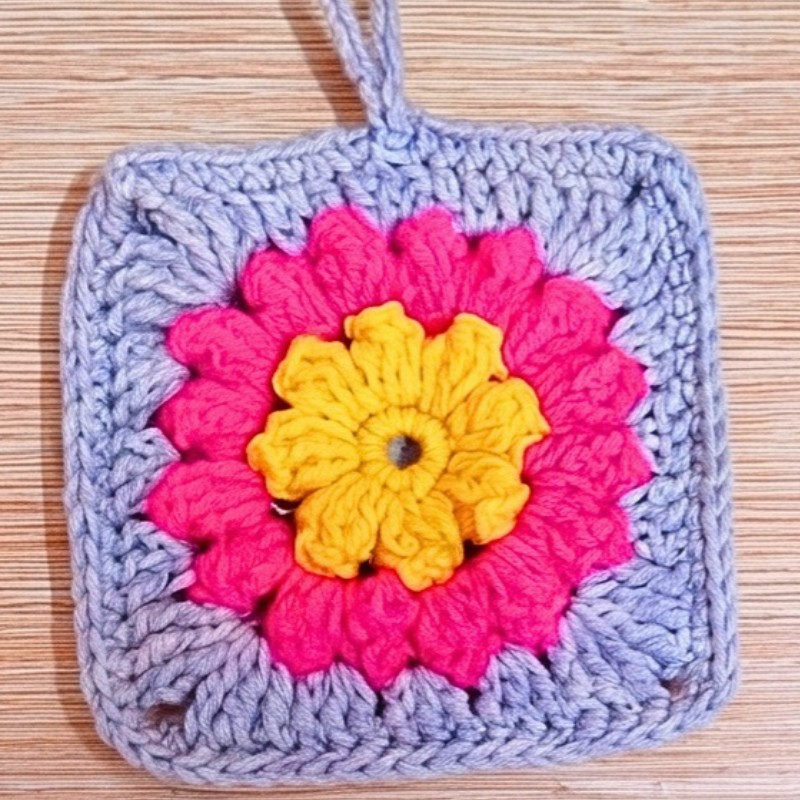
Crochet the Solid Back Motif
The simple square begins with four groups of double crochets around a Magic Ring. The special joining method at the end of each round leaves your hook positioned at a corner space, which makes the following round easier to begin.
Round 1: Create a MR, ch 3 (counts as first dc), make 2 dc into the MR, ch 2, make 3 dc into the MR, ch 2, make 3 dc into the MR, ch 2, make 3 dc into the MR; ch 1, then make 1 sc into the 3rd chain of the starting ch-3 to finish the round and create the final ch-2 space; pull the MR tight and weave in the starting tail. [4 sets of 3 dc, 4 corner spaces]
That final sc is intentional. Rather than ending with a traditional slip stitch, it creates the corner space where you will begin Round 2.
Round 2: Ch 3, make 1 dc in the same corner ch-sp, make 1 dc in each of the next 3 sts, work (2 dc, ch 2, 2 dc) in the next corner ch-sp, make 1 dc in each of the next 3 sts; repeat (2 dc, ch 2, 2 dc) in the next corner ch-sp followed by 3 dc along the side two more times; make 2 dc in the first corner space, ch 1, and join with 1 sc into the 3rd chain of the starting ch-3. [28 dc total, 7 dc per side, 4 corner spaces]
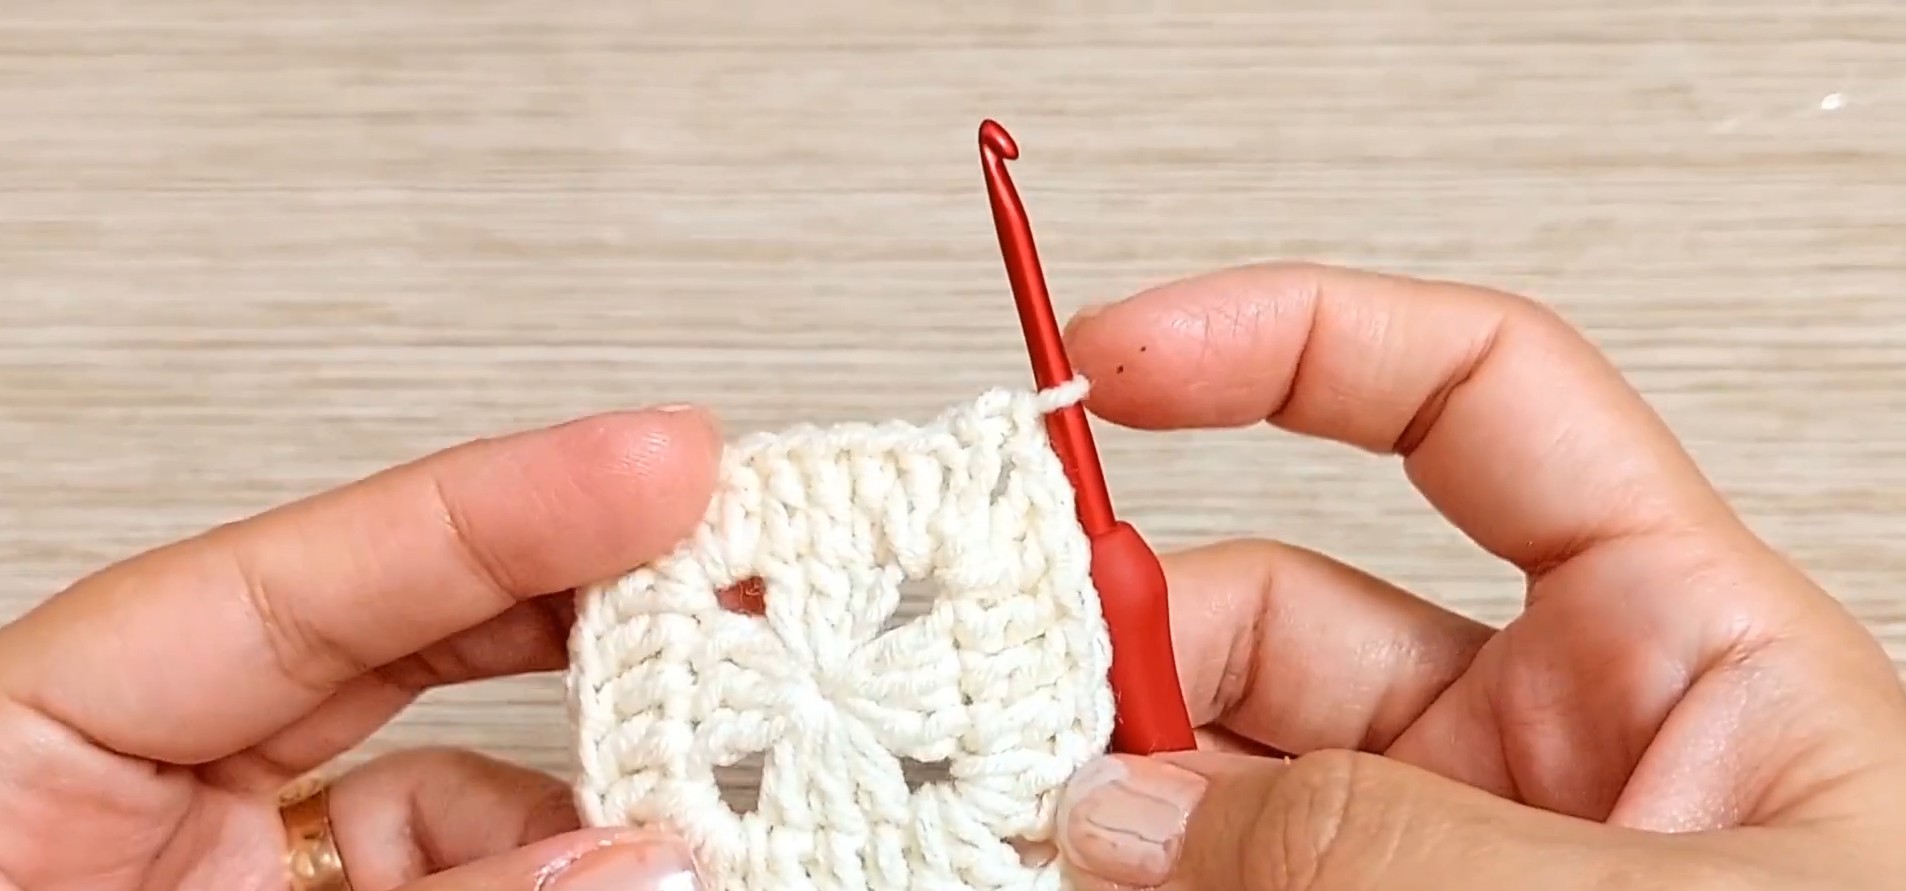
Round 3: Ch 3, make 1 dc in the same corner ch-sp, make 1 dc in each of the next 7 sts, work (2 dc, ch 2, 2 dc) in the next corner ch-sp; repeat 1 dc in each of the next 7 sts followed by (2 dc, ch 2, 2 dc) in the next corner ch-sp two more times; make 1 dc in each of the next 7 sts, then in the first corner space make 2 dc, ch 1, and join with 1 sc into the 3rd chain of the starting ch-3. [44 dc total, 11 dc per side, 4 corner spaces]
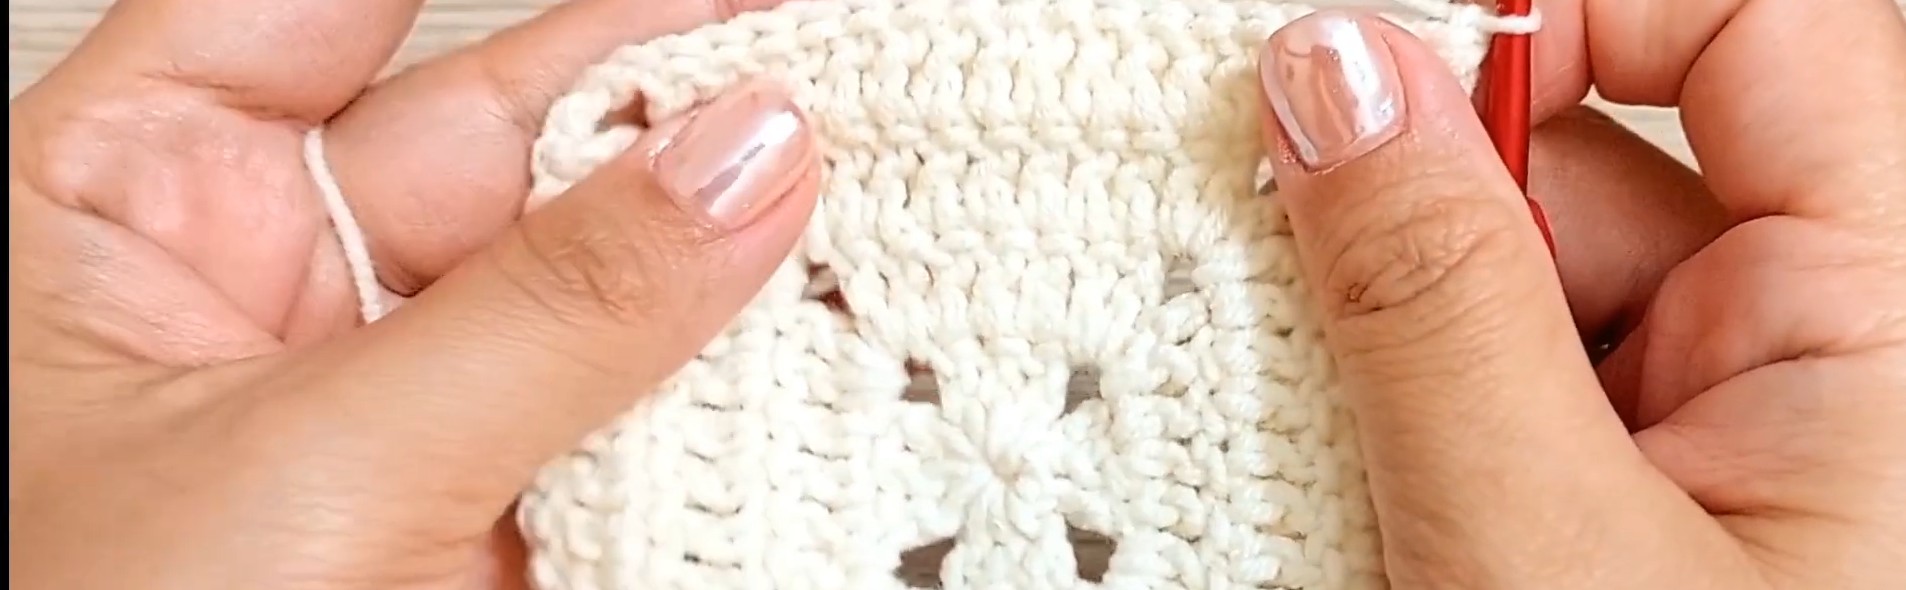
Round 4: Ch 3, make 1 dc in the same corner ch-sp, make 1 dc in each of the next 11 sts, work (2 dc, ch 2, 2 dc) in the next corner ch-sp; repeat 1 dc in each of the next 11 sts followed by (2 dc, ch 2, 2 dc) in the next corner ch-sp two more times; make 1 dc in each of the next 11 sts, then in the first corner space make 2 dc, ch 1, and join with 1 hdc into the 3rd chain of the starting ch-3. [60 dc total, 15 dc per side, 4 corner spaces]
The hdc used for this final join adds slightly more width at the joining point, preparing the square for the assembly round.
Join the Two Motifs
Once Round 4 is complete, the solid square becomes the back of the pouch and the pre-made flower square becomes the front.
Make 1 chain and turn your work so the wrong side is facing you. Place the 3D Flower motif and Simple motif right sides together, or side-by-side as directed, matching the stitches along the edges.
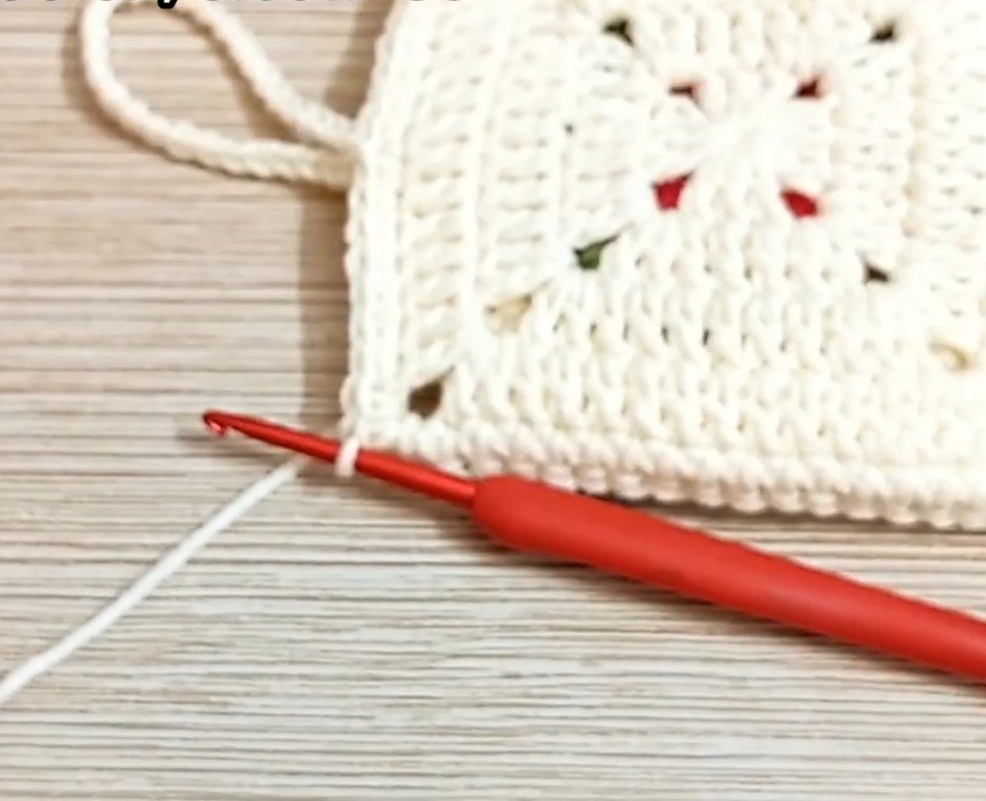
Joining: Insert your hook through the corner spaces of both motifs and make 1 sc; work 1 sc through corresponding stitches of both motifs across the first side; in the next bottom corner spaces, make 3 sc through both motifs; work 1 sc through corresponding stitches across the bottom side; make 3 sc through the next bottom corner spaces; work 1 sc through both motifs across the third side; at the final top corner, make 1 sc in the corner space and do not fasten off.
The three joined sides form the pouch while leaving the fourth side open for the top border and button closure.
Shape the Top Opening and Buttonhole
Now the border is worked around the opening, but the front and back panels are handled separately so the buttonhole can sit on the flower side.
Front Panel
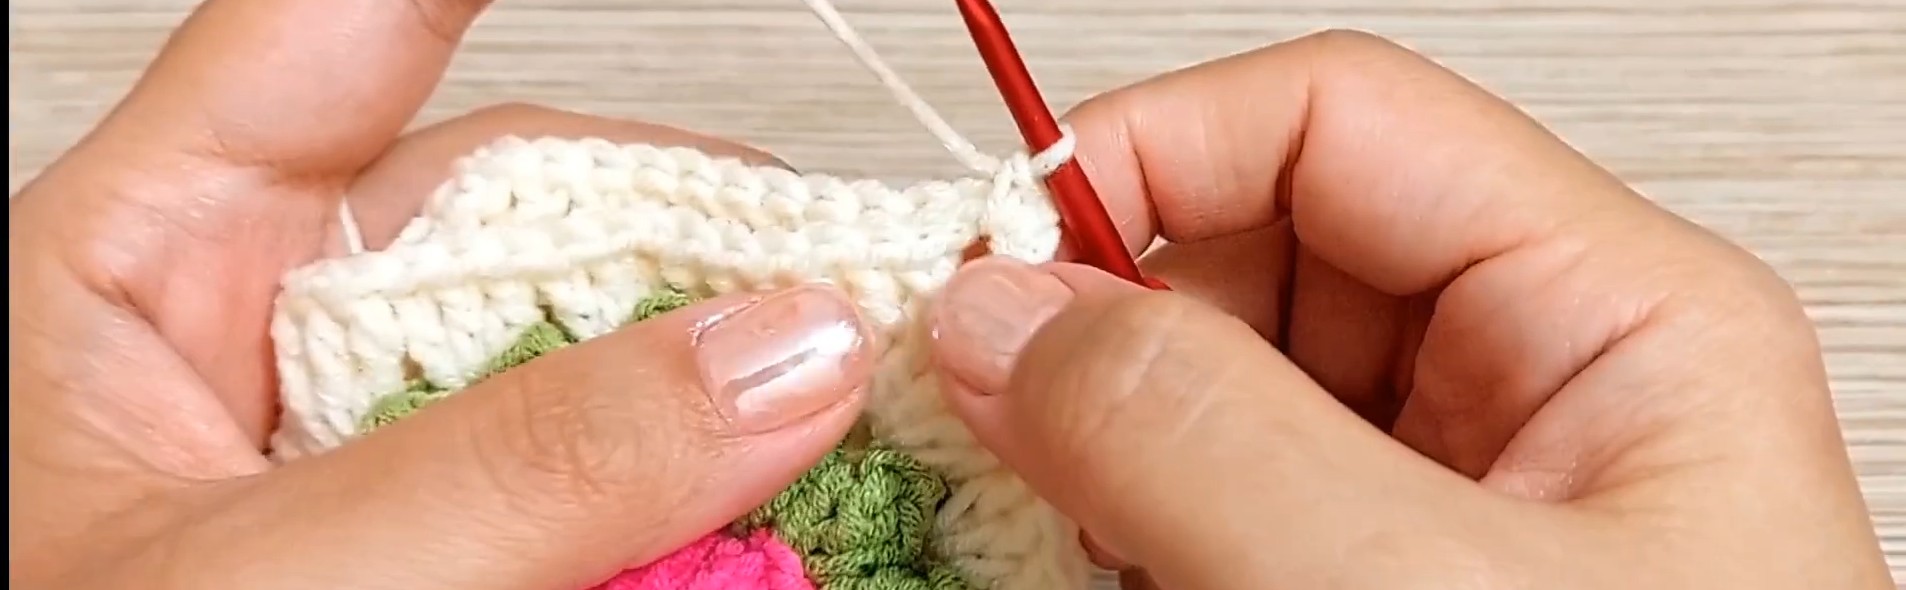
Front Border: Ch 1, working only along the edge of the front motif, make 1 sc in the corner ch-sp, make 1 sc in each of the next 7 sts, ch 2 and skip 1 stitch for the buttonhole, then make 1 sc in each of the remaining 7 sts of the front panel and make 2 sc in the next corner ch-sp.
The 2-chain space is the buttonhole. Its position in the front border should line up with the button you plan to sew onto the opposite side.
Back Panel and Strap
Move across the joining seam to the back panel.
Back Border: Skip over the joining seam and make 2 sc into the back panel’s corner ch-sp, then make 1 sc into each of the next 8 sts.
Wallet Strap: Ch 13, then sl st back into the base of the last single crochet made to anchor the loop.
Continue with 1 sc in each of the remaining sts on the back panel, then make 2 sc in the final corner ch-sp.
The 13-chain loop can stay short for a compact wristlet-style hold, or you can change the chain count when you want a longer loop for carrying or attaching the pouch to another item.
Finish the Border Without a Bulky Seam
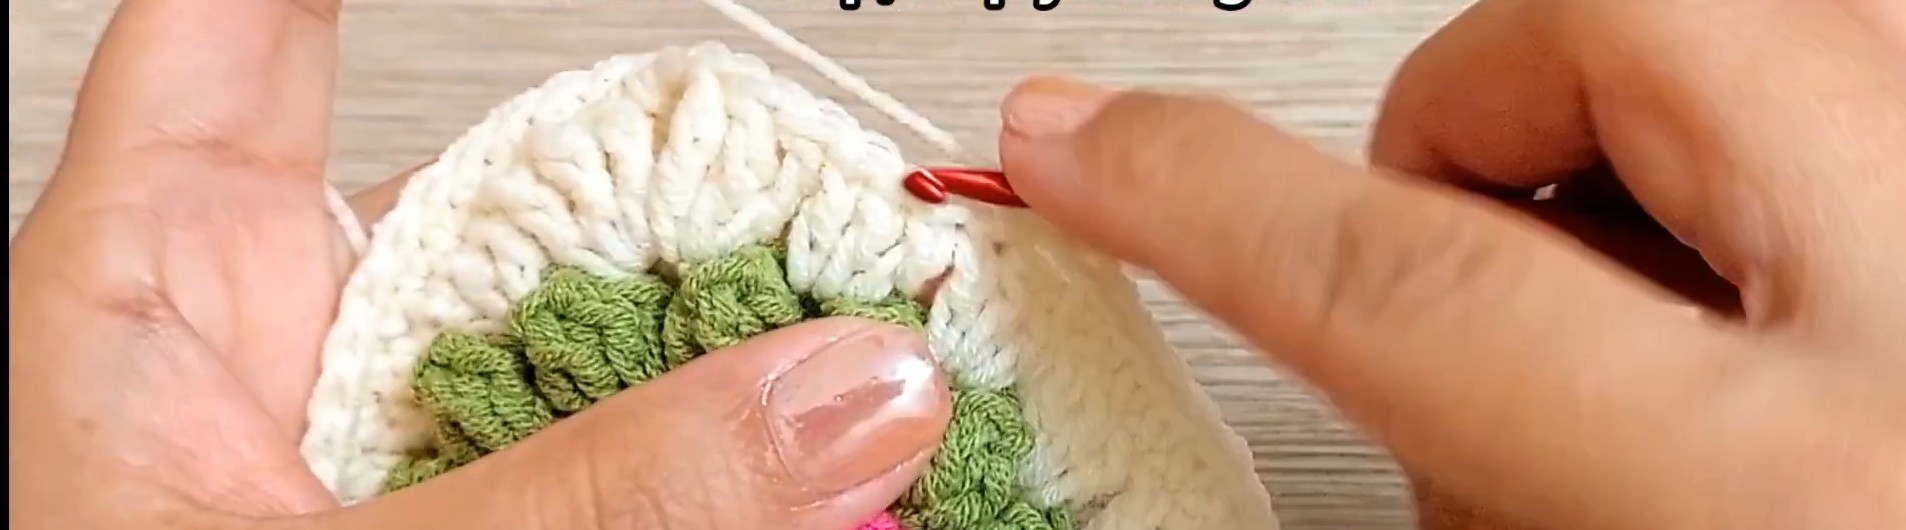
For the cleanest finish, cut the yarn leaving a short tail and pull the loop completely through.
Insert your hook, or use a tapestry needle, from the wrong side inside the pouch into the very first sc of the border round. Grab the yarn tail and pull it through to the inside. Make a slip stitch to secure it, then weave the tail discreetly through the back loops of the interior stitches.
This invisible-style finish keeps the join from creating an obvious knot on the outside edge.
Add the Button
Sew the chosen button onto the back side of the pouch so it aligns with the 2-chain buttonhole on the flower motif side. Check the alignment before securing it permanently; the button should pull the top closed without distorting the border.
Once the button is attached and the remaining ends are hidden, the pouch is ready for small essentials such as AirPods, loose change, or tiny trinkets.
Easy Ways to Customize It
The two-panel design gives you several simple ways to change the finished look:
- Use contrasting colors for the 3D flower and solid back square.
- Increase the 13-chain strap if you want a longer wristlet or attachment loop.
- Add a metal keychain ring or lobster clasp to the strap if you want to clip the pouch to a backpack or purse.
- Choose a different button to make the closure part of the decorative front.
Because the pouch relies on a pre-made flower motif, changing that motif’s colors can completely change the personality of the finished accessory while the solid back keeps the rest of the pattern simple.




2 Comments